| 4/25/04 |
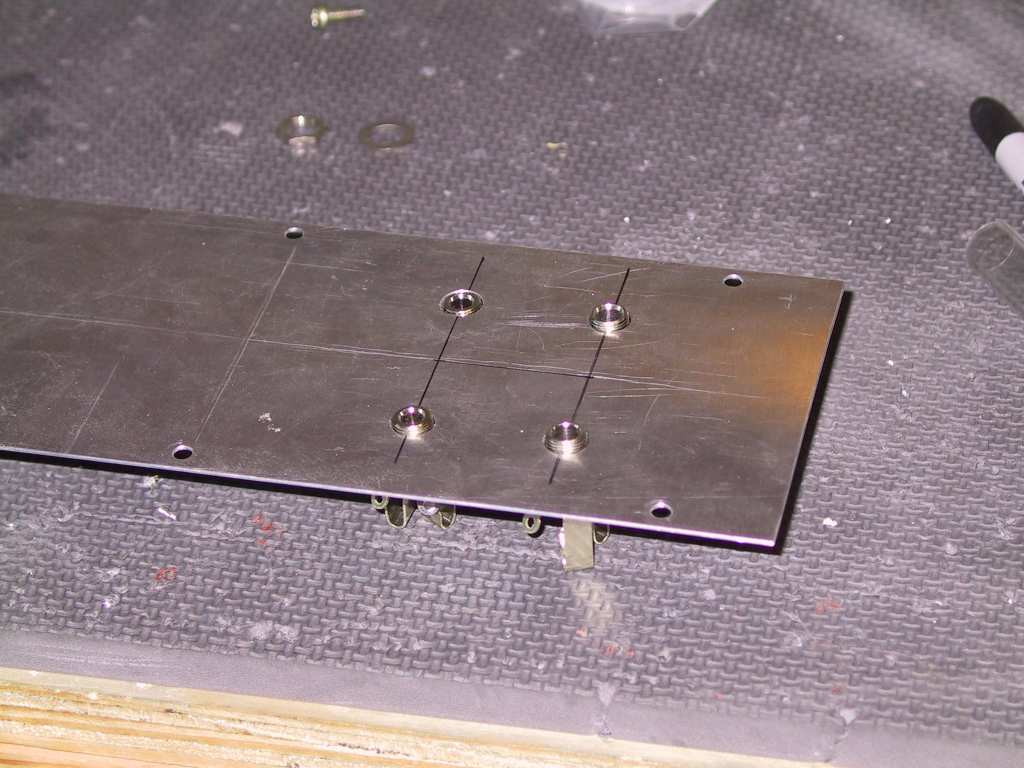
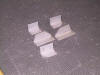
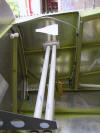
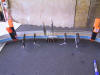
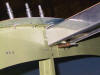
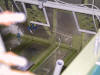
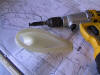
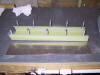
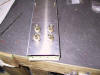
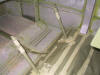
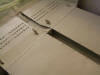
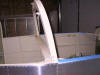
Started to fabricate all the little pieces for the
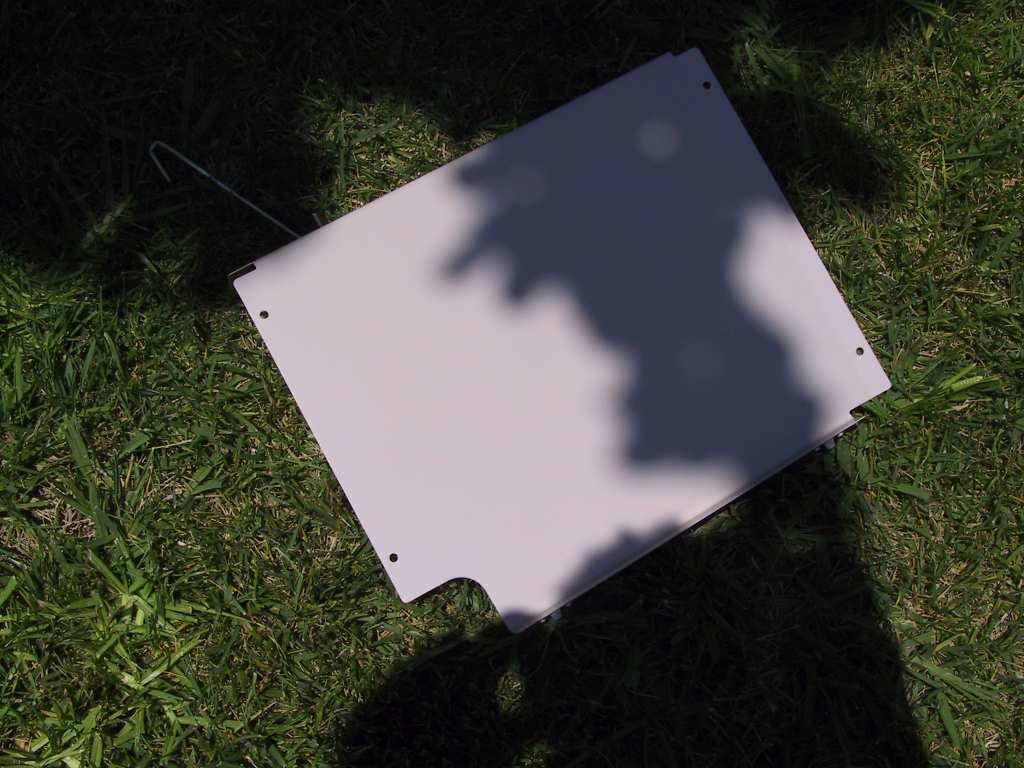
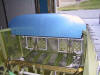
Tip up
Canopy Frame.
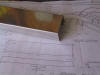  
I cut the canopy frames a bit too short and I'm about 1/8" needing in the
width of the canopy width. Fortunately! Vans gave me 6 of the canopy
rails so I have one extra for the front and back. I'll just leave them
a bit longer. I ended up only having to cut 1/8 " from each at the
joint. The plans really suck here. I'm browsing many websites to
see what others have used. I guess it's just trial and error, as
usual. |
| 4/26/04 |
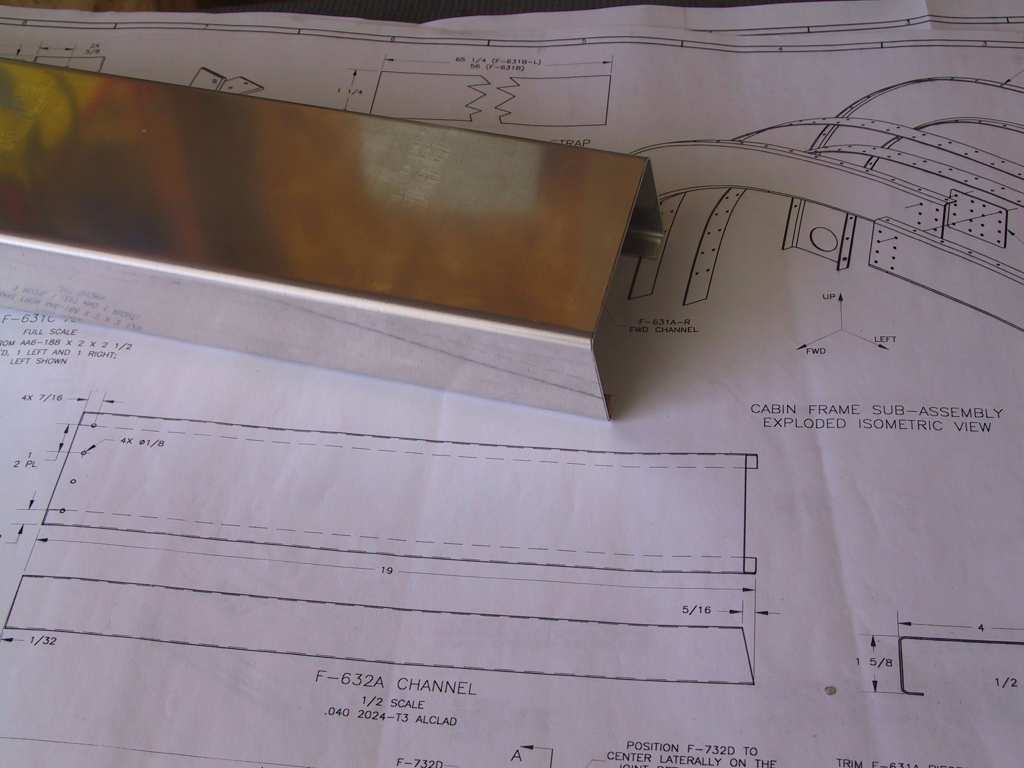
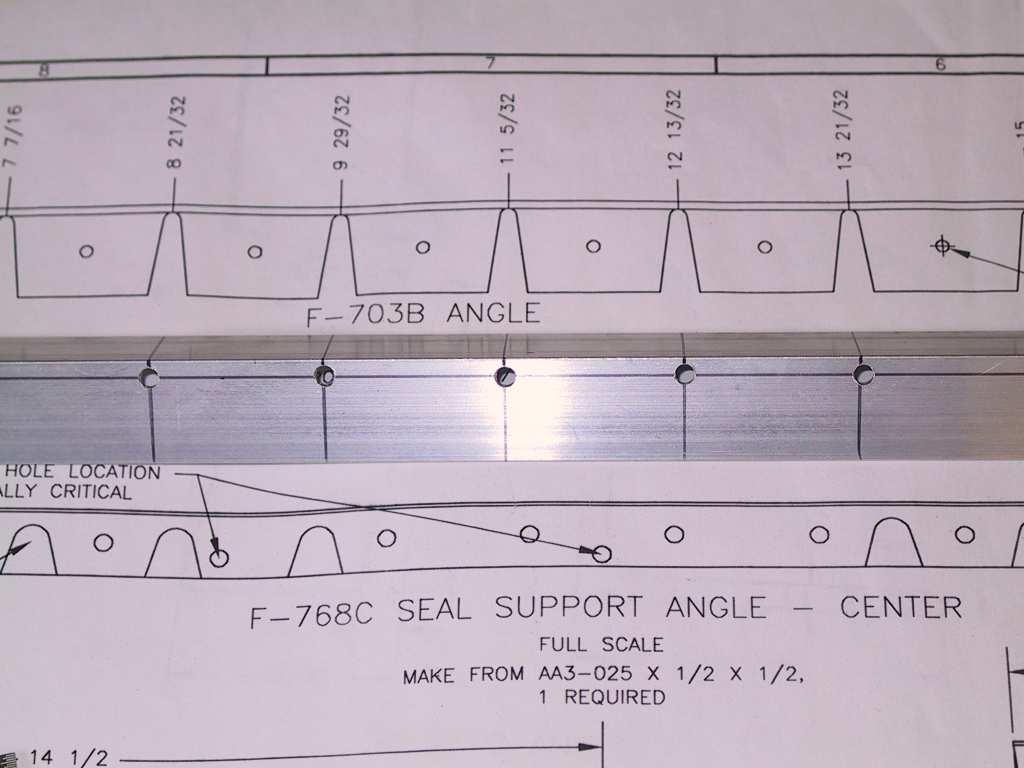
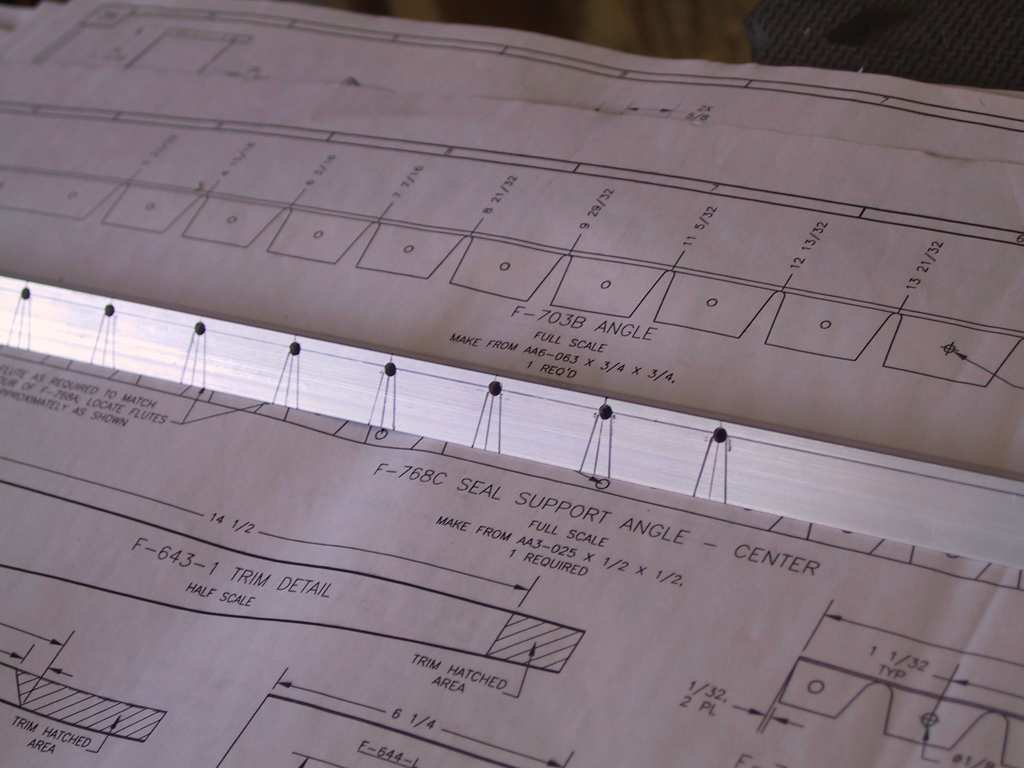
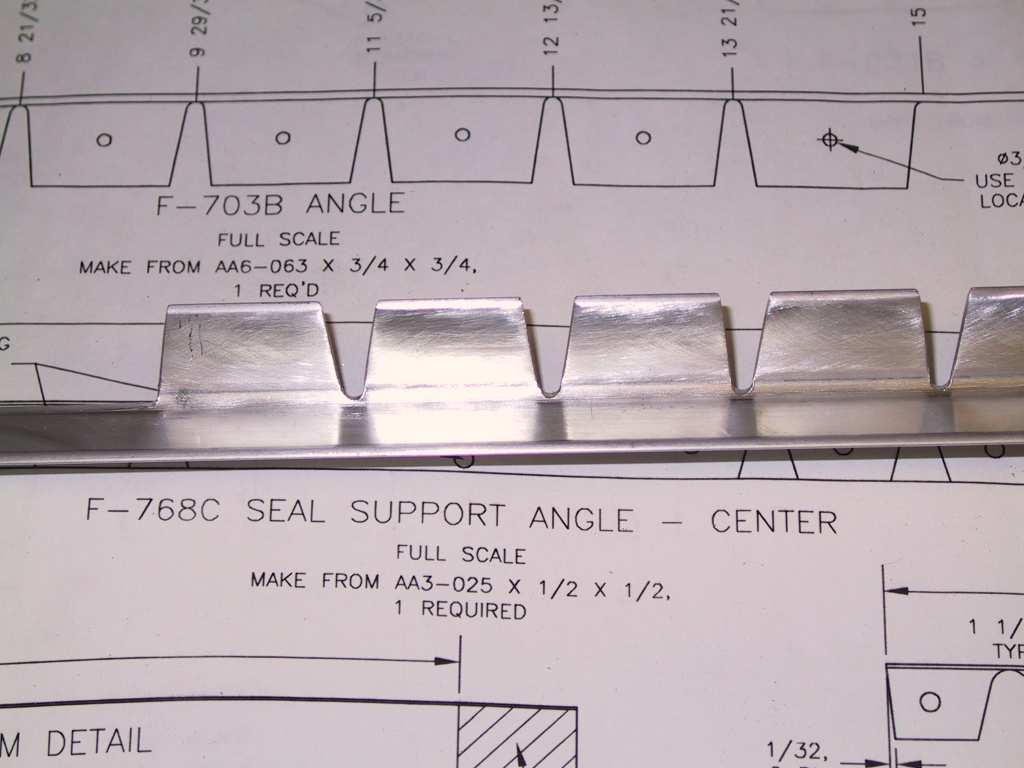
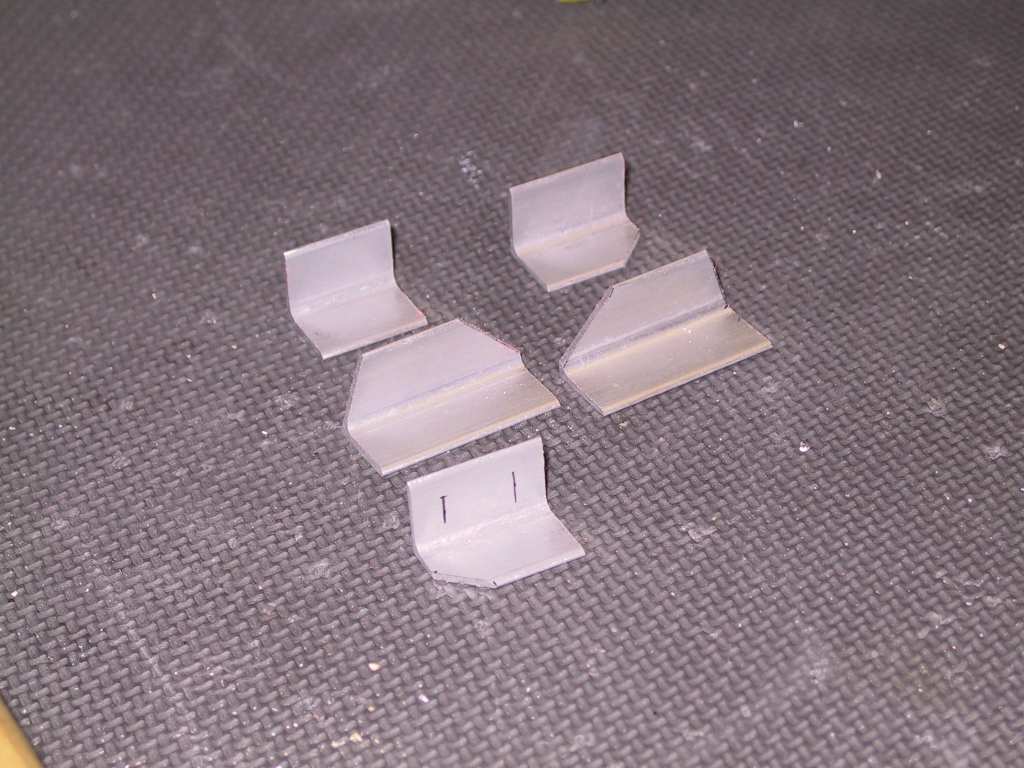
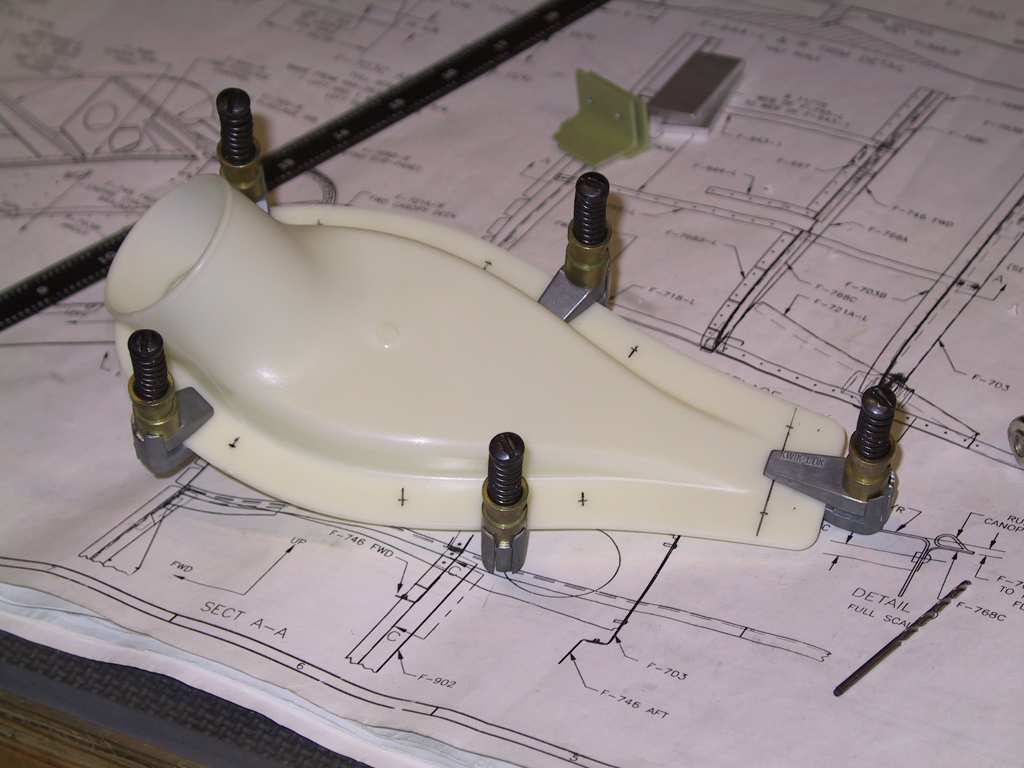
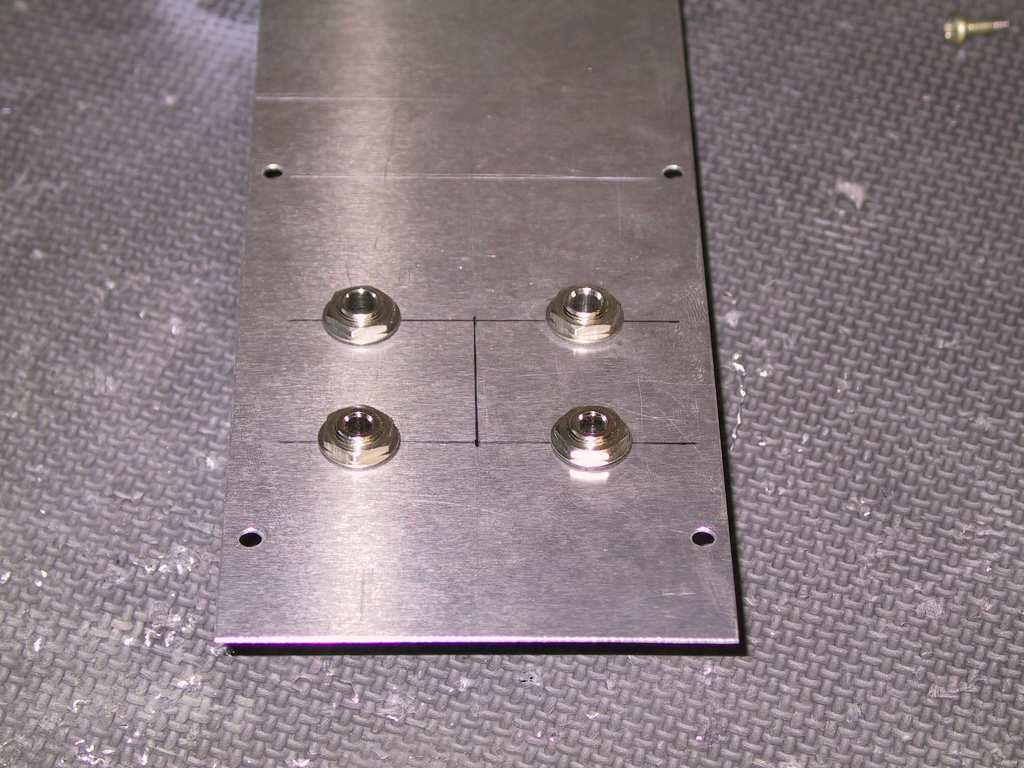
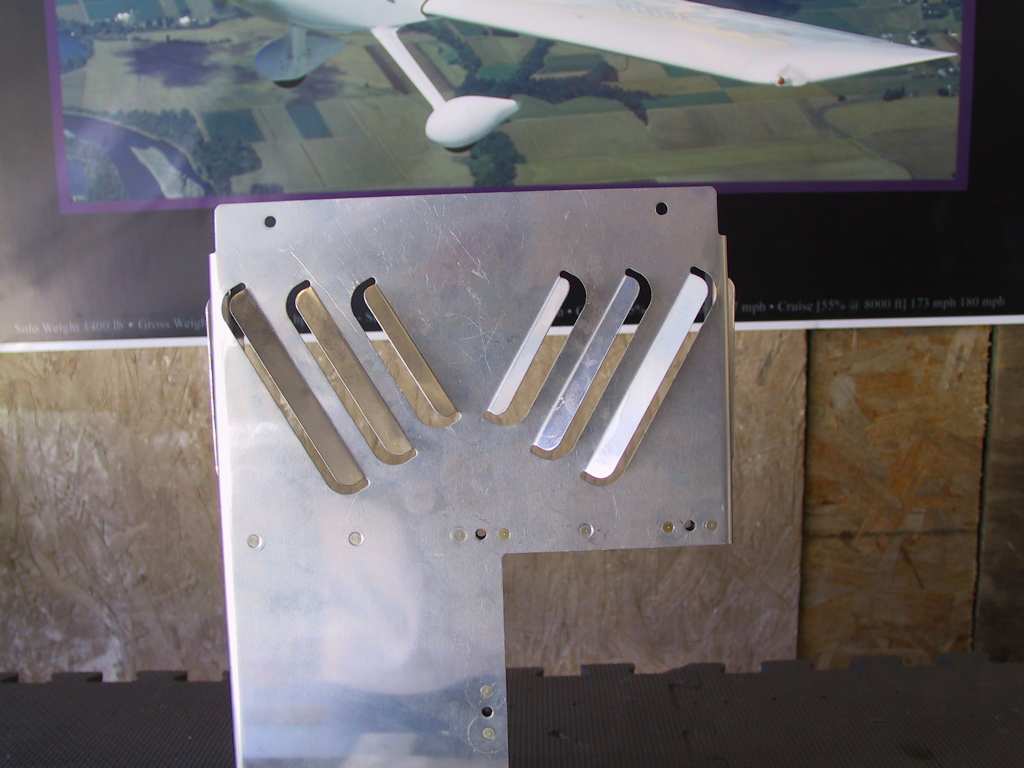
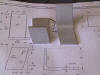
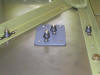
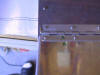
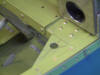
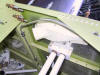
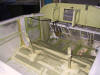
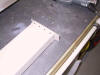
Today I fabricated a bunch more parts for the upper forward
fuselage assembly. To make the F-703B angle I drilled the radiuses on
the drill press as accurately as I can then marked the angles and careful
drilled them out on the band saw. Then you sit there for an hour and
sand until smooth. Why can't Vans make this part? Cheesh.
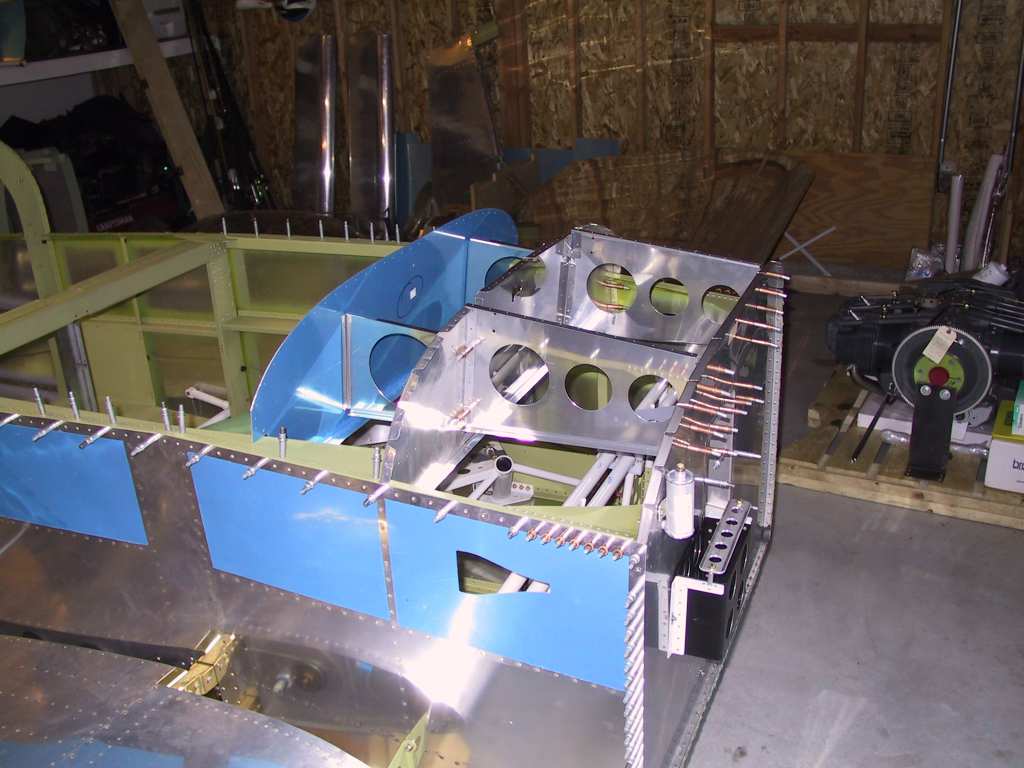
For grins and giggles and to see if everything fits, I clecoed the upper
forward fuselage assembly in place. I'm going to make my own panel but
I place the Vans supplied panel in to test. Everything is snug.
   |
| 5/4/04 |
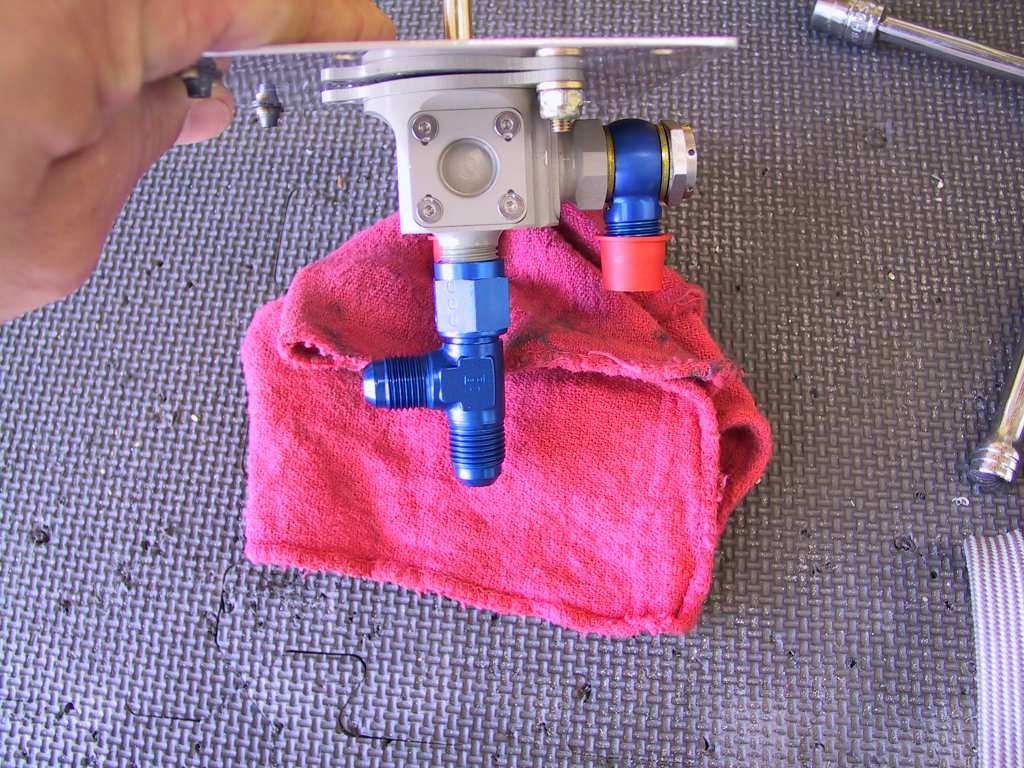
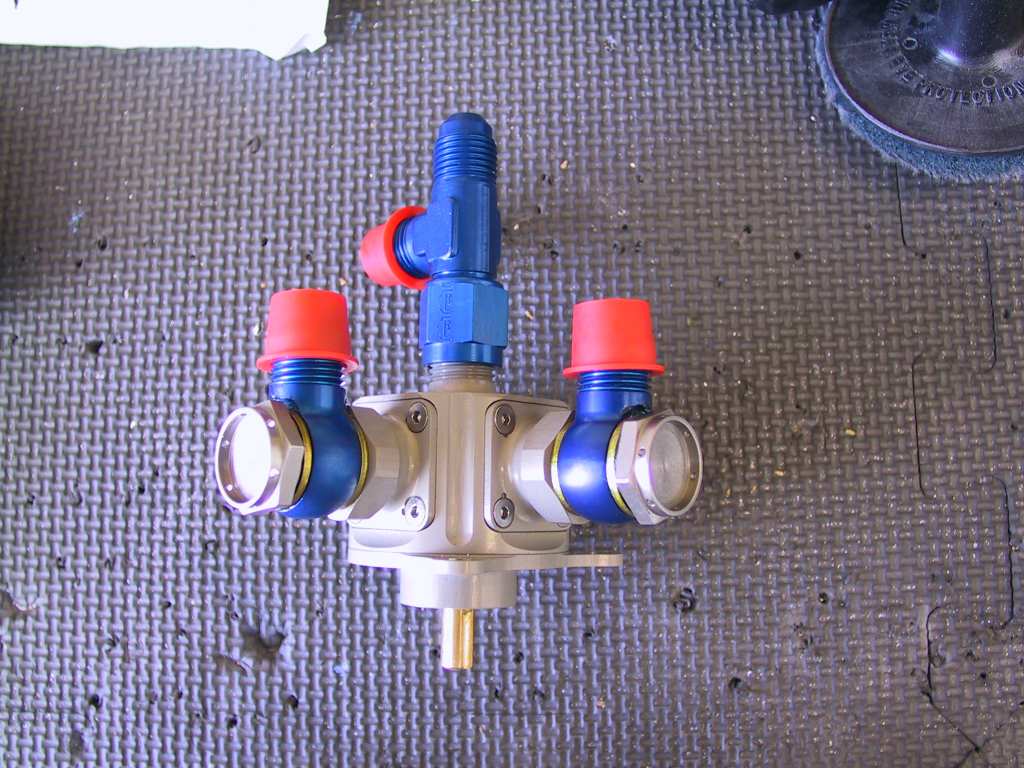
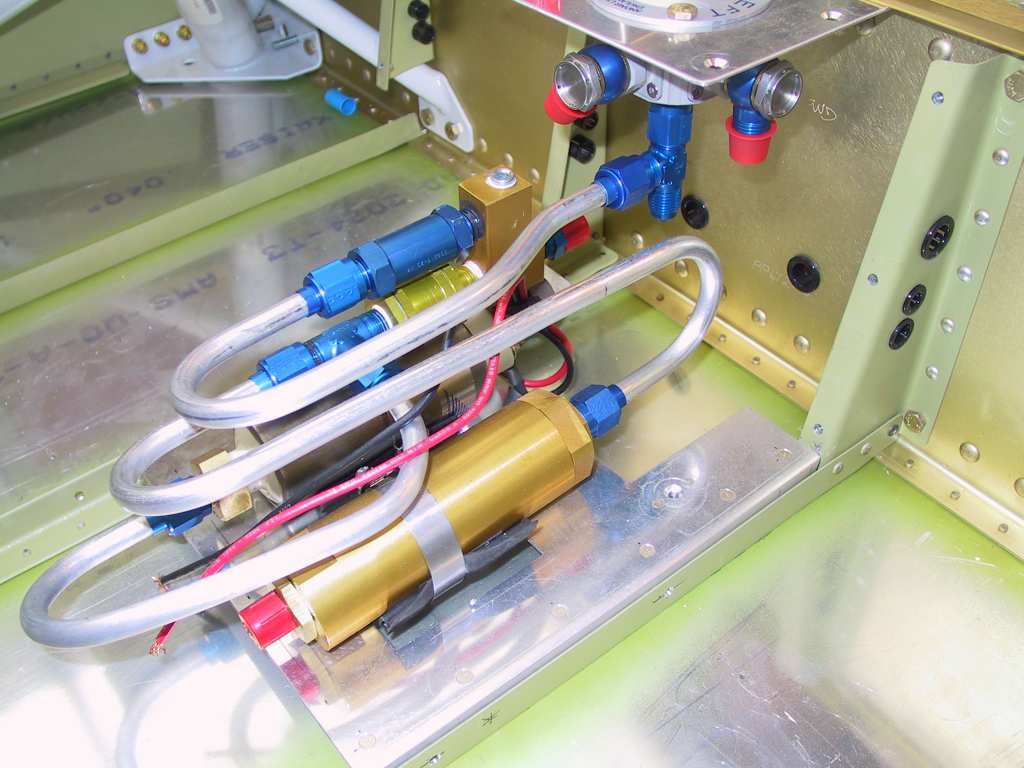
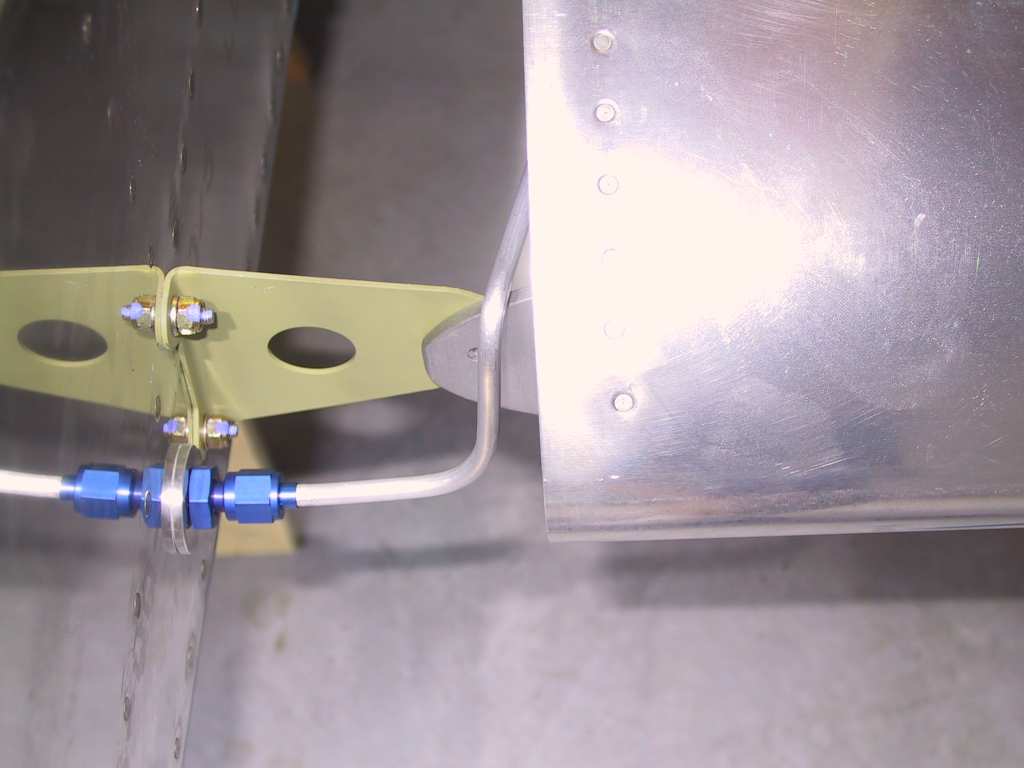
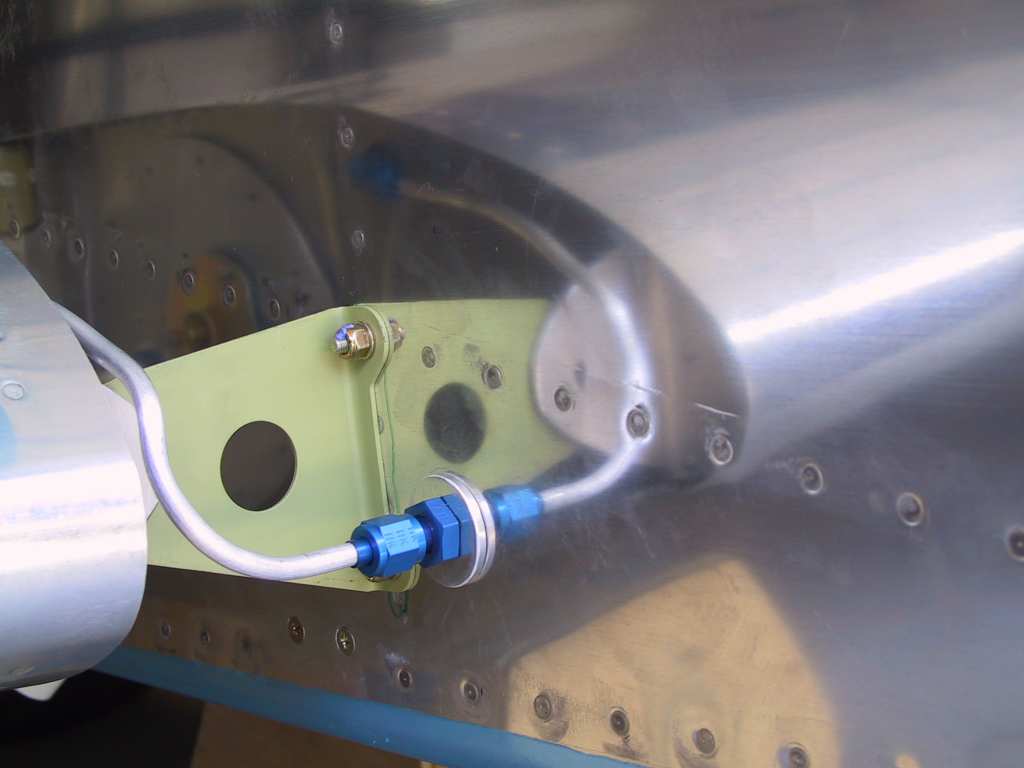
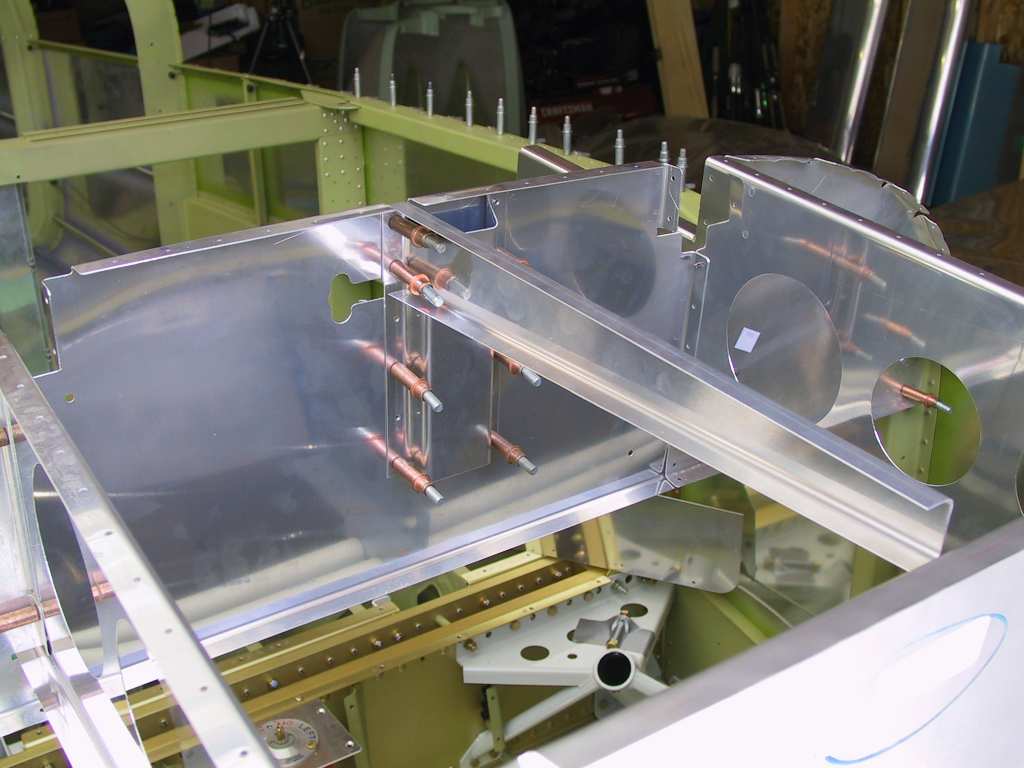
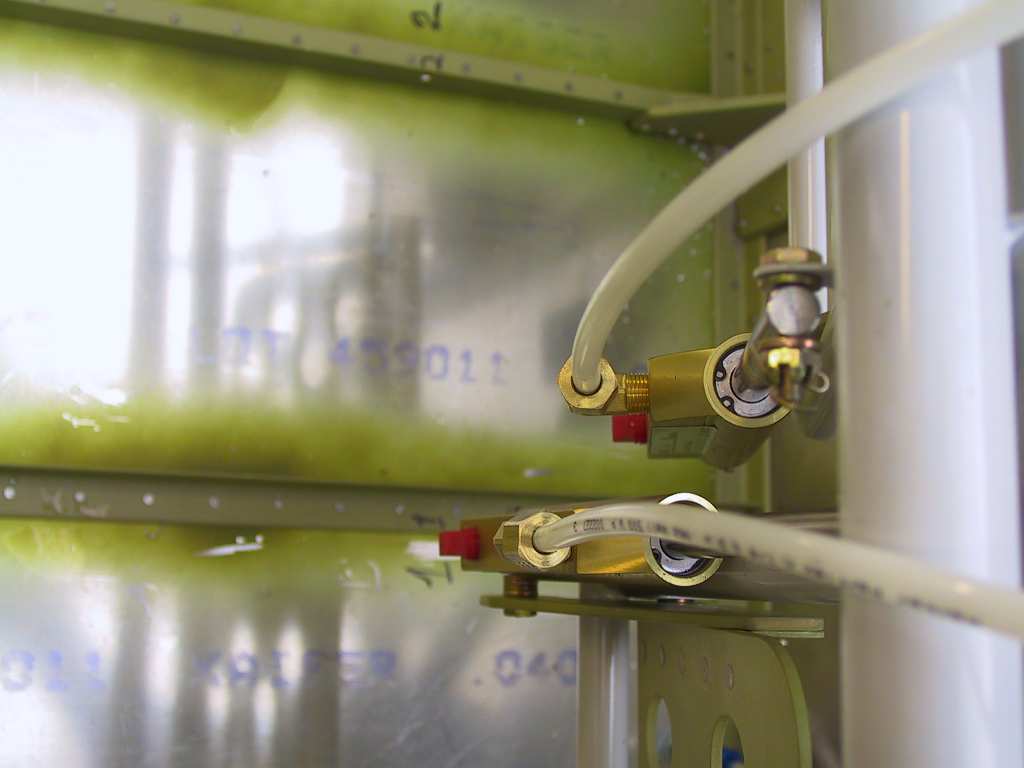
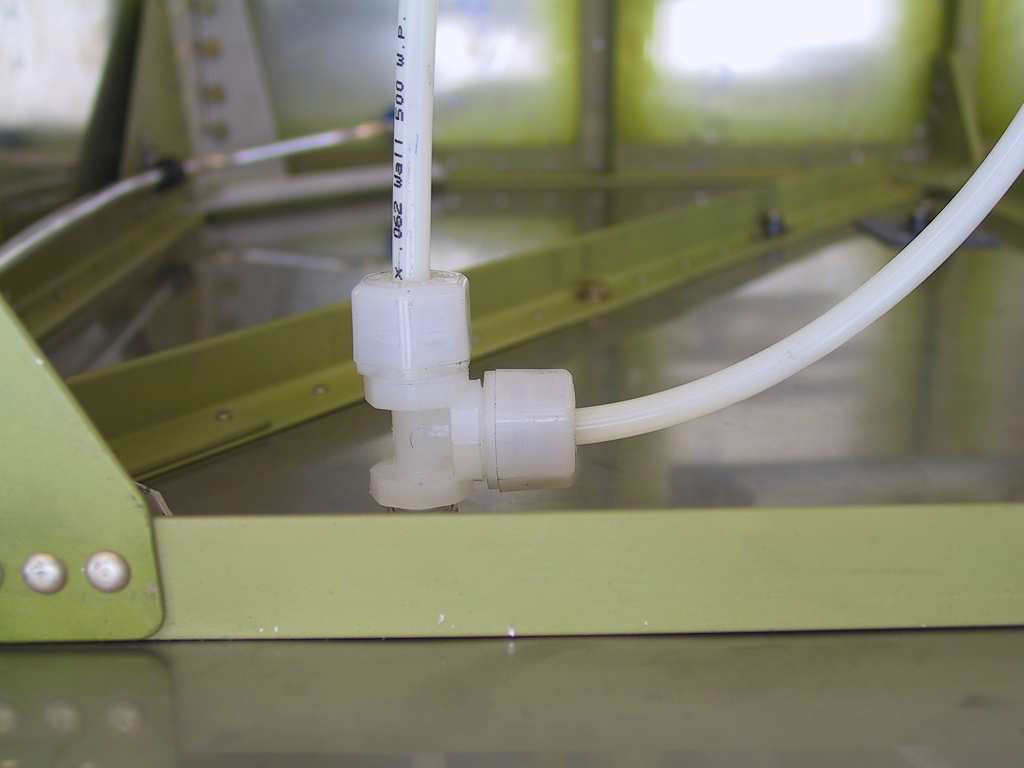
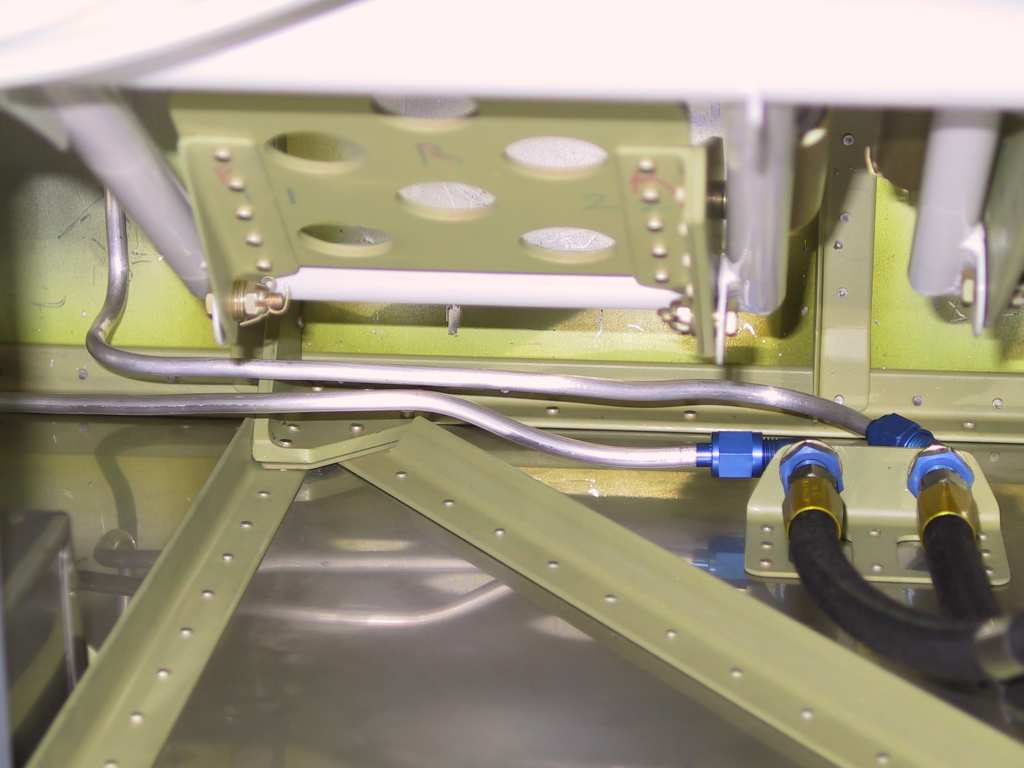
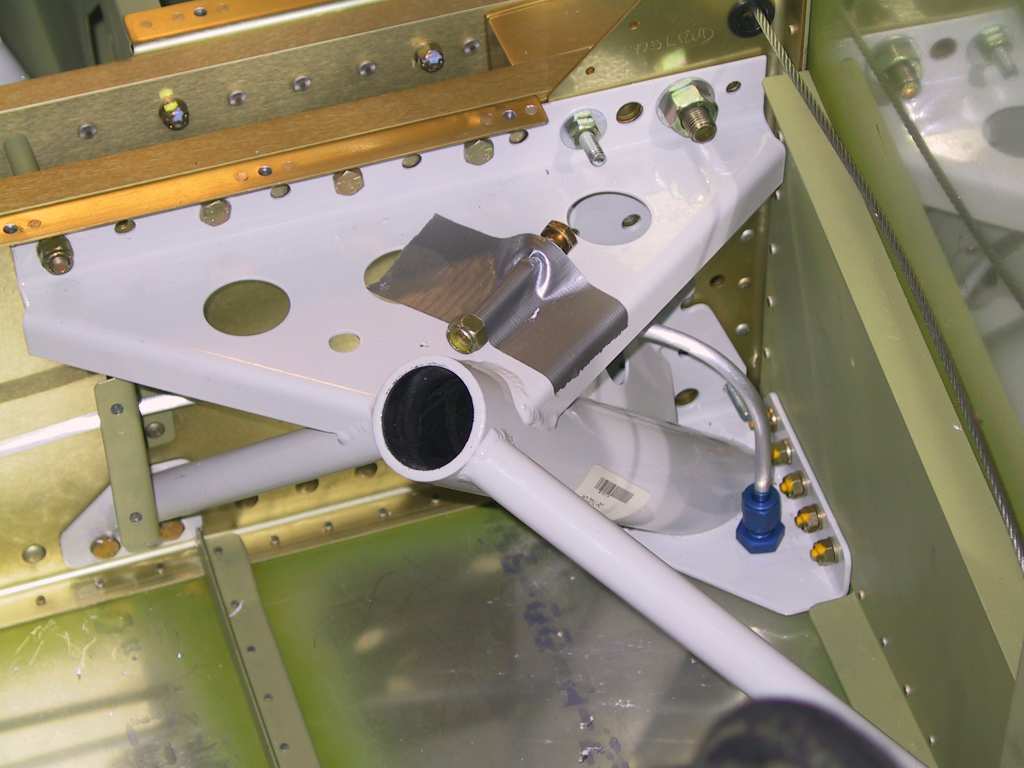
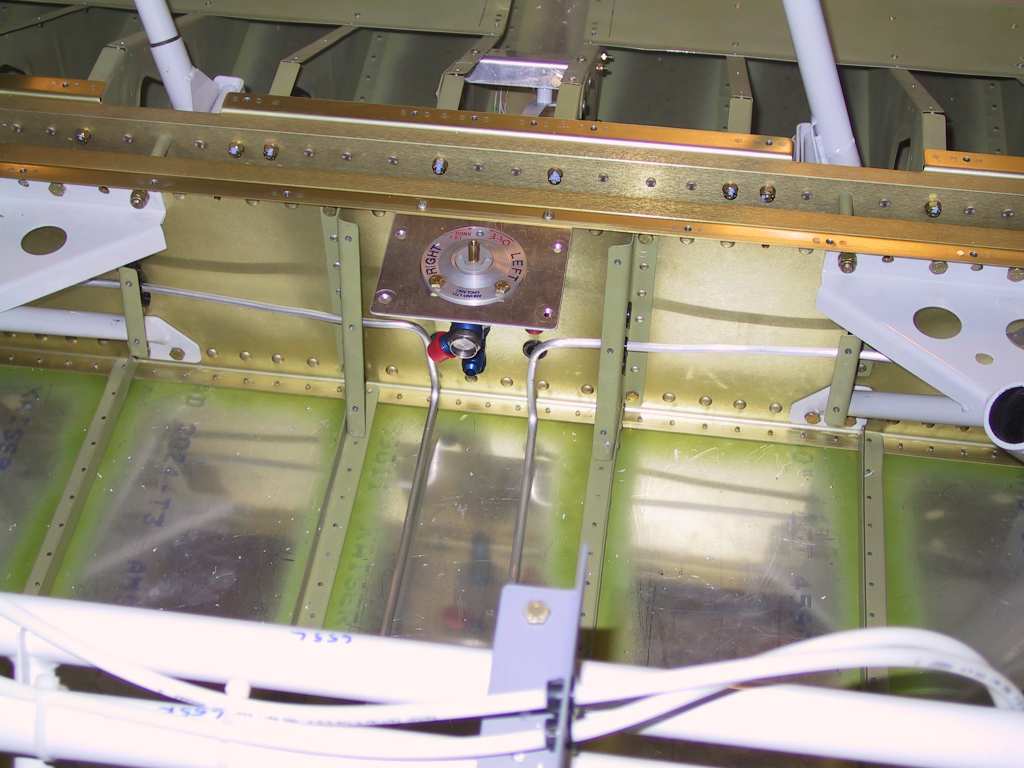
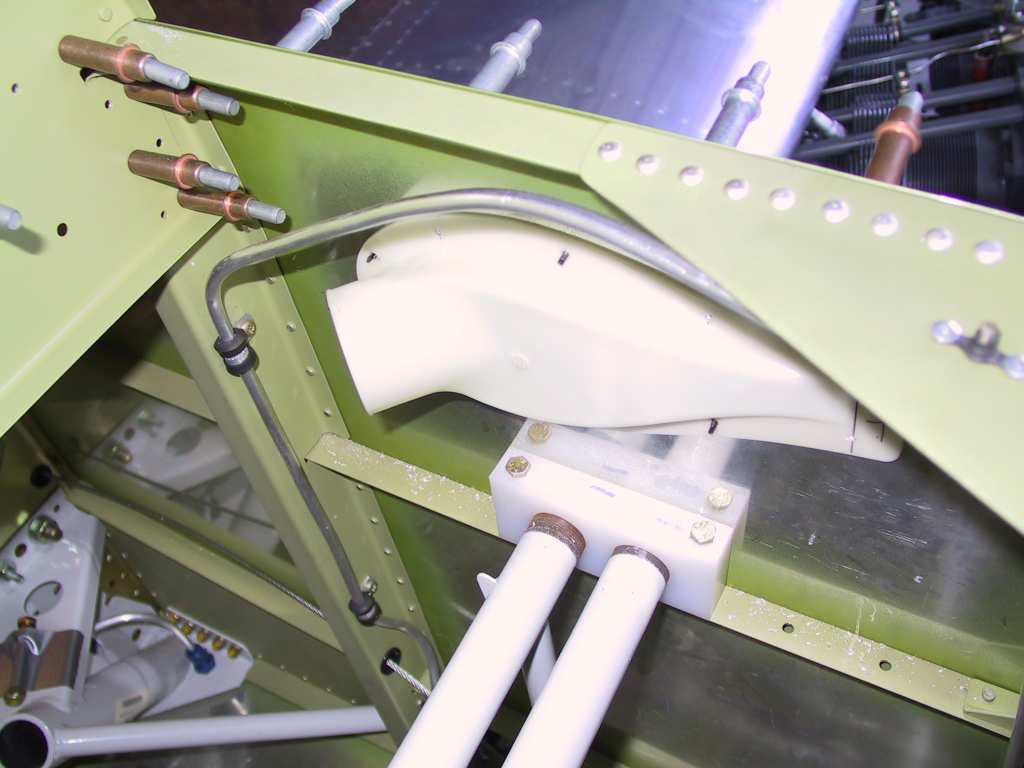
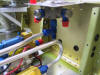
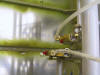
Trying to finish up the fuel vent lines and plumbing for the
high pressure fuel pump. Managed to get all the lines completed except
the lines from the tanks to the new Andair fuel valve. You'll also
notice that I had to get two banjo fittings in order for the lines to fit in
the enclosure. Also, you will have to get a single female and two male
'T' for the Andair fuel valve.
 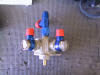  
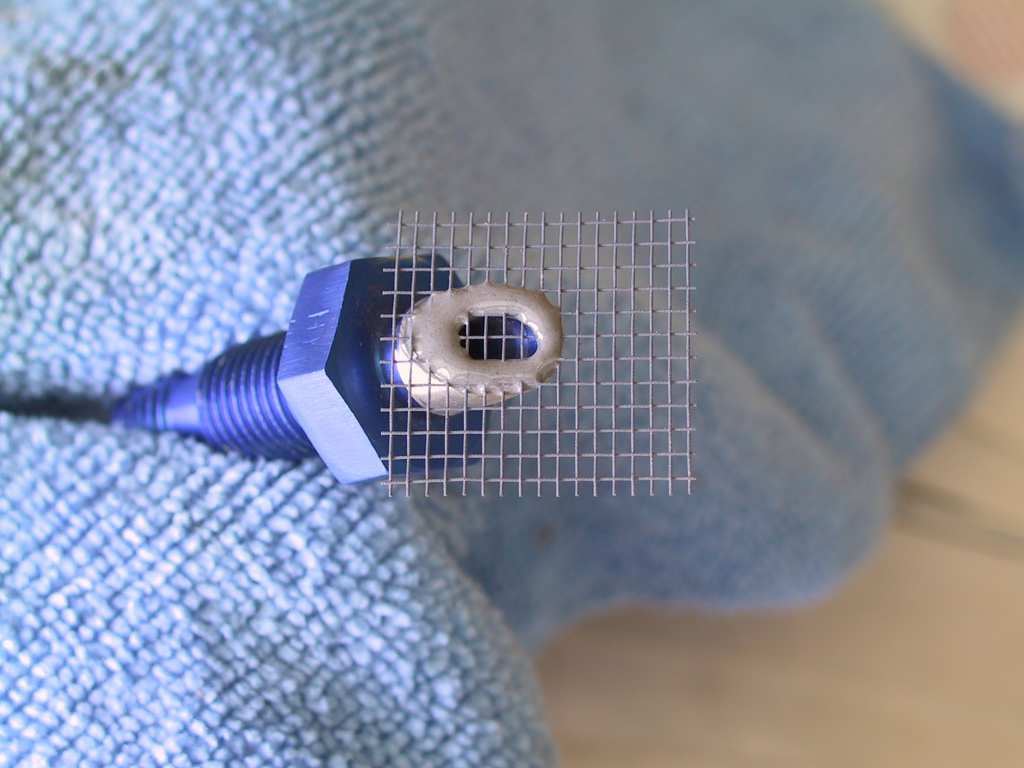
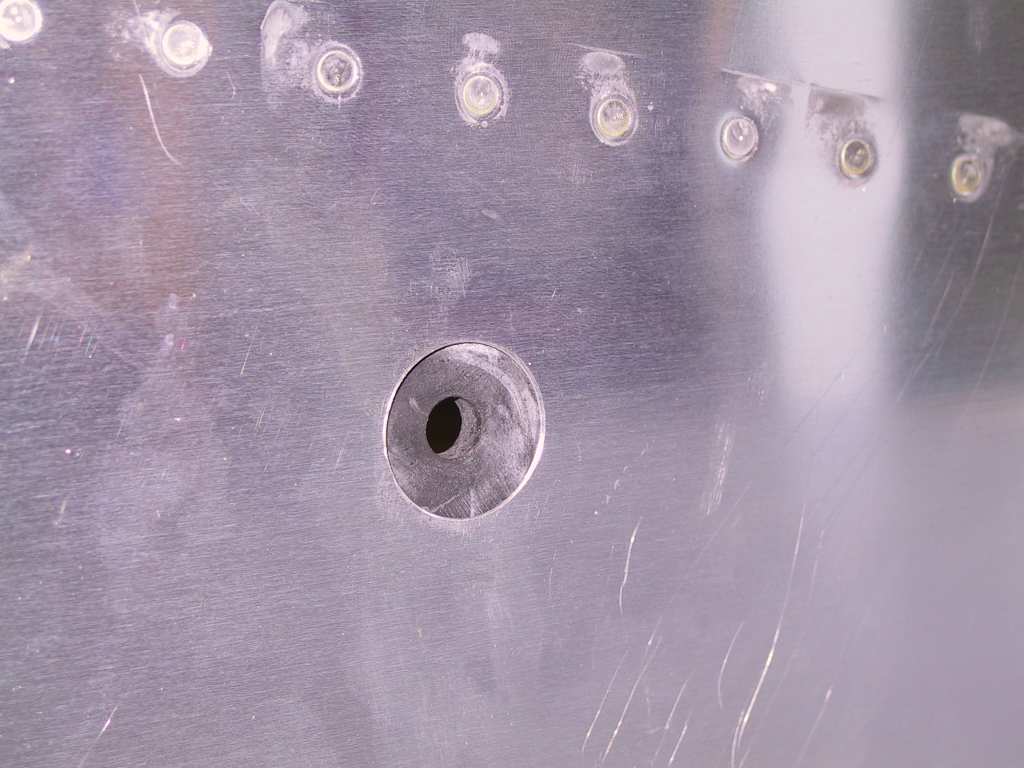
I used JB weld when placing the screen on the fuel vent openings.
   |
| 5/5/04 |
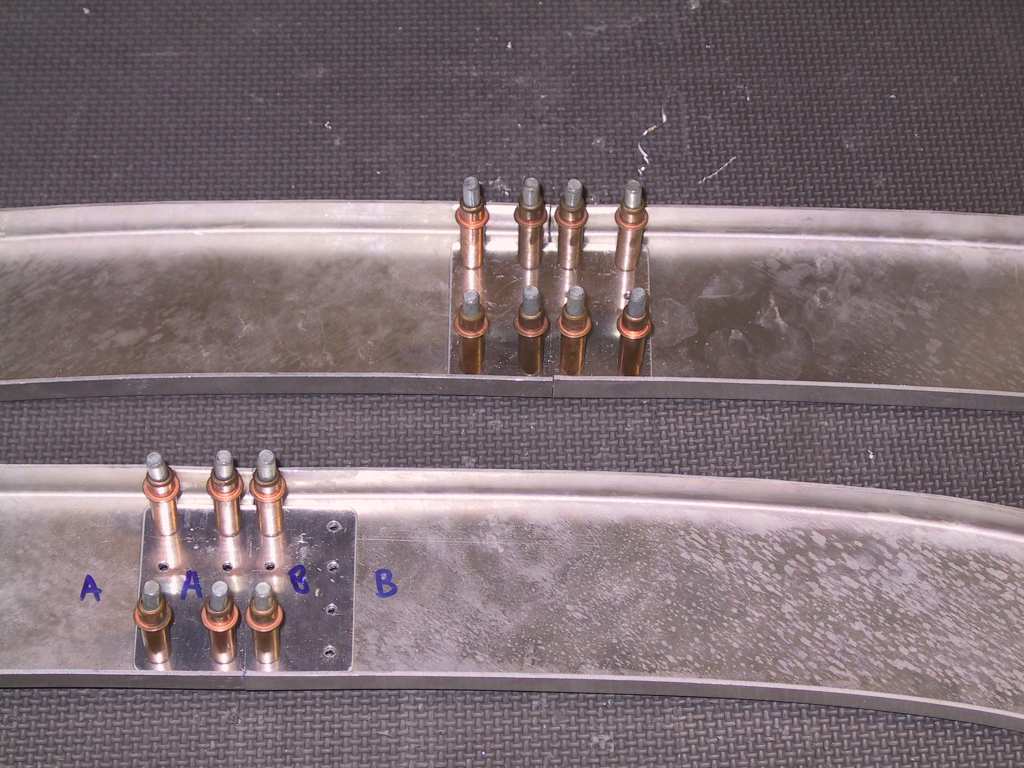
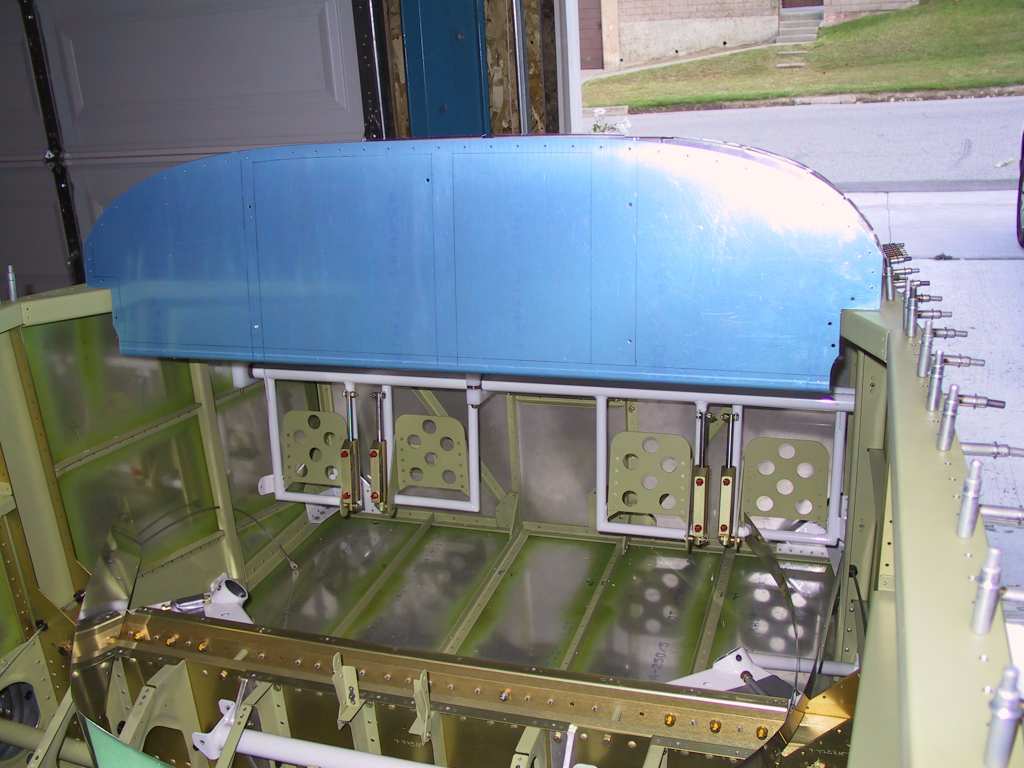
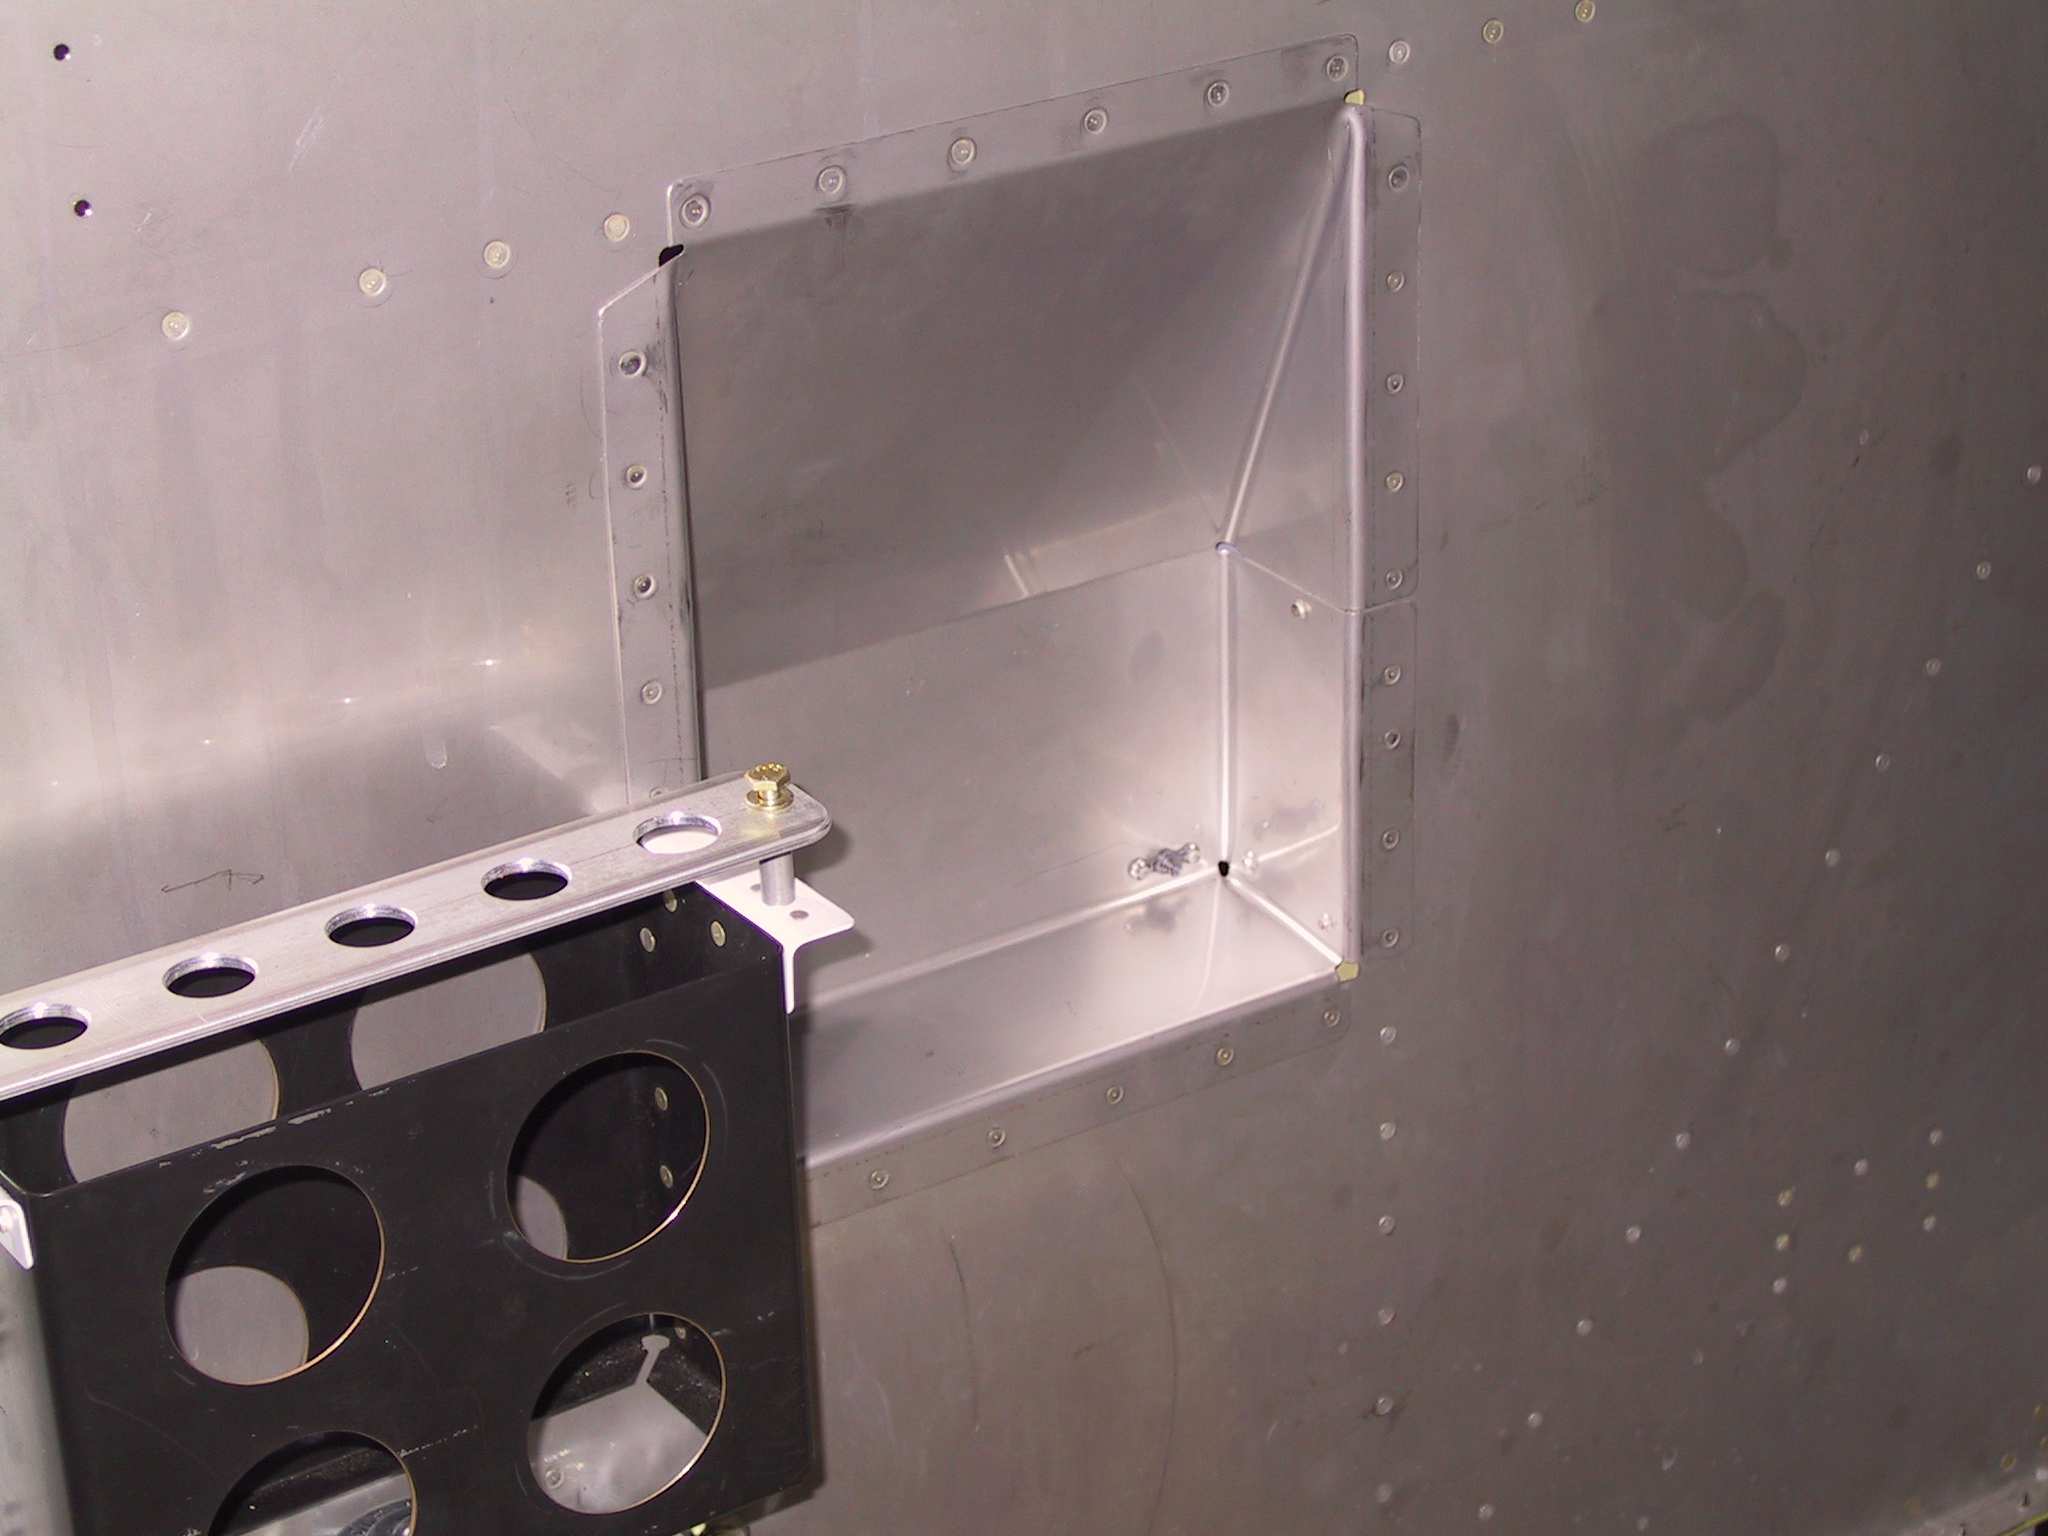
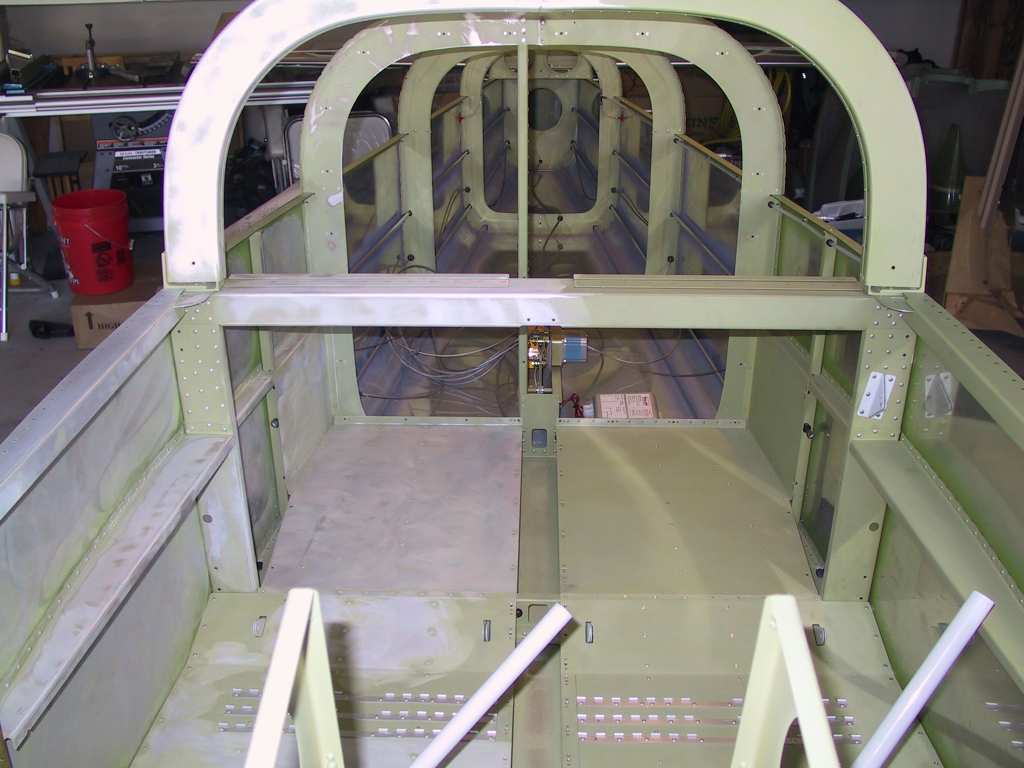
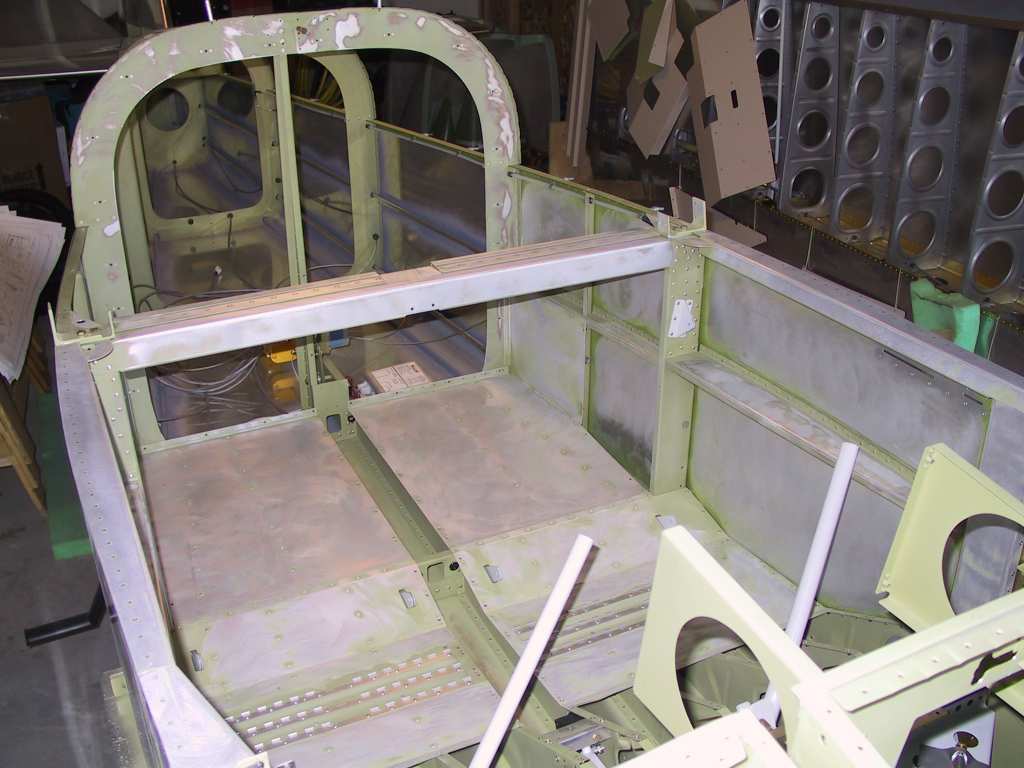
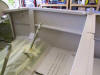
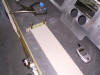
Went ahead and test fit the forward upper cockpit assembly.
I've got a little here. Seems I may have mounted things on the
Longeron 1/8 in. too far forward. There's a fit conflict. I've
got to call Vans about this.
When mounting the bracket that supports the seal, you're supposed to
mount it 1/8 in. lower and these small brackets should also match the
contour. I attached some angle to the face to make sure the whole
thing was straight before clamping and drilling.
|
| 5/6/04 |
Decided to futz around with the electric aileron trim.
Pretty simple stuff.
   |
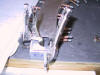
| 5/7/04 |
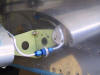
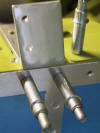
Well I will tell you that mounting this servo motor is a
pain in the ass. Even my small angle drill head had a problem. I
finally just man-handled the bit into place and drilled it. What a
pain getting my fat fingers in there to put the screws and nuts on.
God, I hope I never have to take this off.
 |
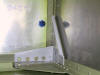
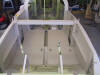
| 5/8/04 |
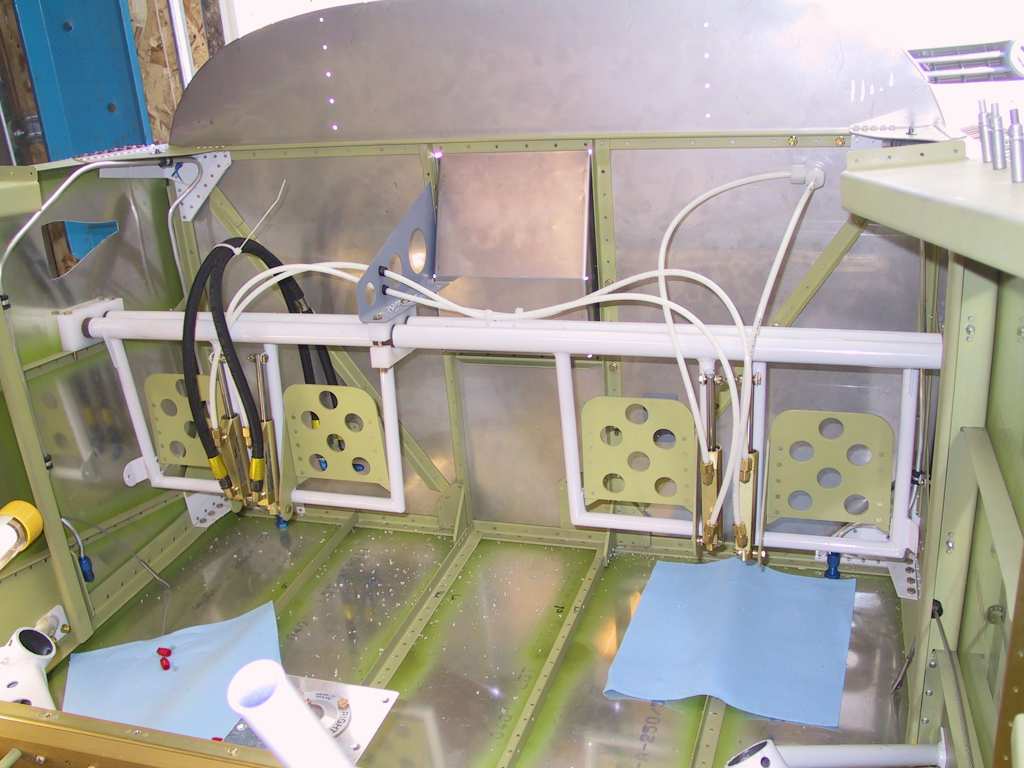
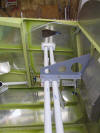
Time to get the control rods installed and test fit.
What a major pain trying to get all those nuts washers and bolts in place.
I've been using the dental floss method. Works well but my fat hands
are cramping up. Everything fits well. Had to change the number
and layout of the washers to make everything perfect.
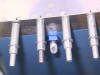
Mounted the starter solenoid and battery contactor. Simple stuff.
Decided that while I was having such a good time I would get all the
brake lines in place. This is a huge no brainer. Just follow the
plans. Had to search for some of the parts which were hiding in the
finish kit. And since I've never inventoried any of this stuff, well
you get the picture. I placed the paper down on the floor because I
wasn't sure if the master cylinders had brake juice in them. They
didn't. A huge waste of paper.
   |
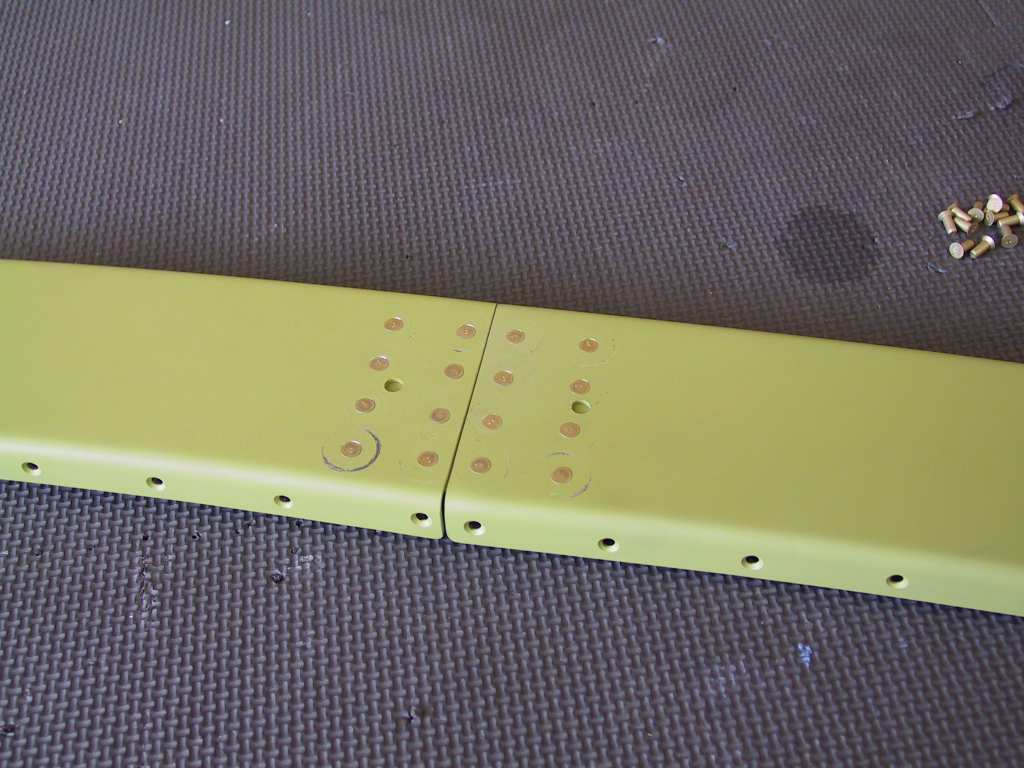
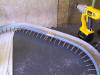
| 5/9/04 |
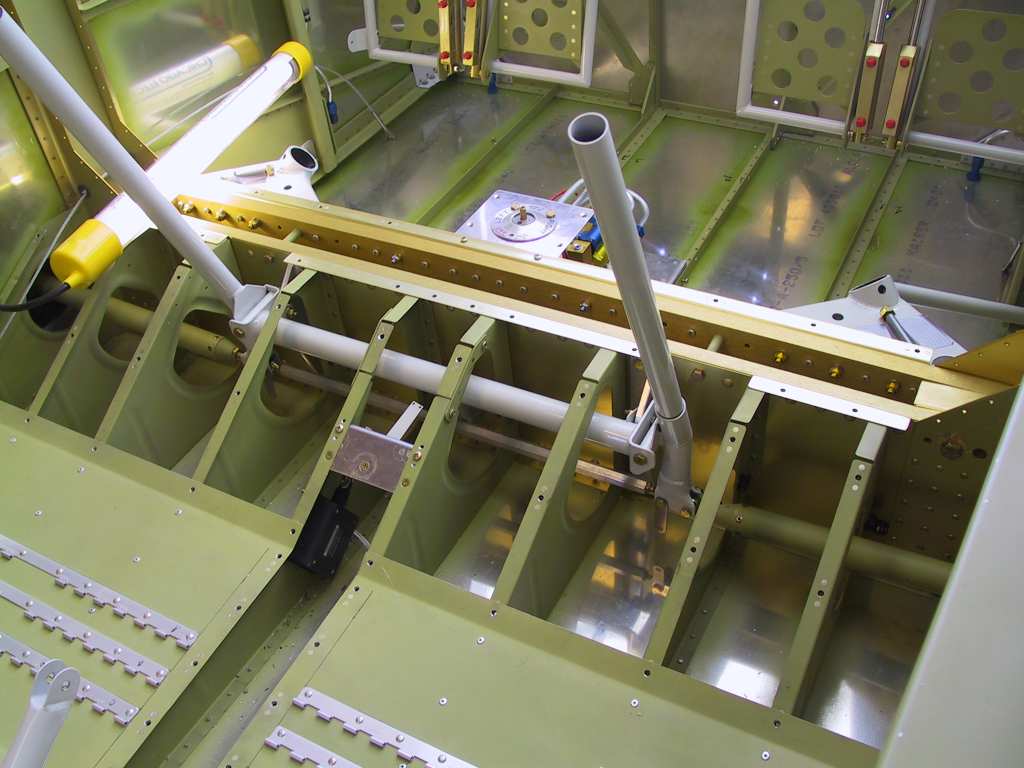
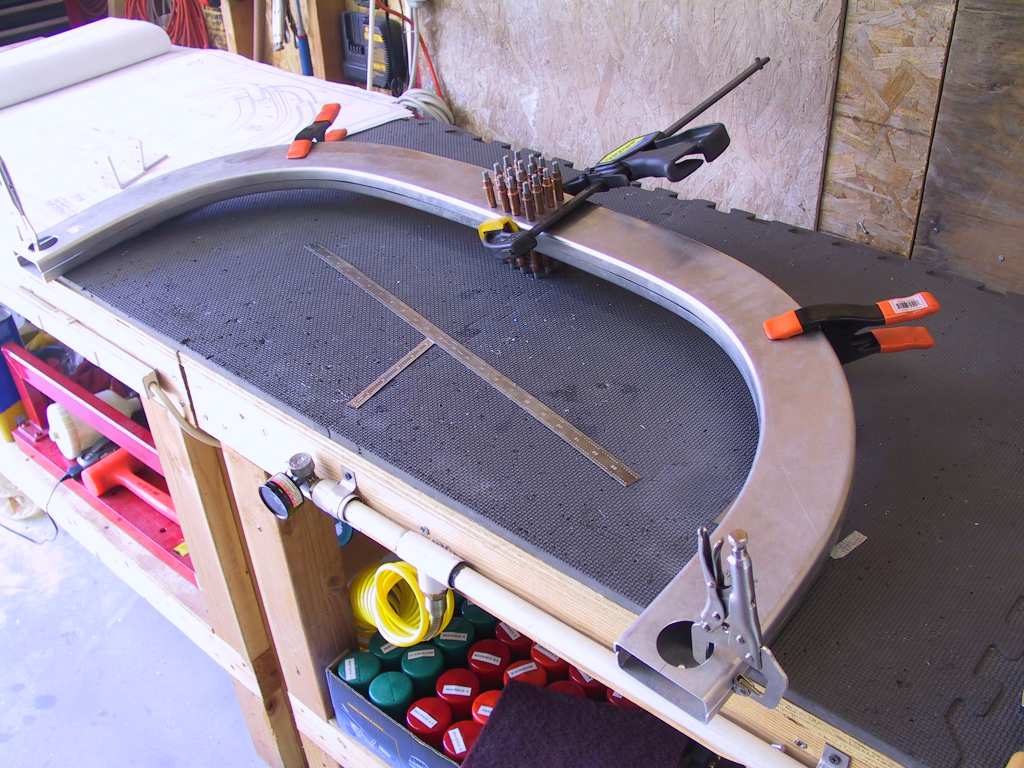
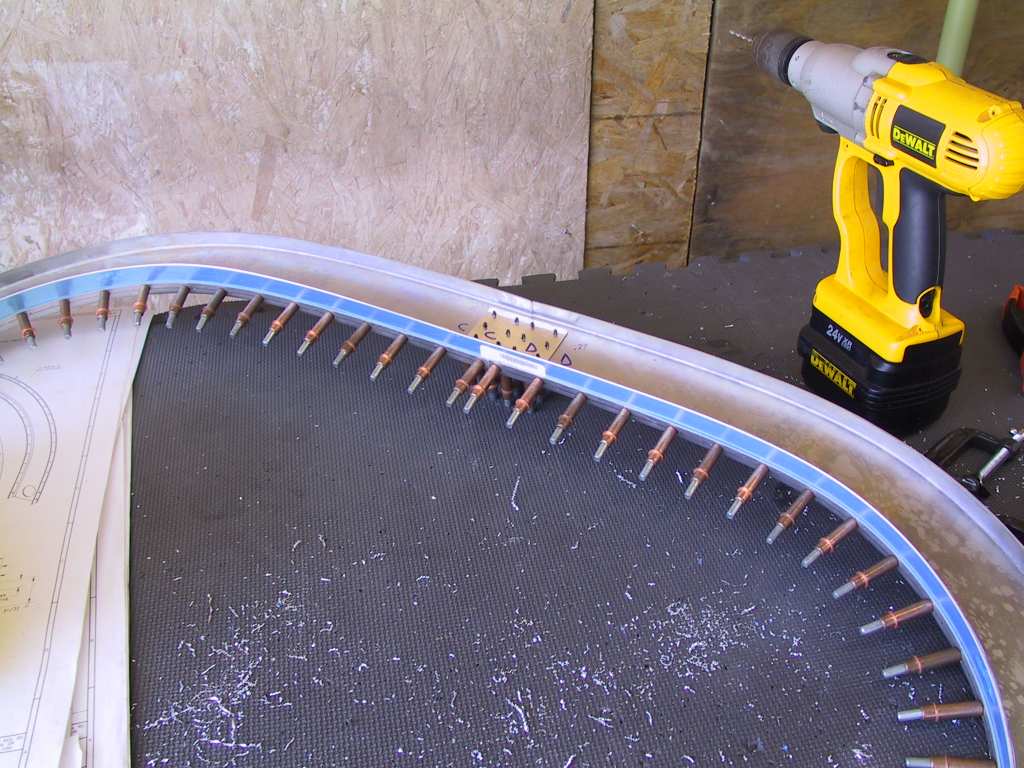
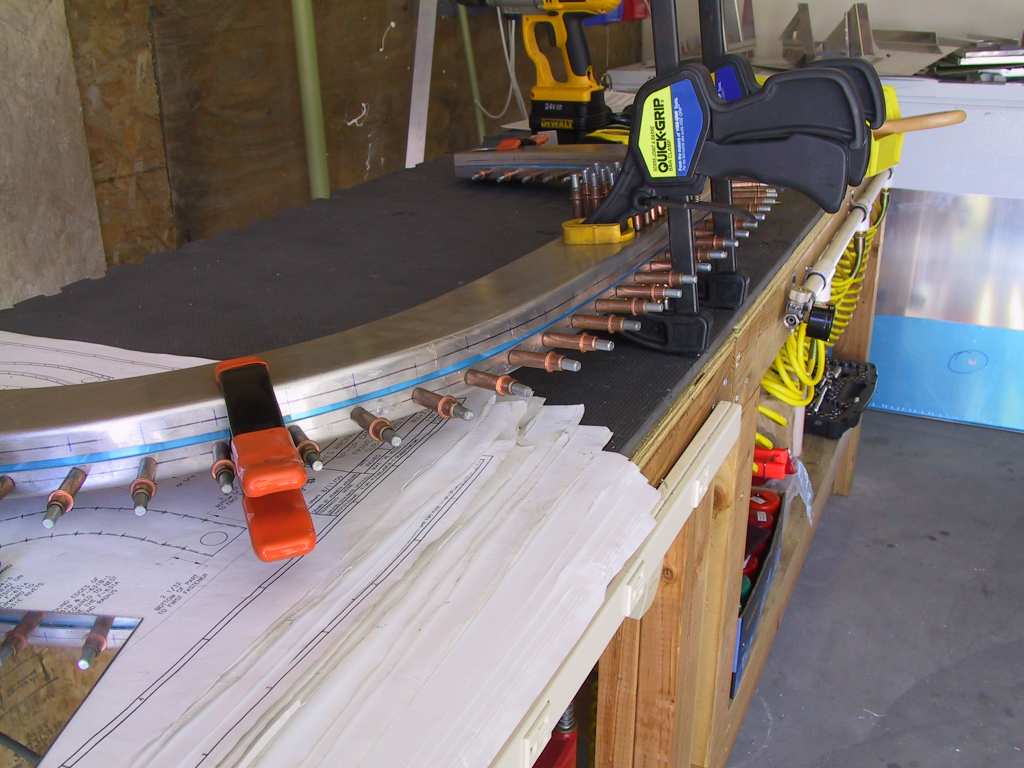
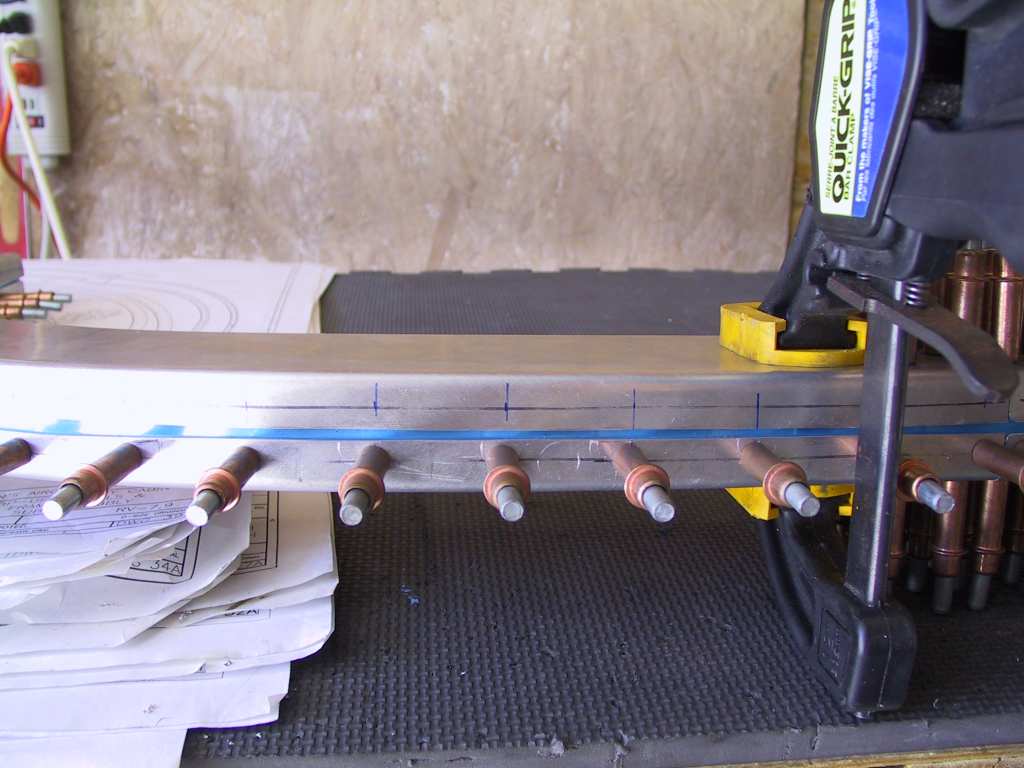
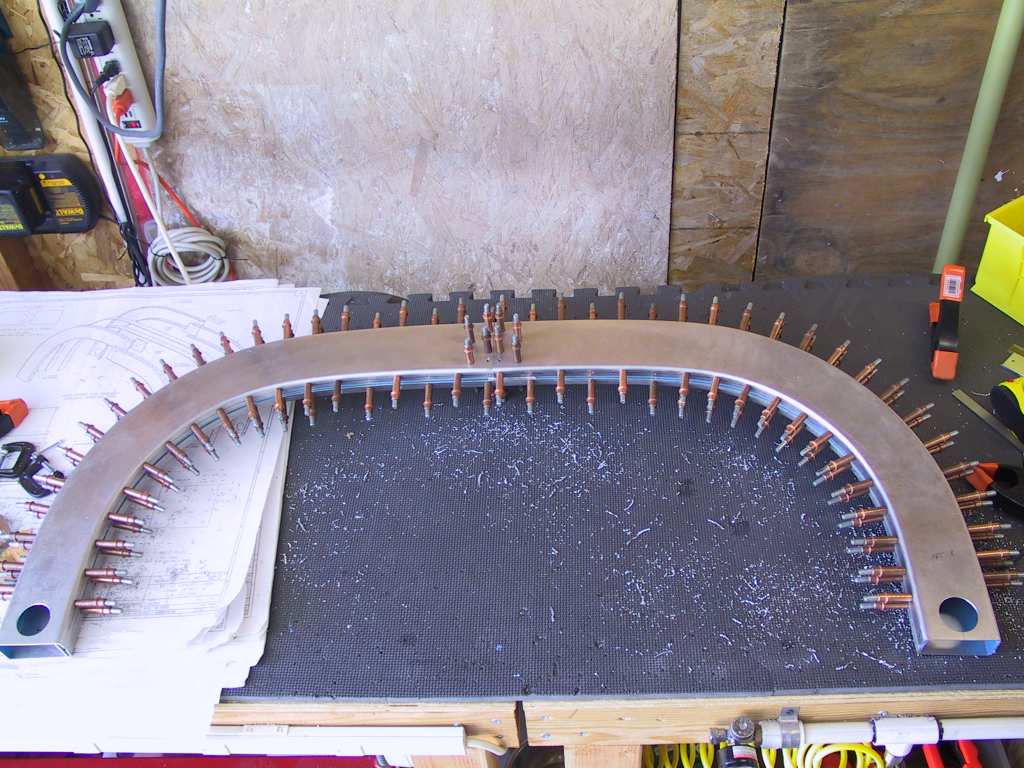
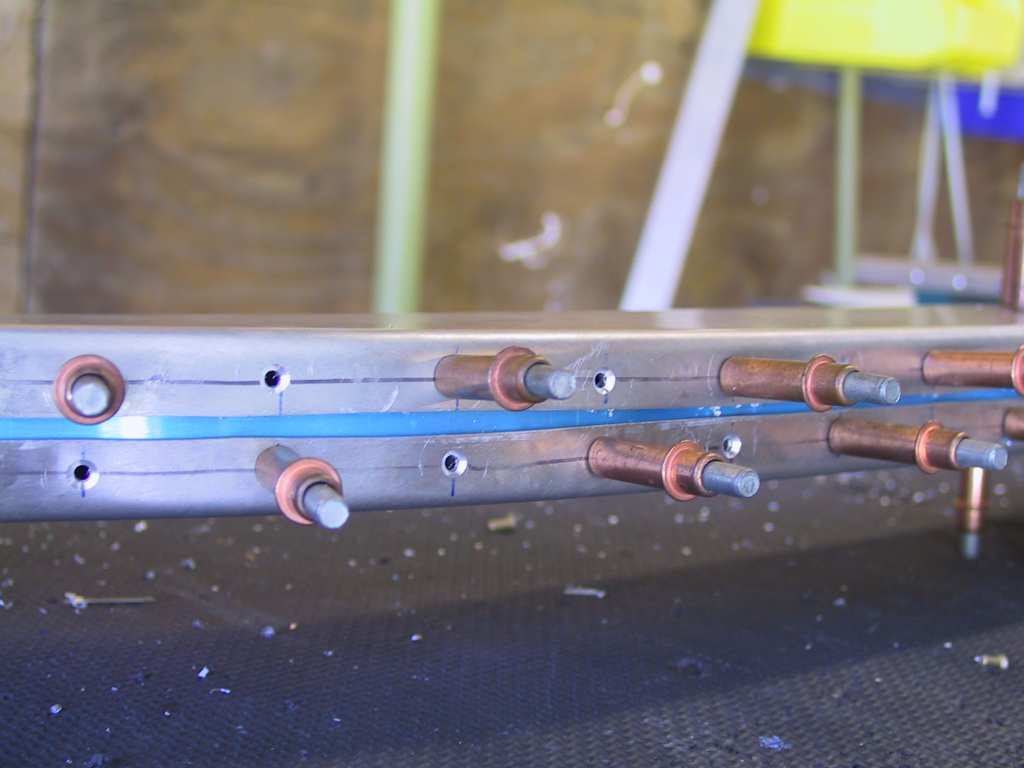
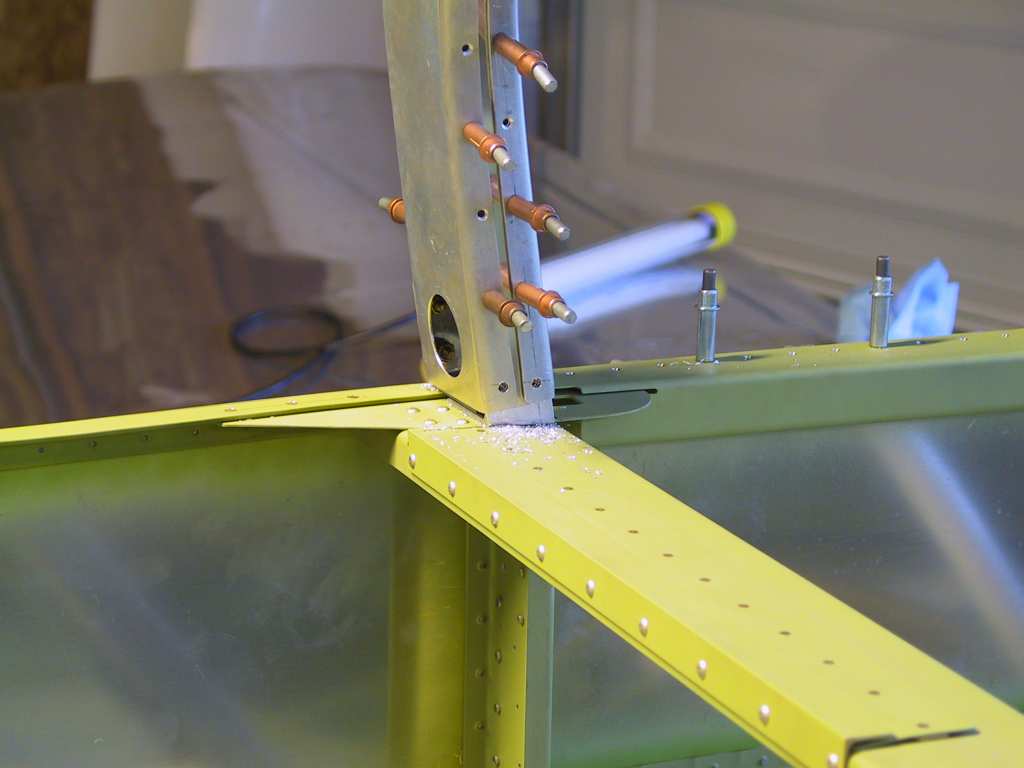
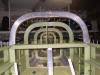
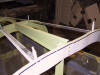
Ok, time to get this roll bar out of the way at least
partway. This thing is a royal pain, time consumer. I'm sick of
working on this part. First I measured incorrectly the width of my
fuselage. You MUST take into consideration the with, INCLUDING the
skins. I cut both the front and rear halves too short.
Fortunately, Vans had sent me six of the parts!!! In luck. Part
of the time is spent laying out where the holes will be drilled. I
just used the maximum 1.5 inches and it worked out perfectly. Get some
more clamps cuz you're gonna need them. And watch out when you do the
larger inside band. It WILL try to move up out of the vertex.
You need to use a lot of force to keep it down. No drill every hole
and countersink when everything is clecoed together. Here's a HUGE
TIP!!! Use a small sized microstop countersink, the one with a narrow
head. In this way you only have to change the depth about 4 to 6
thousandths between the flats and the corners. Look at if from a
geometry (math) perspective. It definitely works better.
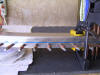   |
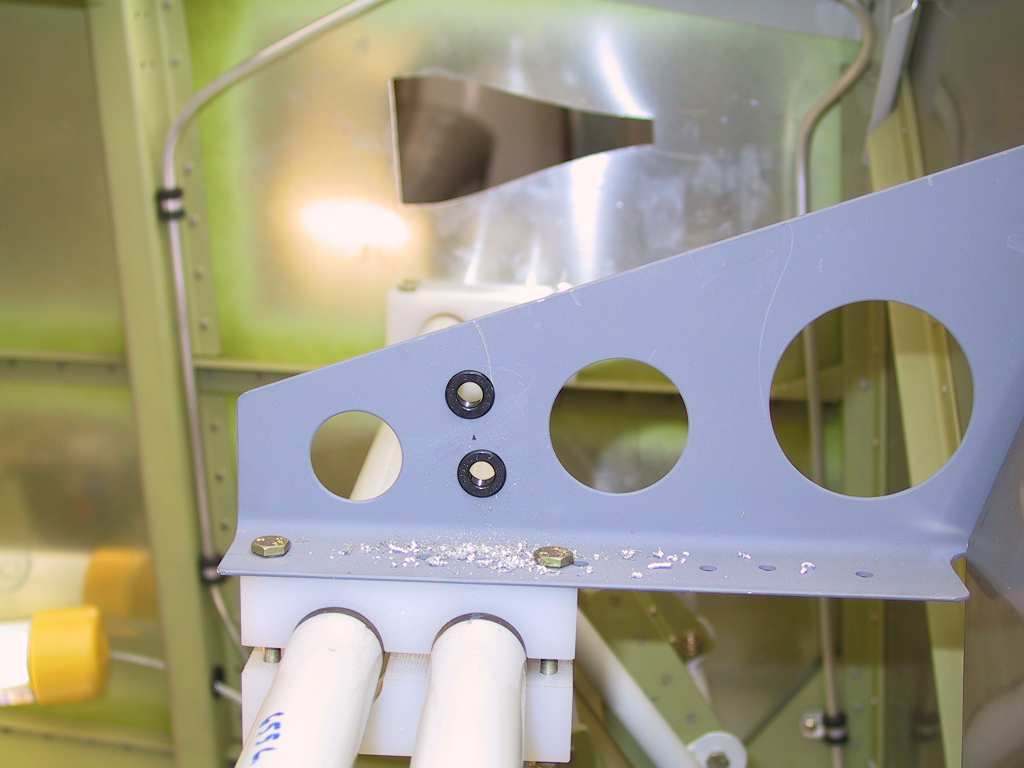
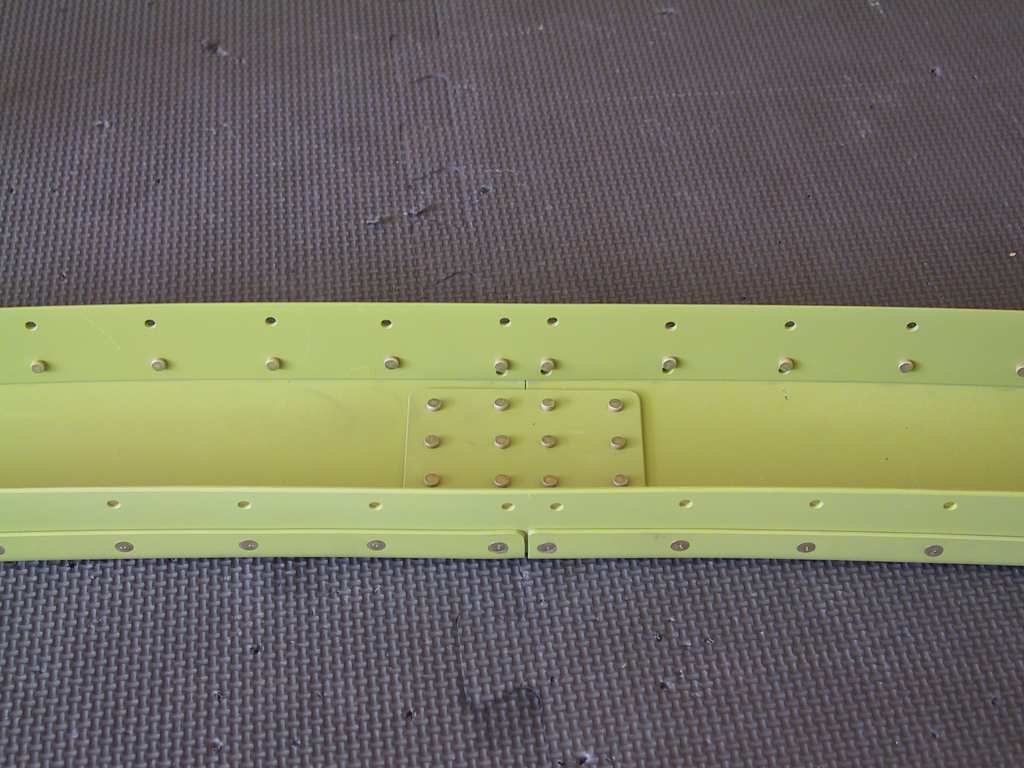
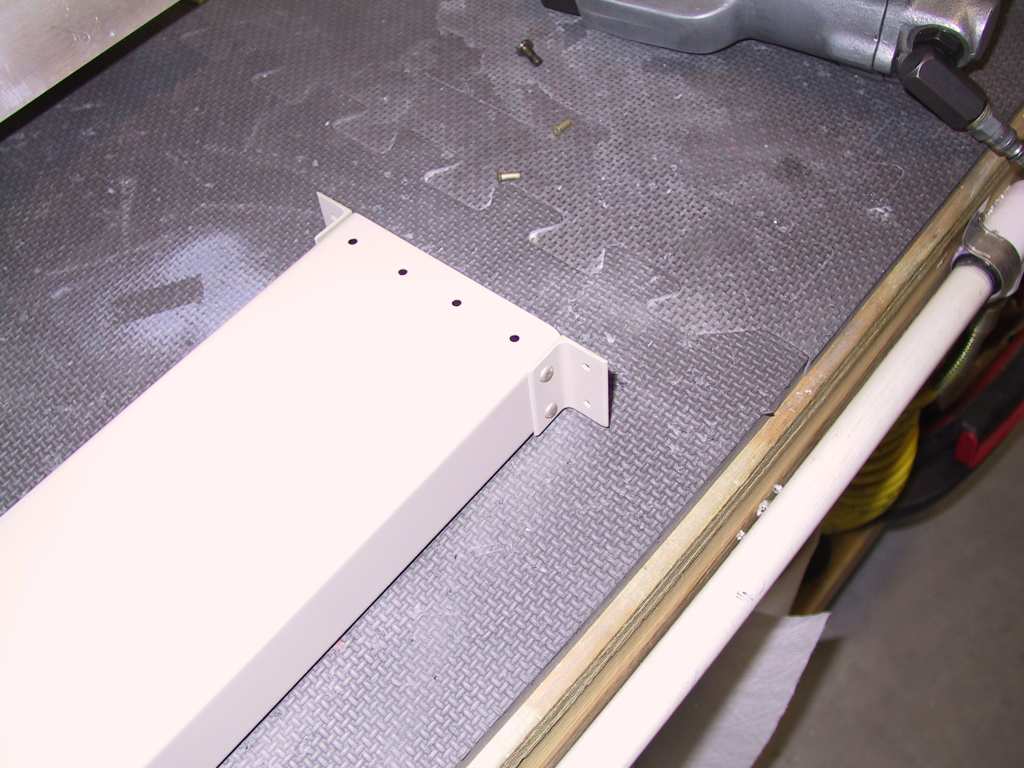
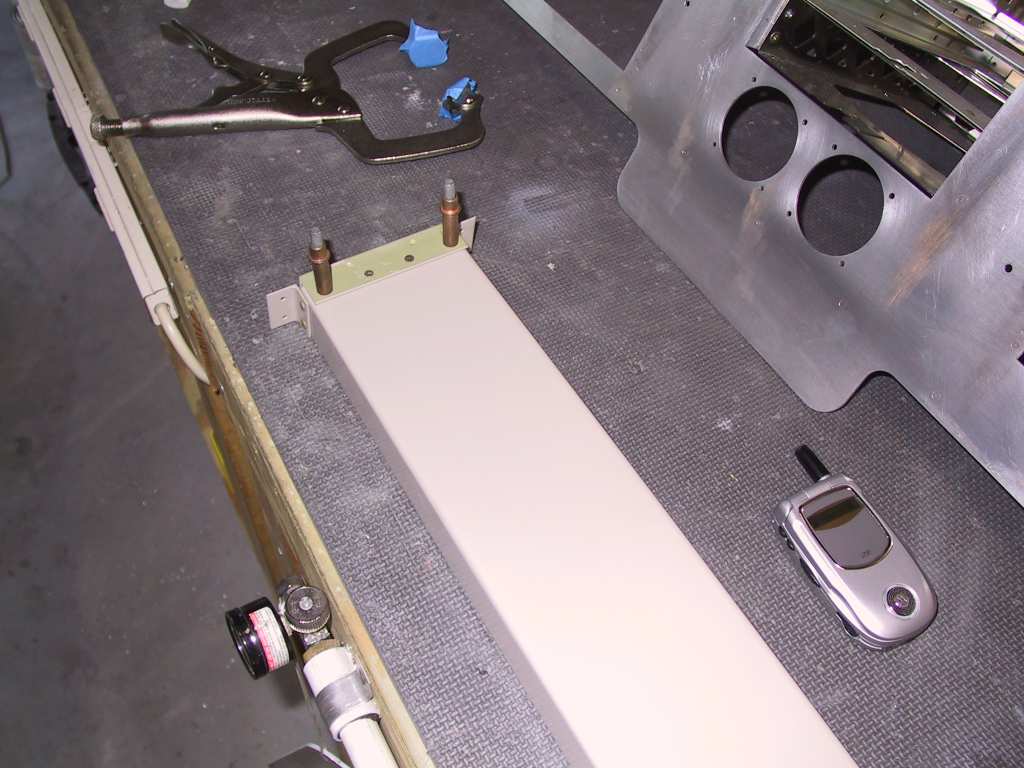
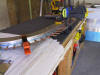
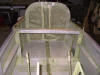
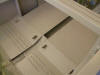
| 5/10/04 |
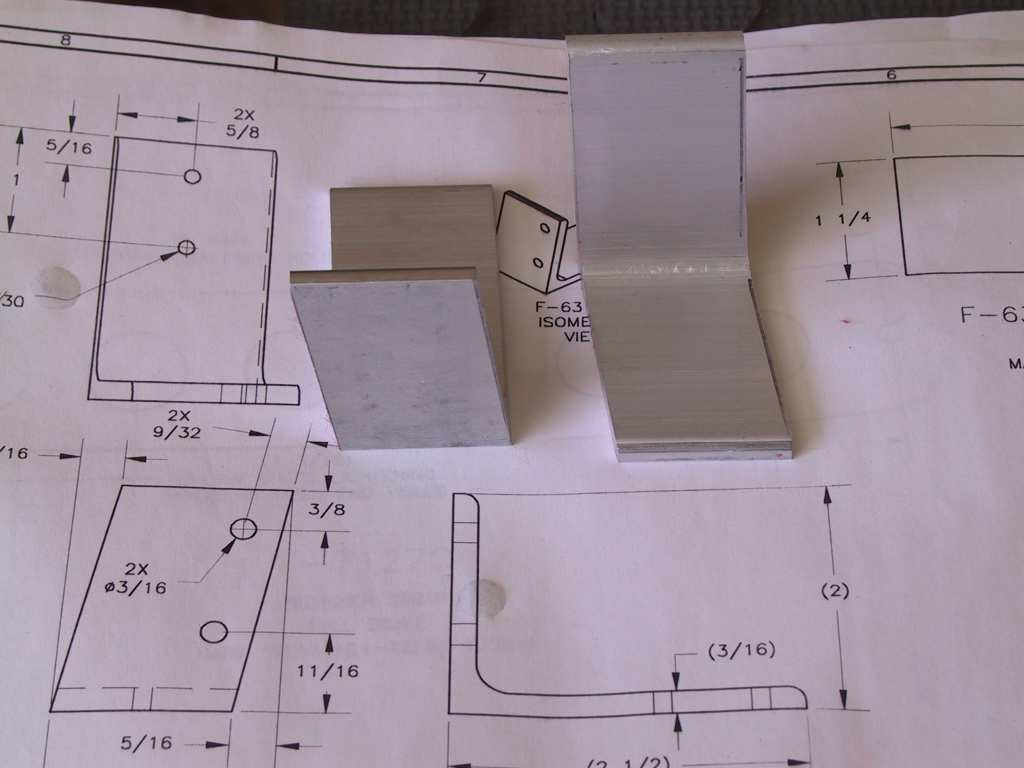
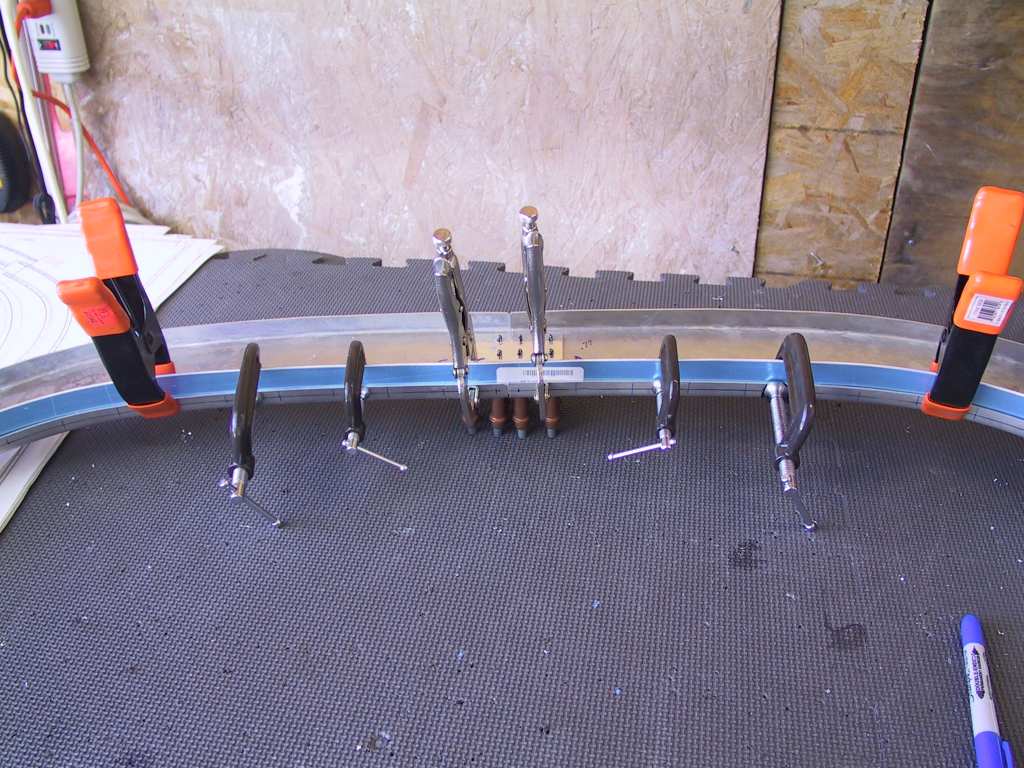
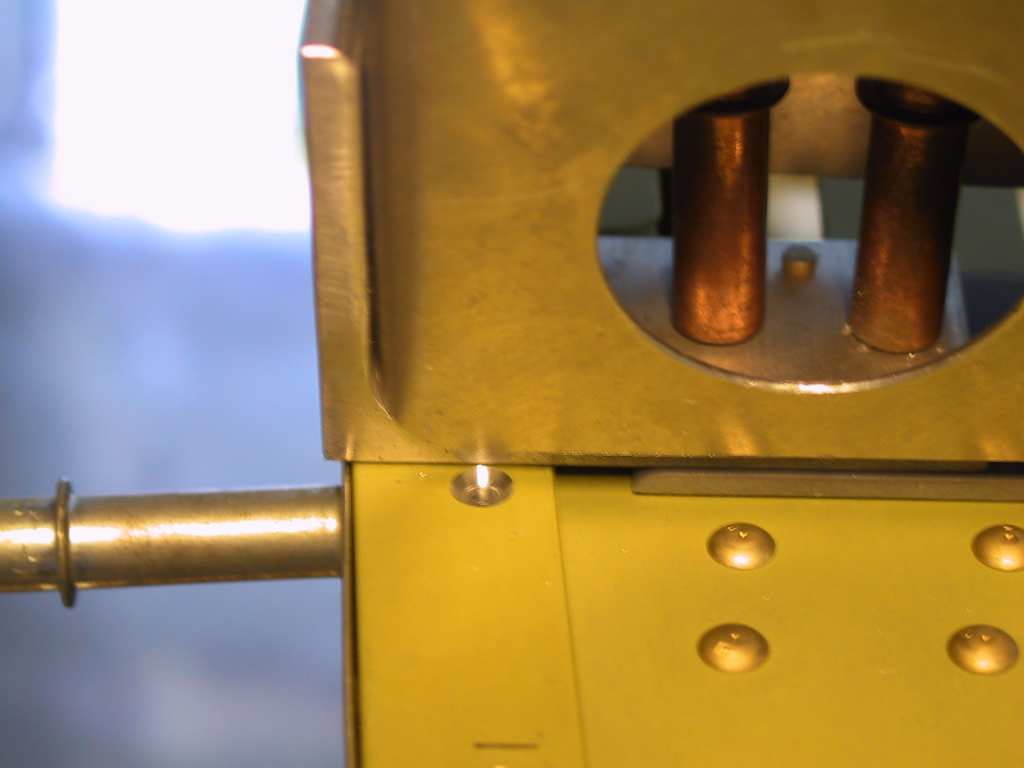
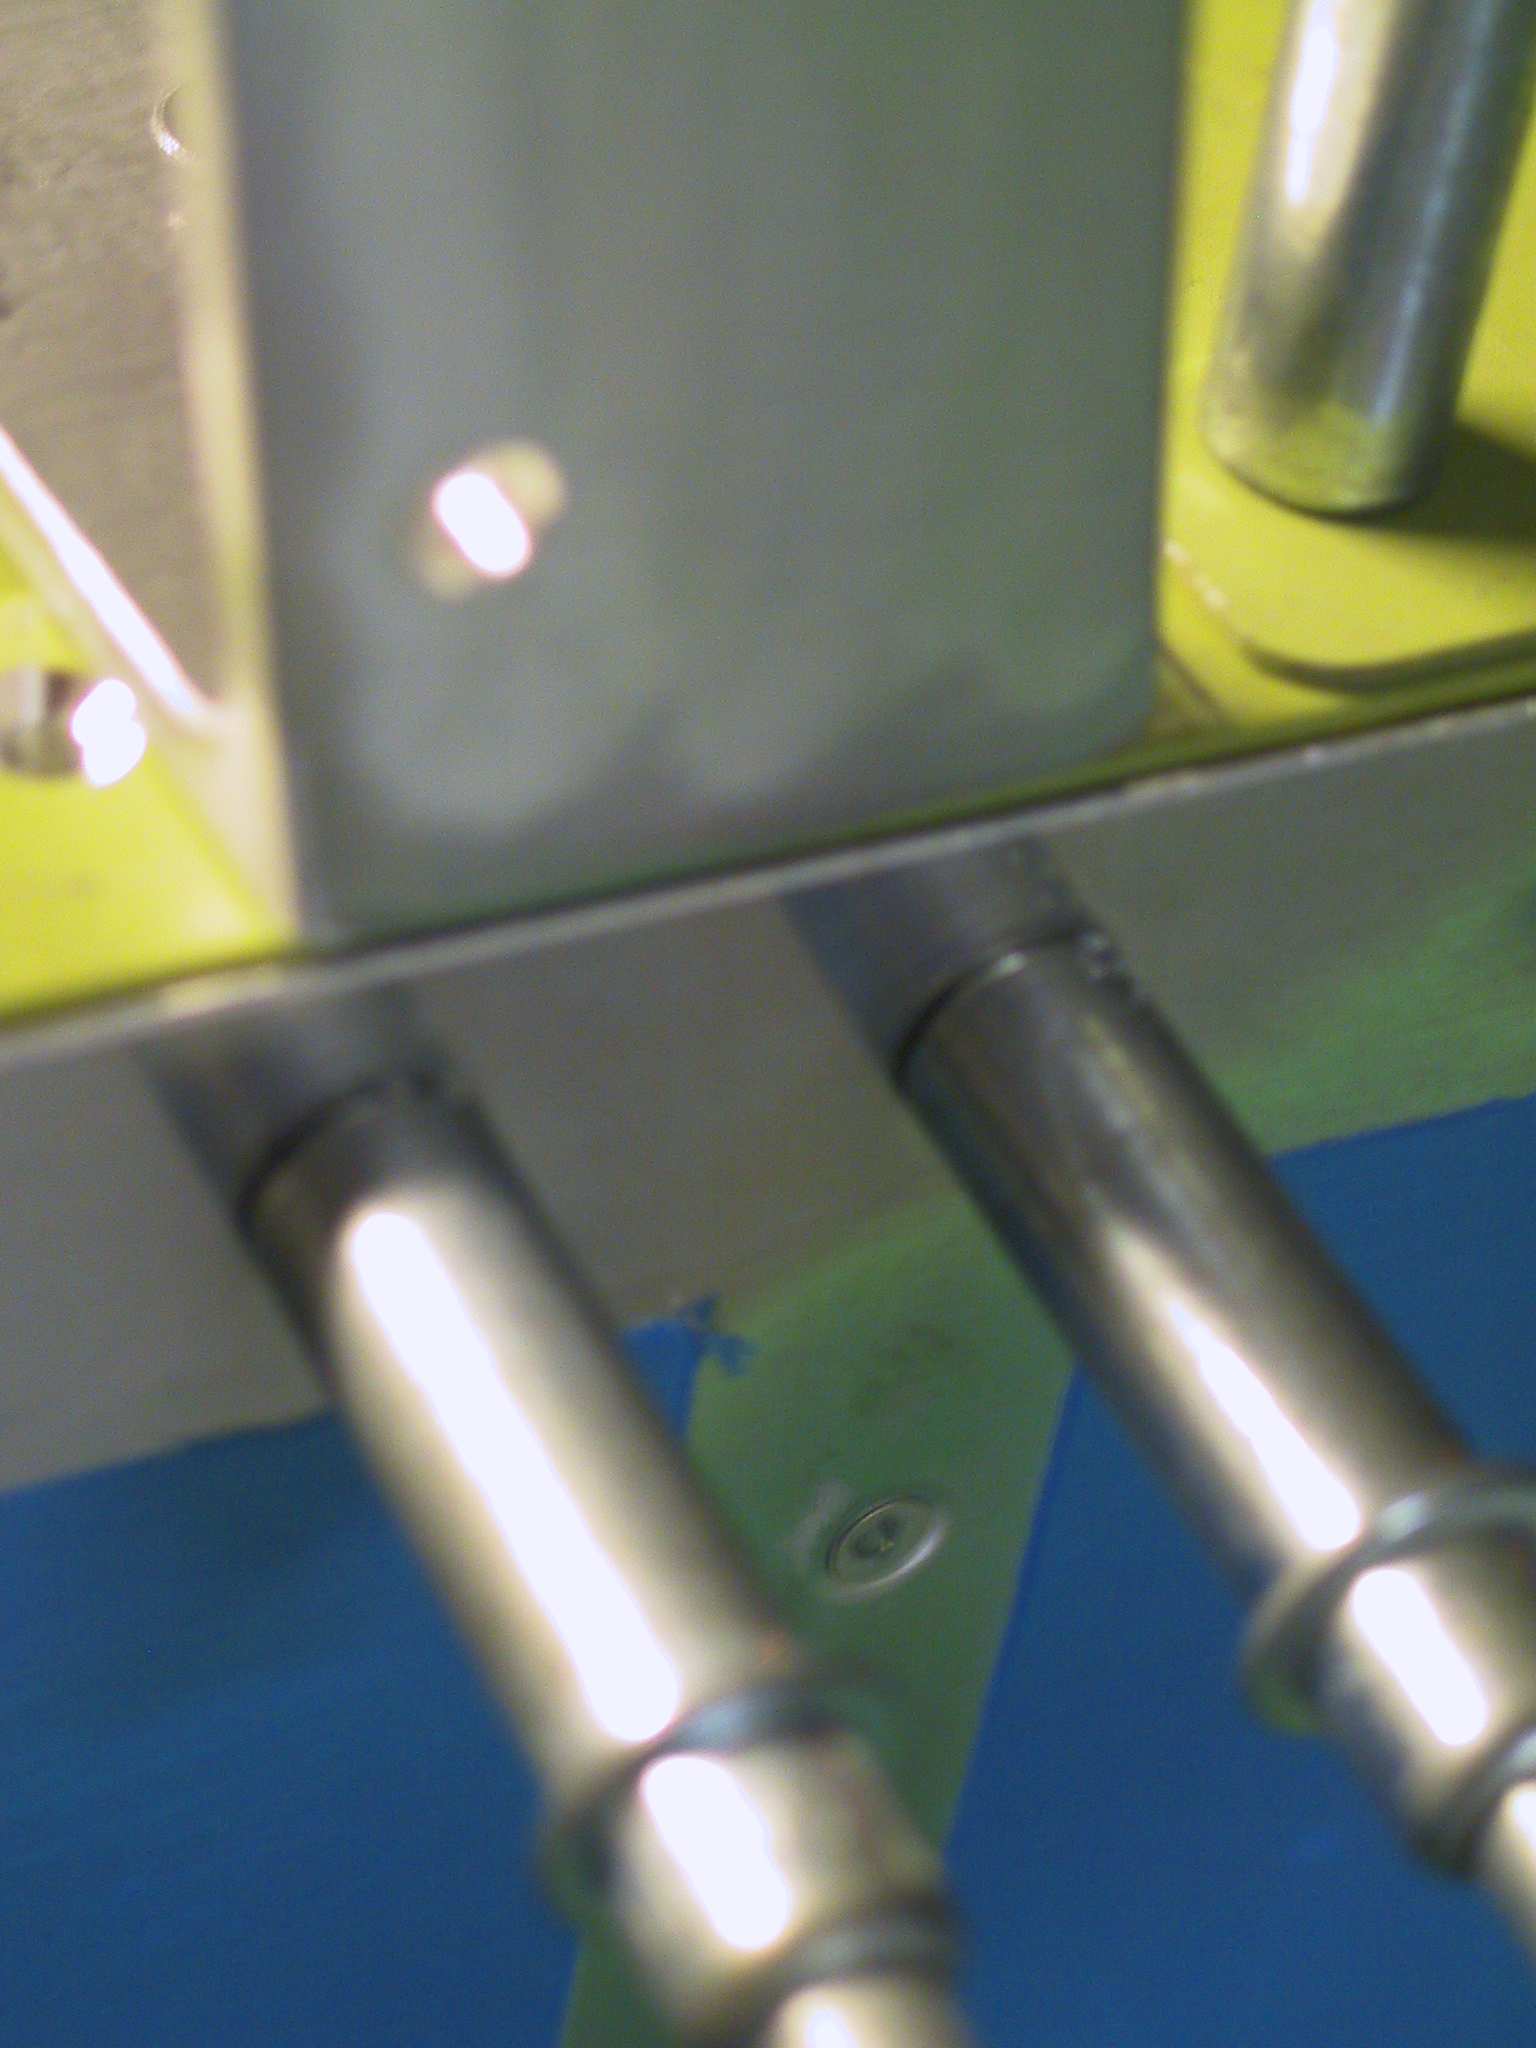
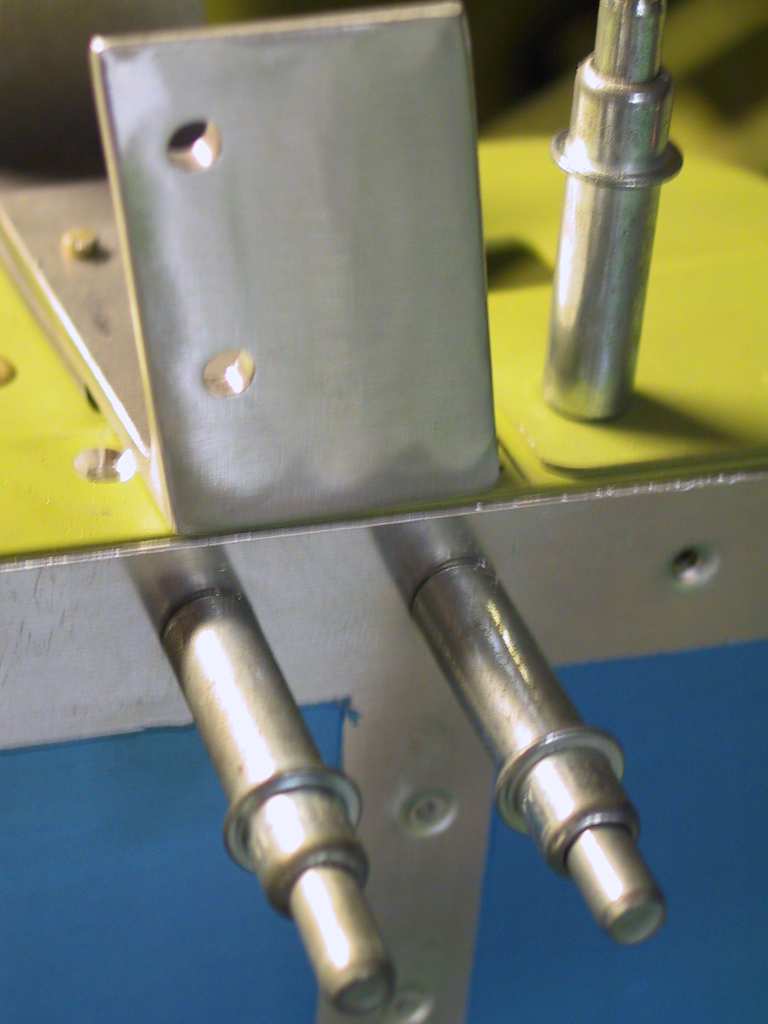
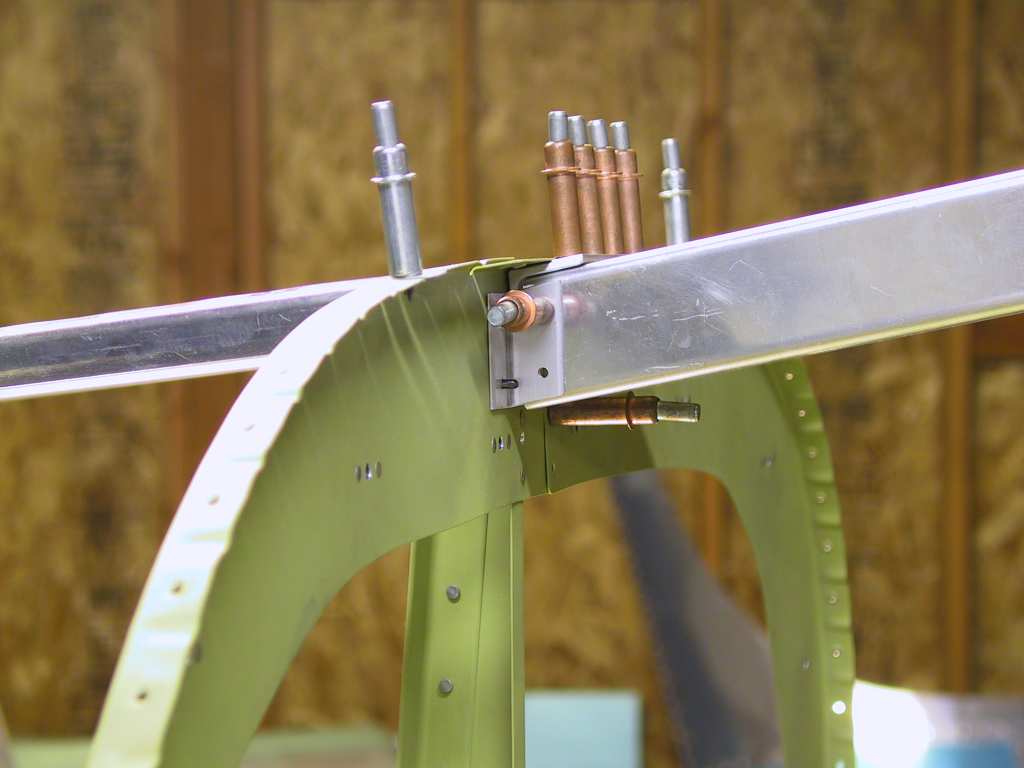
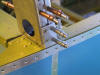
Now I put together the mounts for the roll bar. I
haven't completed the roll bar yet. I want to prime this sucker with
the good stuff so I may wait till this weekend before riveting it together.
First I made sure the inside lower corner was radiused the clamped the
mount together and drilled the keeper rivets. Using two of these small
clamps works perfectly.
Here's what it looks like before you take a vixen file to it.
Here's what it looks like afterwards. I clecoed the skin on and
it's perfect.
   |
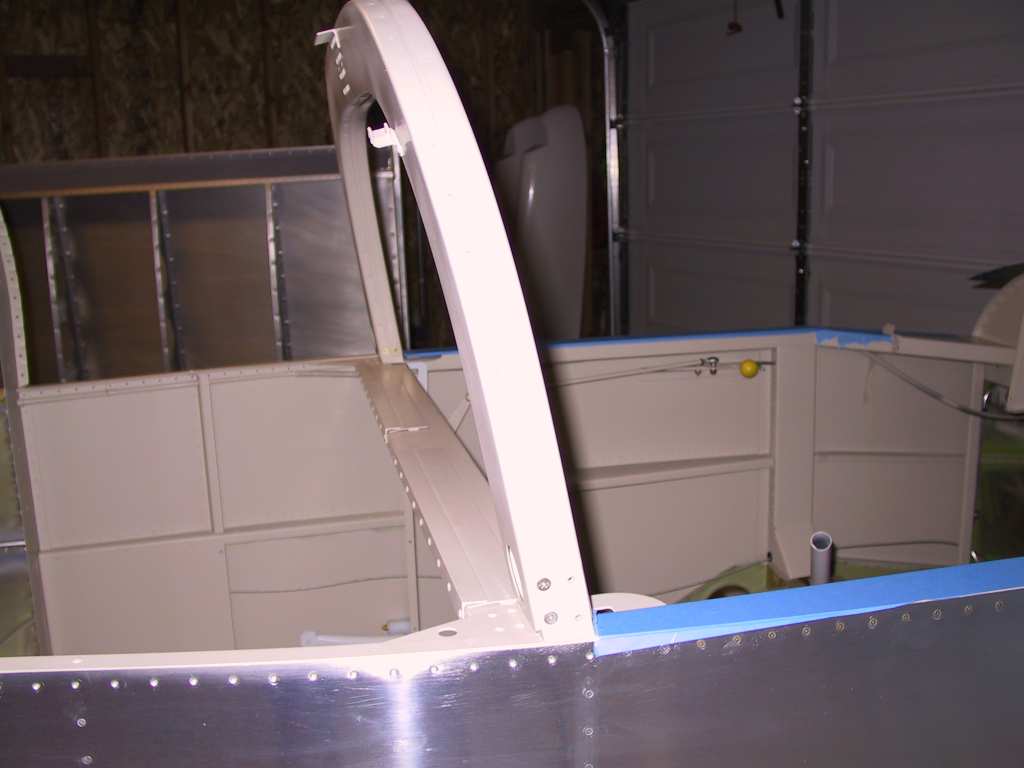
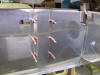
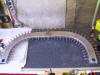
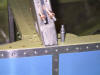
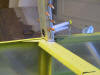
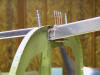
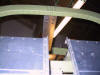
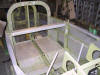
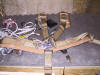
| 5/11/04 |
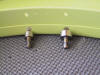
More work on the canopy rollbar. Drilled the holes in
the front of the mounts which go through the skin. I'm not going to
tap the hole, I'm going to use a 8R8 screw and nut as it seem to be
stronger. Don't forget that the angle goes on top of the channel.
Sort of doing odd jobs now. When you get to this point you can
literally work on 50 different items. Just picking one to work on is
sometimes the hardest part. Riveted in the firewall recess and finally
bent both ends of the seat back hinge rod. I don't ever expect to have
to take it off. Why spend all that time fabricating some dohickey
mount. Just bend the ends.
  |
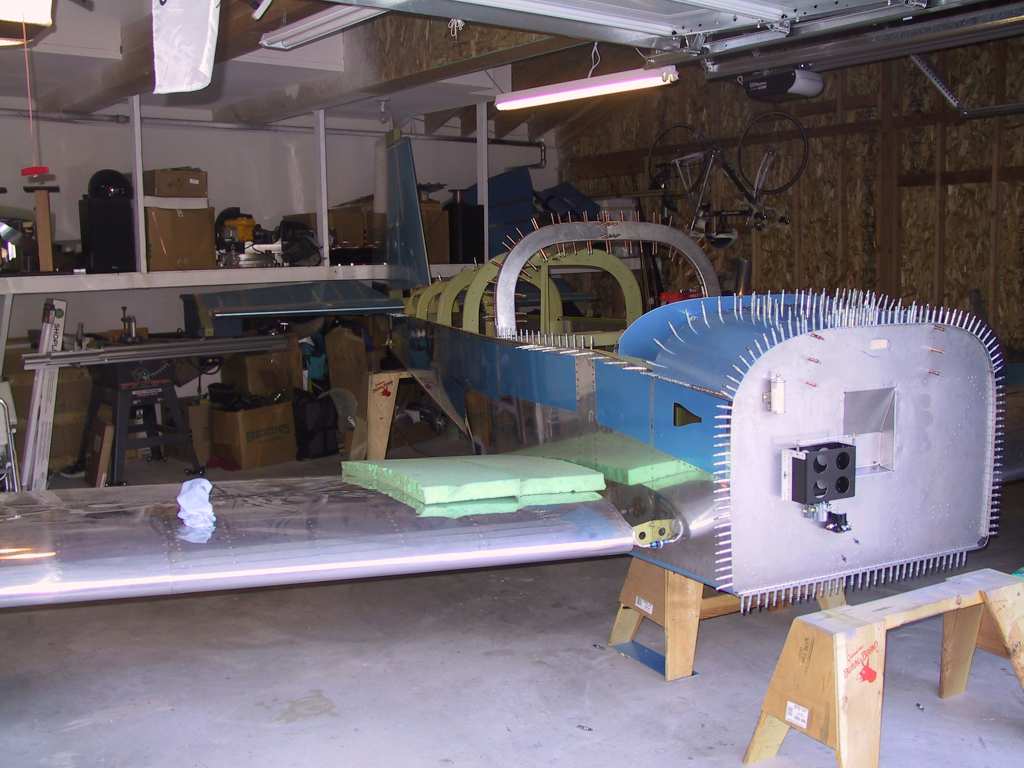
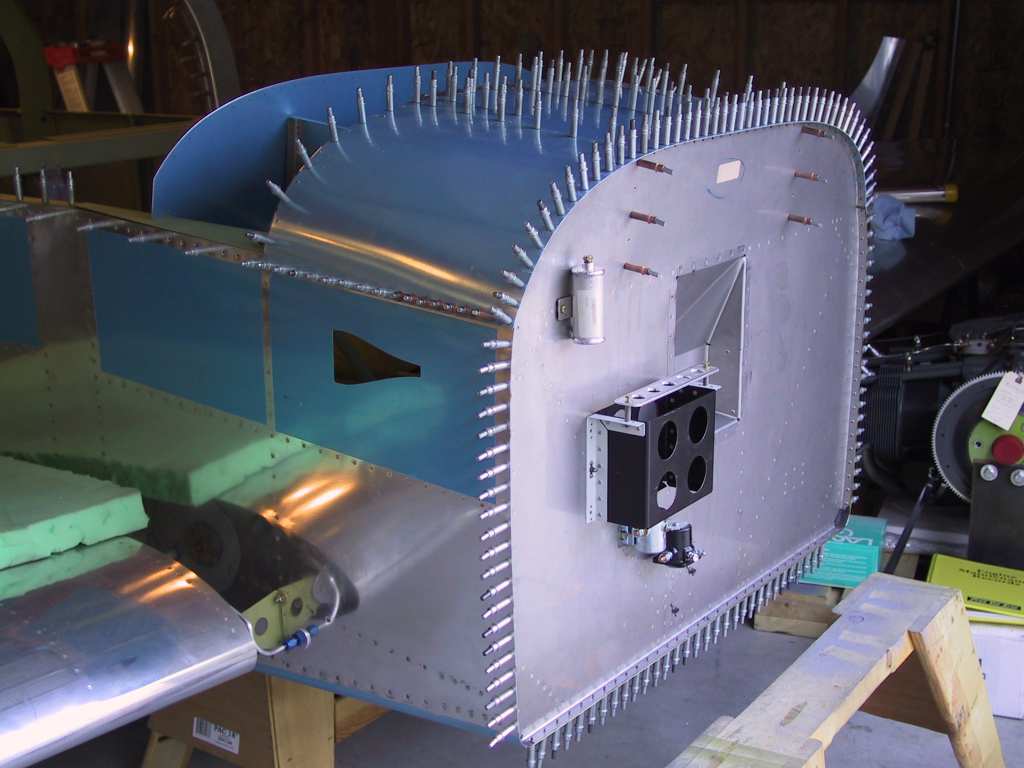
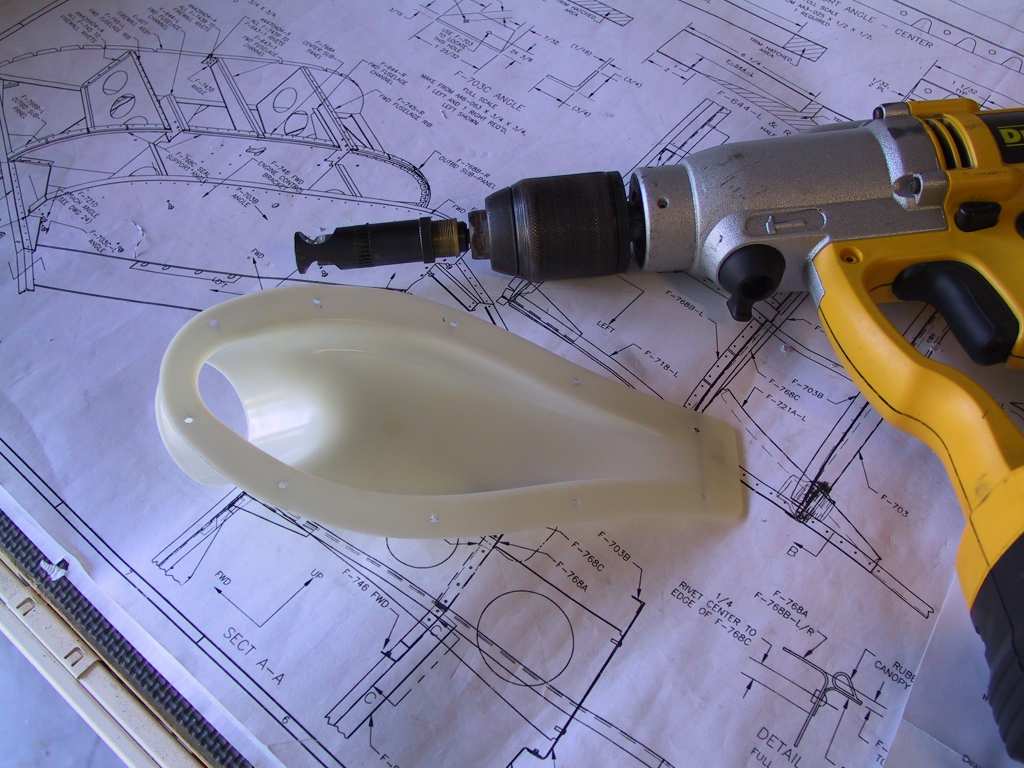
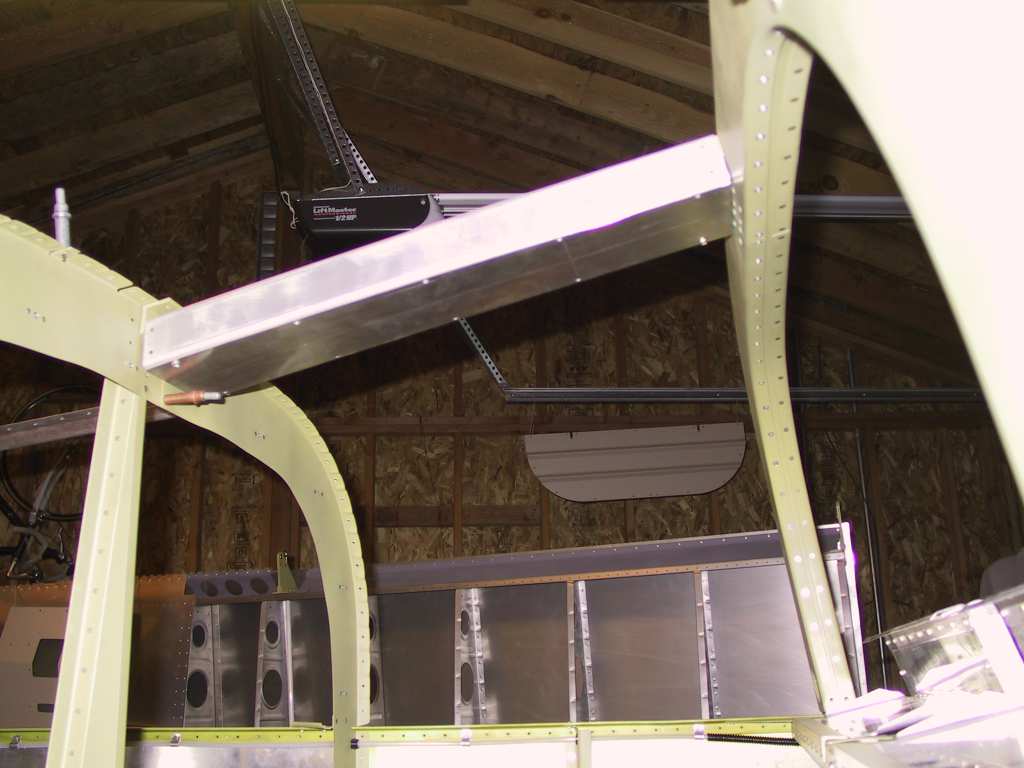
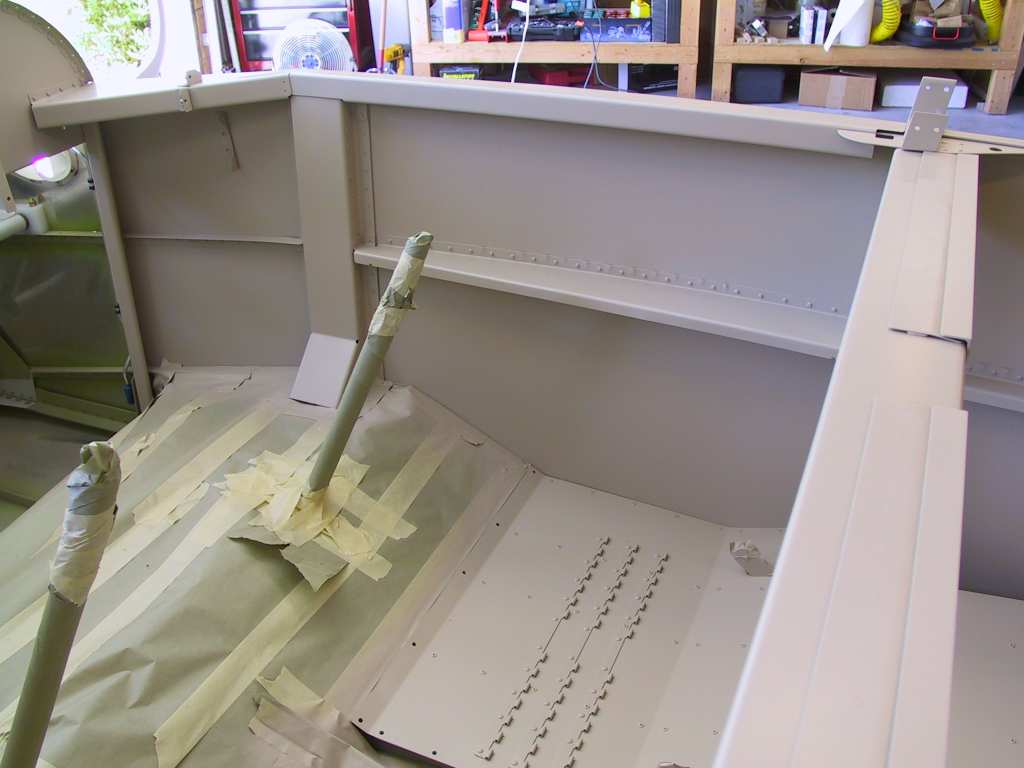
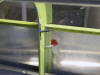
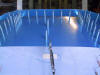
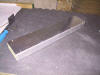
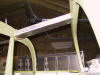
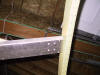
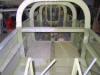
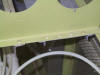
| 5/12/04 |
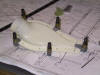
Well still even more work on the damn canopy. This is
one of the most time consuming things you build. Here I'm testing the
fit of the countersunk screws. Looks ok to me. Now drill out the
bolt holes on the inside of the canopy. While I was mucking around I
took the time to smear some RTV around the static lines where they meet the
static port. When you spread this crap with your fingers, just spit on
your finger and the RTV will not stick to your hand. Plus, it tastes
great.
   |
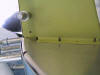
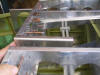
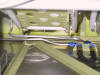
| 5/13/04 |
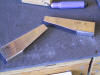
Time to finish the brake lines. Here's both L and R
brake lines. I decided not to have a parking brake. Don't ask me
why. These are sort of a pain because the lines have to run through
the bushings along the center spar and the gear weldments. You can't
prebend the lines. Just shove it in and bend it while it's in place.
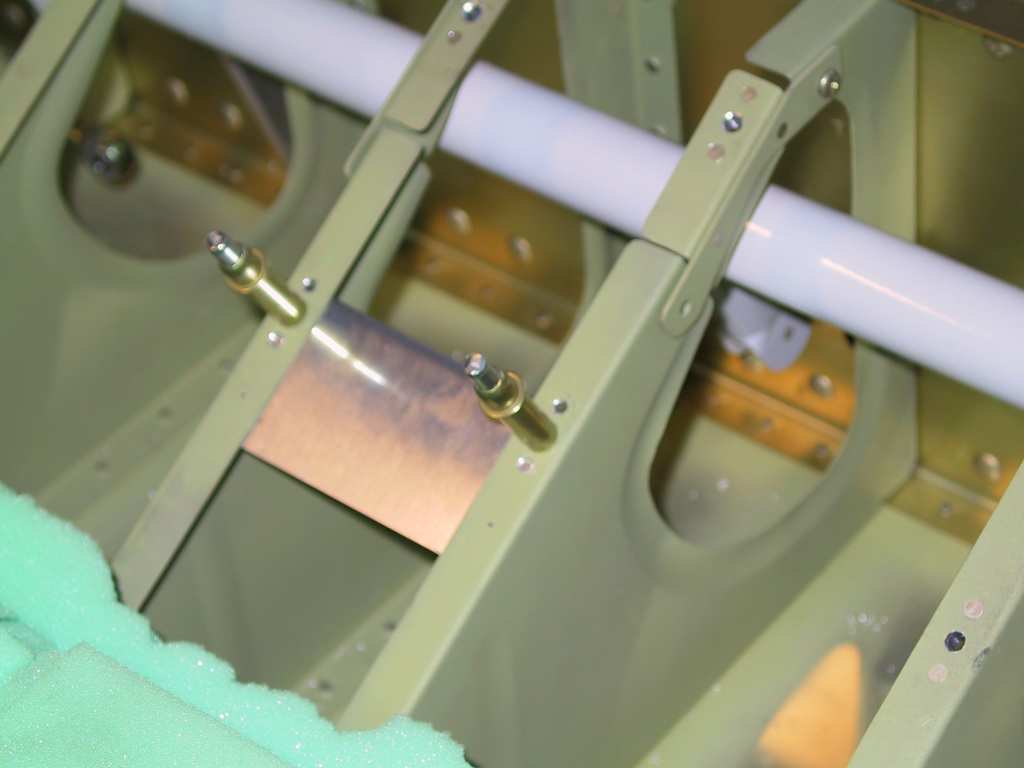
Remember when I said there were 50 things you could work on at this
phase? Here's one of them. Locating the mounting for the ELT
antenna. The antenna must not be covered by aluminum. So placing
it just behind the rollbar is adequate as the rear windows are above it.
Now how to route the coax. I still haven't figured that out. The
premade coax that comes with the ACK ELT has fixed ends and they won't fit
through the plastic bushings. Looks like I'll have to make a new on in
place.
More work on the fricken canopy. Will it ever end?
 |
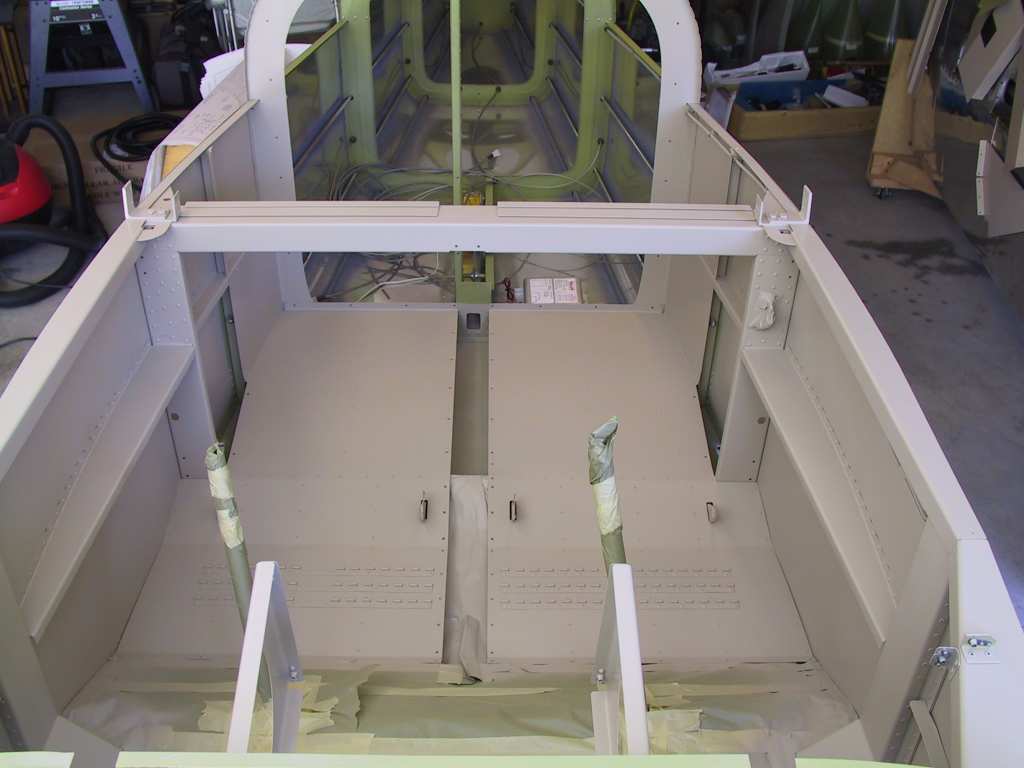
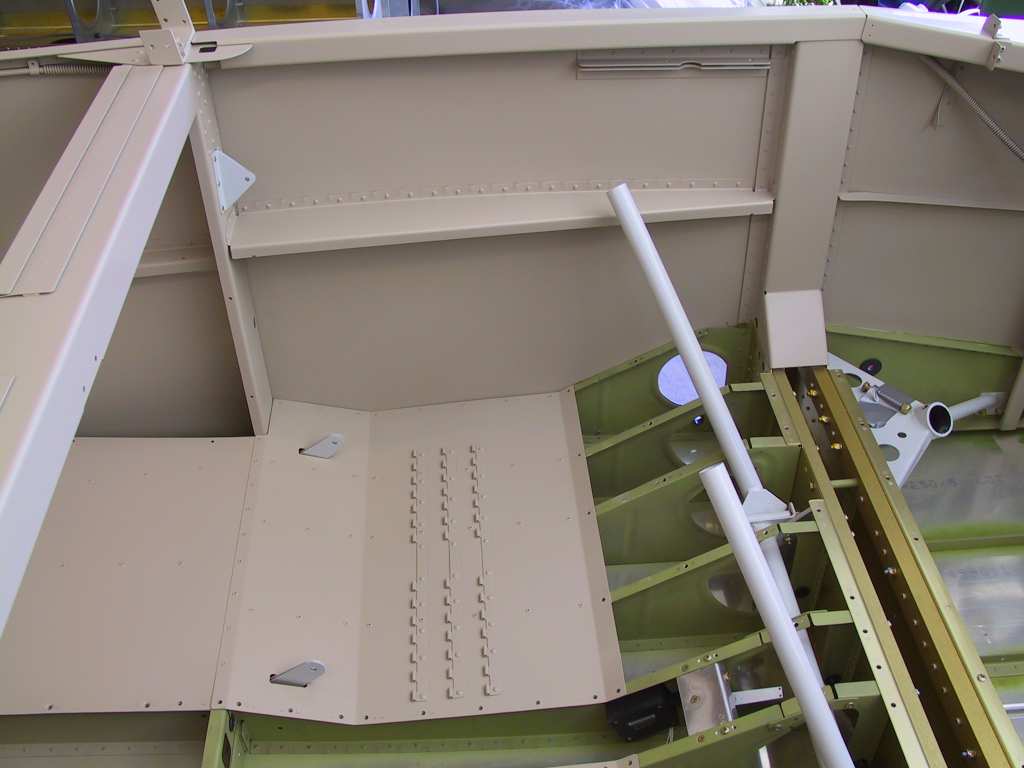
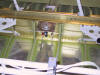
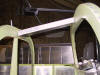
| 5/14/04 |
Wanted to get the forward skin in place and drilled through
the skeleton below. Had to use a stick to hold pressure on the central
rib to make sure it was centered. This is starting to look kewl.
    |
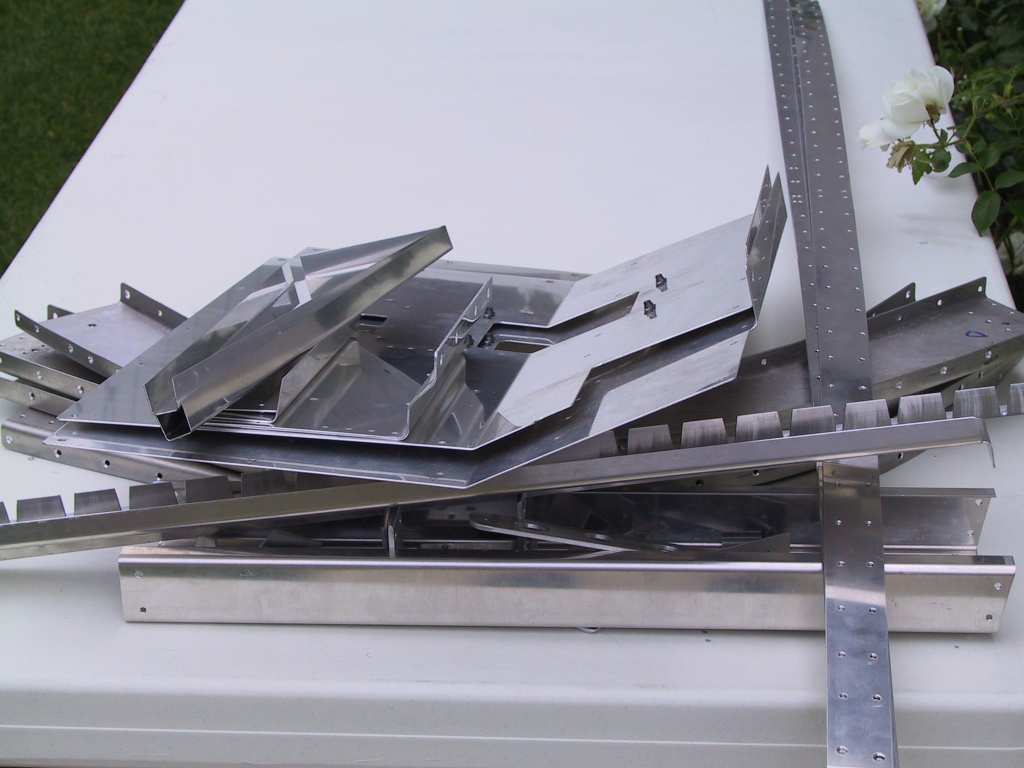
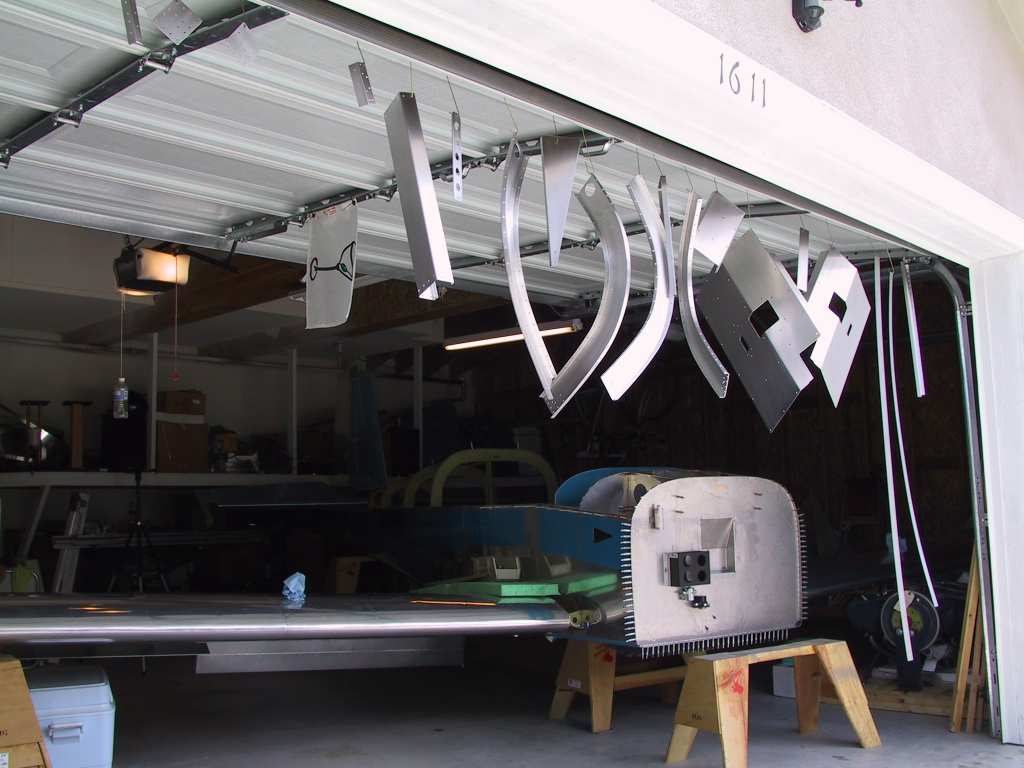
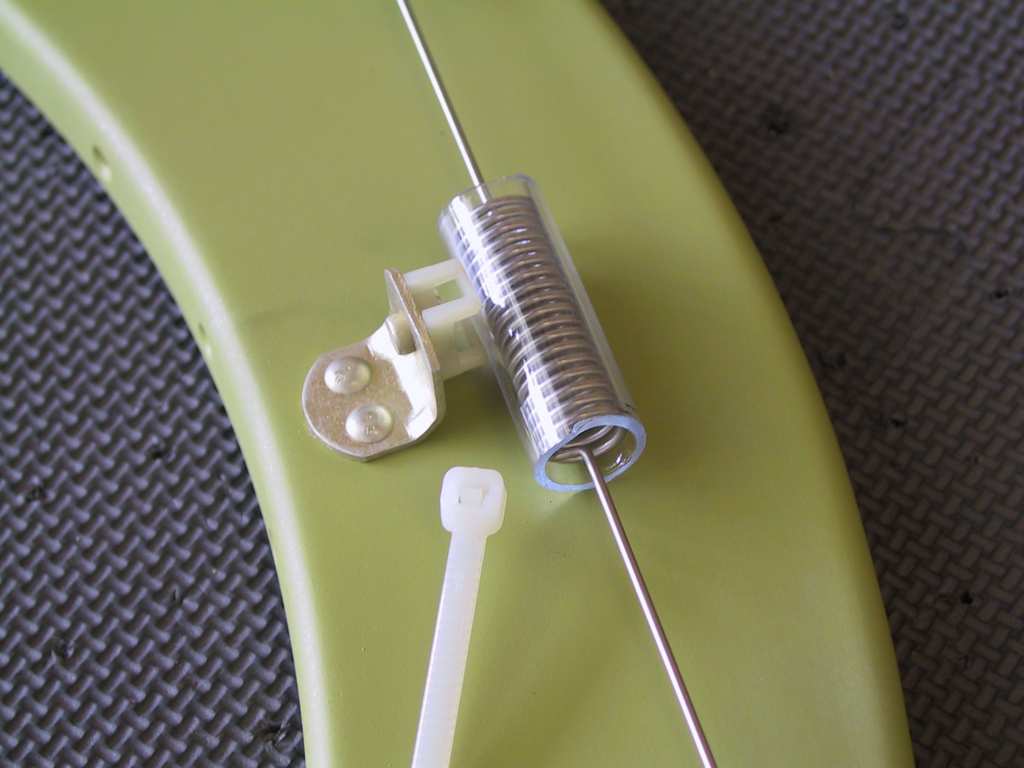
| 5/16/04 |
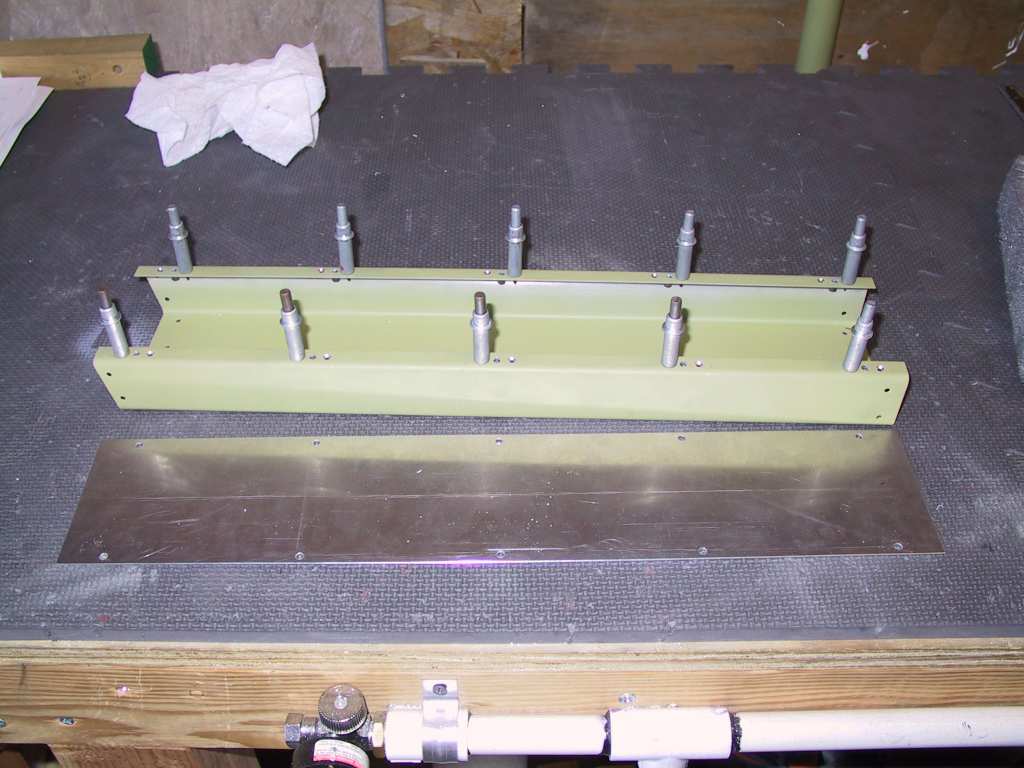
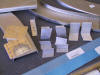
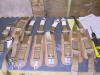
Ok here's another mess of parts to get primed.
Serious, this is one of the last primer jobs in building the plane. I
may get away with only one more priming session. There is light at the
end of the tunnel at this point. Yesterday was an awesome day over at
chino for the Planes of Fame air show. Finally got a chance to meet
many local builders and see their planes. Fantastic day and I met a
ton of great people. Plus I got some great tips...
More
fricken canopy work. But Hey, it's basically done.
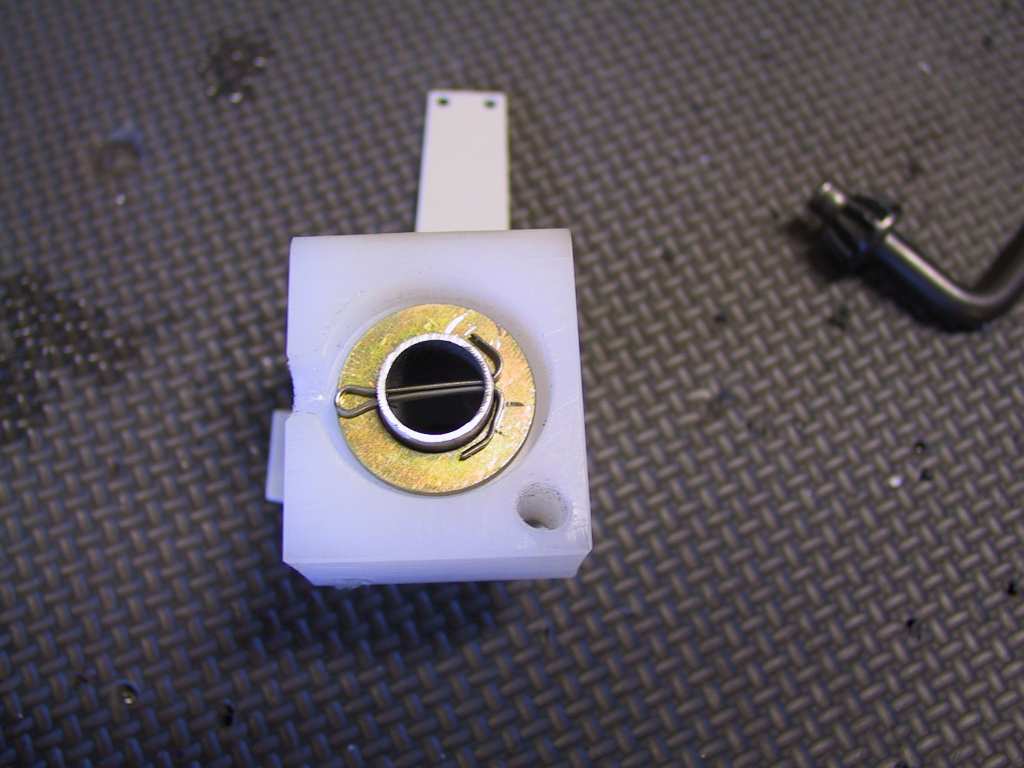
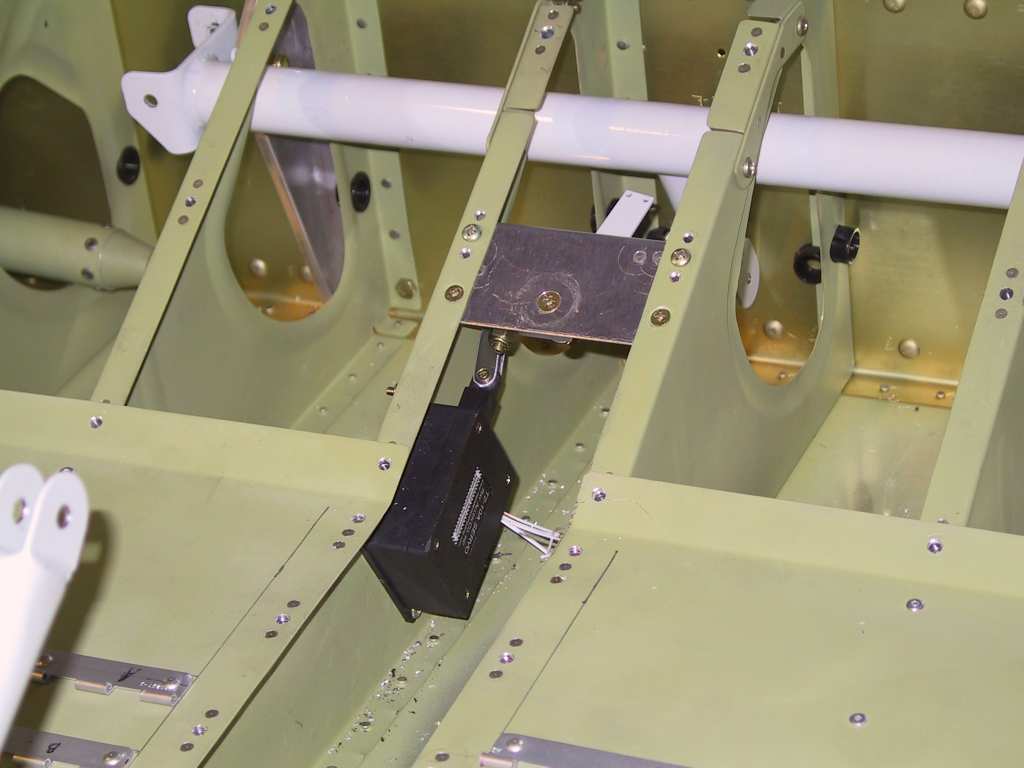
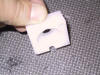
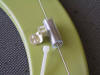
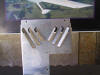
Here's something I got from Dan's plane I think. It's the mount for
the ELT antenna. I used a little offset wire tie holder I bought at the
air show, placed the antenna spring in a clear plastic tube, which fit
perfectly and before the rollbar was riveted shut I mounted the holder.
It's gonna work perfectly.
One thing to note when you rivet the inside rivets. Use a thin head
flat die so you don't smash the curvature.
I decided to scrap the RV and build a Sonex.

Starting to get stuff together for the Canopy. Yes! The next
phase begins.
 |
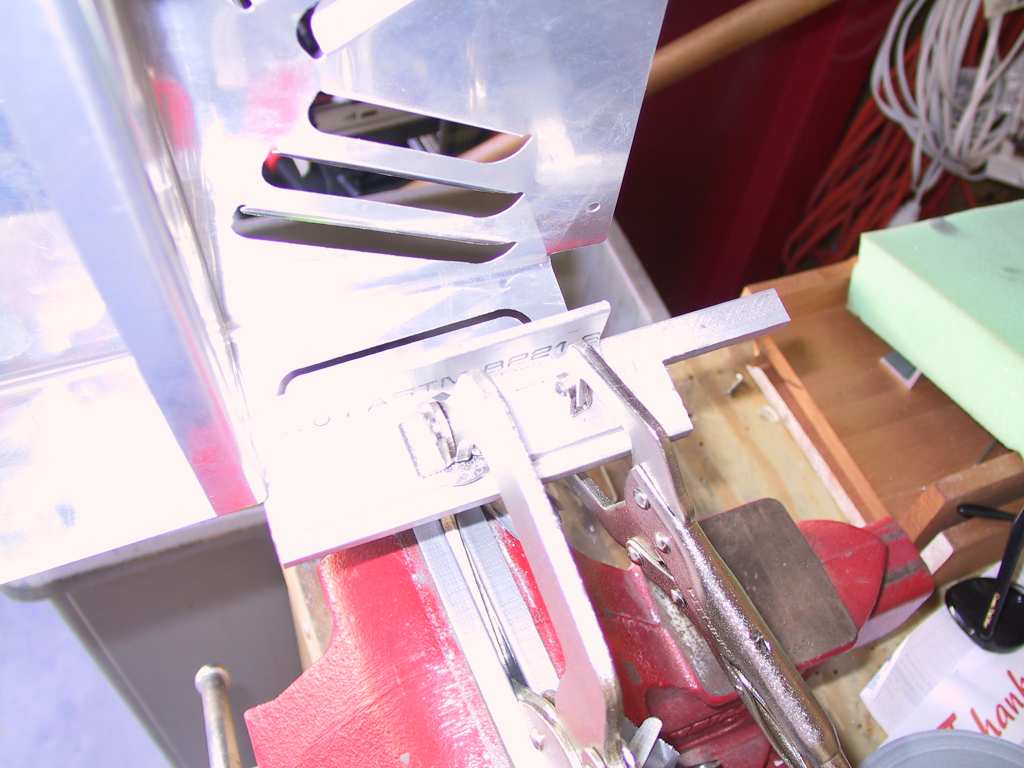
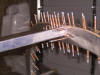
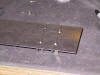
| 6/16/04 |
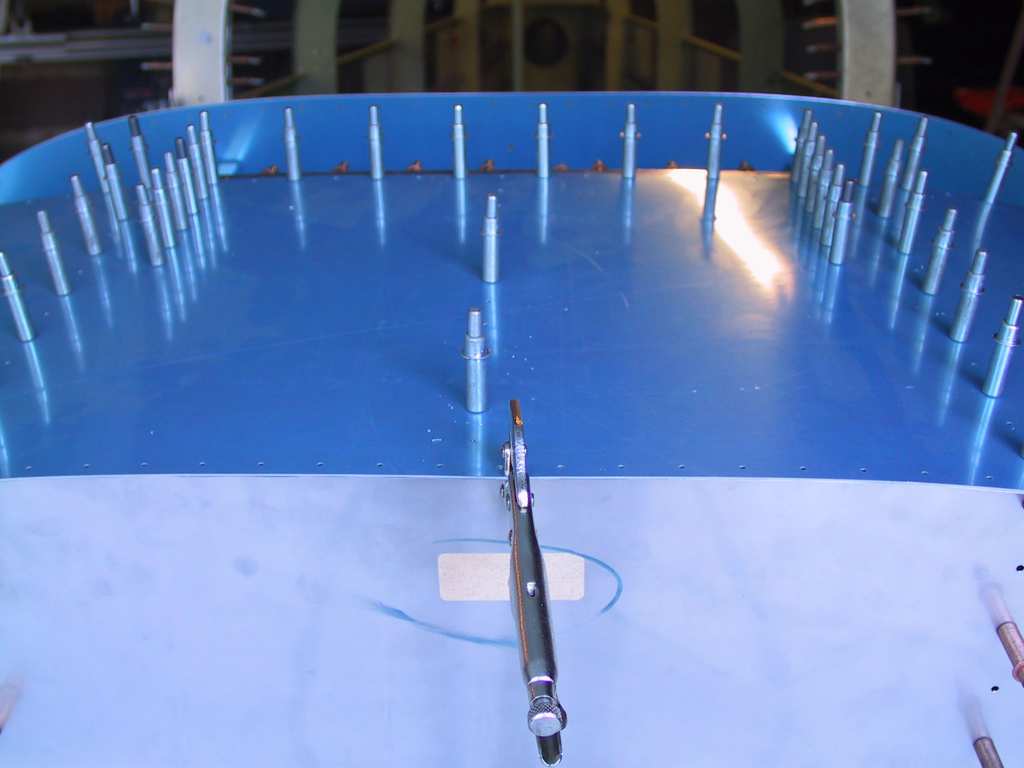
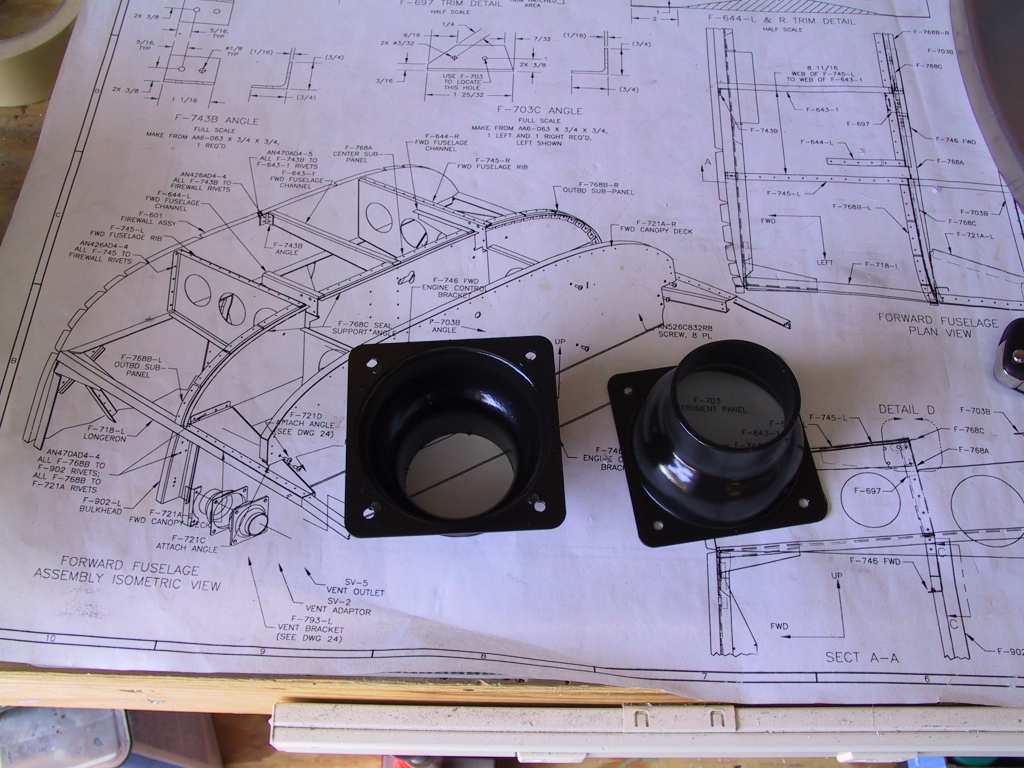
I guess now is as good a time as any to get the naca vents
drilled. I marked drill hole locations about every two inches into the
vent flange, clamped the two vents together and drilled the holes. I
ended up having 10 holes in all.
Next I marked a line on the narrow end where I wanted the vent to line up
with the existing cutout on the fuselage skin. Without some kind of
reference line you don't know if you are leaving enough flange fore or aft
to drill into. Clamped the vent in place and back drilled through the
holes in the vents through the skins with a short 90 degree drill. The
aft most holes were a bit difficult as they are covered a bit by the exhaust
portion of the vent, but it's doable.

Countersink the vent and dimple the skins with a pop-rivet dimpler.
I'm going to wait to do final installation.
  |
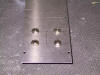
| 6/17/04 |
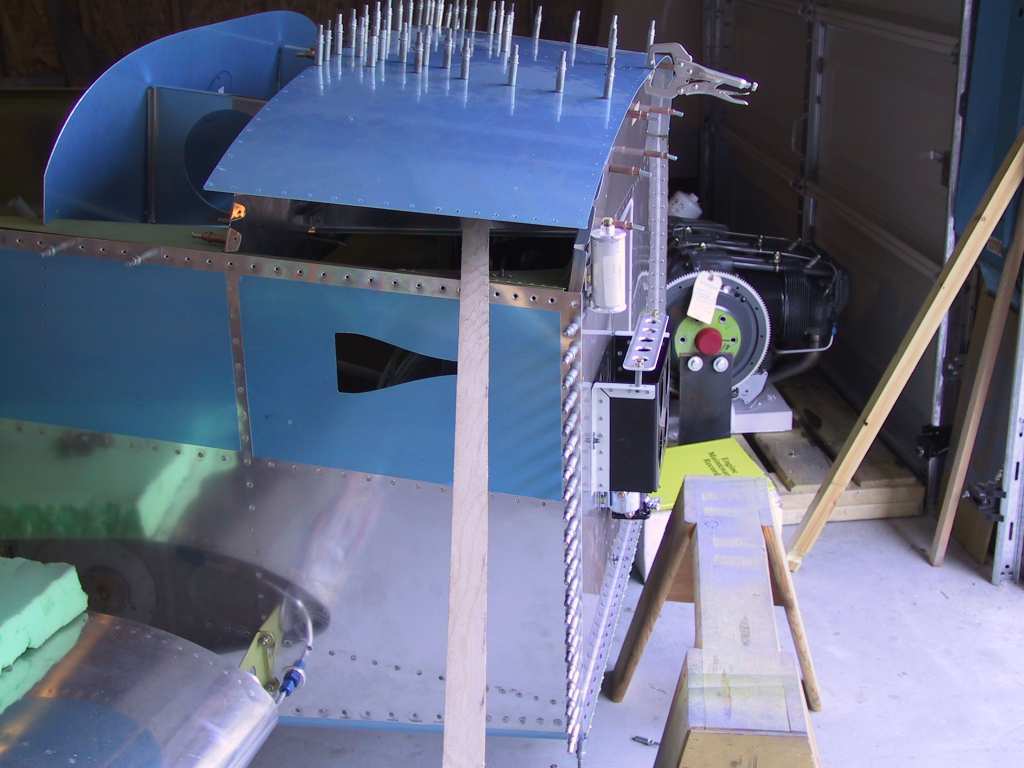
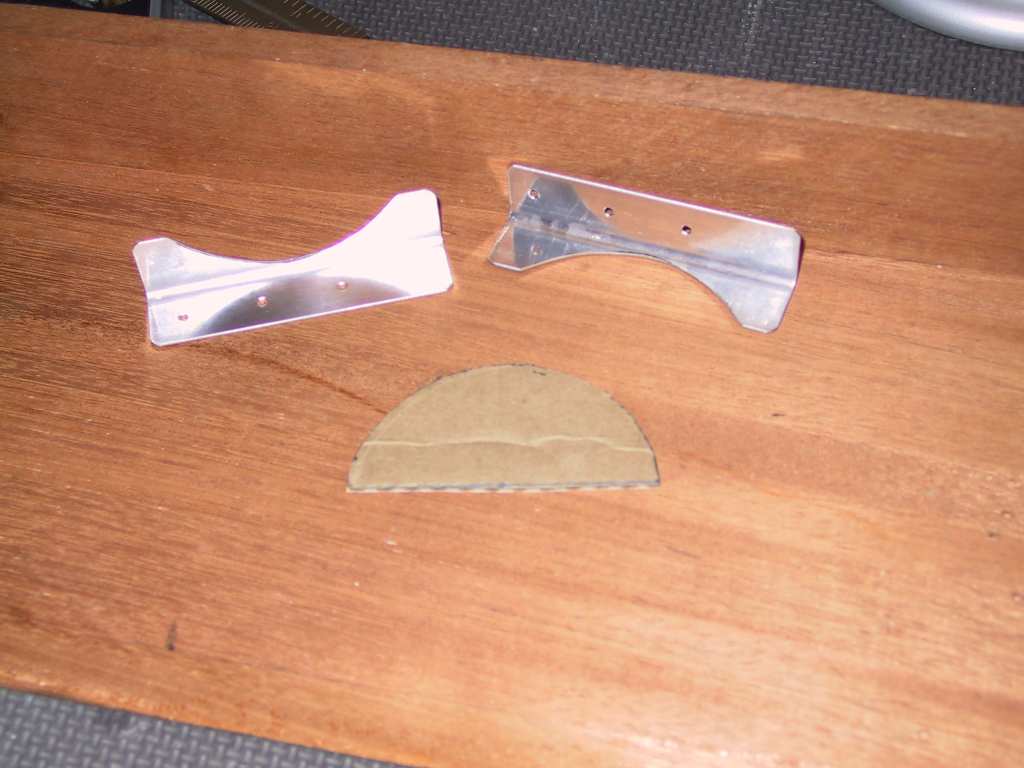
Got the vents mounted and the vent mounts made. I cut
a piece of cardboard to the proper radius, and traced the outline on the
mount. I then used my nibbler to get it close and final filing to make
it perfect. Mounted them (with a centerline drawn) and the vents and
drilled through the skins. Dimple skins and parts, done. I'll
final mount later.
  |
| 6/22/04 |
Painted the vent cups, or whatever they're called, black
to match the vents. I found some plastic paint at HomeDepot.
 |
| 7/1/04 |
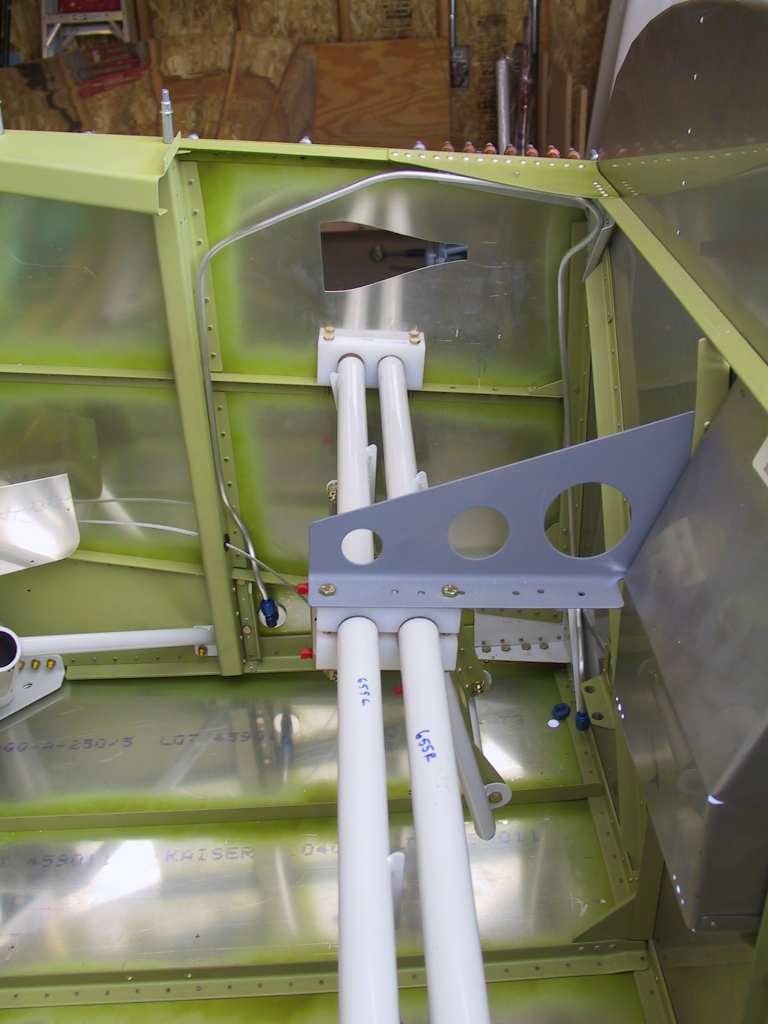
Skipping all around, next I drilled the hole for the fuel
line run for each tank. I didn't do this before I put the wings on
like a dummy. So now I'll have to make and run the fuel feed lines
the next time I get the wings on.
 |
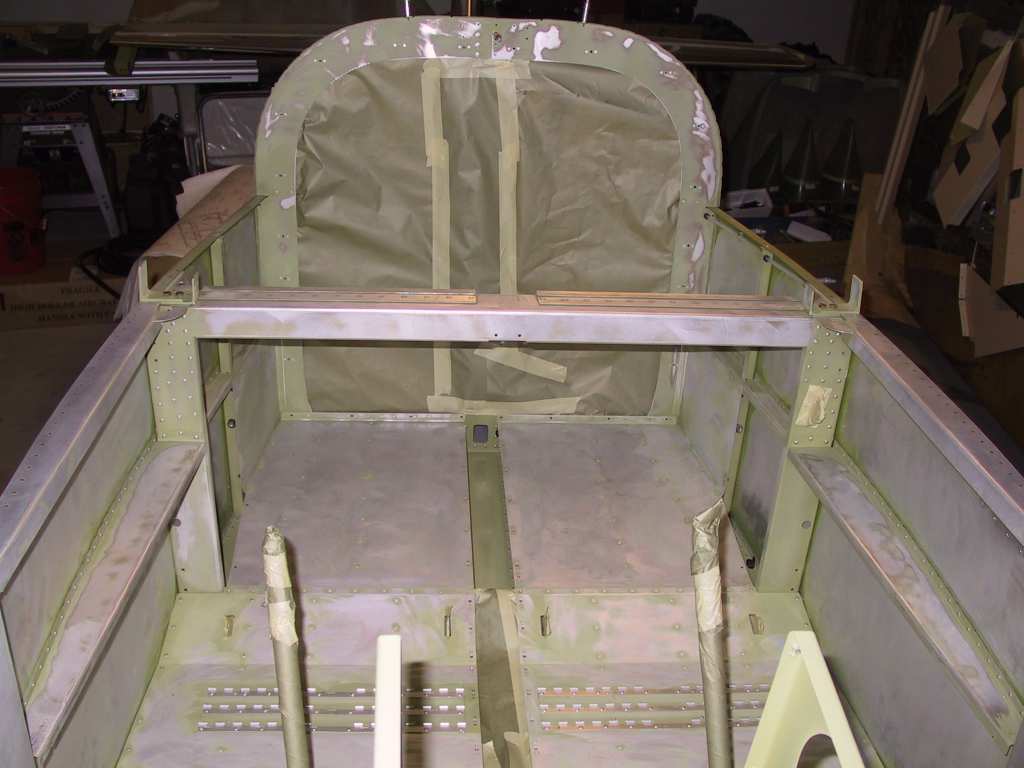
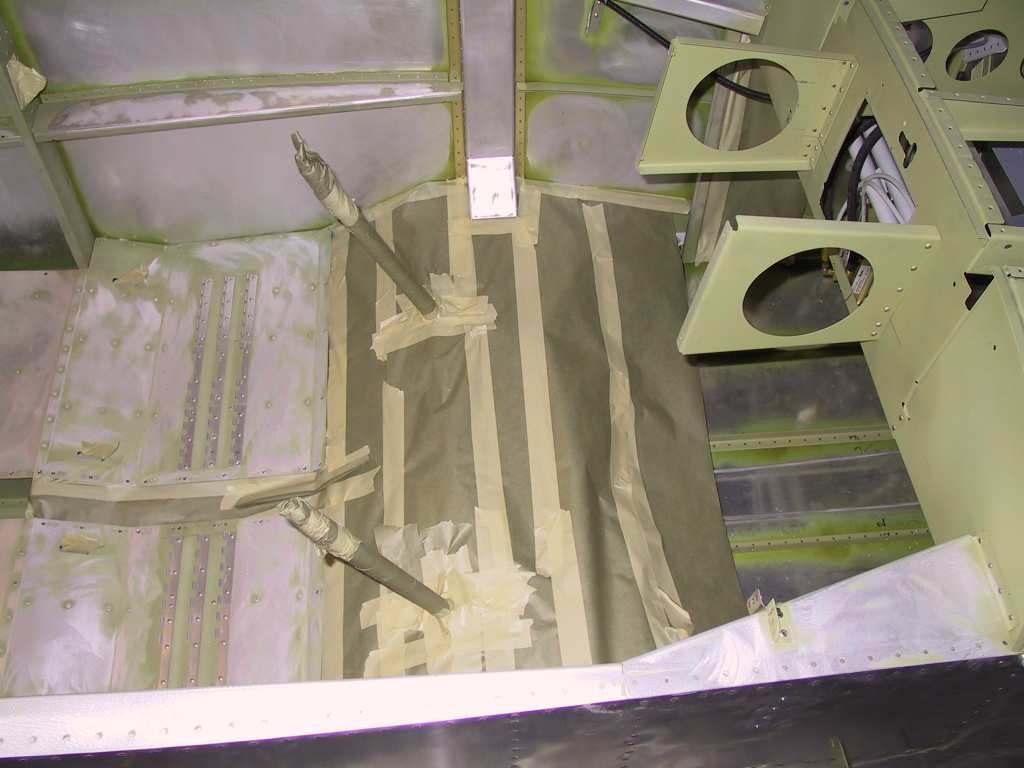
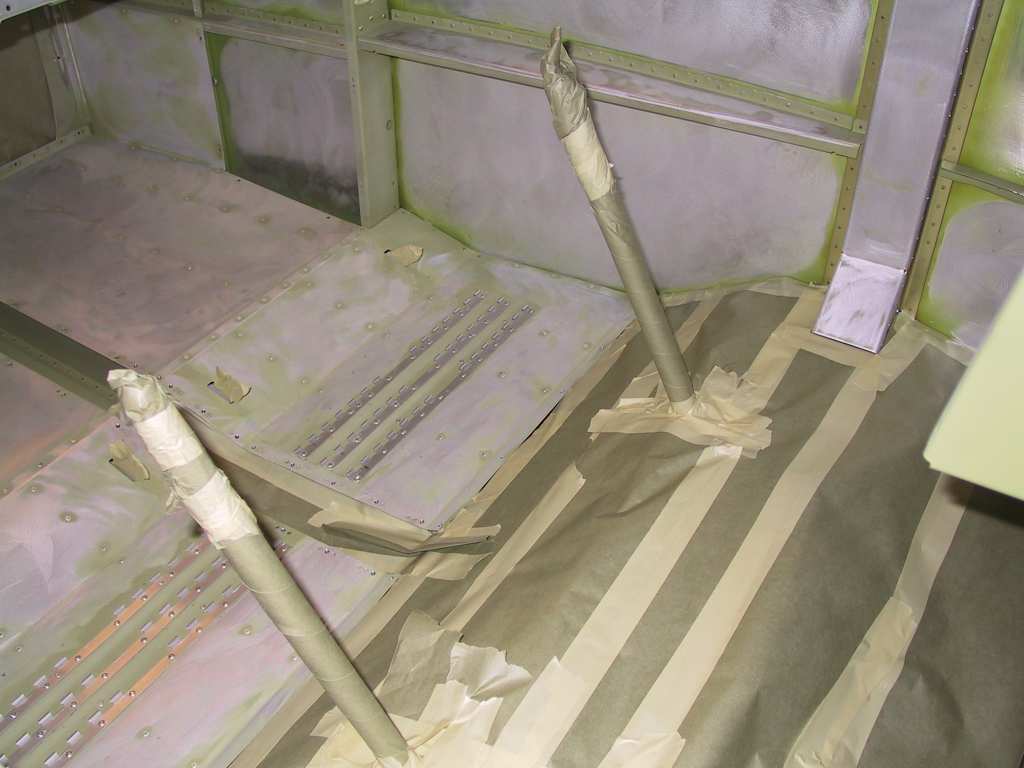
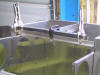
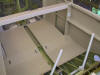
| 7/11/04 |
Finally started on the interior paint. I've chose a
beige color (stop laughing!). It matches well with the darker
leather for the seats and the darker still panel which is actually
power-coated (not yet though). The paint I'm using is JetFlex
Water-Reducible Polyurethane Dispersion from Sherwin Williams. It's
made for aircraft interiors, has a subtle gloss finish to it. I
ordered BAC 8813. It's a little lighter than the spec sheet but it
will do nicely.
I went to Home Shlepo this morning a bought a new orbital sander.
It's made by Rigid. It's a full 3 amps and has won a lot of awards
over the past year. It's awesome. It you are thinking about
getting an random orbital sander this is the one you want, and it's only
about $70.
I needed the sander to cut the edge off the Azko primer. If I had
to do this all over again I WOULD NOT PRIME ANY INTERIOR PIECES that I
intended to paint with interior paint. Let this be a warning.
Sanding sucks, even if you do have a great sander.
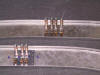
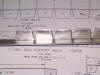
Sanded a fair amount of removable parts almost all the way to the bare
alum. Then cleaned very well with your favorite fast-evaporating
solvent. This paint is very kewl. You don't need a second
part. Just dilute with 10% water, mix and you are ready to go.
I had also purchased a new automotive primer paint gun last week.
You need a gun that can shoot very thick viscous material. This
paint is so thick, that even with thinning it doesn't move very fast at
all. You kind of dump it instead of pour it.
The gun worked well except for a few little chunks which it spit out.
I don't think I had the HVLP pressure high enough. Lesson learned.
But all the parts came out beautifully. Here the parts are drying,
and some close-ups of the paint out of and in the sun. It's really
hard to get the color right on my camera. I need a new one.
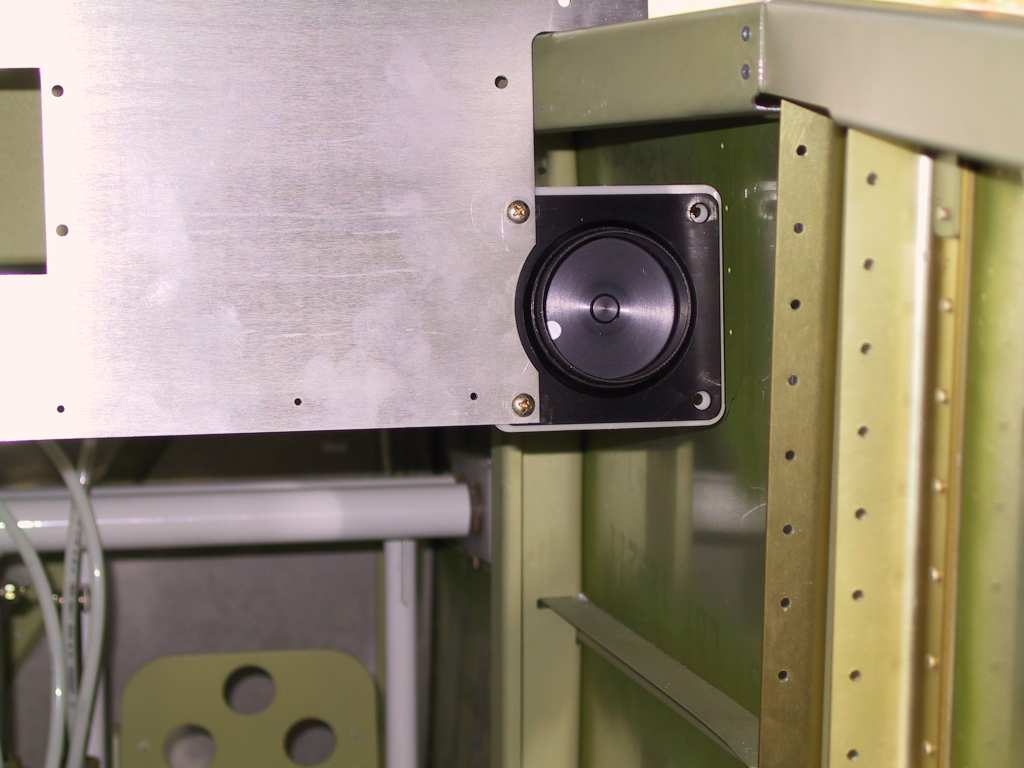
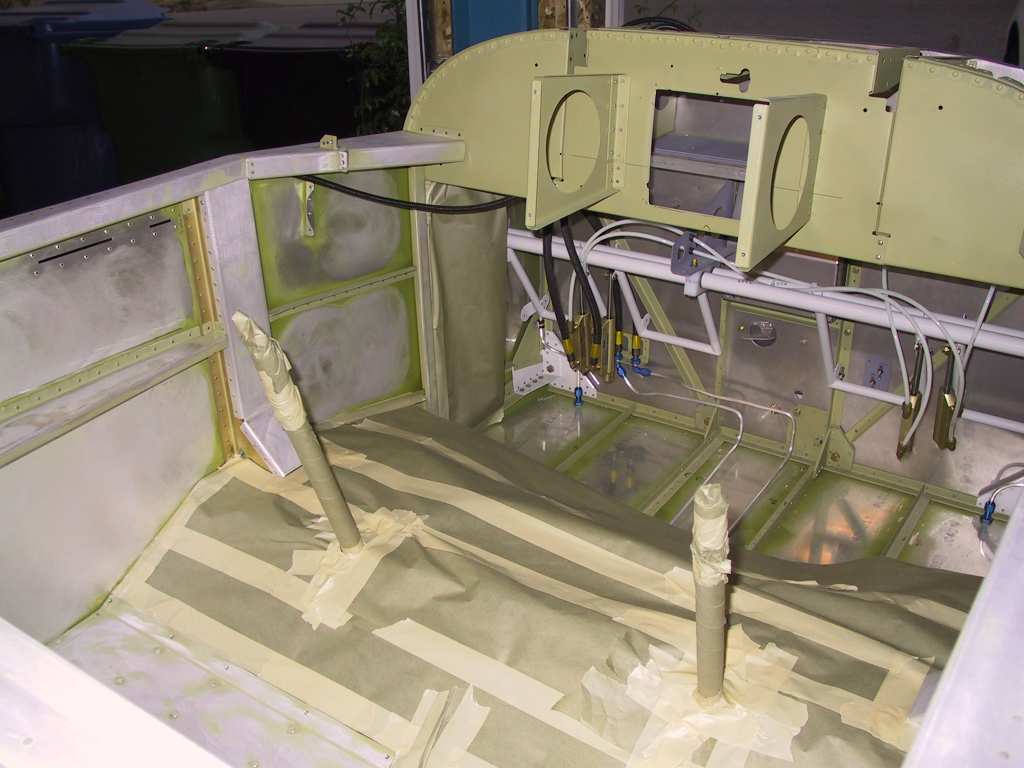
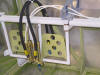
Later in the day I finally figured out where my pilot and co-pilot
headset and mic jacks will go. Some ideas I've gotten from other
builders were very helpful. But I wanted the jacks to be behind the
pilot and copilot. This keeps the wires out of your lap. Also
I wanted it above the pilot and copilot heads. This keeps it from
hanging on the shoulders too much. Well there are only two places
where this will work; one is the baggage bulkhead and the second is a
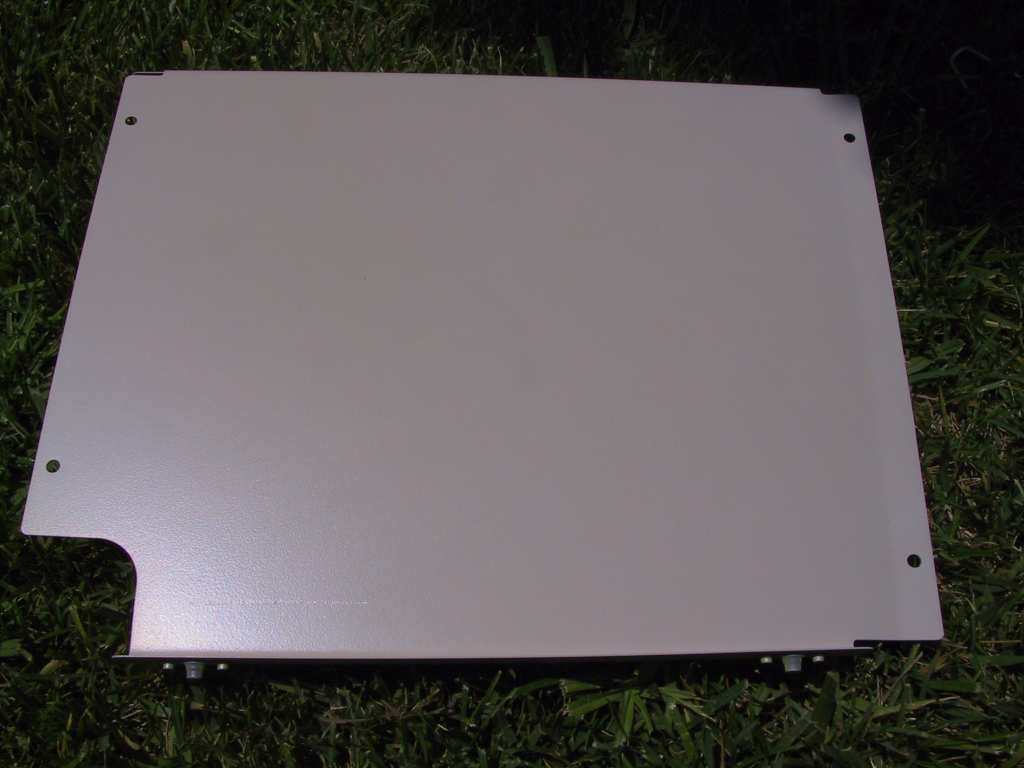
place you have to make. I decided to fabricate a removable panel on
the bottom side of the F-632A channel which runs between the rollbar
assembly and the F706 bulkhead. Pretty simple installation.
I'll run the wires later. The jacks are mounted with bushings to
isolate the jacks. Lots of pictures.
     |
| 7/14/04 |
In preparation for final interior painting I wanted to
bend the louvers on the cabin heat exchanger. This is kind of tricky
because the part is so flimsy that any push or pull bends more than you
want. I found a very nice way of doing it though after some head
scratching. I placed a thick piece of flat bar on both sides of the
single louver I wanted bent. Then clamped them in place. The
bars should line up together at the bend line. Clamp the whole thing
in a vice by clamping the clamp into the vice and suspend the entire thing
firmly in the air. Then take a thin piece of smooth wood and slowly
tap it onto the louver you want bent with a small mallet.
    |
| 7/16/04 |
Begun the arduous task of sanding all that AZKO primer
from the interior in preparation for painting tomorrow. What a pain.
I'm sure I'm going to get lung cancer from that stuff. Sanded it all
with an orbital sander with 220 grit. Comes off but you have to work
at it.
Finally riveted the hat channels or whatever they're called with pop
rivets.
Finally masked all the interior off. I'm painting this sucker
tomorrow come hell or high water.
    |
| 7/17/04 |
Finished painting the interior and all removable cockpit
panels. Huge job but I managed. I must confess, I'm no
painter, but this Sherwin Williams paint is awesome and it shows.
I'm not doing a damn thing tomorrow on the plane. I need to let
these parts cure, so I'm going Fishing!
   |
| 7/18/04 |
Fishing today, no fish so no pics. But it was
beautiful out. Went to Catalina and drank some beers and got
sunburned. What more could you ask for? |
| 7/19/04
7/20/04
7/21/04 |
There comes a time, after painting the interior, that you
sit back with a pen and notepad and spend as much time as it takes to
figure out what the hell you are going to do with the electrical system.
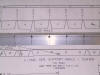
First, complete your load analysis. I got it pretty close to being
what I would consider done.
Here is the link to
the spreadsheet in case you were wondering what it looks like.
I've
spend the past three days (actually the past year) thinking about all that
I would like in the plane, what goes on the panel, what each switch is
for, how it's laid out, switch types, annunciator lights, electrical bus
configurations, wire runs, lighting, batteries, shunts, resistors,
crimping tools, load analysis, instrumentation wiring, on and on and
fricken on. And of course once you finalize this stuff you need to
start ordering parts. I've given up taking pictures of crap that
arrives via FedEx and UPS and regular mail. I could do a whole
seperate page just for that. Hell I know the FedEx and UPS guys so
well I could do a page on them since they seem so critical in getting all
these parts here!
Sooo, no pictures the past several days, unless you want to see a
picture of me sitting in the garage with that really stupid look on my
face that says "Geese, I really don't know, what should I do?".
Anyway my thinking is that I'm 90% good-to-go. I'm pressing on. |
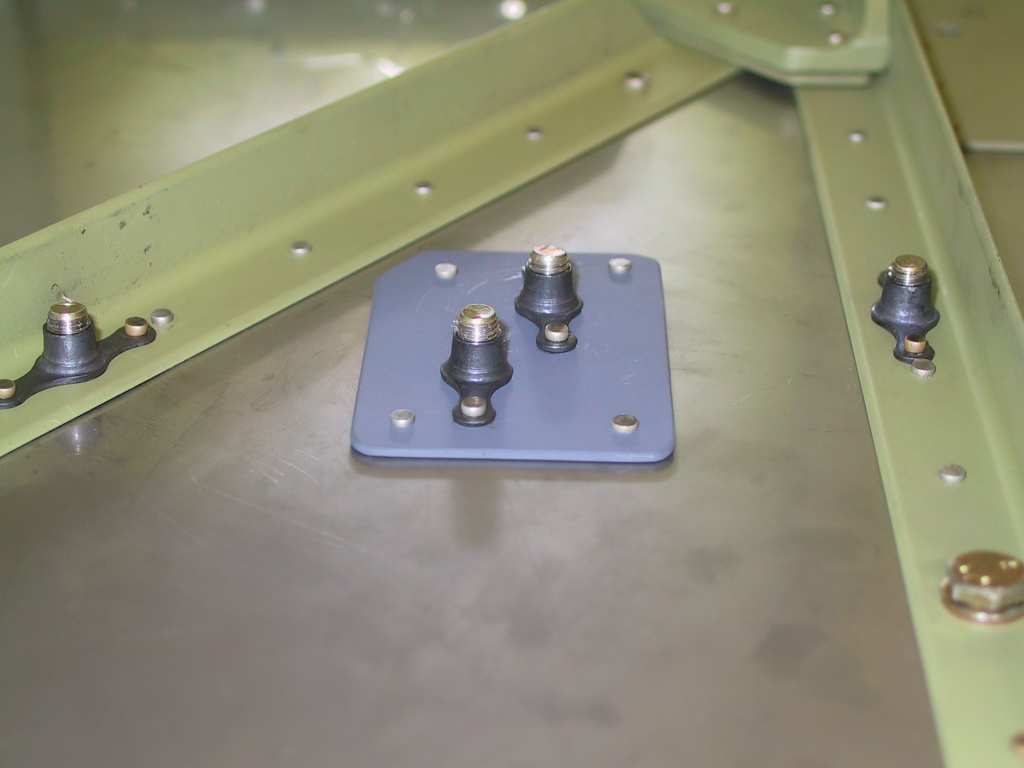
| 7/22/04 |
Now after yesterdays rant you would expect to see pictures
of really neat wiring being properly placed, tied and bundled and tested.
Nope, I still need more think time. So I dorked around with some of
the million of odds and ends that you have at this stage. I placed
blue painters tape over the fresh paint job where I didn't want it to get
scratched. Then riveted the angle brackets to the rollbar support
channel. Finally I flush riveted the F-787 stiffener in place.
Note that I didn't rivet the upper most rivet as the F-732B gets placed
there later after the F-774 skin gets riveted on.
    |
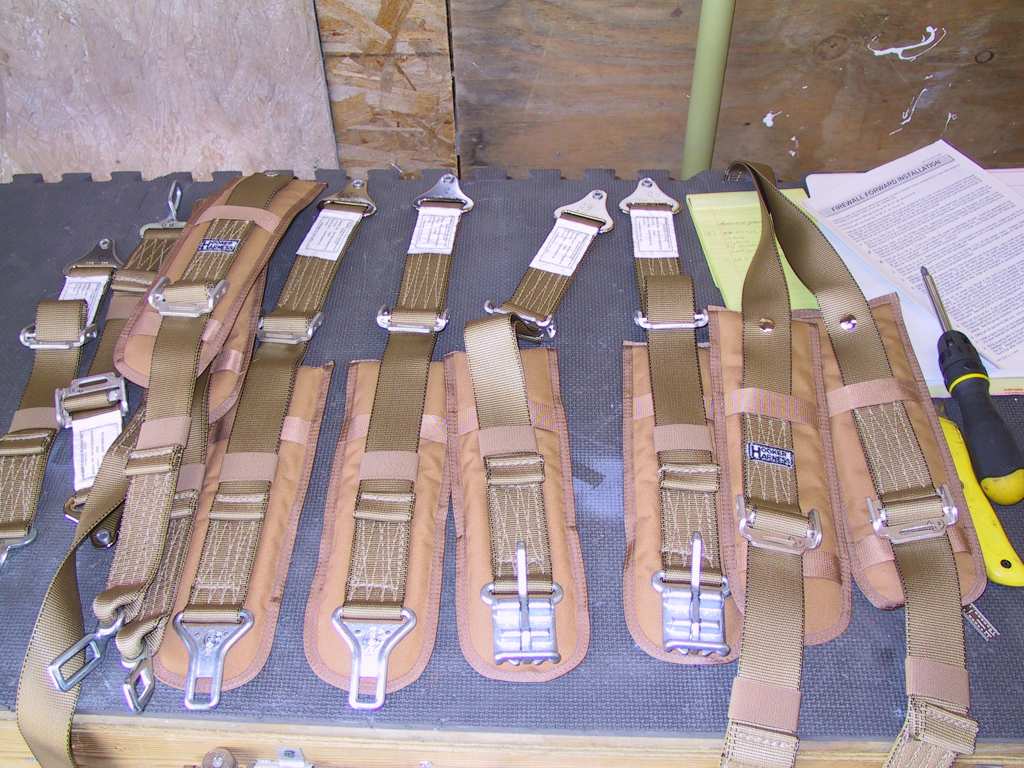
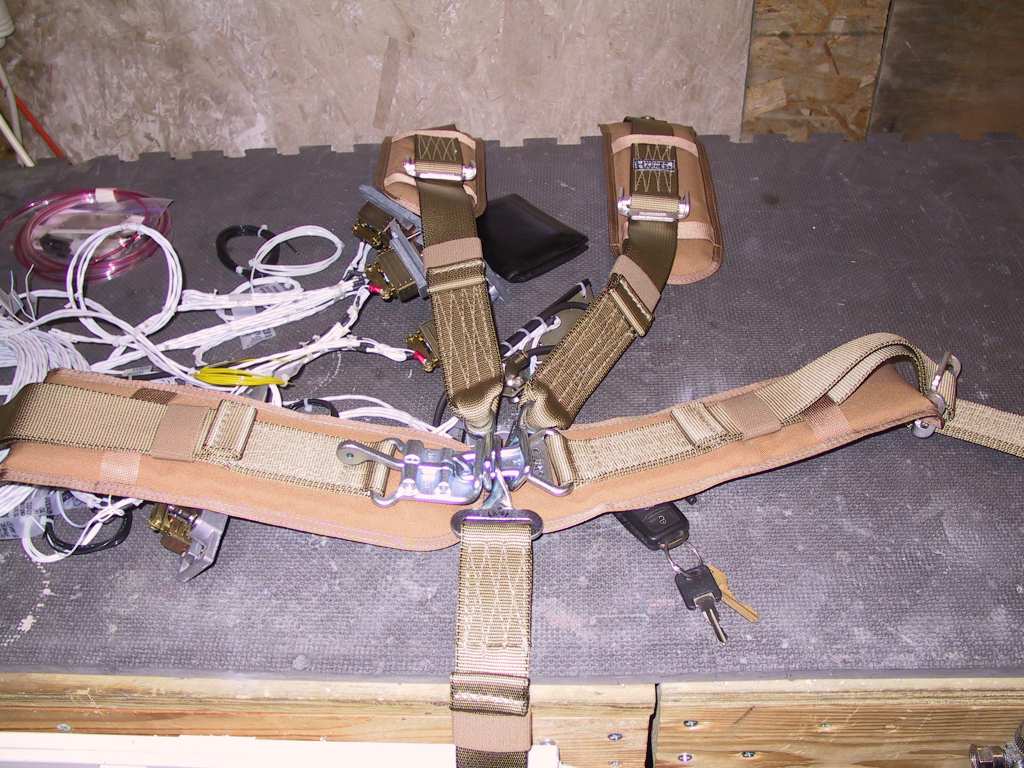
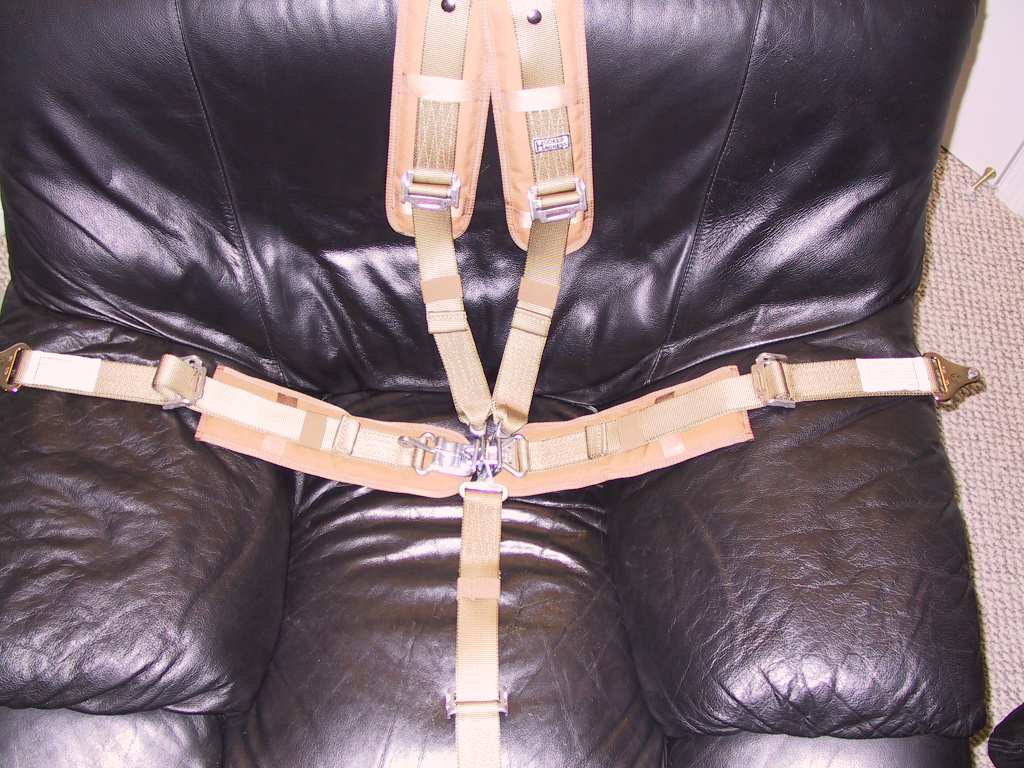
| 7/23/04 |
Today I received my 5-pt Hooker harness from
Team Rocket. These
things are beefy as hell. Very nice. Not only are the very
functional they are very nice looking with a two toned brown/beige color
scheme. I have some questions as to whether I should hook up the
Ball Buster strap. I'm going to ask the world about this. I'm
not sure if they'll fit with my seats which I ordered from
Classic Aero
Designs about two weeks ago (10 week backlog). [Later I
confirmed that they will work fine with the 5-pt harness]
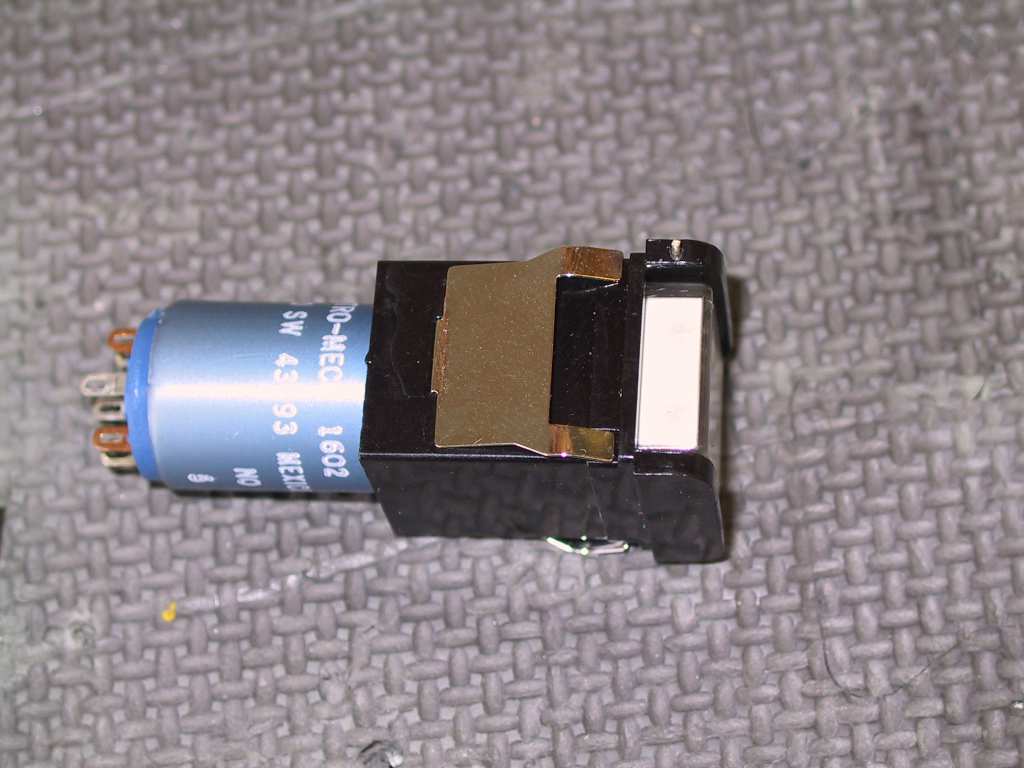
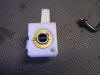
I've been researching switches for the panel for a very long time.
I wanted switches which were internally lit with LEDs, could handle 10 ADC
and were square pushbuttons and would fit side by side at 1" spacing.
I found this particular switch. It works very well but it has a
square mounting hole and I would prefer round. I may just stick with
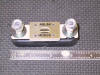
the toggle switches from B&C. Dunno.
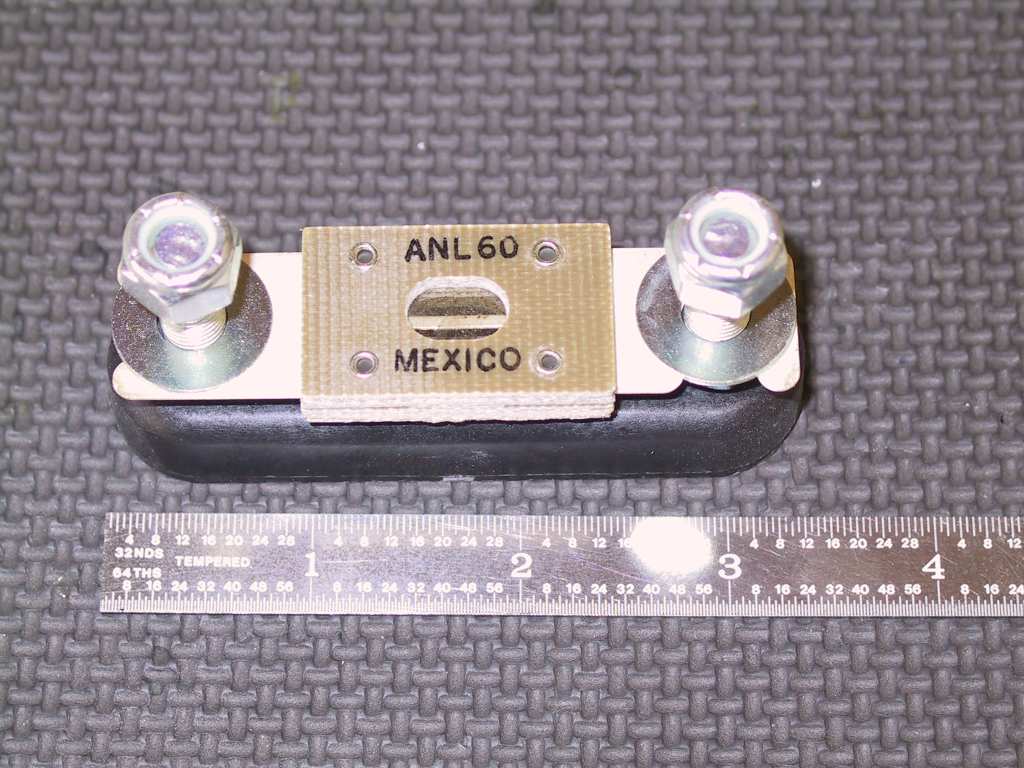
My last order from B&C came with a
100 Amp breaker but I ordered an ANL 60. I sent B&C an email and
within minutes they had called me and said they would send the correct
order ASAP. Awesome service and their products kick arse.
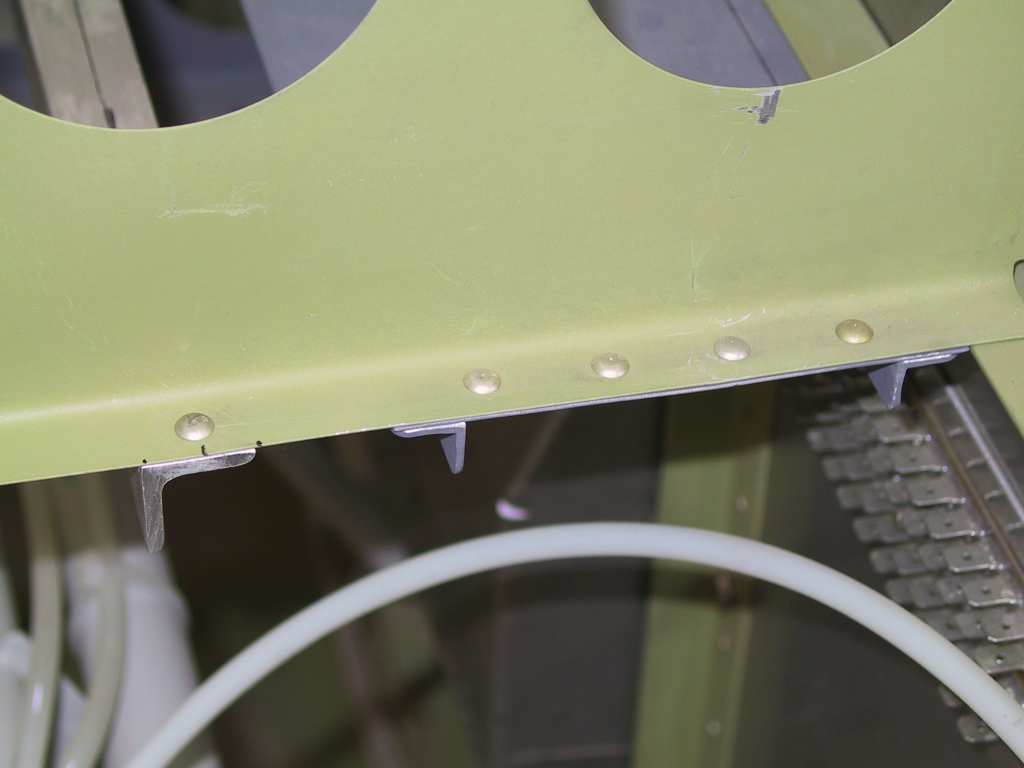
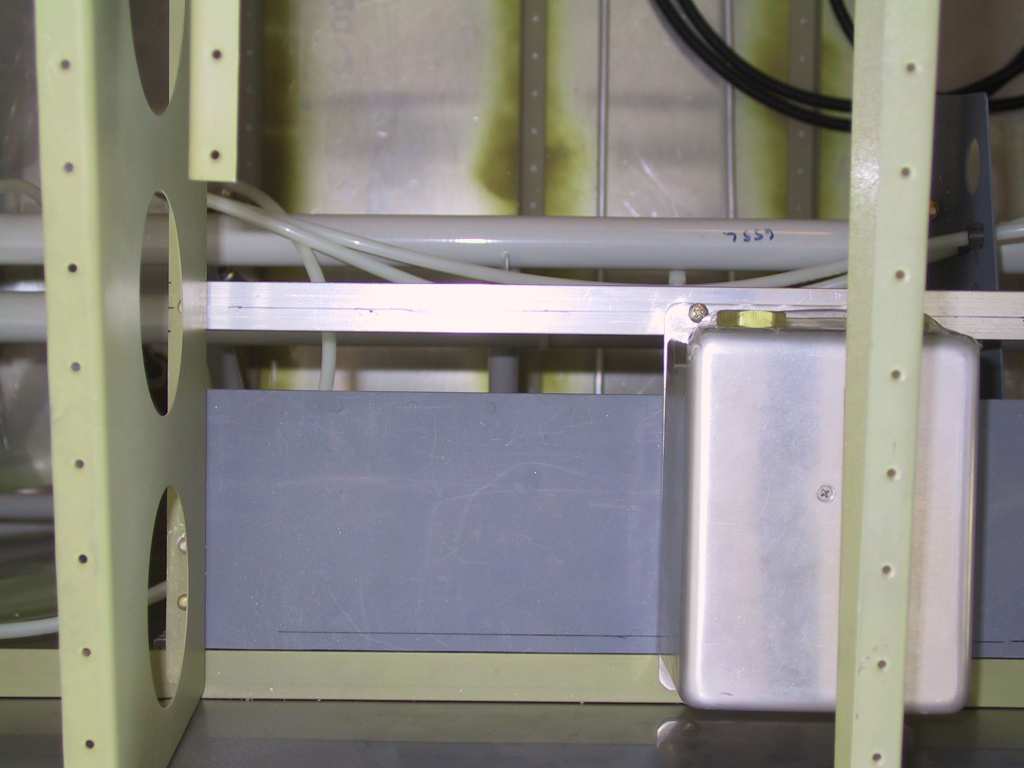
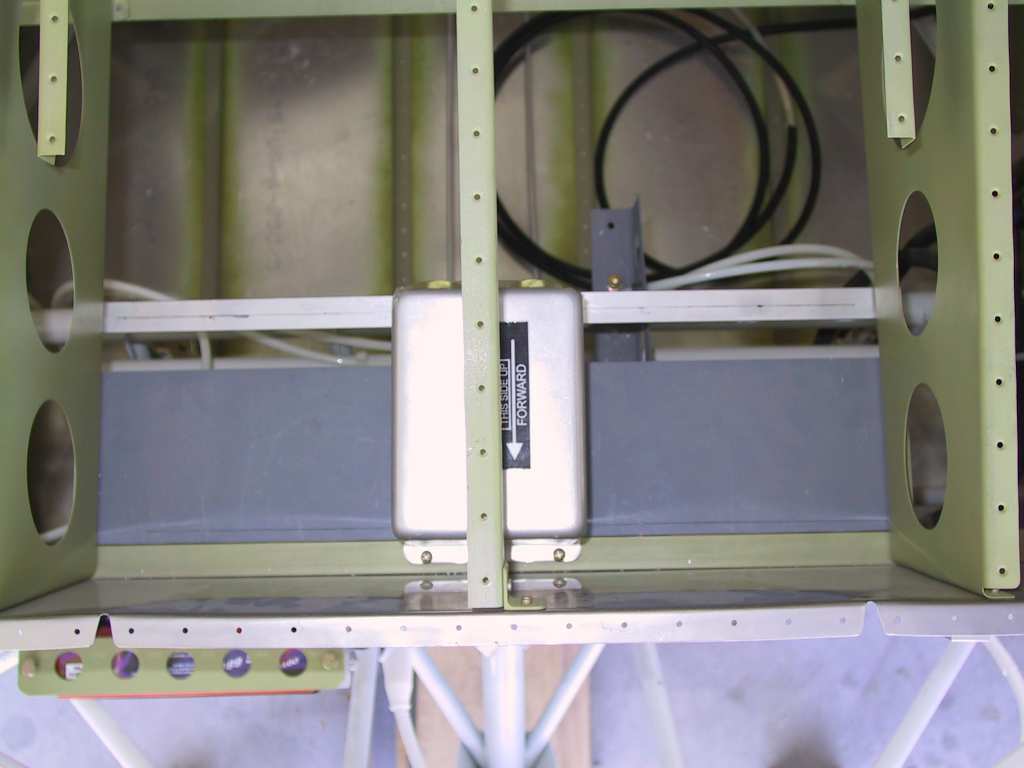
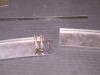
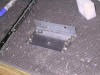
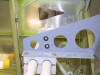
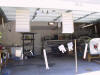
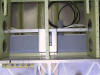
Fabricated a shelf across the bottom of the F-745 forward fuselage
ribs. I really didn't want to drill any more holes than necessary in
the firewall stiffeners. Then added another rib ahead of that shelf.
The gap is for wiring runs. It may or not be handy. I suppose
I should have just built a larger shelf. Then drilled the holes for
the AHRS unit.
   |