| 9/8/03 |
Ordered and send the check for the Fuselage. It should
be here next week. Good cuz I'm running out of big things to do. |
| 9/26/03 |
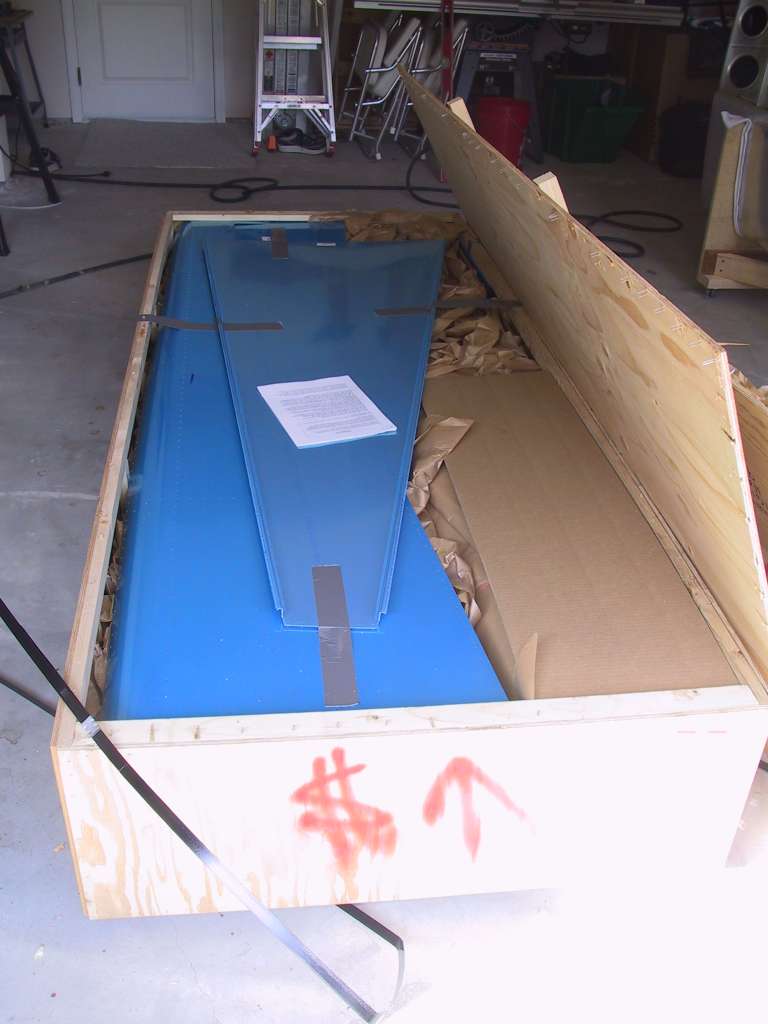
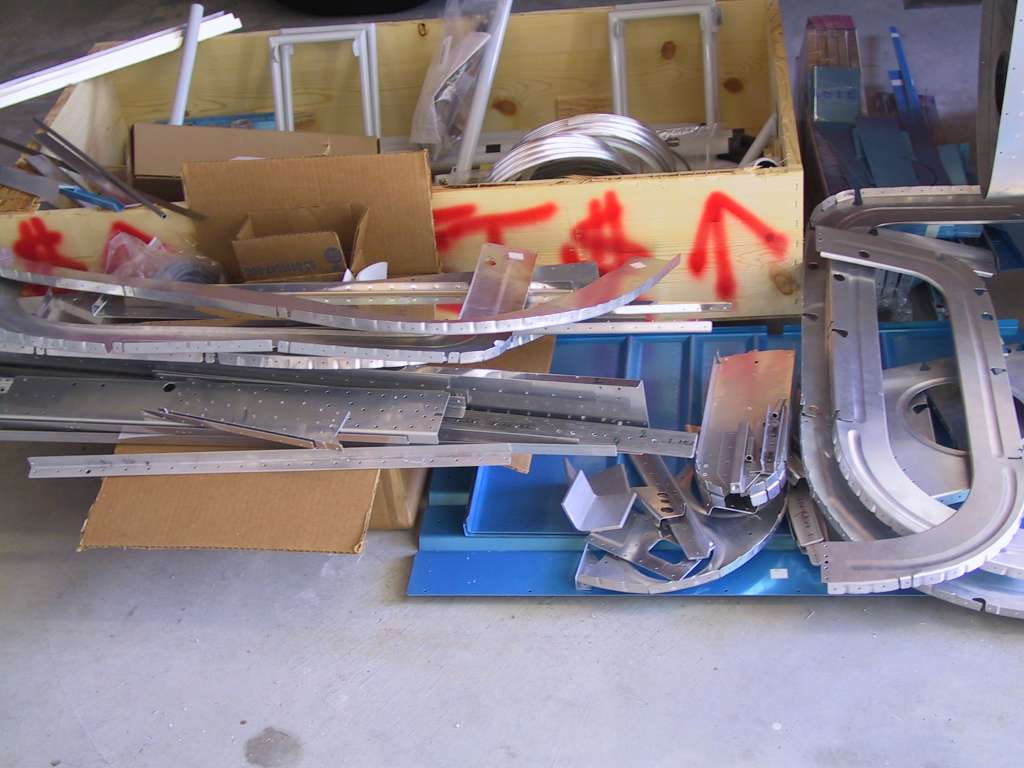
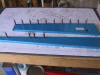
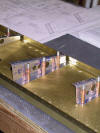
Yes! The fuselage arrived today. Cut out of work for
an hour to get the boxes into the garage. Thanks Brian, James, and Zo
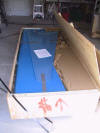
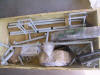
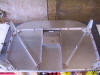
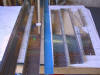
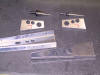
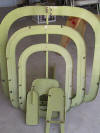
for helping out. The fuselage comes in two boxes with a combined
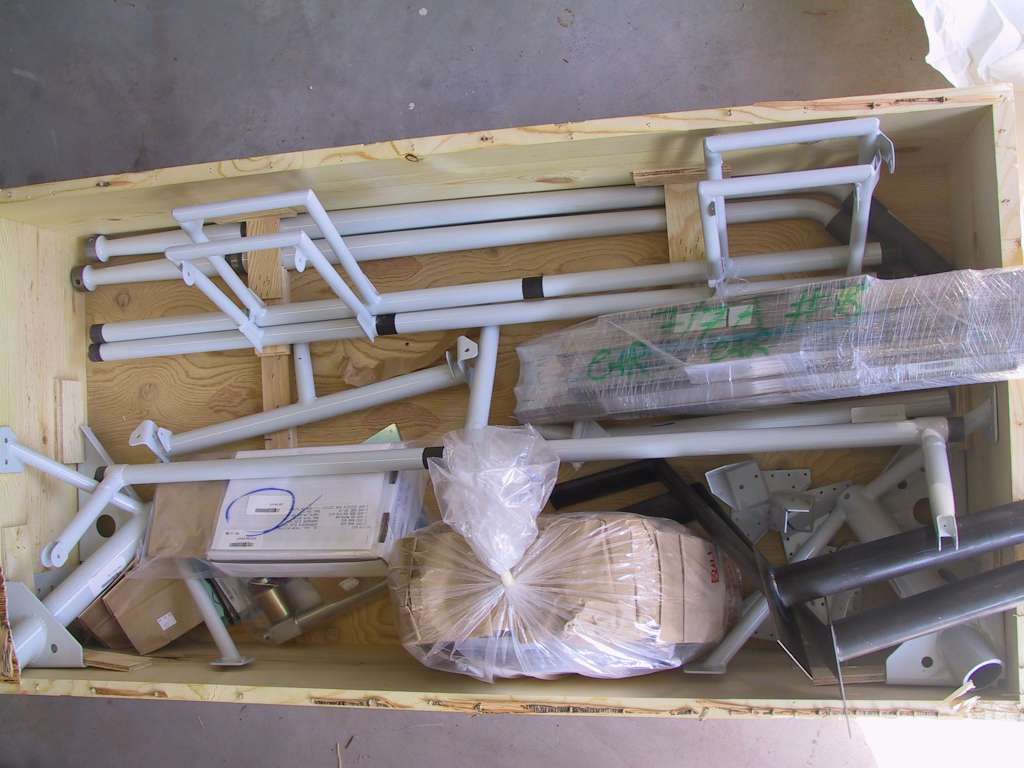
weight of 360 lbs for a 7A. Here's the big box just opened and the
smaller box with it's contents. Here you can see the landing gear at
the very top and the rudder pedal tubes. At the lower right and left
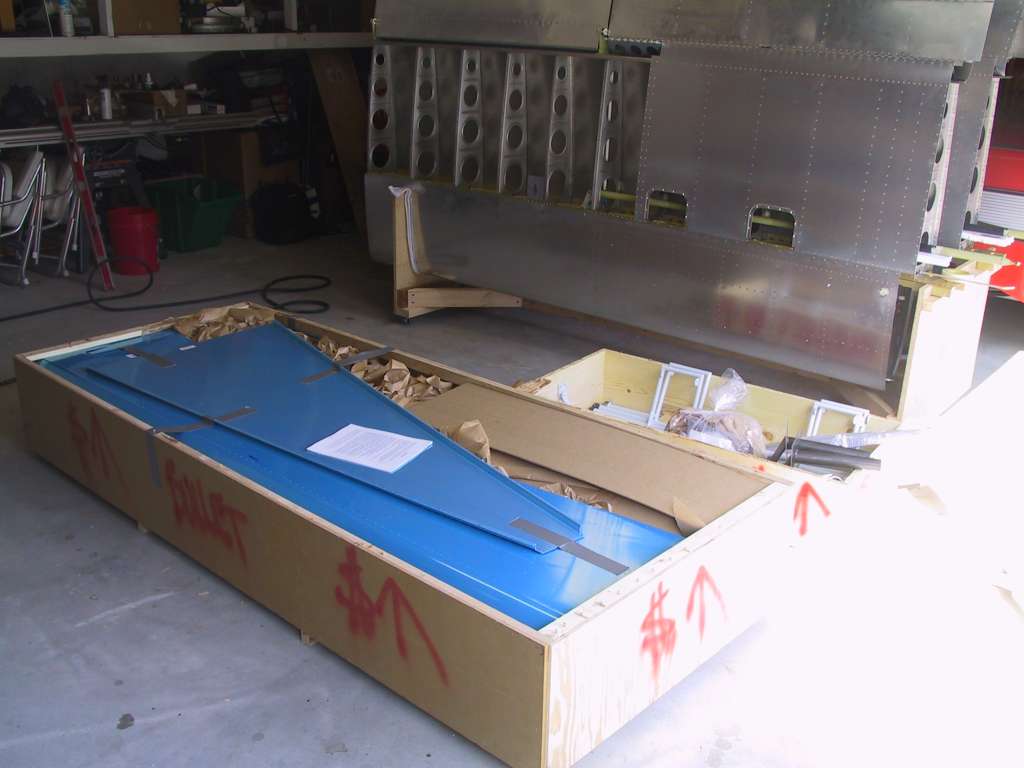
you can see the landing gear braces. Just to give you an idea of the
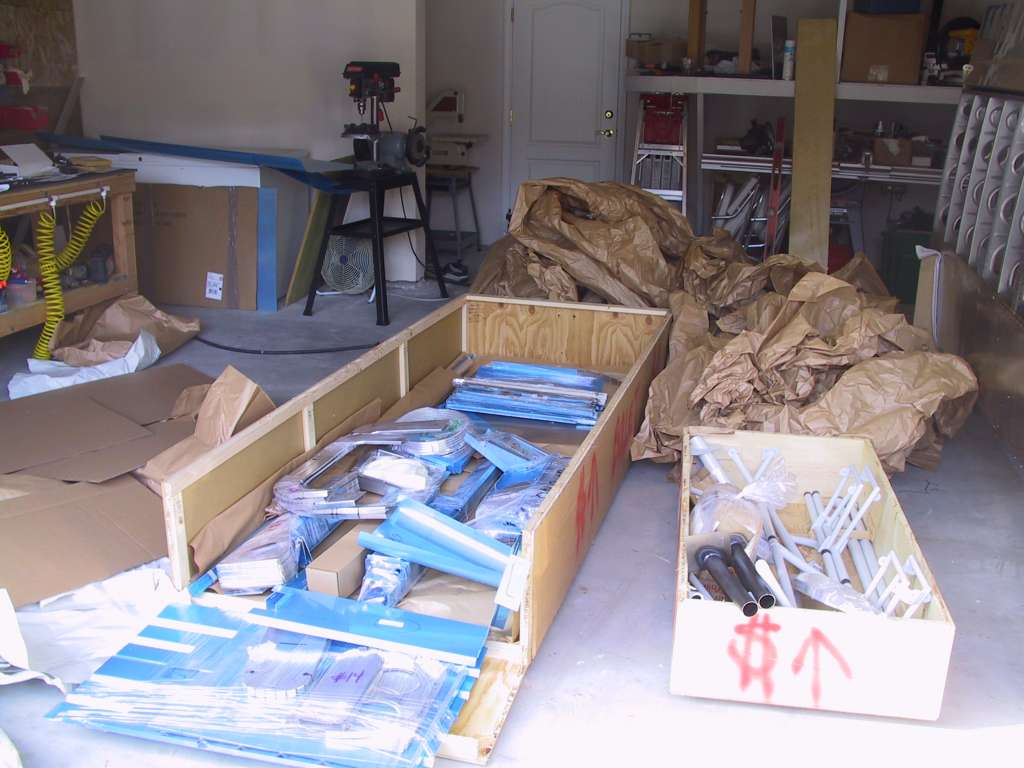
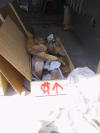
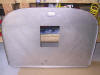
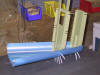
size of the larger crate here it is next to the left wing. Once you
start unpacking you better hope the garbage man is coming soon. Tons
of packing material! And just for giggles, here's the packing list for
the fuselage next to the packing list for the QB wings. That's what
you pay $4000 for.
   |
| 9/27/03 |
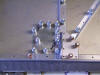
Spent the entire day unpacking and putting parts in their
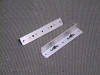
place and taking inventory, then building the Firewall. Here's a shot
of the F-601J-L. Don't make the mistake I did. Make sure you
leave 3/32nds gap between it and F-601M stiffener. I ended up making
another. Here a shot of the Aux. Fuel Pump Firewall Doubler.
Make note that the platenuts go on the front of the firewall. You see
them here because I was drilling them through the firewall. After all
parts were mated and drilled I deburred and countersunk and its prime time
tomorrow.
   |
| 9/28/03 |
Finished the firewall with Barry's help. Thanks Barry
for taking *one hour* out of your day, more like 8! Alumiprep,
alodined and primed all parts. Then began riveting. This is a
bear to rivet. You can just get a standard yoke to rivet the bottom
rivets. All other rivets were done back riveting. You have to
have one thick piece of metal though. Also make a note that all rivets
are flush on the engine side *except* the rivets for the Aux. Fuel Pump
Firewall Doubler which are flush on the cabin side. I did this
backwards but after looking at the plans on page 36 I can't see where the
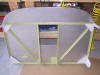
aux fuel pump will interfere. Here's some shots of the front and back
completed firewall, minus the recess which is left open to have better
access.
  |
| 10/2/03 |
Vans didn't send me the center section of the fuselage with
either the QB wings or the slow build fuselage. I called and they had
forgotten to send it. You would think that wouldn't happen since it's
matched drilled with the wing spars! They also overcharged me $275 for
the hardware kit for the wings. I wonder what else? So now I'm
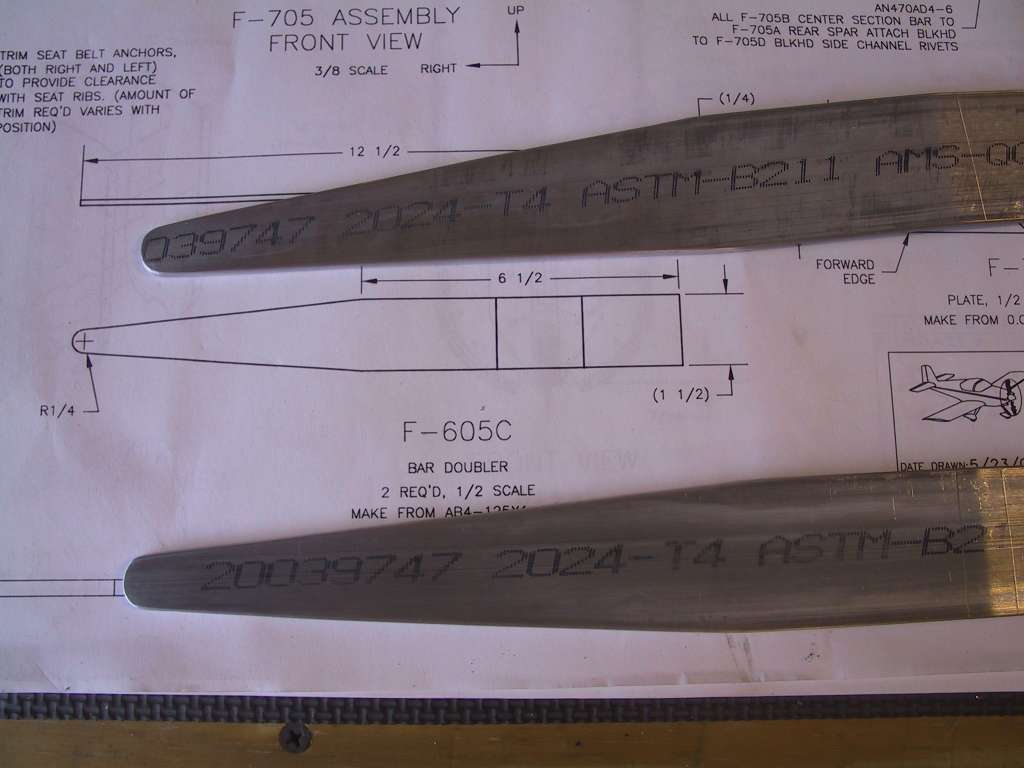
starting with the bulkhead which the seats rest on. Here's a shot of
the bigger pieces and the F605C doublers which you have to cut. The
plans don't say how much overlap the F605C doublers and spar ends should
have so I just centered them.
   |
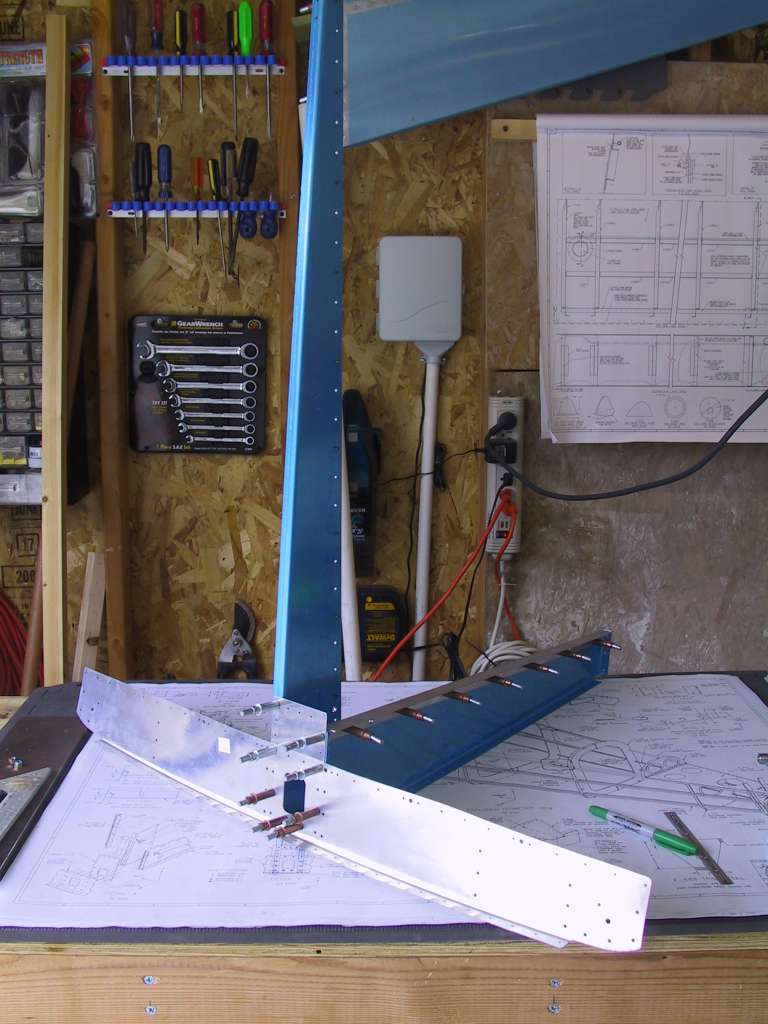
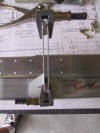
| 10/3/03 |
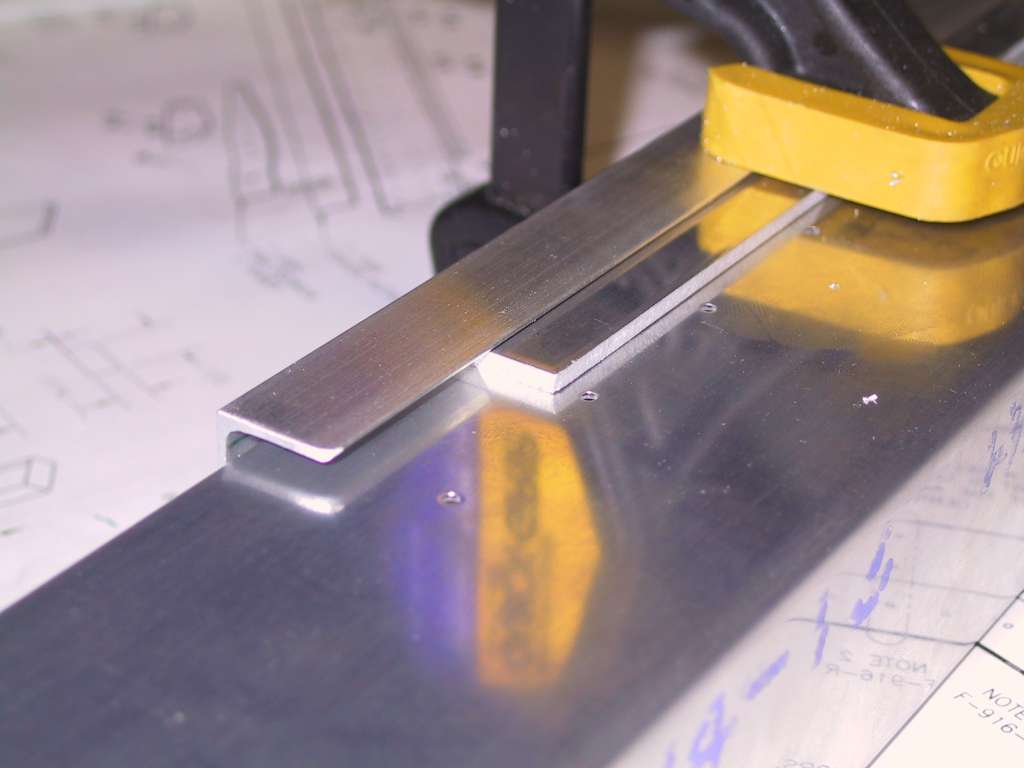
When fitting the spacer on the top of the assembly along
with the rest of the parts for the seat latch assembly just draw a
centerline on the parts and match drill. I ended up going to my EAA
Chapter 96 to get the proper 4 degree bend on their bending brake.
The plans call for a 1/8 in gap on the angle iron. I used a 1/8
piece as a spacer. And a shot of the bulkhead clecoed together.
I won't permanently attach anything together until I prime. Even
thought this is all inside the fuselage I figured it can't hurt.
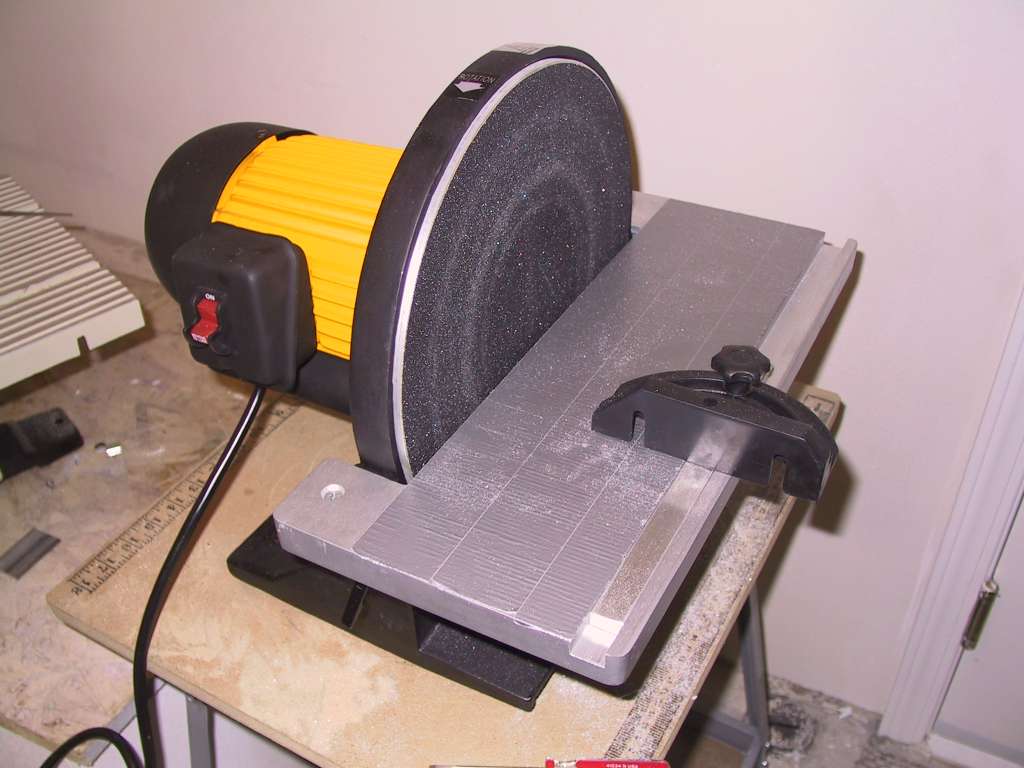
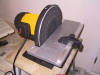
I decided to finally purchase a *real* 12 inch sander. This is
awesome. How did I every fabricate any parts without it before?
Highly recommended as it really speeds things up and it was only $127 at
Harbor Freight.
  |
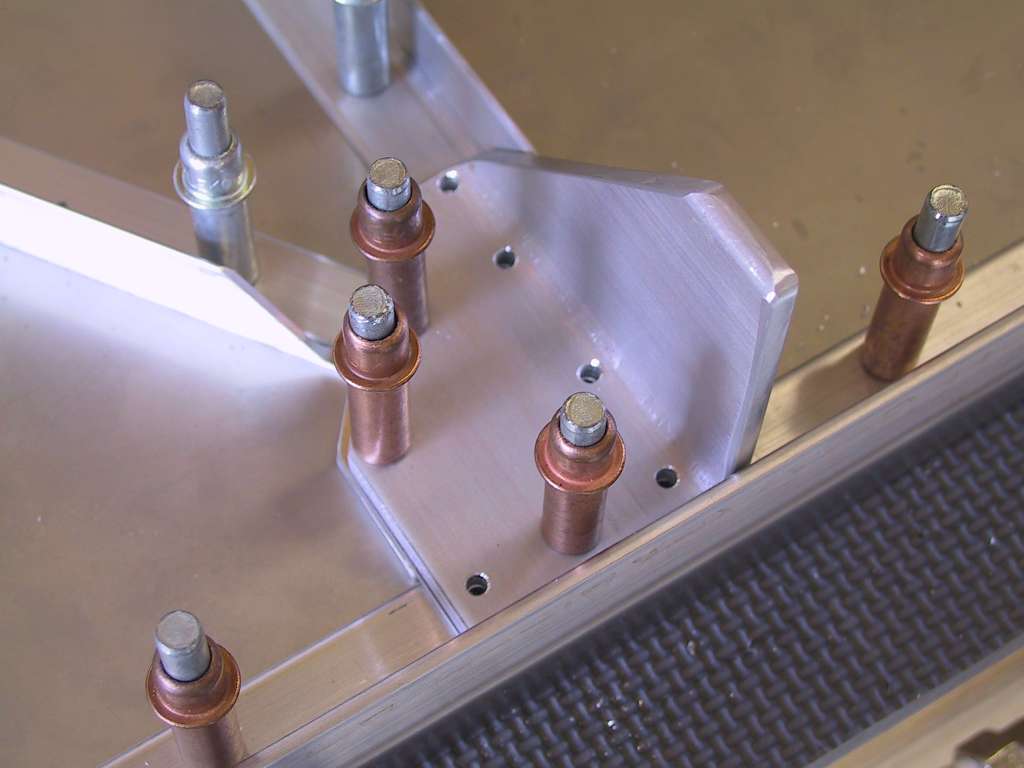
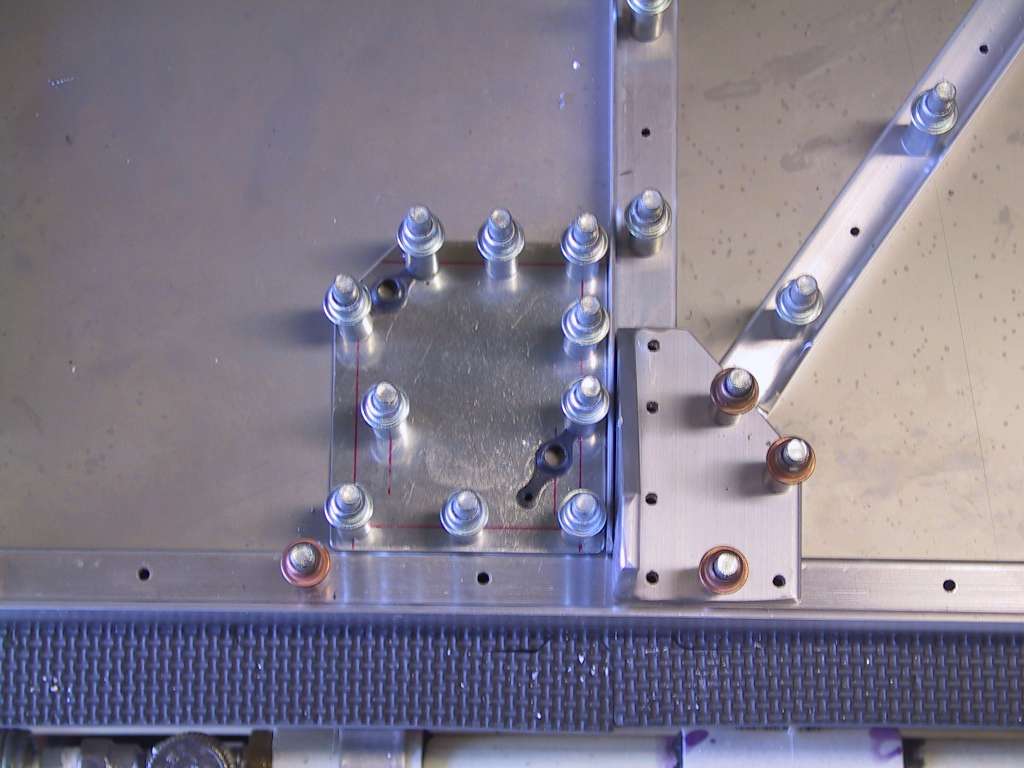
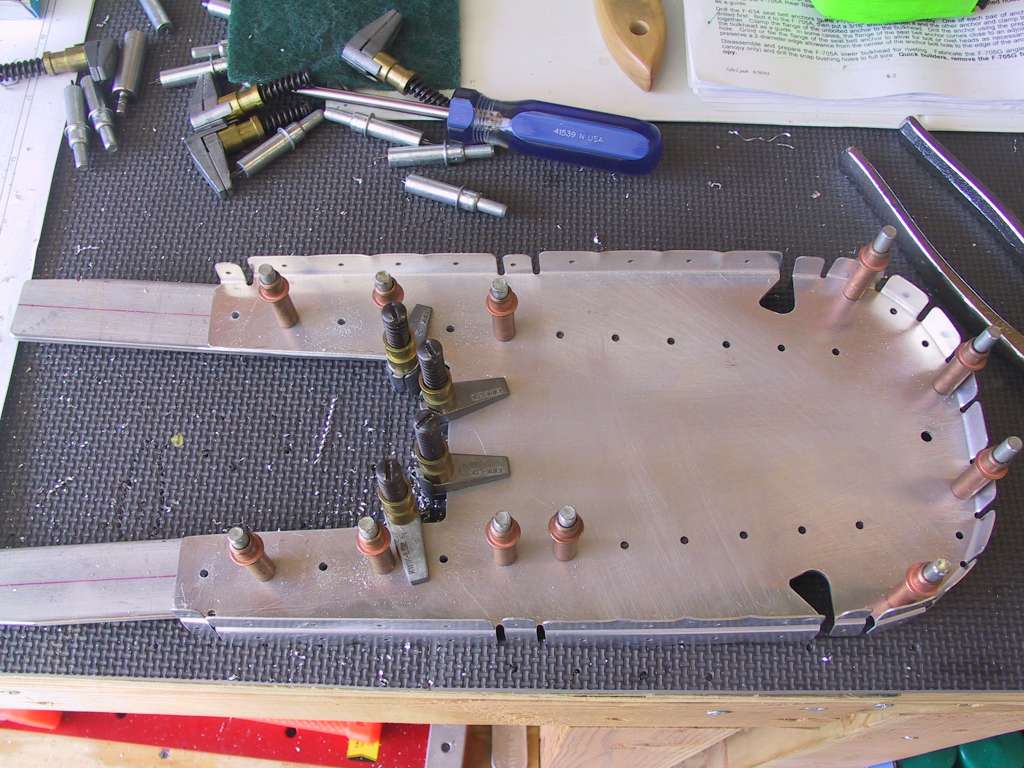
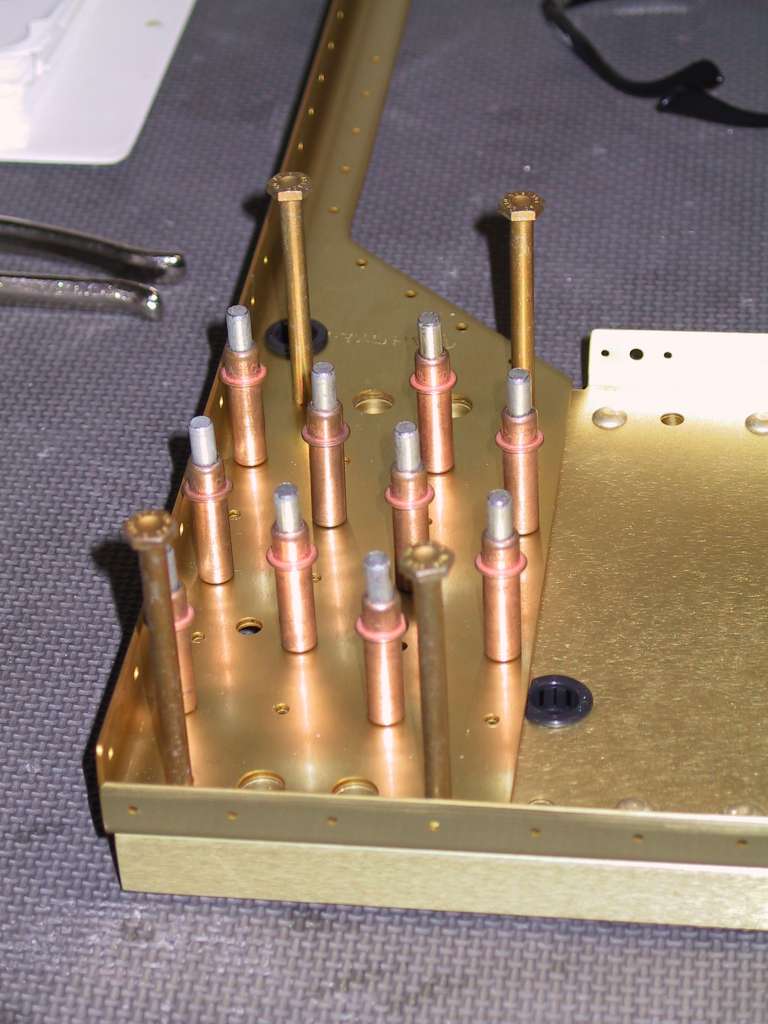
| 10/4/03 |
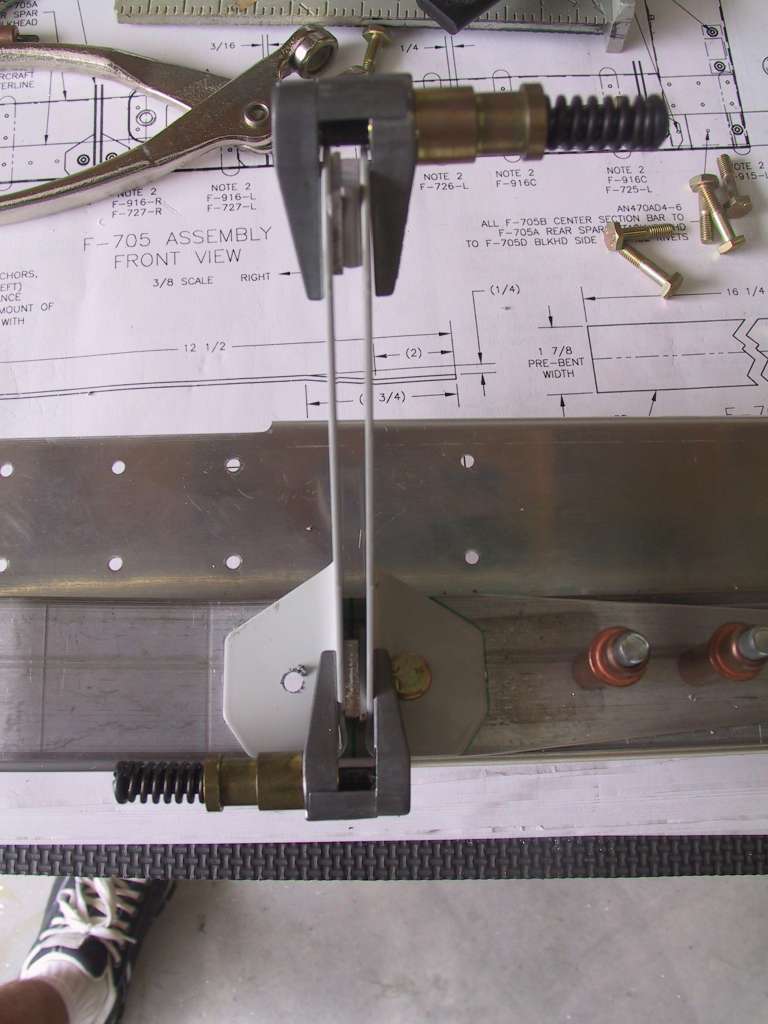
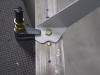
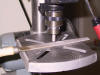
Drilling the seatbelt reinforcements requires a good set of
clamps. Once again I made some spacers from stock to keep the
proper distance apart while drilling. You can barely see a rivet hole
being covered up by the reinforcement. You only need to make
clearances for the left most and right most reinforcements pairs.
Here's a shot of the next bulkhead parts coming together. And, the
fuselage center section did show up today.
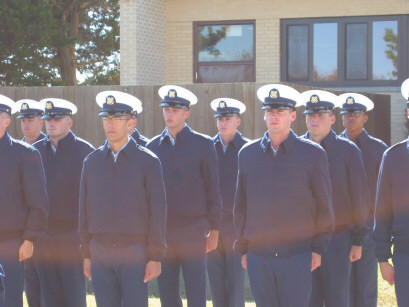
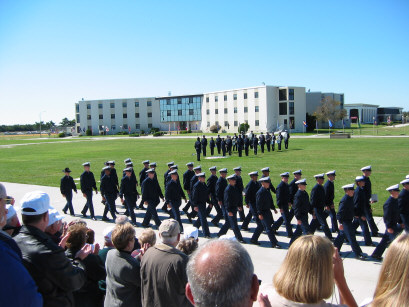
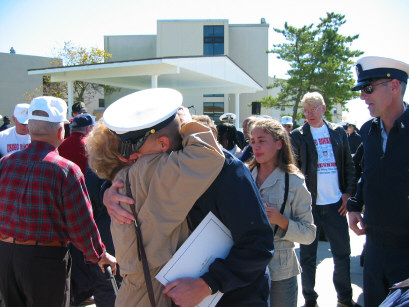
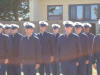
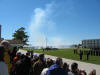
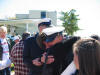
On a more personal note: Last Friday my nephew Travis Ruterbusch
graduated from United States Coast Guard boot camp. Following in the
steps of his father who was also in the Guard and his Grand Father who was
in the Navy. I'm so very proud of him. Way to go Travis!
Wish I could have been there.
   |
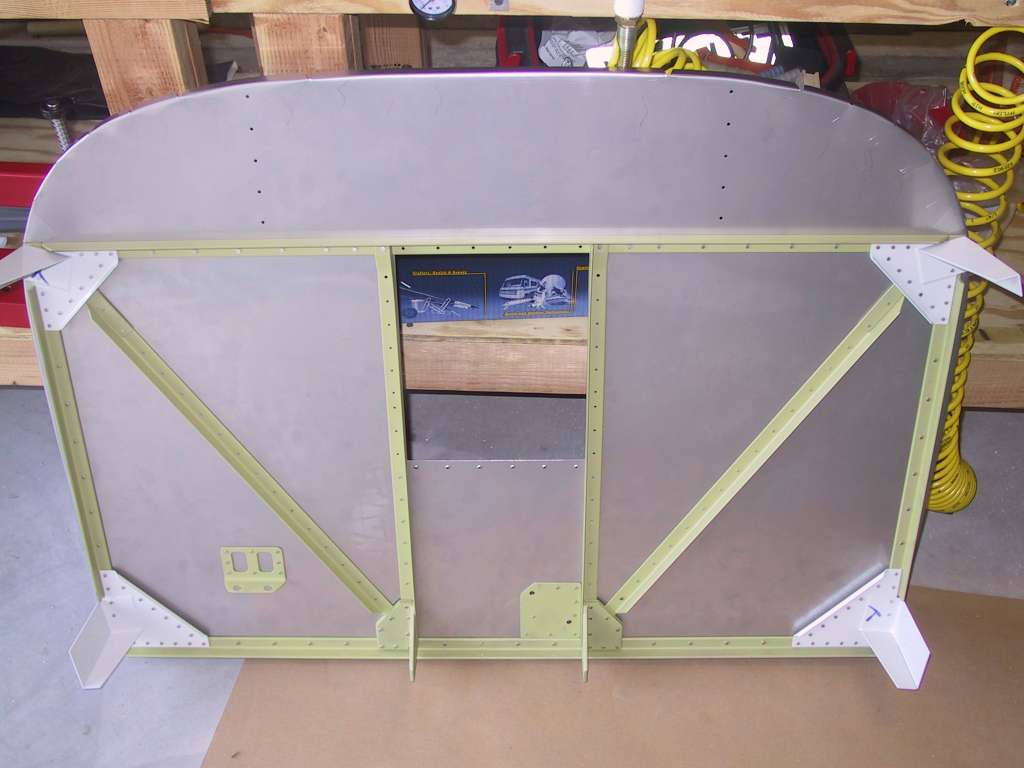
| 10/5/03 |
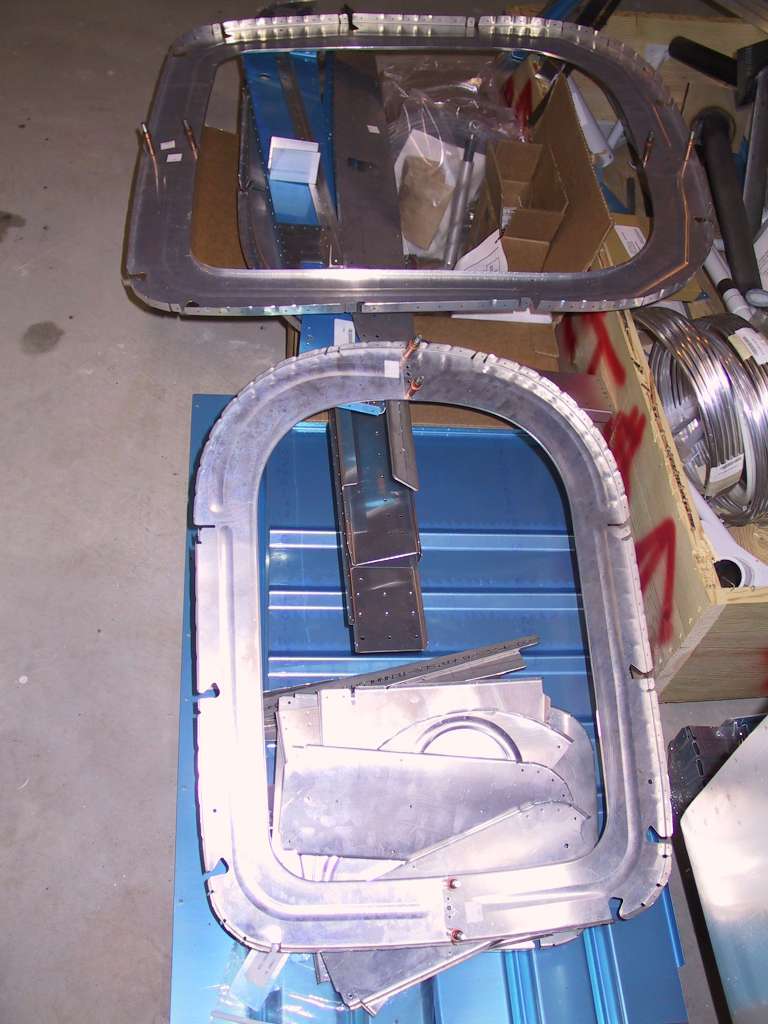
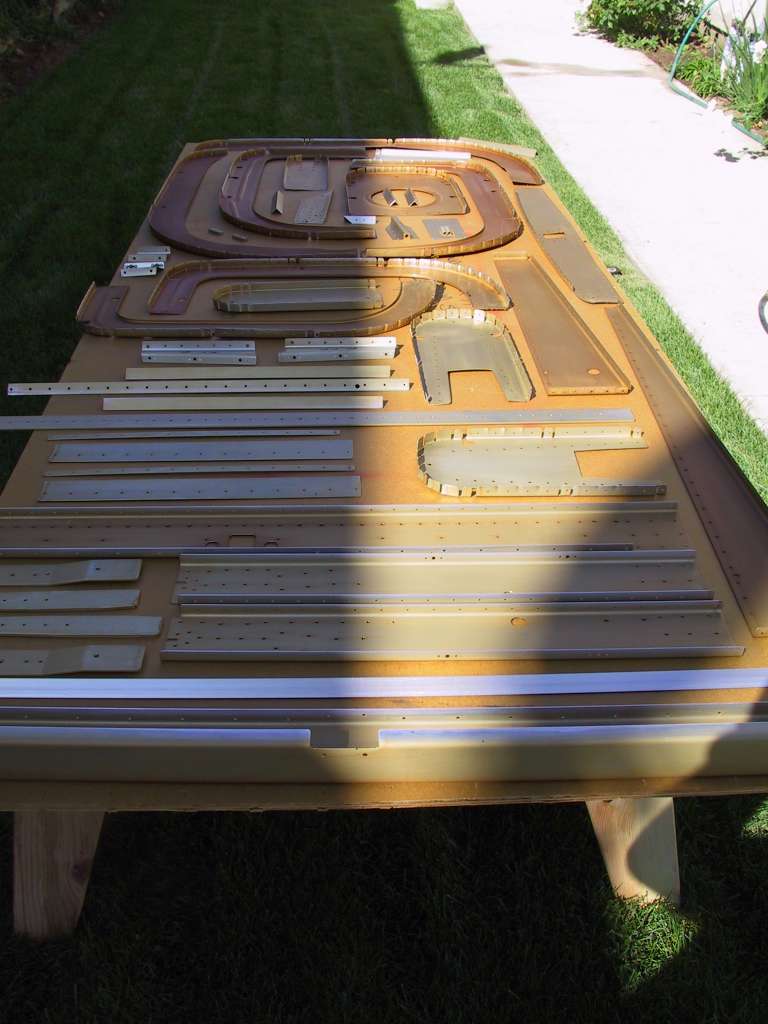
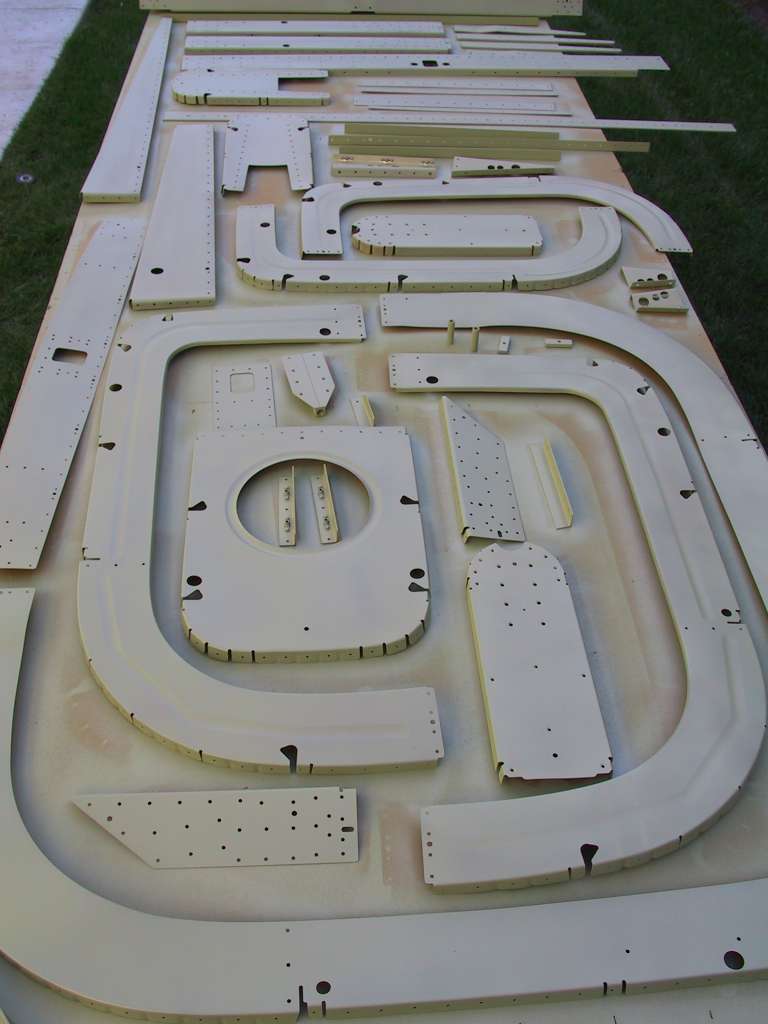
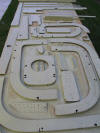
Began construction of all the bulkheads in earnest. I
was hoping to get them all primed and ready for riveting but ran out of time
because there are so many edges to clean up. If Vans sold a kit with
all the edges deburred it would only take 10 hours to build the plane!
Here's some shots of some of the bulkheads and a pile of parts ready for
priming.
I started working on the center section today as well. This thing
is a piece of work, beautiful. Installed all the bushings on the fore
and aft sections.
    |
| 10/6/03 |
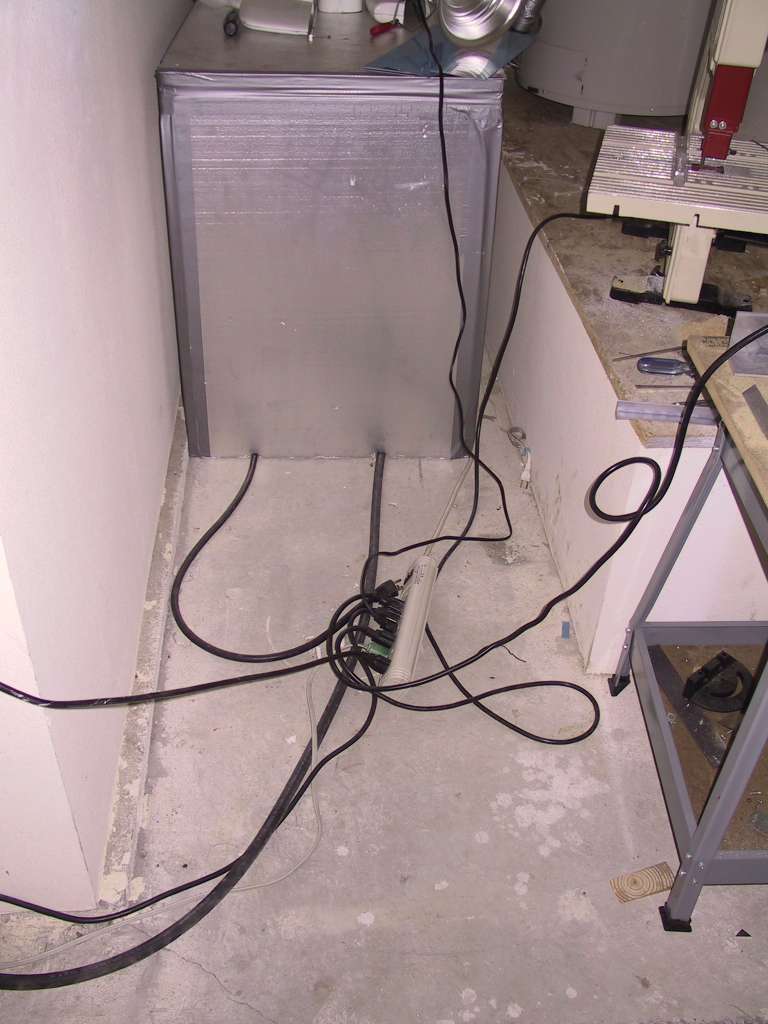
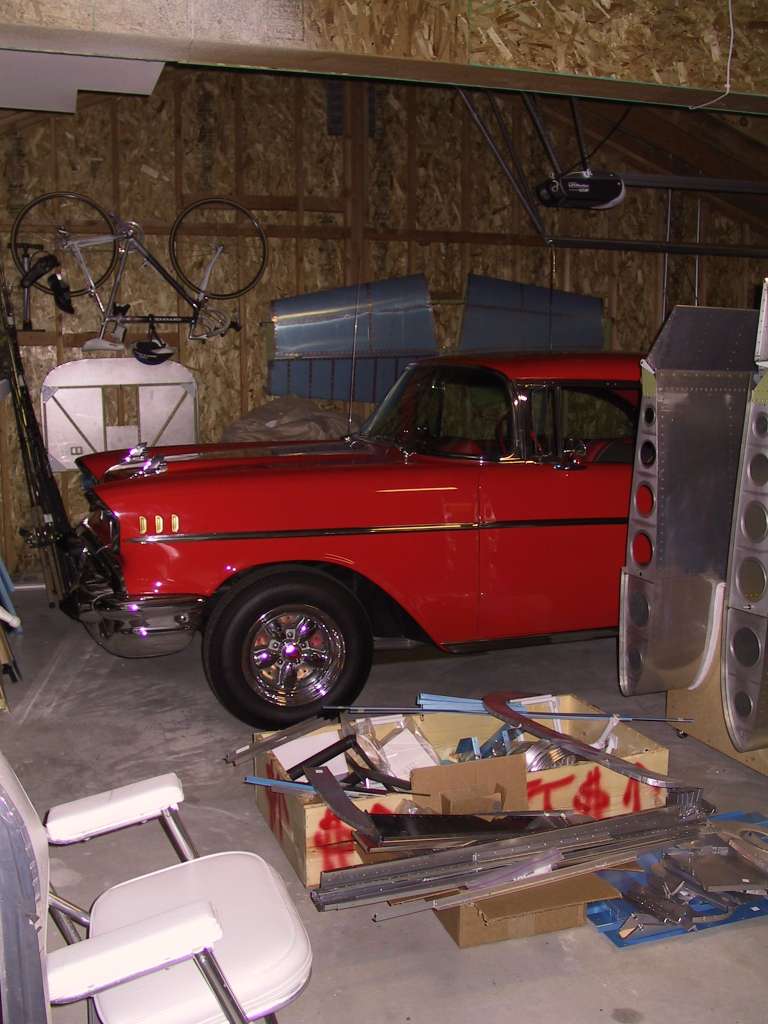
Finished drilling out all the snap bushing holes in all the
bulkhead parts. I need to find a deburring tool which will debur both
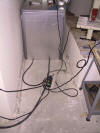
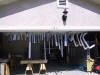
sides of a drilled hole. Here you can see the electrical octopus in my
garage. The big silver contraption surrounds the compressor to squelch
the noise. And now most of the walls are covered with parts, including
the floors. You can see the wings, firewall, horizontal stab., and a
bunch of parts ready for priming.
   |
| 10/7/03 |
Completed the control mounts. I neglected to clamp the
match-drilled bolt hole and consequently the hole through the mount did not
line up properly with the bulkhead spar. I reamed the hole in one
direction and decided it would be ok.
 |
| 10/8/03 |
Did some cleanup work in the garage. Finally went
through every bag and placed all bolts, nuts and washers in labeled boxes
and clear bags with labels. No more digging through a hundred bags.
Mounted the z brackets on the forward center section. It was too late
to get the drill moving, I don't want to piss off the neighbors, so far
they've been very nice. This weekend I hope to get all the bulkhead
parts primed. That will probably take a complete day and hopefully the
following day I can see some progress, finally.
 |
| 10/9/03 |
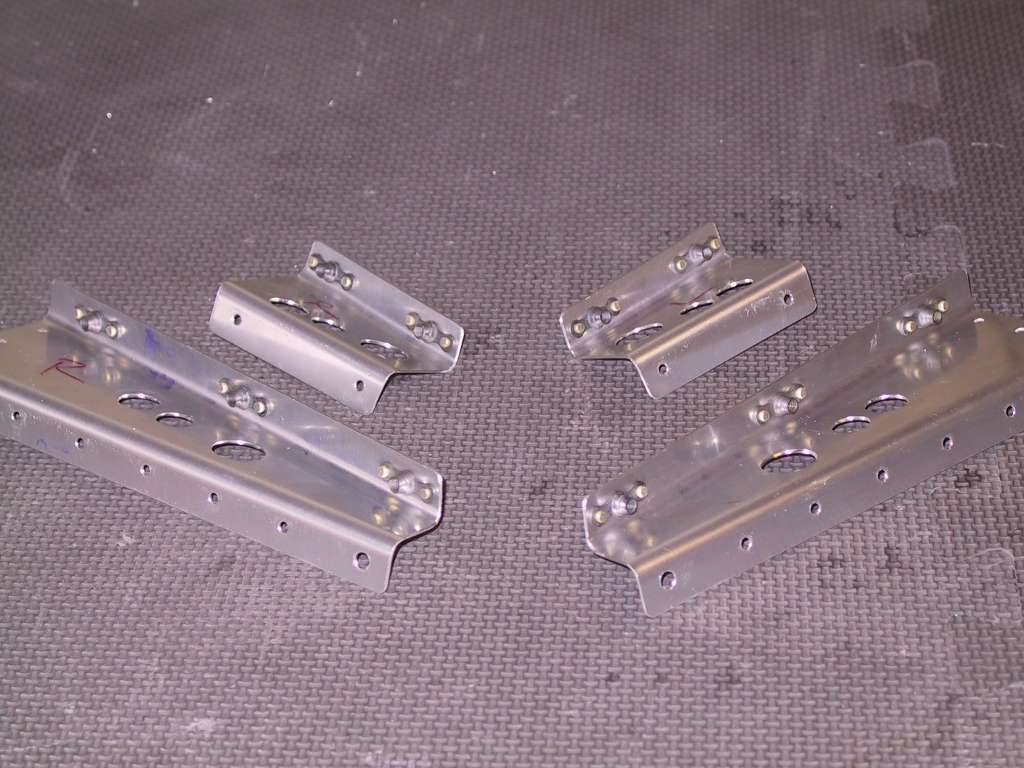
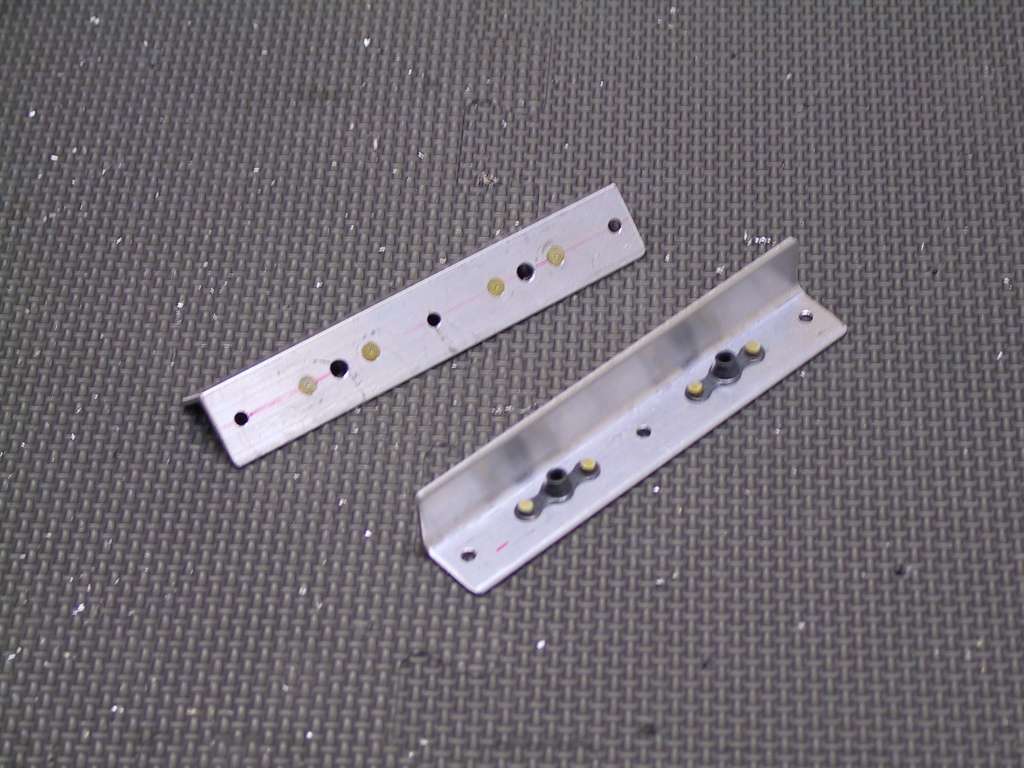
Attached platenuts to center section, stiffeners and support
braces.
   |
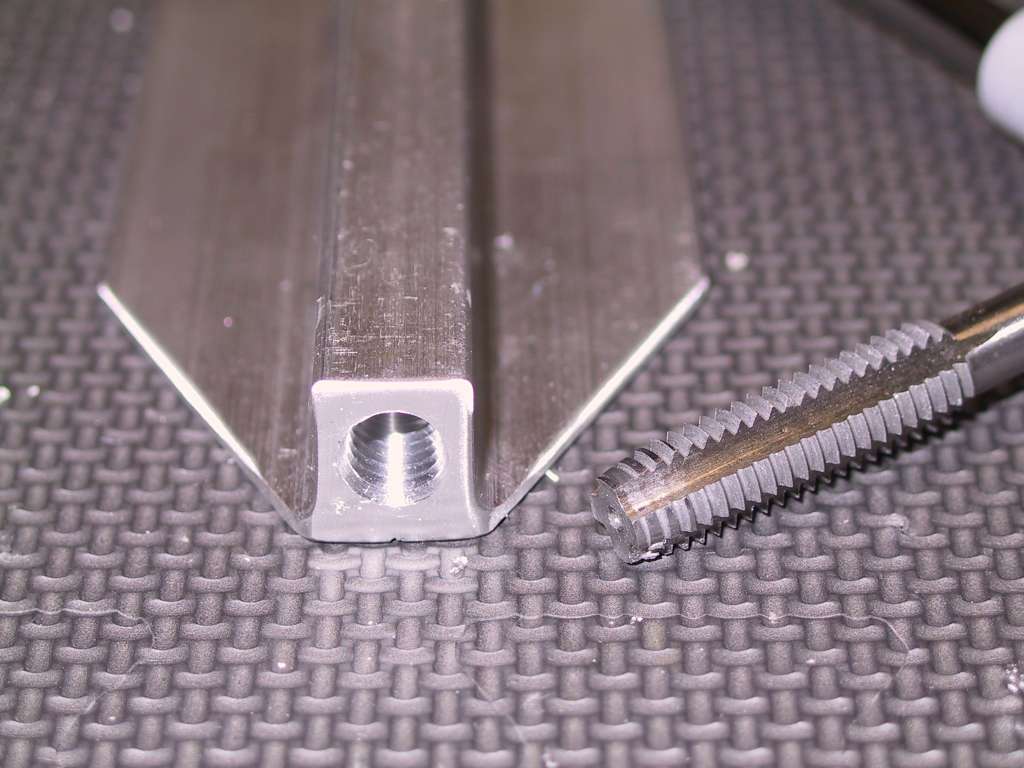
| 10/10/03 |
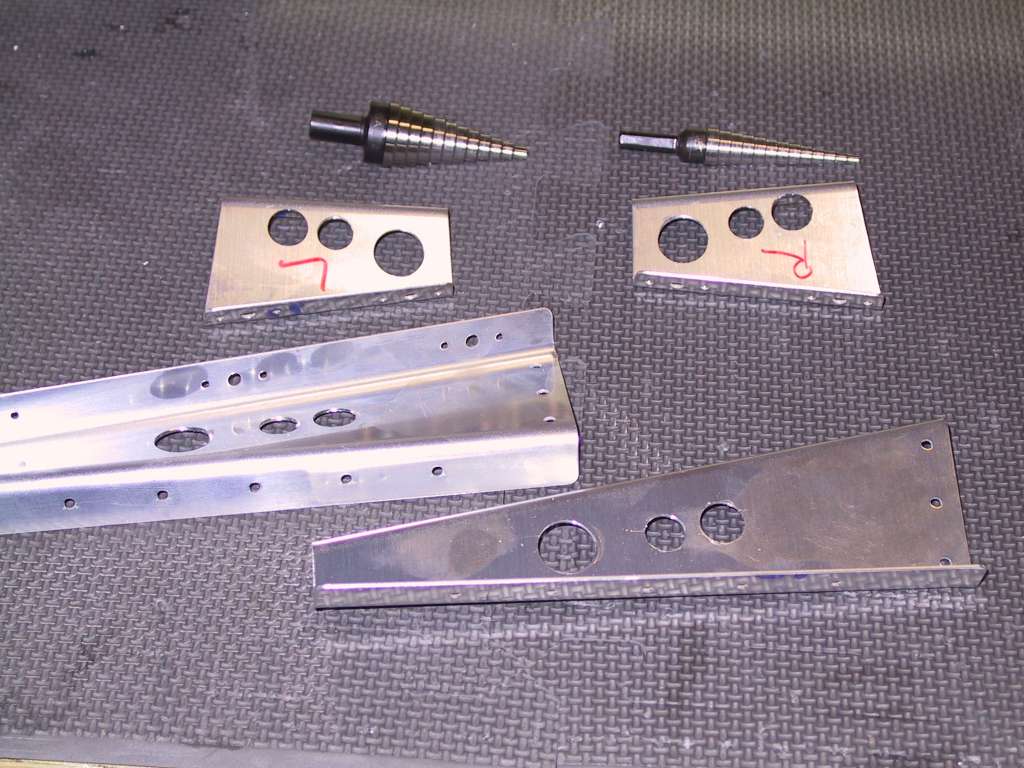
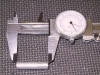
Tapped the rear tie-down point and drilled it to it's
support bulkhead. Also fabricated the 1 7/16 center section spacers.
This work has to be exact to I took extra care to make sure parts were of
the proper size/length.
    |
| 10/11/03 |
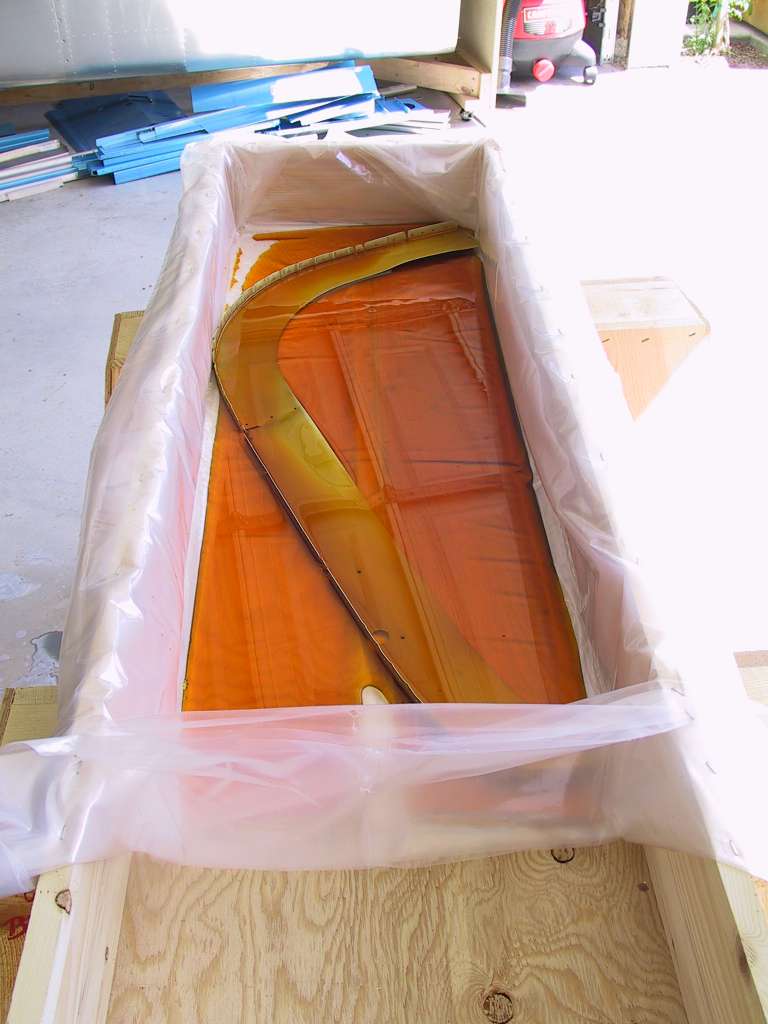
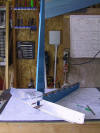
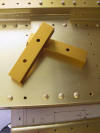
Spent the entire day getting all the fuselage bulkheads and
all other parts scrubbed with alumiprep, then alodined, then primed.
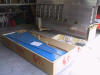
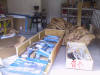
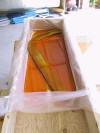
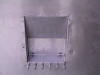
Damn what a job. Your best bet here is to do everything in one batch
and just get it over with. Build a 'tank' to submerge larger pieces, I
used some left over boxes that the flaps and ailerons came in.
Notice the wind-chimes!
  |
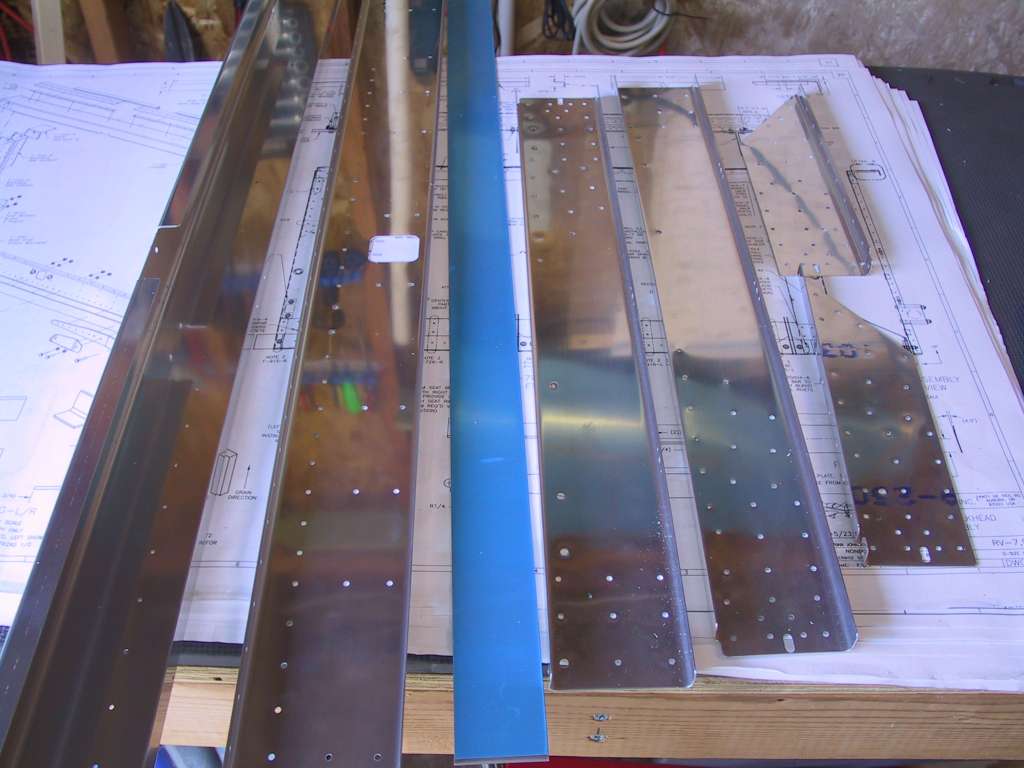
| 10/12/03 |
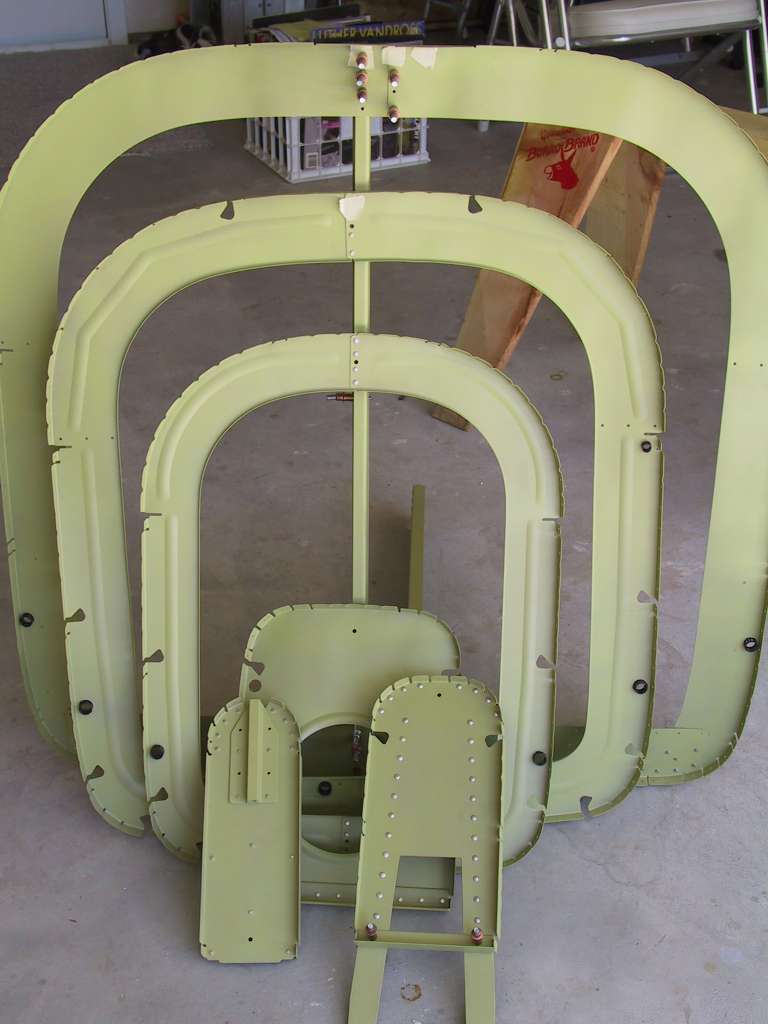
Riveted all the bulkheads together. It's pretty
straight forward, just follow the callouts and watch where it says Not to
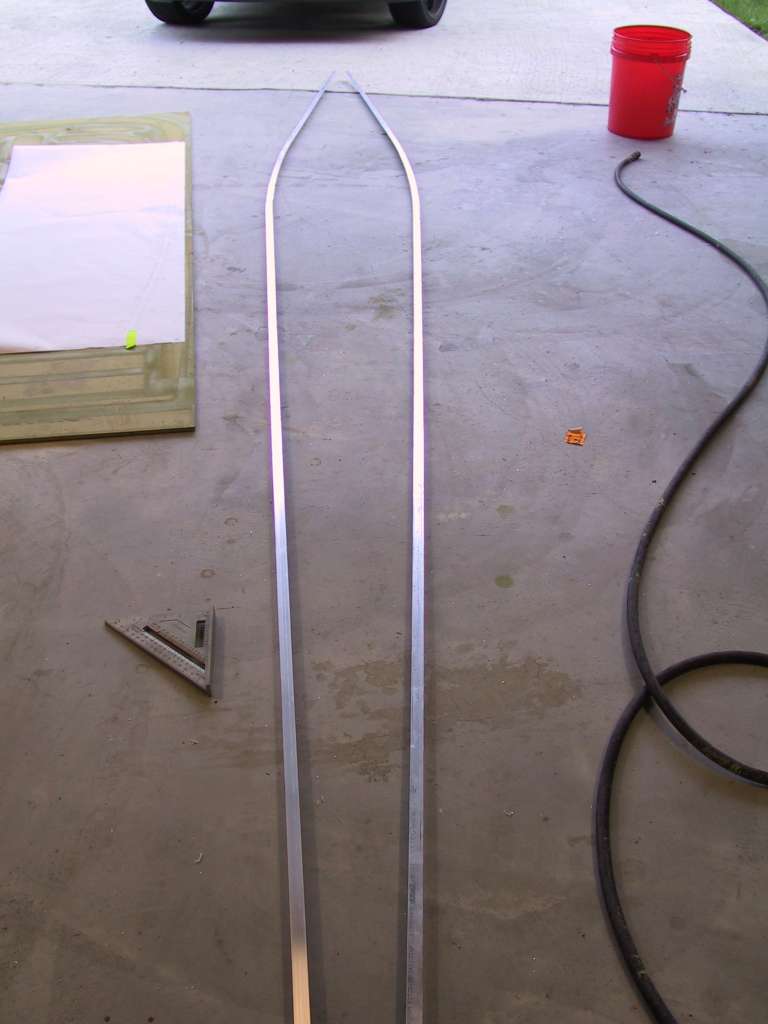
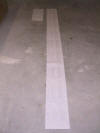
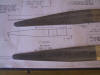
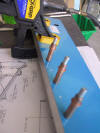
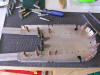
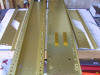
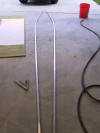
rivet. Time to bend the longerons. Move the longeron through the
vice an inch at a time and give it 3 really good raps with a rubber mallet.
Presto. Now you get to bend them back to level. Make sure when
you are bending the sharp bend you bend it 5.6 Degrees not inches.
Guess how I found that out? The instructions tell you to make a
cardboard template to do the left longeron. Don't waste your time.
Sketch the outline on the back of the plans with a sharpie. The lines
will show through on the other side of the template. Just turn the
paper over to match the lines for the left longeron. It
takes a long time to get it right but it's satisfying when it's done.
  |
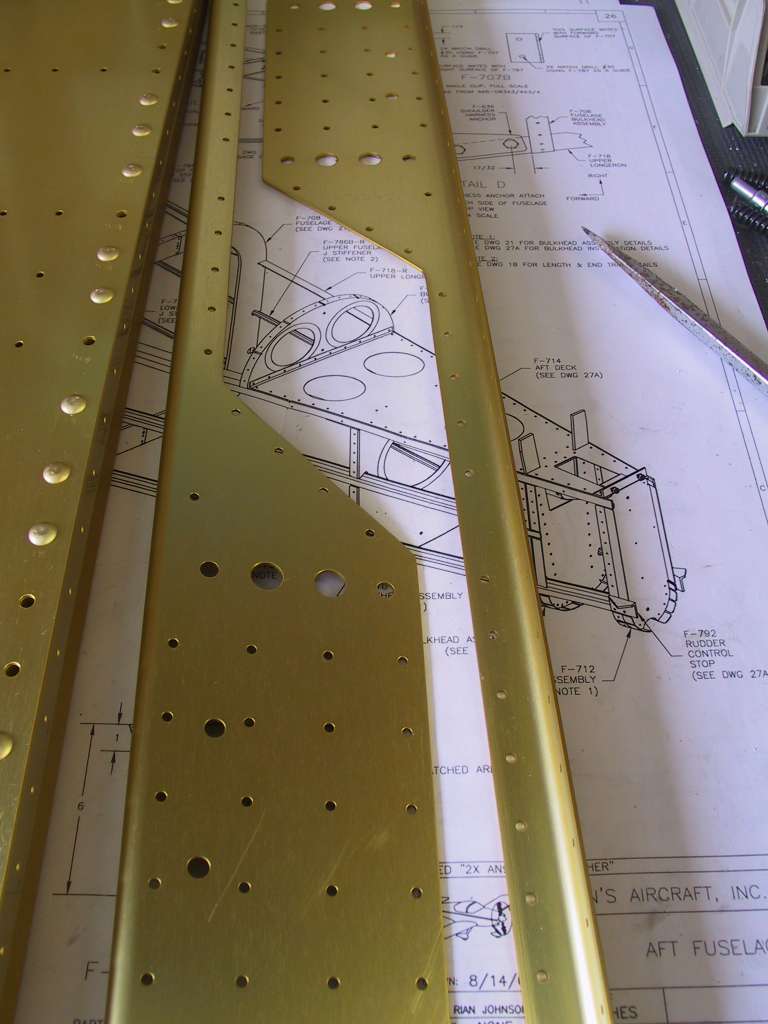
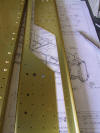
| 10/13/03 |
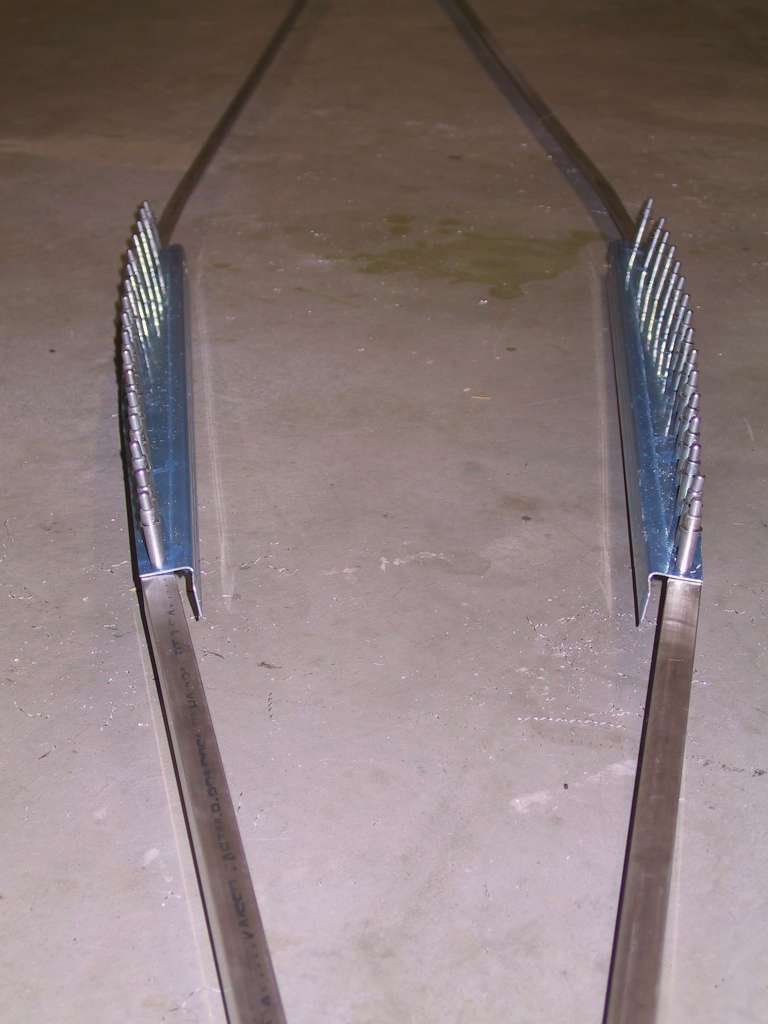
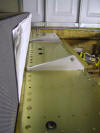
Don't make the same mistake I did. Make sure the 721
overhangs the 718 longeron by a 32nd. Use a couple of C clamps and work
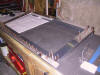
your way down. Here's the completed 721B drilled and clecoed to the
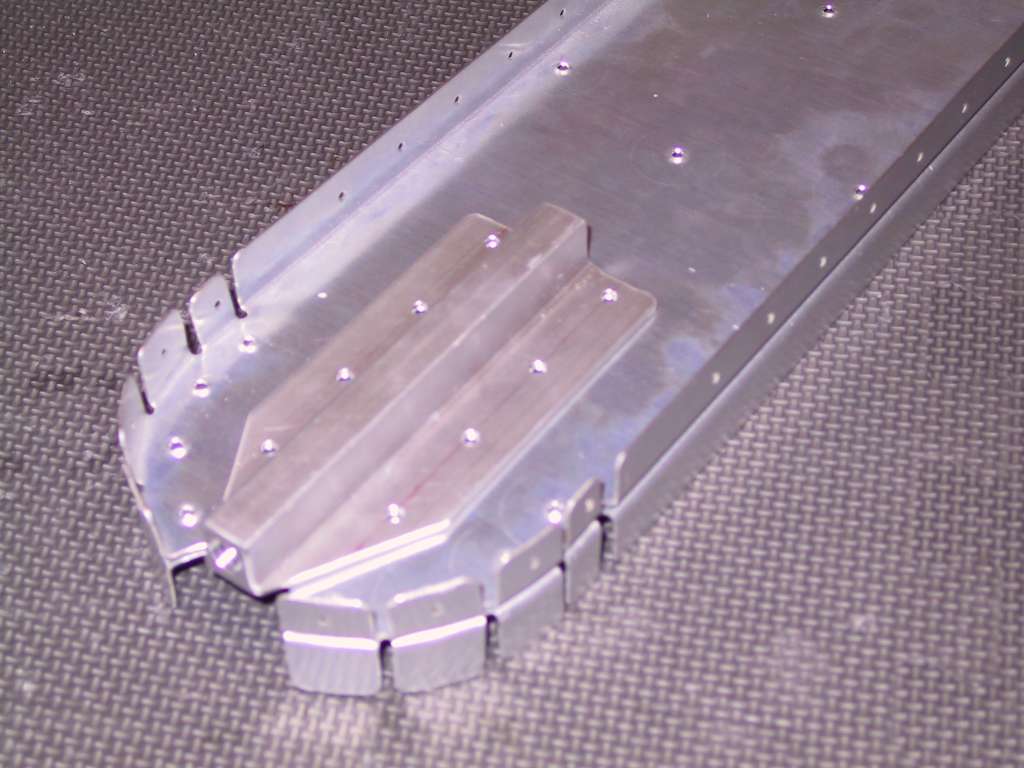
718. I still have to trim the ends of the 721B. And now what
I've been waiting for, putting everything together. Here's the first
step, the very aft fuselage clecoed together.
  |
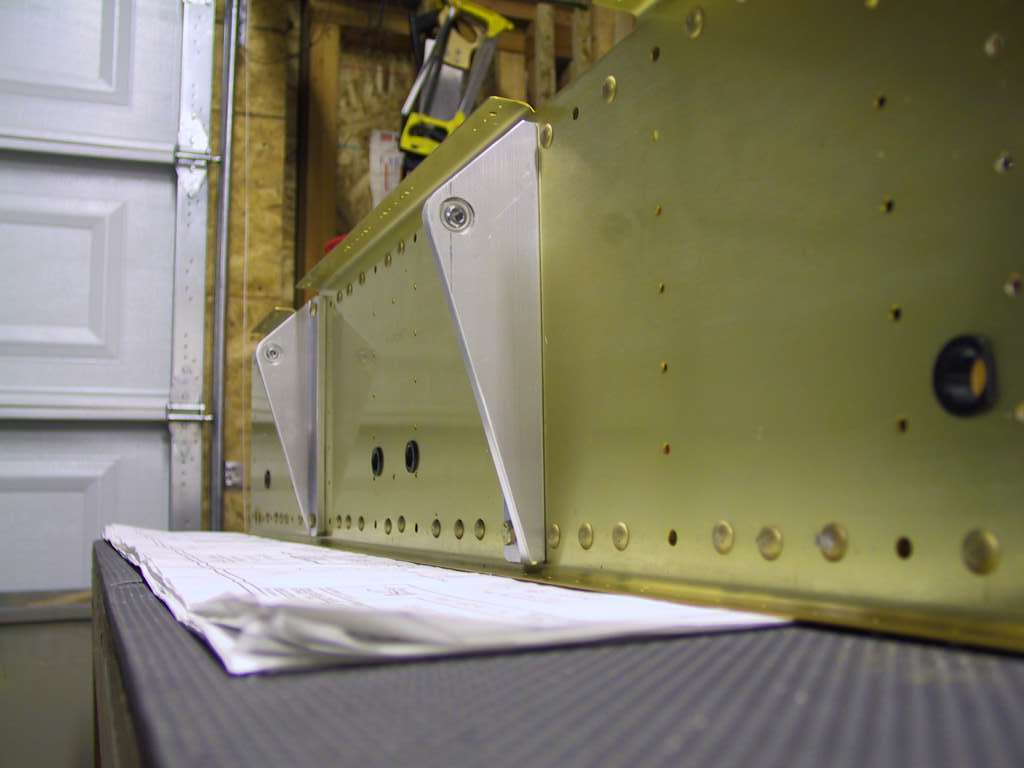
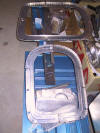
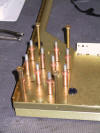
| 5/4/04 |
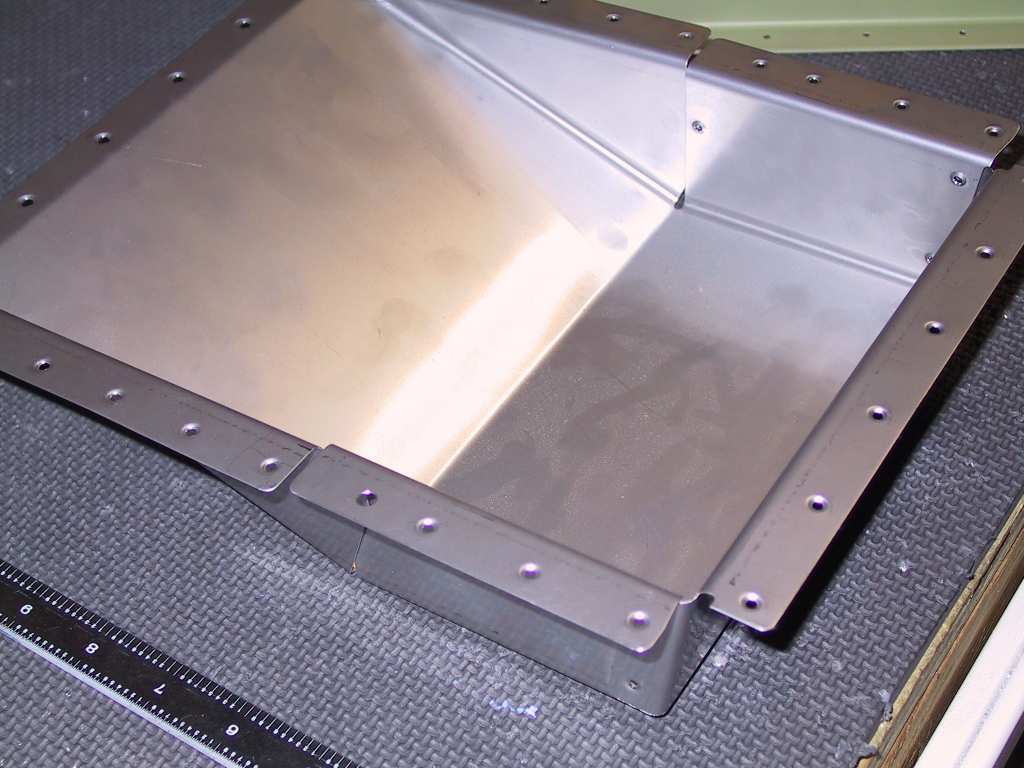
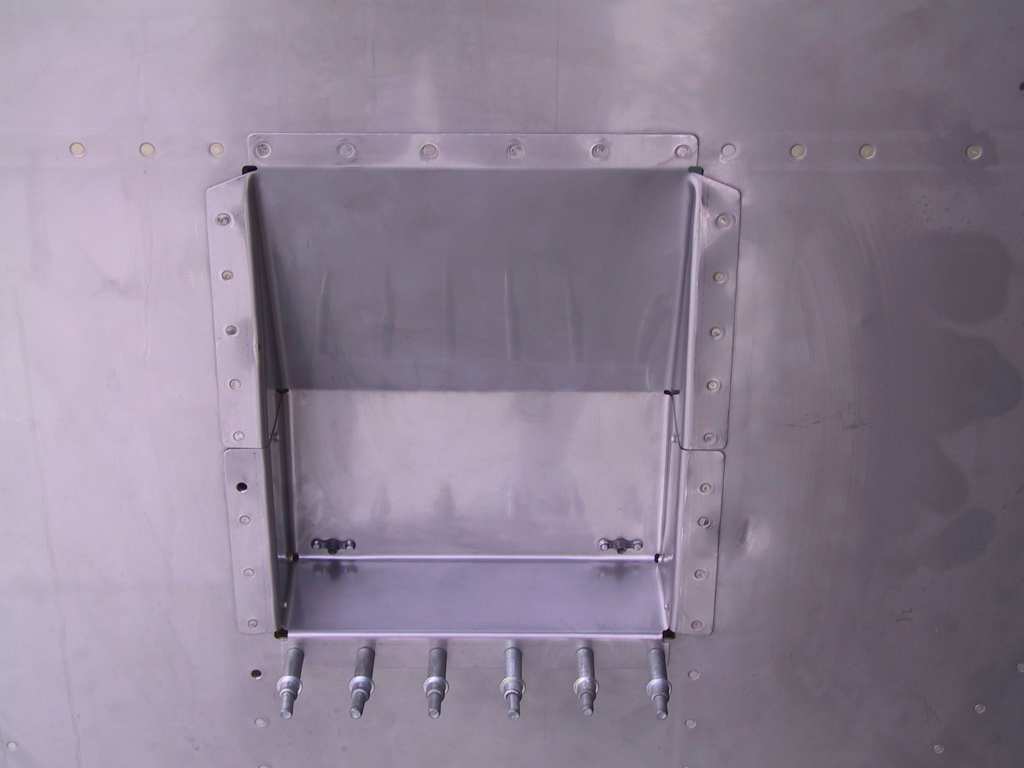
Decided it was time to get the firewall recess installed.
No brainer except you will need a second person to get the lower most
rivets.
Went ahead and bolted the battery box to the firewall as well. |