|
Home
Why an RV?
Choices
Search
Empennage
Empennage Attach
QB Wings
Bulkheads
Aft/Center Fuselage
Forward Fuselage
Cockpit 1
Cockpit 2
Cockpit 3
Tip up Canopy 1
Tip up Canopy 2
Tip up Canopy 3
Avionics/Panel 1
Avionics/Panel 2
Avionics/Panel 3
Avionics/Panel 4
Firewall
Tricycle Gear
Engine/Prop 1
Engine/Prop 2
Cowling 1
Cowling 2
Baffling
Ram Air
Last 10 Percent
Last 5 Percent
Last 3 Percent
Last 1 Percent
Phase 1
Phase 1 pg. 2
Phase 2
P-Mag Install
Videos
EFIS Flight Logs
Tips & Mods
Links
Fine Living
Avionics Manuals
N447RV Documents
Helpful Builder Docs
FAA Documents
Contact Information

The Boo
| |
P-Mag Install
|
3/14/06 |
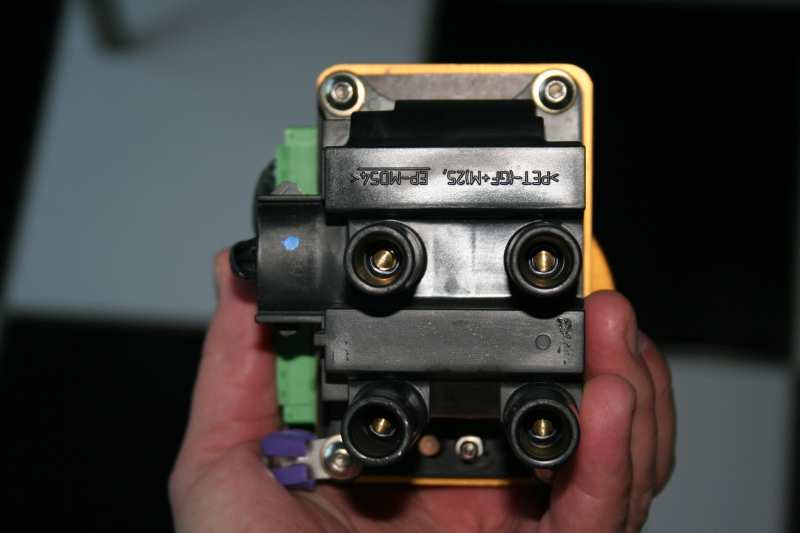
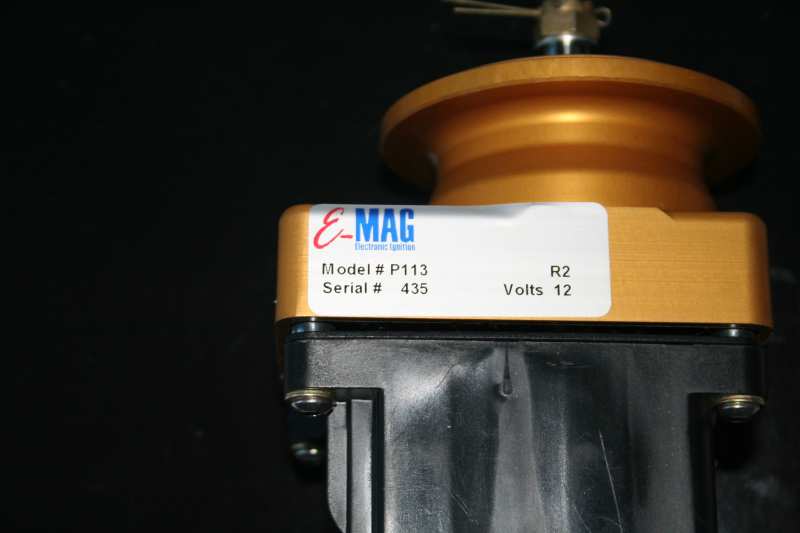
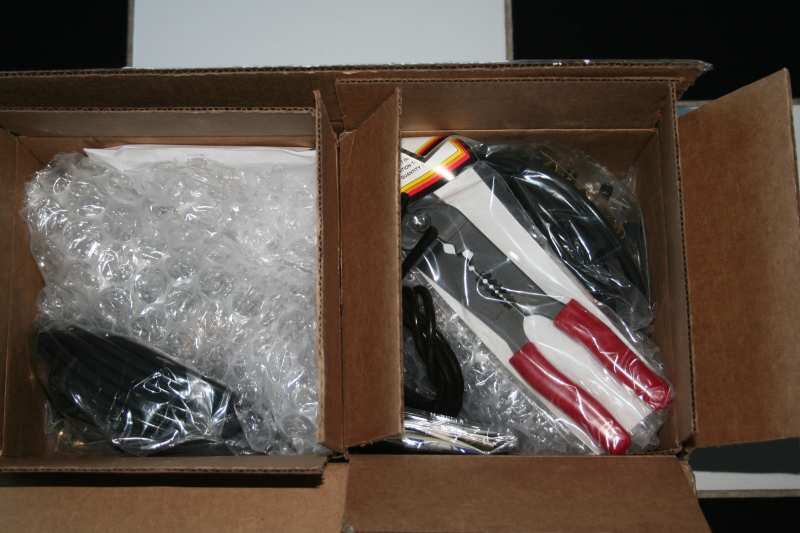
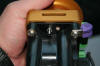
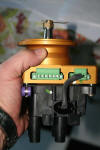
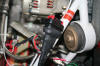
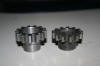
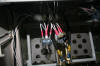
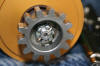
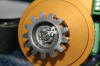
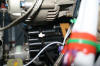
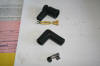
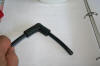
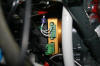
P-mags arrived today, nicely packaged.
Comes with all the stuff you need except plugs. It even comes with a
crimping tool and the documentation on CD. Two p-mags for your viewing
pleasure, they are very nice. First pic you can see the MP connection and
the timing LED.
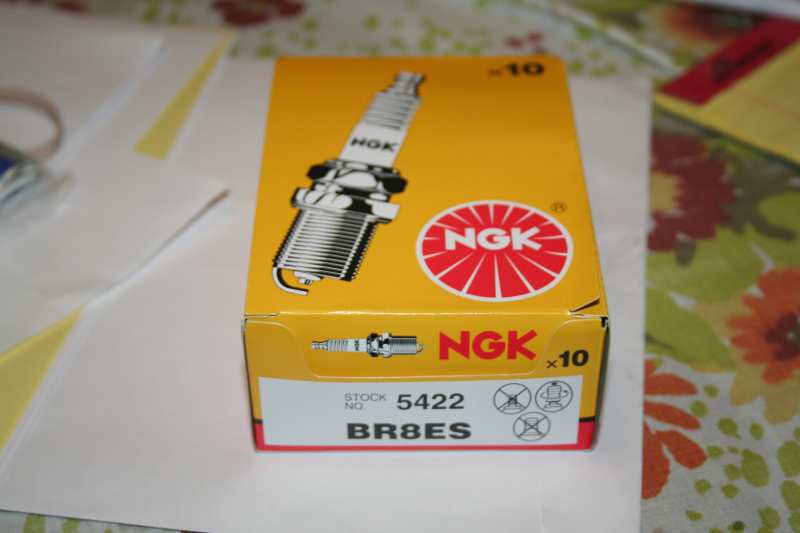
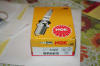
Bought a ten pack of auto plugs. I didn't bother getting
the cheapest deal from the internet. Heck, I only paid about $1.80 apiece
for them at Pep Boys and I get the satisfaction of having them in my hands now.
Installation is this weekend.
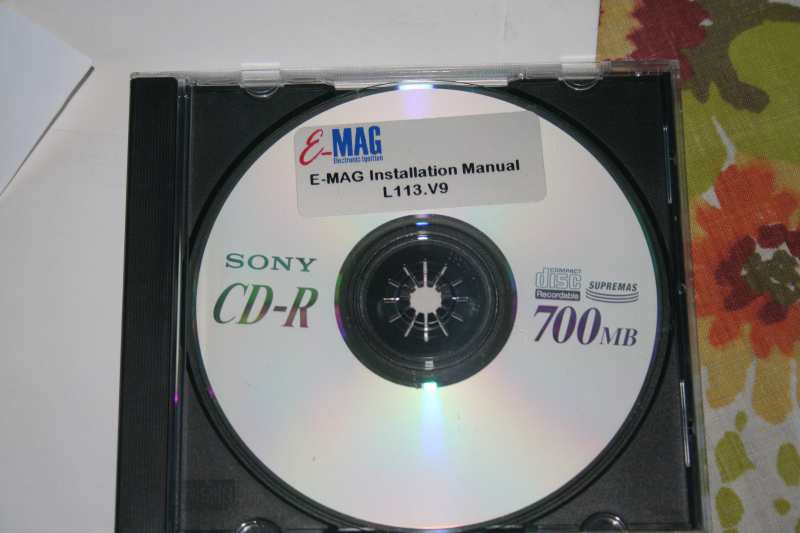
Linky to the
P-Mag
Installation Manual. |
|
3/18/06 |
Gary Sobec came by today to witness the install
and to prepare himself for his own install. As is normal, Gary was more
prepared than I for the install, but what's new? Gary's always well
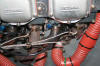
prepared. Uncowl and remove LASAR ignition system.
I'm leaving the wiring harness in place as I intend to make use of the existing
wires.
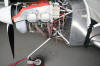
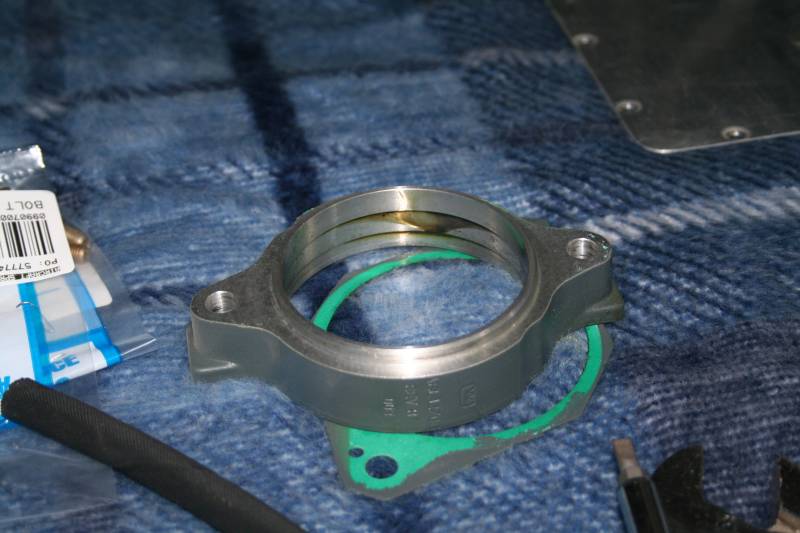
Soooooo glad I installed these hatches.
Removed the LASAR Magnetos.
Removed the controller box. I'm going to fill the four
holes with nuts and bolts.
On the left mag there is an adapter that you need to remove.
I didn't think about this but with the adapter removed the
studs will now be too long to mount the p-mags. So the studs have to come
out, this is where the fun started. They were installed with what amounts
to permanent loc-tite. We were unable to get them started out with the two
nut approach. I tried and tried with a pair of vice-grips but the set of
vg that I had have a round mouth. What was needed were straight jawed vg.
So off to home depot. Finally got them to start to turn. There is
very very little room to turn the studs with vg. So once you get them
starting to turn use the two nut approach and a ratchet set. This is what
they look like after hours of vice-gripping. I'm going to use bolts to
install the p-mags.
Did not have a second Magneto gear ready, nor did I have the
bolts to re-install so the rest of the day was pretty much shot. |
|
3/23/06 |
4 days in Baja by motorcycle. Break from
plane construction.
http://www.tondu.com/Baja%202006/index.htm |
| 3/29/06 |
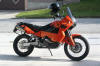
A new bike joins that stable. Oh yeah, more
toys. Man cannot live on flying alone :)
 |
| 4/2/06 |
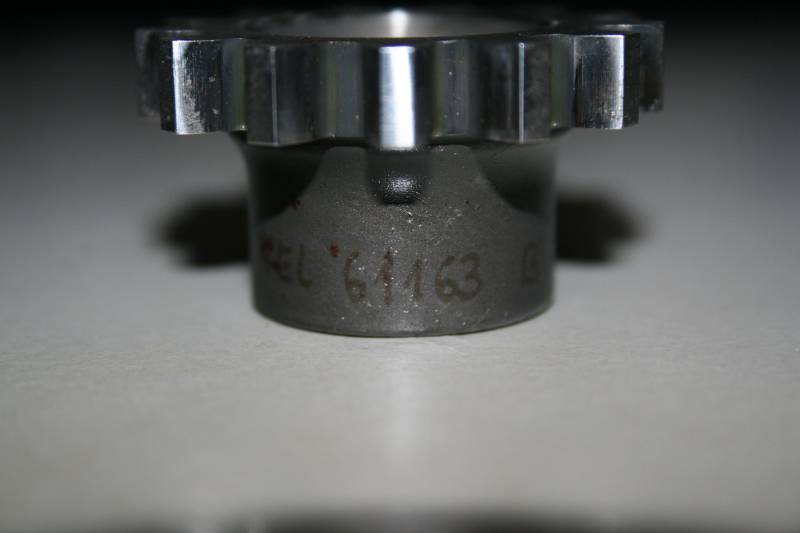
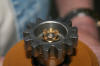
Several tools are pretty much required in order
to remove the magneto gear (Lycoming p/n 61163)
A strap wrench to keep the gear from turning while you apply
torque to the retaining nut.
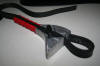
and a gear puller, both pretty inexpensive and handy to have
around.
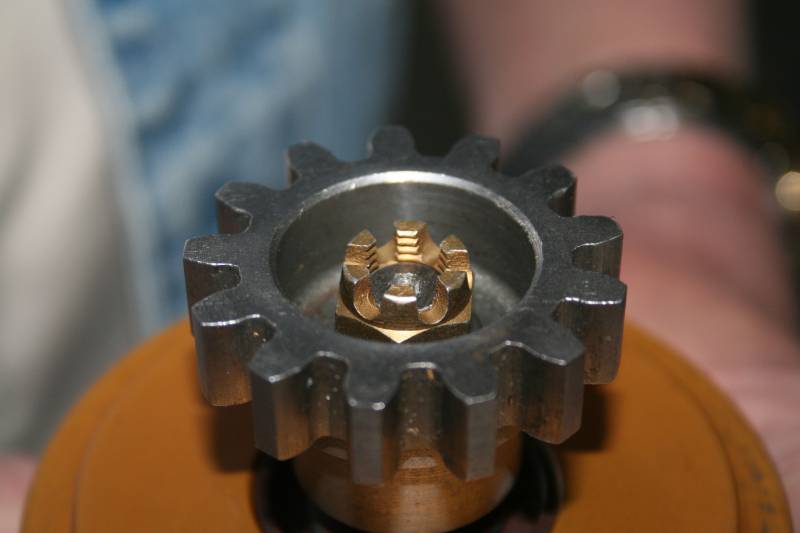
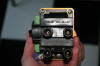
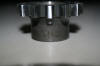
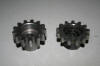
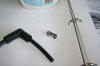
The second gear was ordered from emagair directly for $85.
I got a quote from Aircraft Spruce of well over $300. Gary says he got his
from e-bay for less than I paid but had to go through the e-bay haggle, which
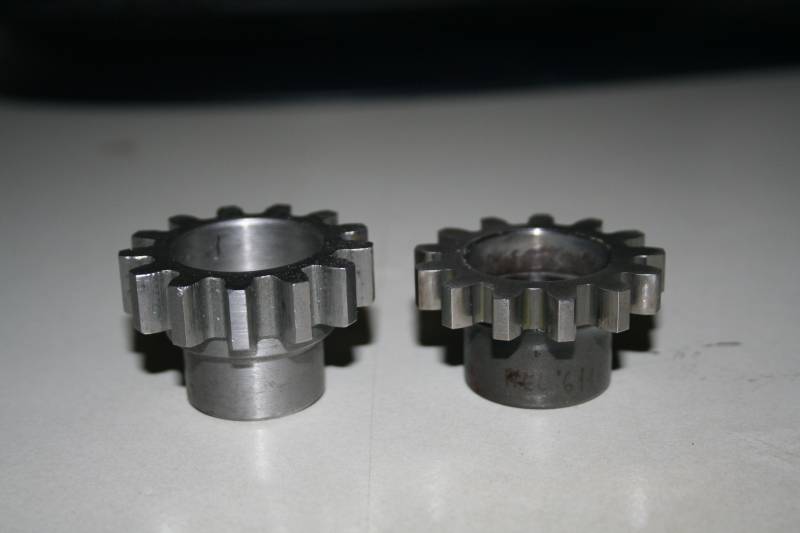
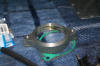
I'm not too fond of. The emagair gear is a bit different from the Lycoming
part but it should work fine, at least that's what they say. (emagair gear
on left, Lycoming part on the right)
I've got everything ready to go but I can't find my wire
labeler, and damnit I won't final wire anything unless it's labeled so the
installation waits till next weekend. I got a ton done but no real pics.
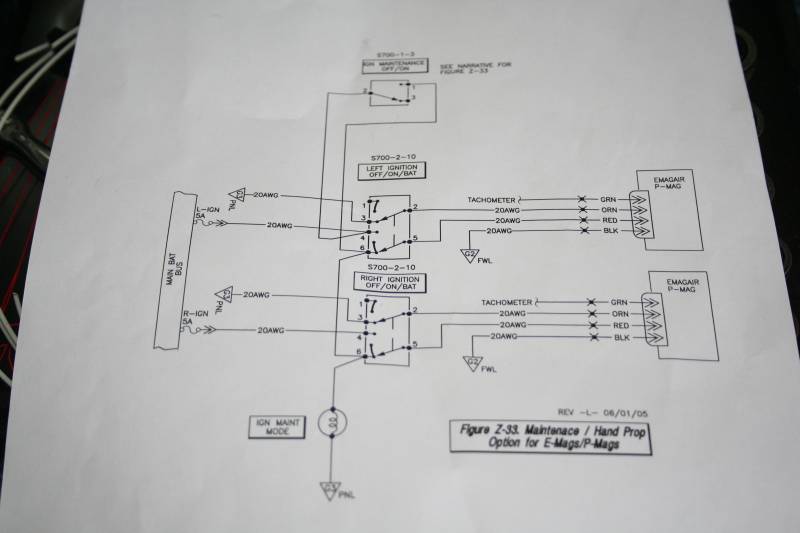
I am following the Z diagram from aero connection and will be installing the
safety switch too.
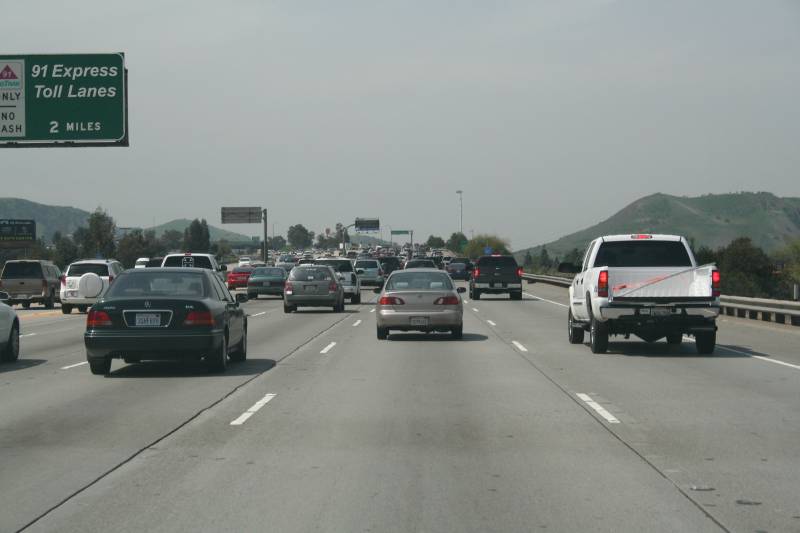
Typical traffic heading home. I'll start riding the bike
so I don't have to put up with 15 mph on the 91 freeway...
  |
| 4/8/06 |
Ok, let's get cookin on this, the longest phase 1
period in the history of mankind. Pops came into town this past Tuesday.
He needed to get busy. Today I wanted to get the wiring as near completed
as possible. I'm following these plans from aero connection.
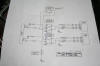
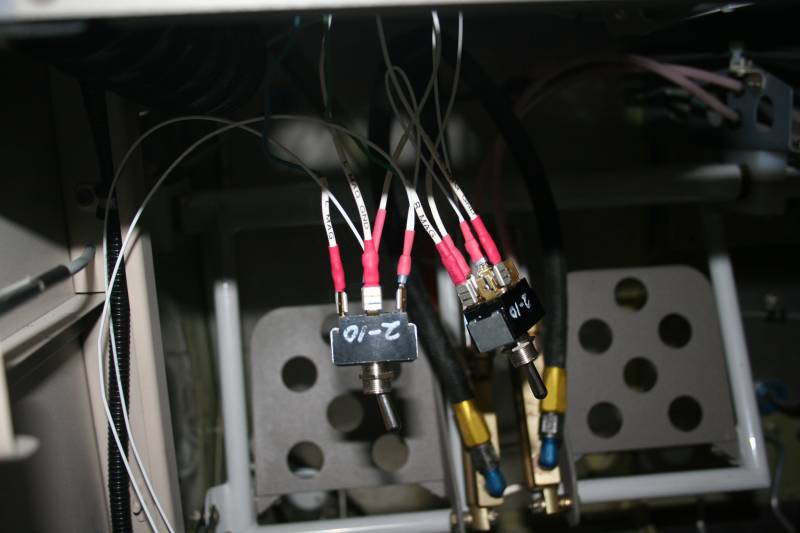
I'm going to use a small micro switch to enable/disable the
maintenance mode. Soldered the wires to it. Not sure exactly where
I'm going to install it yet. I'll reuse the holes in the panel for the
left and right ignition switches but the switch types are different, per the
plans.
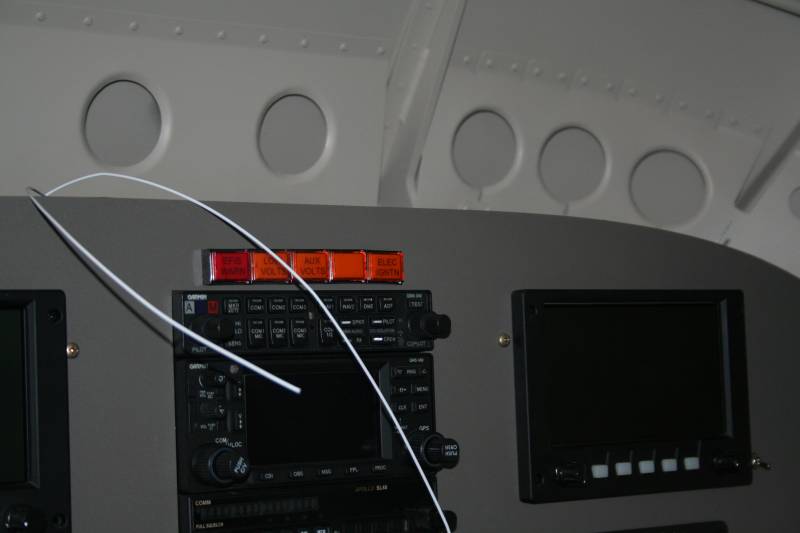
I'll also reuse the electronic ignition light on the panel,
but in this case it will show when the maintenance mode is active.
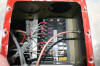
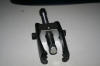
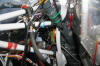
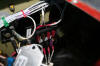
Made the wiring harness and attached the two switches.
Here they're just dangling below the panel.
I don't have to run any new wires through the firewall (Yeah!)
since I'm reusing the LASAR wiring that was already run. Here I've
extended the wires so they'll reach the p-mags. These are the switched
ground (L & R) and power (L & R) and tach. You only need to run one tach
feed and its provides a tach output even if the p-mag is self powering.
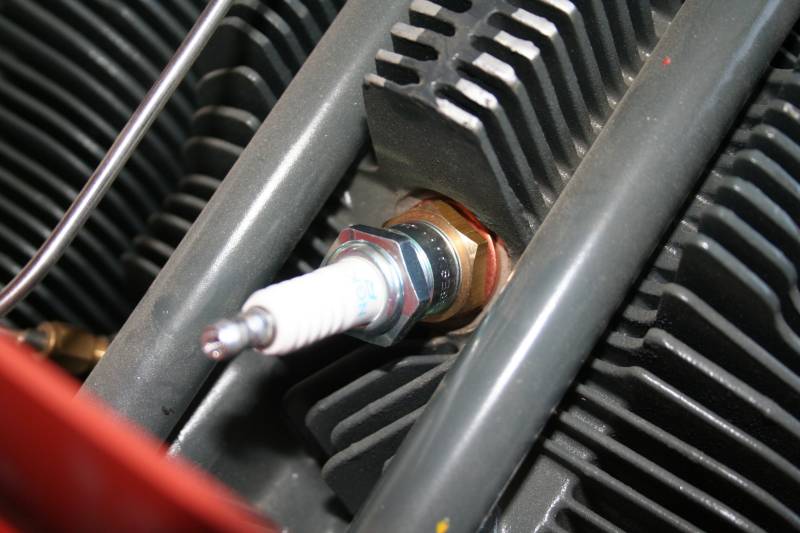
Yep, auto plugs, cheap. Still don't know what the exact
gap is supposed to be.
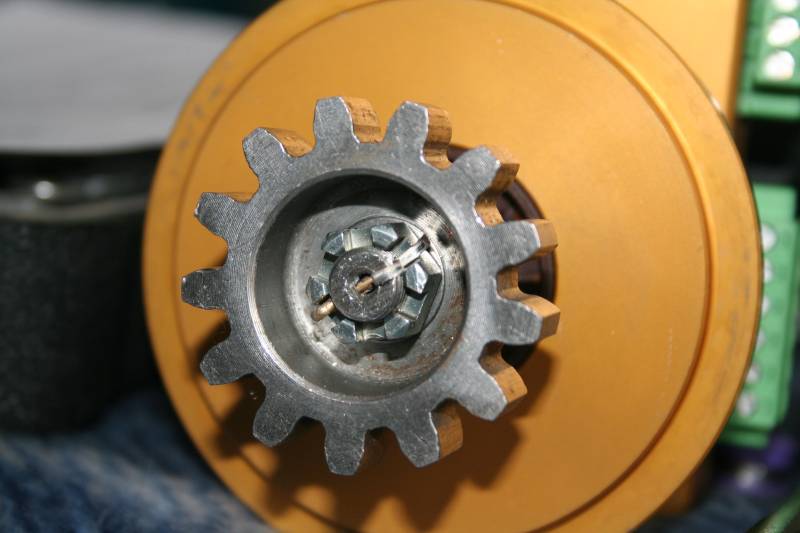
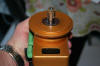
When you finger tighten the retaining nut at first it seems as
though there is no way the gear is going to go any further down the shaft so
that the hole in the shaft can be cotter pinned. You will need a
strap-wrench to get the job done, but it works. It just sucks the gear
down, perfect. What it looks like before:
I'm not going to cotter pin these, instead, I will safety wire
them, it's easier, there's not much room in there. |
| 4/9/06 |
Well I was going to wire tie them but I found
that I had the perfect sized cotter pin. The one that is supplied is way
to long and I cut it improperly the first time. Here's what it looks like
now. Short tab on top, long tab down along the nut.
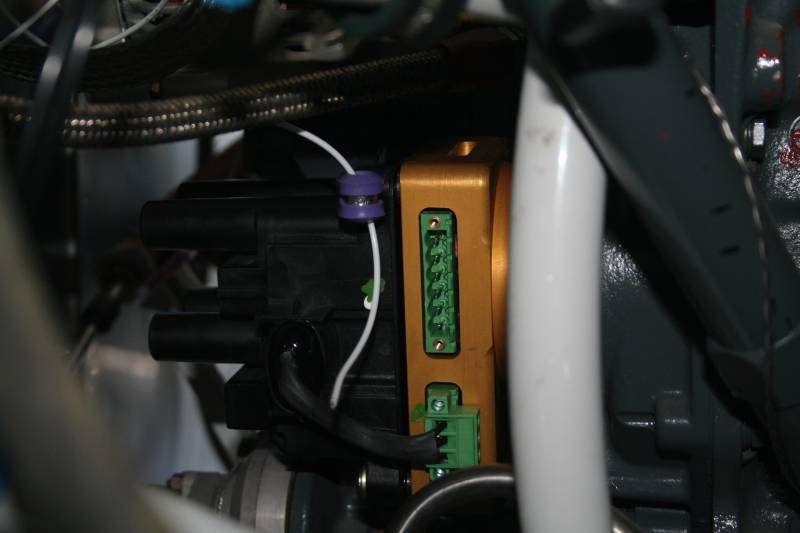
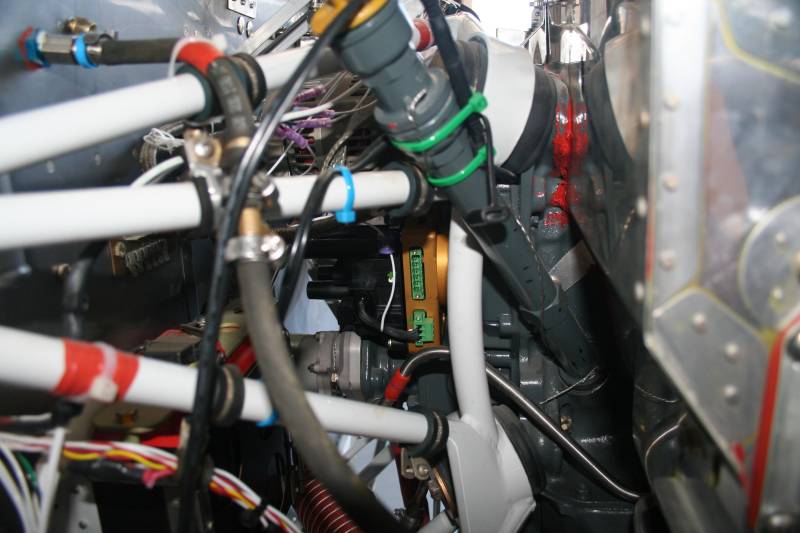
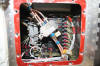
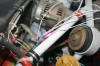
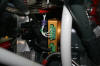
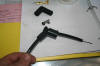
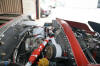
Begin running wires to the right p-mag. It's tight in
there but doable. Easier if you label the pin-outs. You have to
remove the pin block in order to install the wires.
Here the pin block is reinstalled.
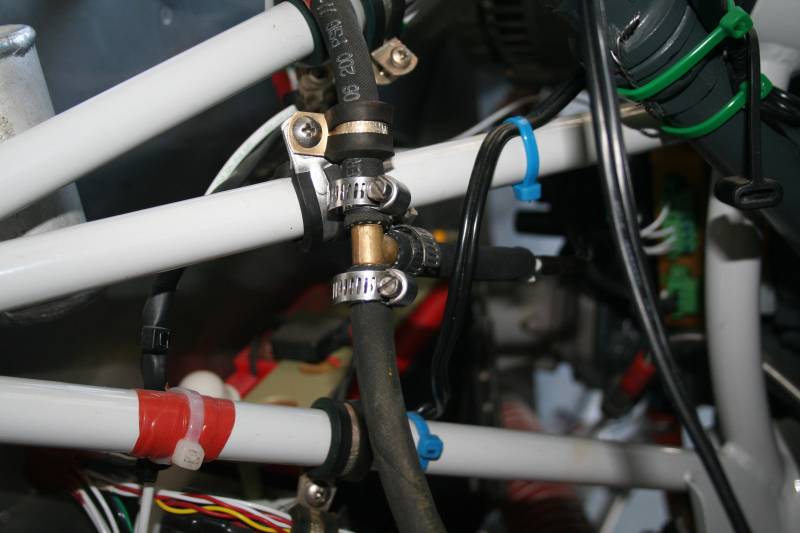
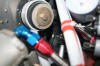
I was able to reuse my manifold pressure tape but I did intall
1/4 - 3/16 reducer and a 3/16 Tee in the line.
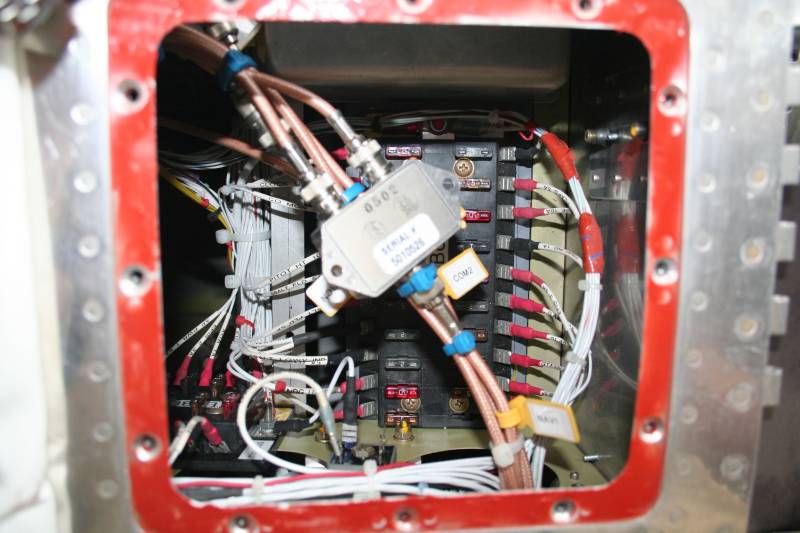
I ran the wires to the E-bus. Way over on the tip right
side of the bus. Yes, I know, I have 4A fuses instead of 3A for both
p-mags. E-mags take 5A fuses.
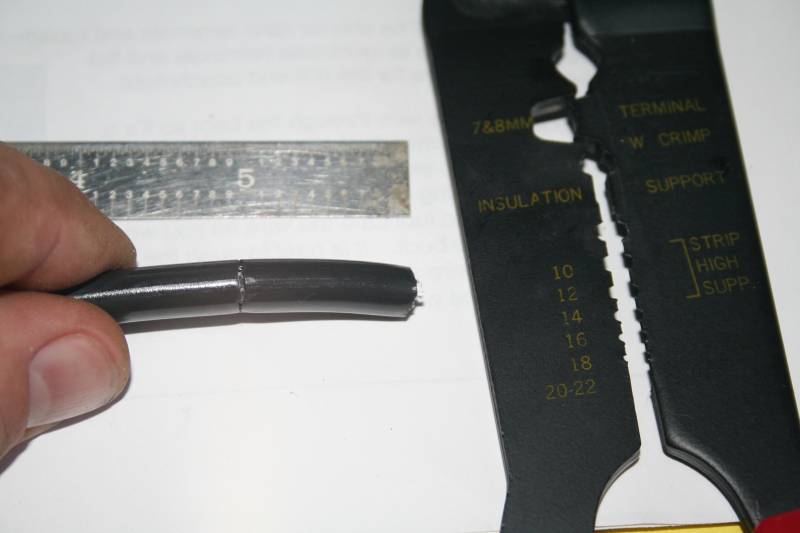
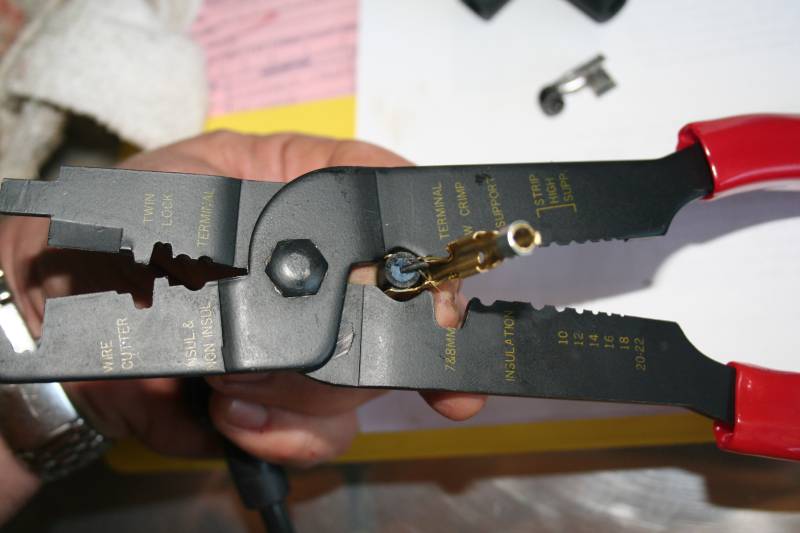
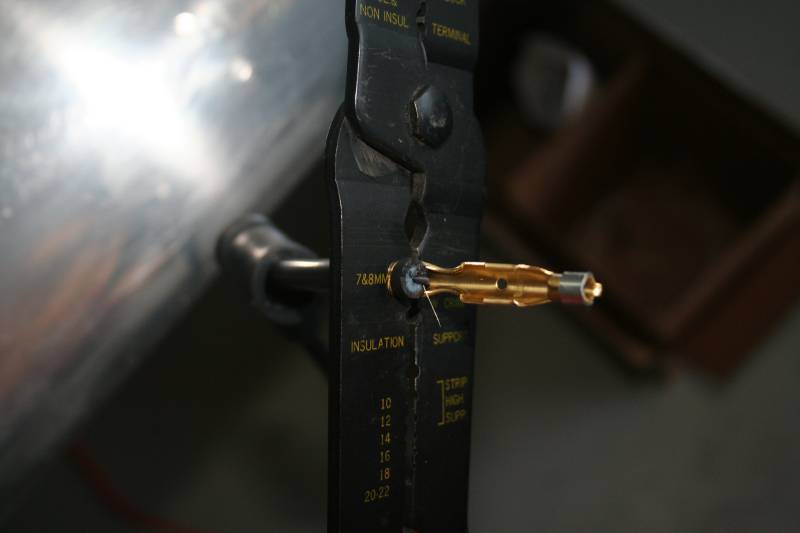
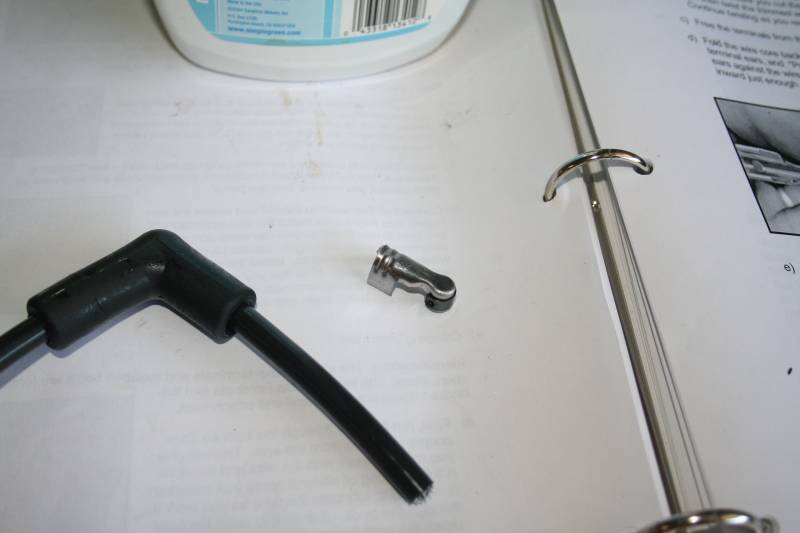
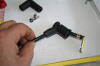
Making the spark plug wires is a laborious process. Be
prepared to spend a good two hours if you want to take your time and get each
one perfect.
Mark an inch from the end, Stip with the #10 wire strip
hole. Twist the shield to remove it.
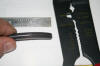 
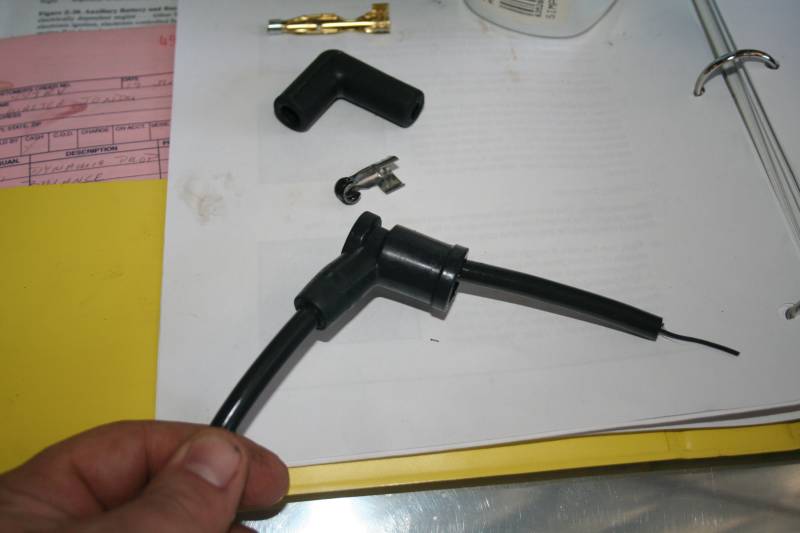
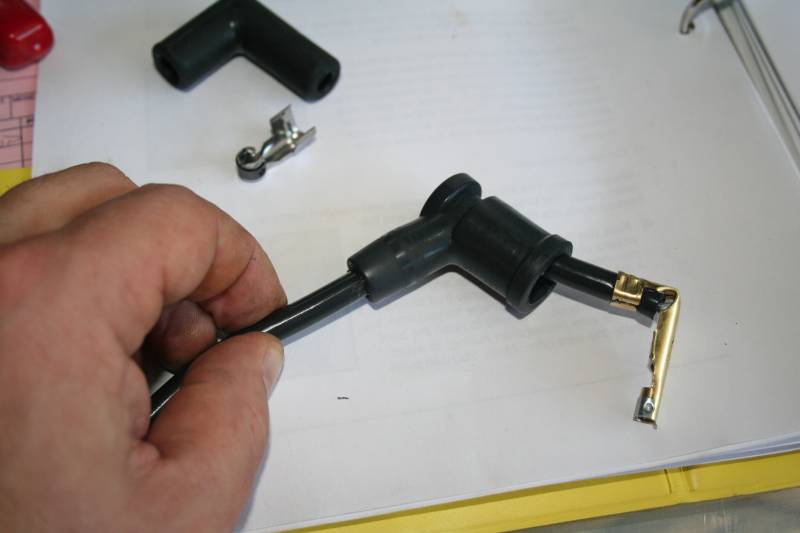
P-Mag boot on top with the gold conductor. Spark plug
boot on the bottom with the silver conductor.
Put the boot on each end (one of each) BEFORE you strip the
ends.
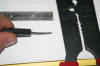
Partially crimp the conductors on the ends. The squash
that puppy with the 'W' portion of the tool.
Bend the p-mag conductor, you don't bend the spark plug
conductor. Pull the wires back into the boots and voila, done.
You WILL need some sort of lubricant, mark my words.
   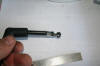
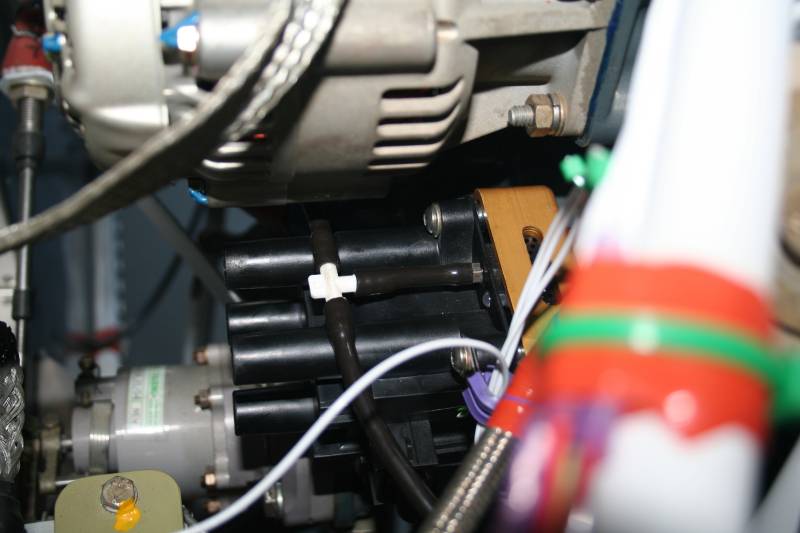
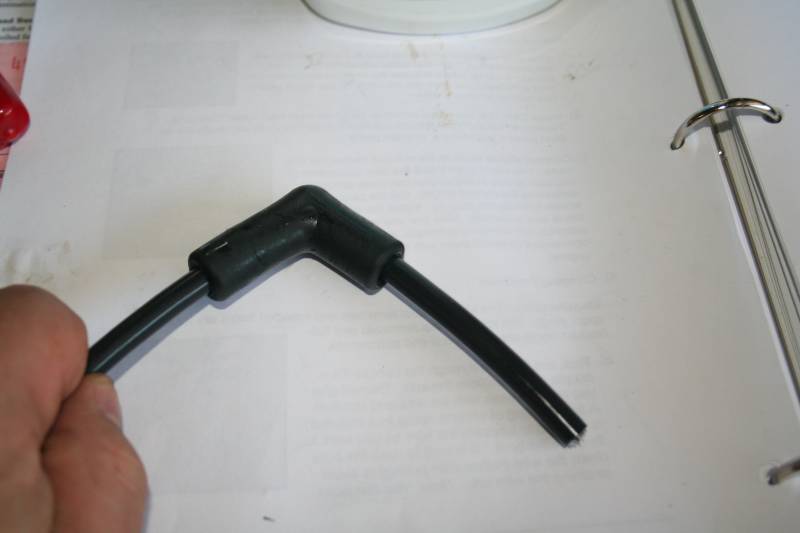
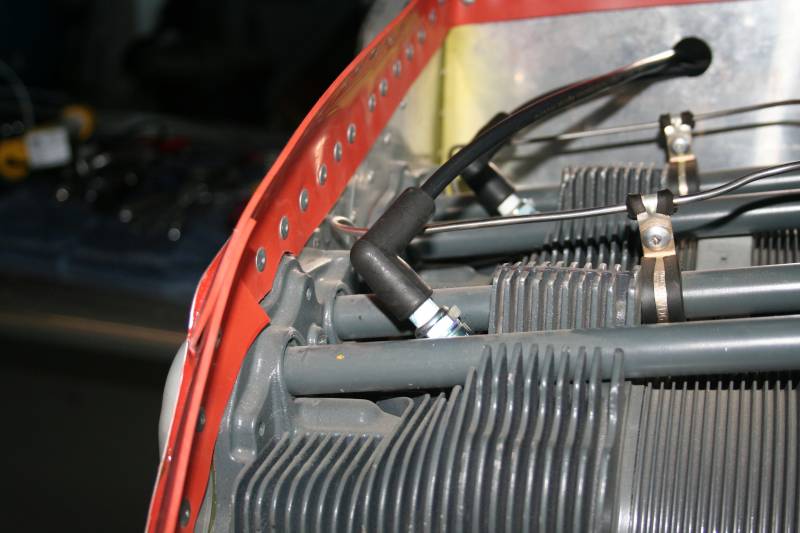
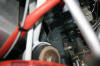
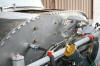
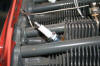
Spark plug wires installed but not safetied.
Three conductor removed for the first p-mag timing test.
I opted to NOT go with the maintenance mode wiring. It's
so simple to just ground the p-lead (remove from switch and ground with existing
ground wire on the switch, power the unit up and it's ready to be timed, no way
it can fire with the three conductor removed from the p-mag. I actually
did install the maintenance mode wiring but felt is was not worth the time and
hastle, keep it simple stupid.
Still need to finish timing the left p-mag, but then today I
was notified that my unit should be sent back for a firm-ware upgrade. I
will complete the left wiring and get everything working and send them back
overnight so I can get them for the following weekend. |
| 4/15/06 |
Spent today getting the rest of the wiring
completed. I'm pretty anal about my wiring and having it supported
properly, wire-tied, etc. So I'm taking my time, labeling as I go
and doing it right. Got all the wiring done today and since the plane was
all torn up I decided to do a few more maintenance items like begin the XM
Weather install. Sorry no pics. |
| 4/16/06 |
P-mags are installed and timed. Timing
these could not be any more simple. Just follow the instructions.
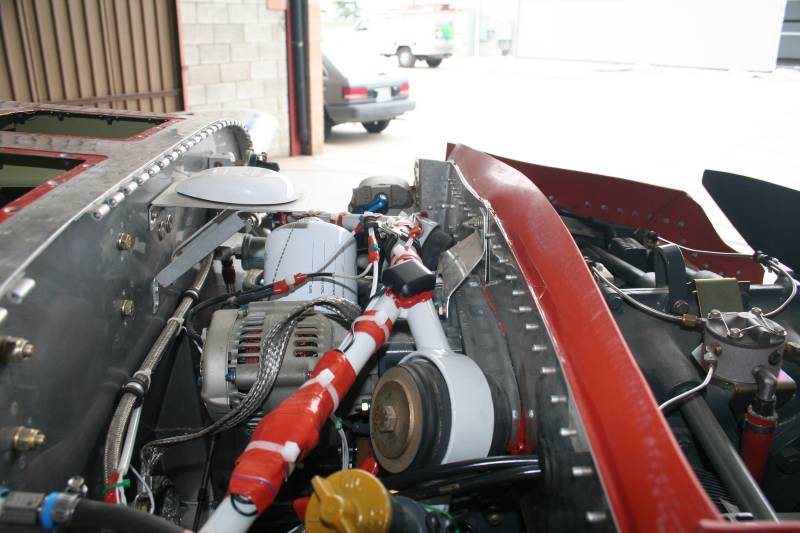
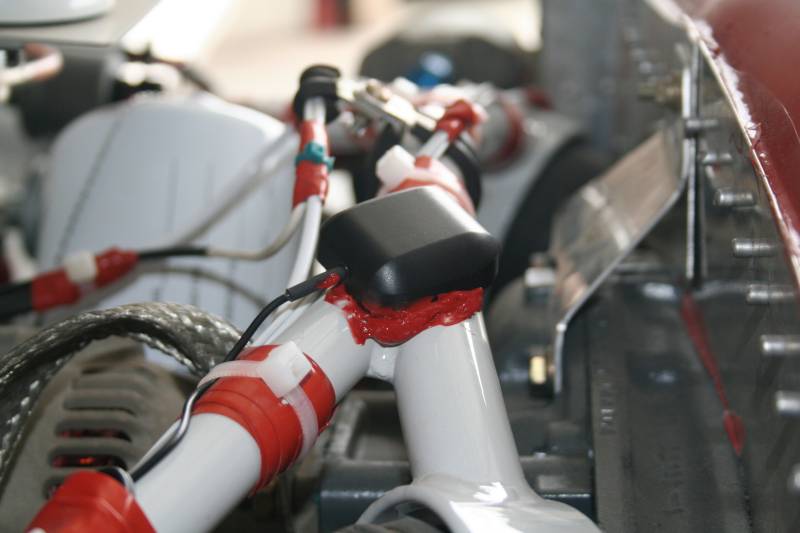
XM weather installation has hit a snag. The wiring is so
simple but for some reason I cannot get it to see the XM receiver.
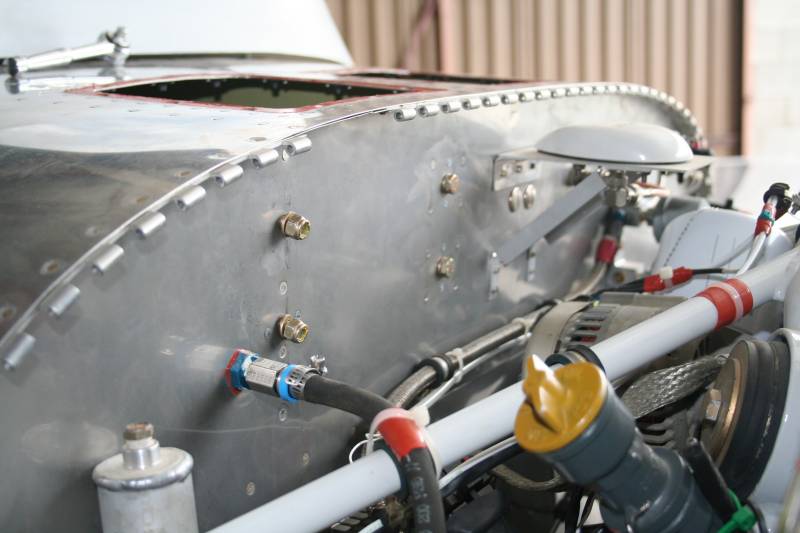
Here's where I mounted the antenna, on the engine mount with ret RTV.
Yeah, it's ugly, but functional.
Tried to start the plane. No go. It's was coughing
and sputtering and gagging to death so I decided that was enough. My
battery was already a tad low because of the testing I was doing and it just
didn't have any more "go" left in it. I need to review everything I've
done, for the 27th time, and make sure it's all connected properly. |
|
4/22/06 |
I had the Brain Fart surgically removed during
the past week. Pulled the top plugs and grounded them by resting them on
the cylinders. Turned on the master and ignition to both Left and Right
p-mags. Rotated the prop by hand and made sure the plugs were firing in
the proper sequence, yep, they are, front two first, then rear plugs.
Pulled the plane out, used the cold start routine and began the start. She
ran a bit rough at first but then fired right up and ran like a freaking champ!
Ground ran it to 2200. Runs really really nice, even better than the
LASAR. Seems much smoother. Then, having had the
brain fart removed earlier, I realized the the communication speeds between the
EFIS and the XM receiver were not set correctly. Changed that and the XM
receiver is working perfectly. Cleaned everything up, tidied up all the
wires and made the appropriate logbook entries. We're ready to fly
tomorrow if the wx holds up. |
| 4/23/06 |
Yeah, wx held up, but our fearless leader DubYa
was in town and the TFR basically chewed up my flight area, and since pops is
still in town I spent some quality time with him instead of flying the sliver of
airspace DubYa left to me and my fancies. |
|
4/29/06 |
Finally!!! She flies like a dream.
The wx could have been a bit better. It was MVFR up until about 2:00pm
today. Went to the Casino to blow off some time then said what the hell.
Did a bunch of pattern work to get the rust off. The p-mags worked
flawlessly. Really smooth, good delivery of power, no stuttering, no
missing, just plain ran good. Wx was a bit crummy to venture too far from
the field but I hope to do that tomorrow if wx holds up but it's supposed to be
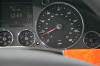
more of the same. Didn't get an accurate reading of CHT because I was in
the pattern and the power was on and off most of the time, but it did stay below
410 on a moderately hot day, down low, full power, full prop and max climb.
I'll take that. |
|