| 2/23/04 |
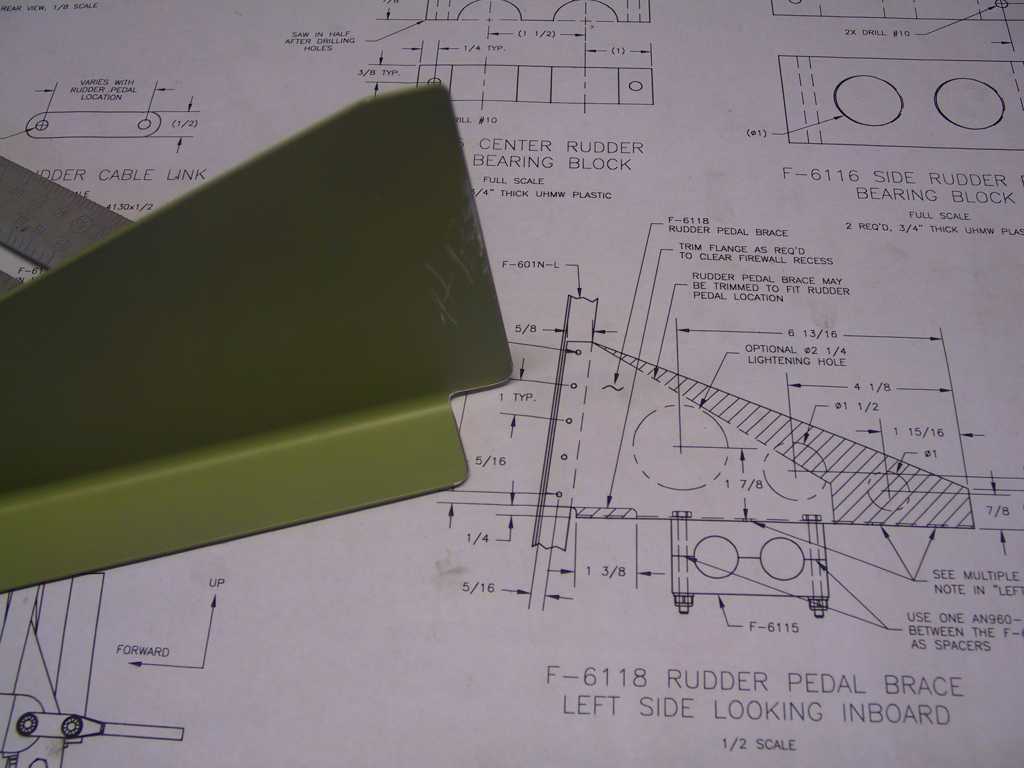
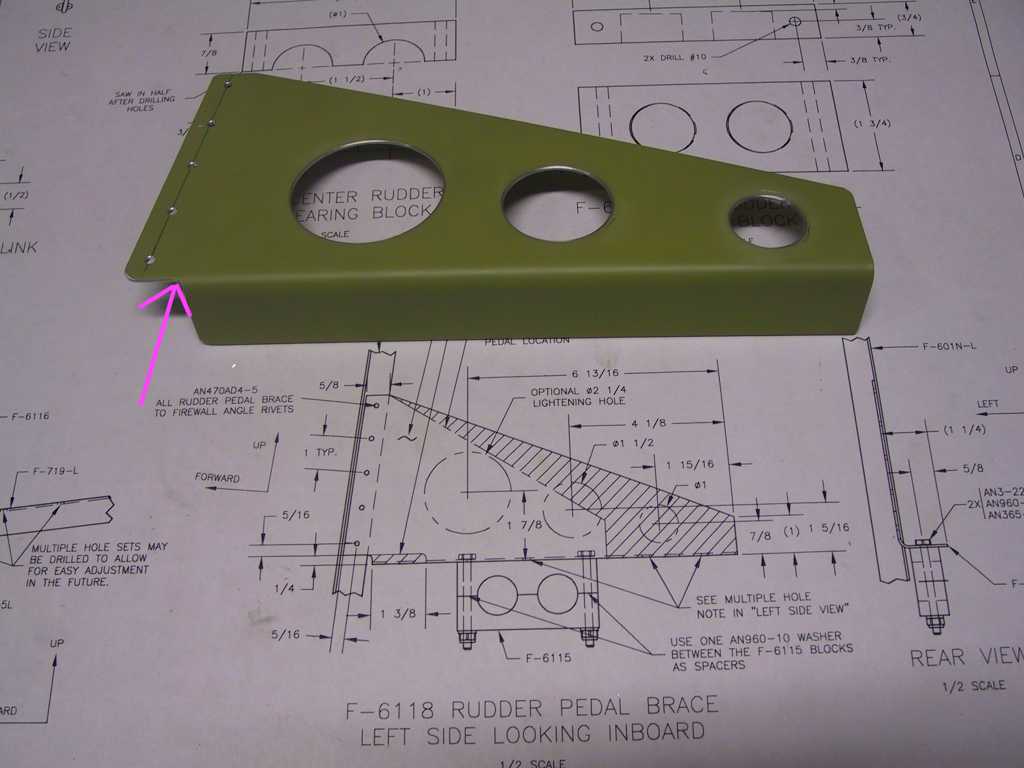
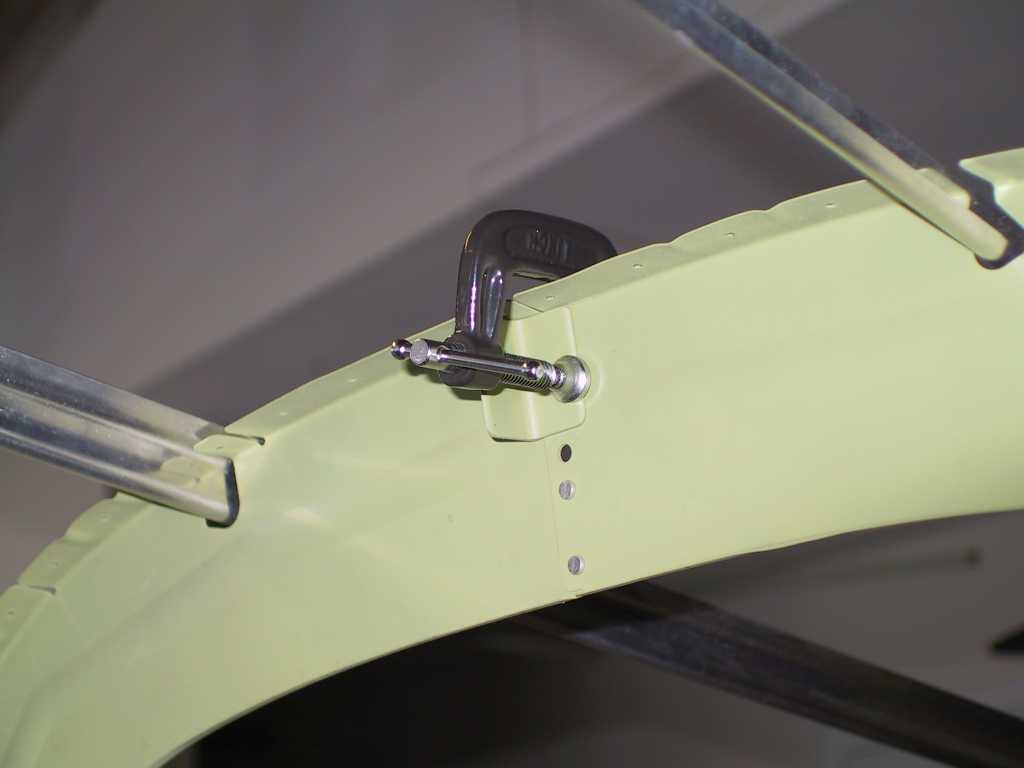
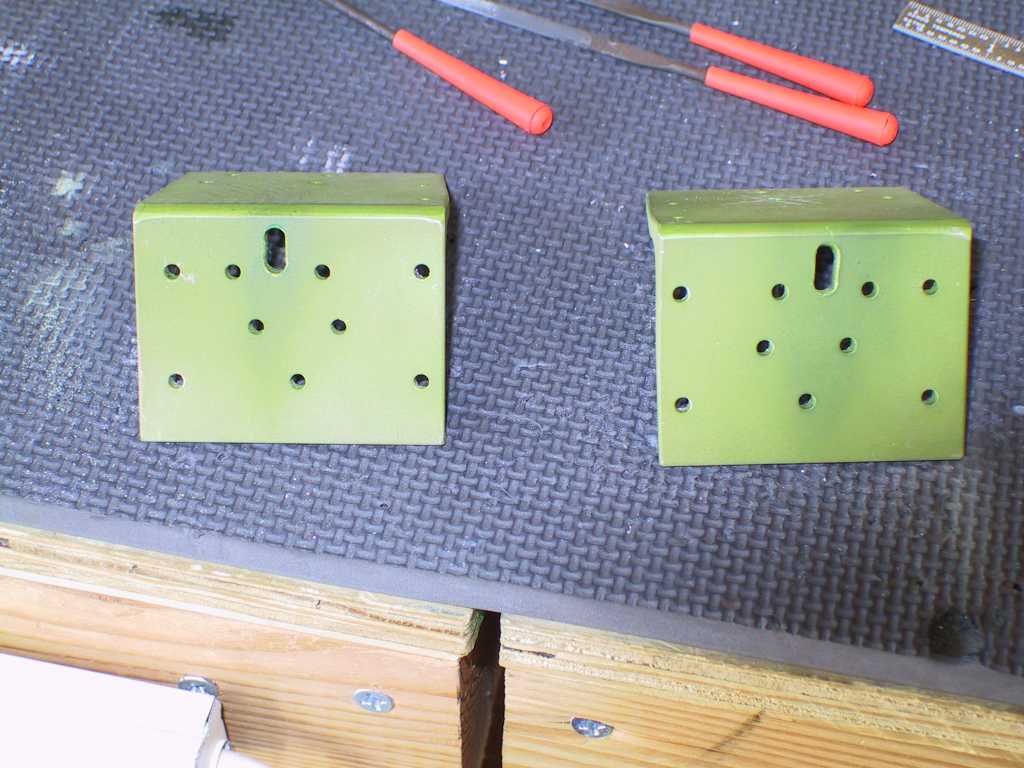
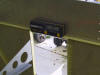
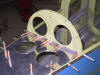
Fabricated the 6118 rudder pedal brace. Decided to
drill out the lightening holes. Broke the blade on the drill bit.
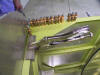
Dammit. Mounted the pedal assembly for the first time in the plane.
Up to this point I had done all the work to the pedal assembly on the bench.
It fit like a glove.
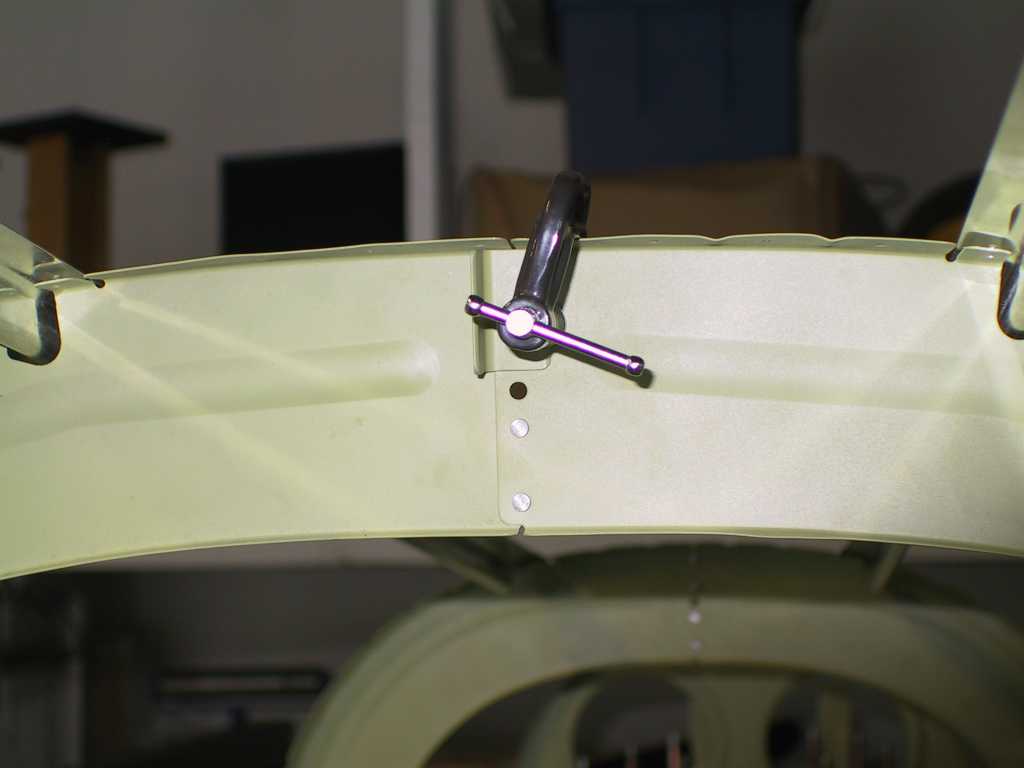
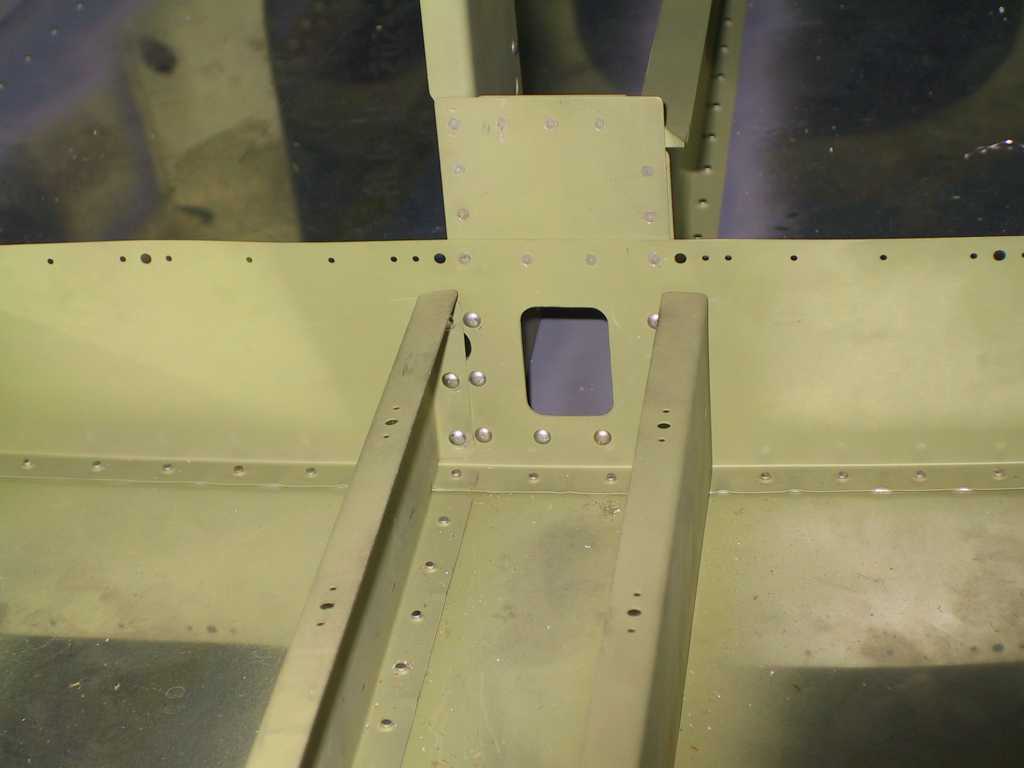
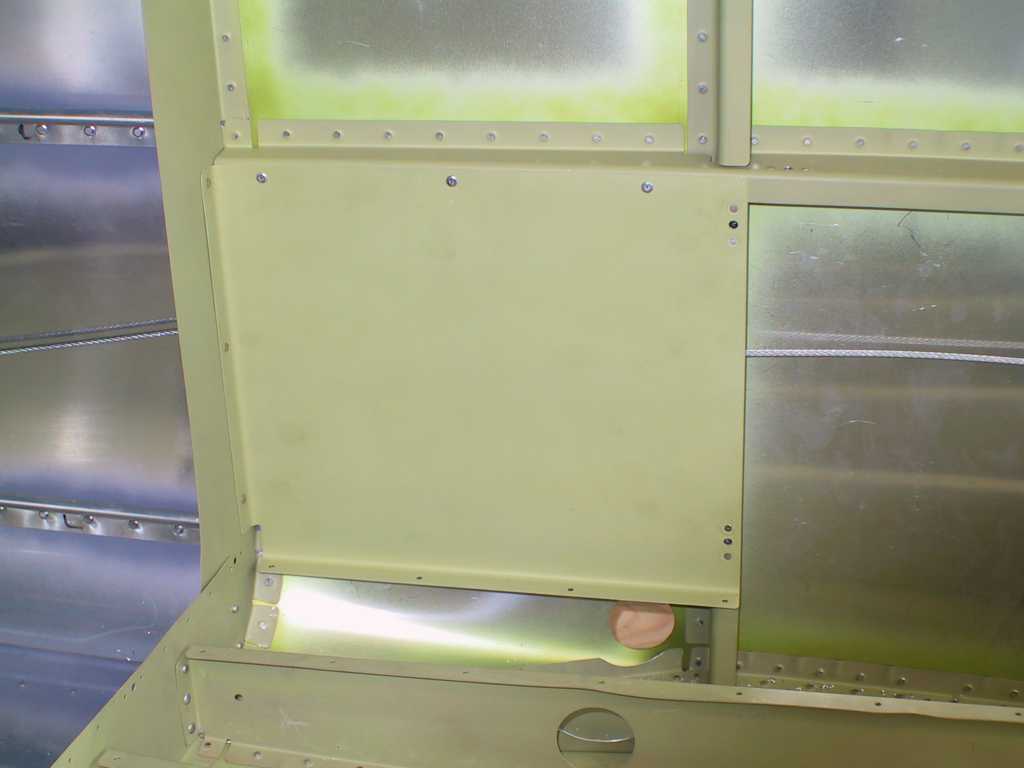
Ugh. Didn't read the plans well enough. Notice that the cutout
on the last photo shows the piece is 1 3/8" too short! Had to drill
the piece off, remove the 1 3/8" so it would fit with the firewall recess,
reprime, and remount. No sweat. |
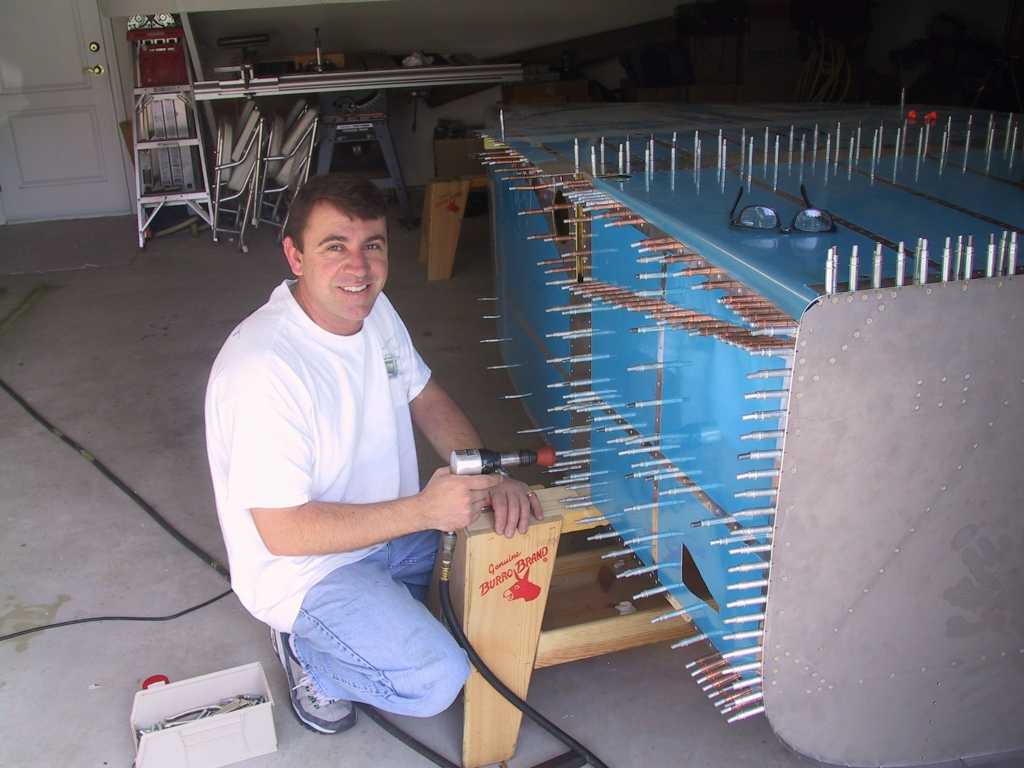
| 2/29/04 |
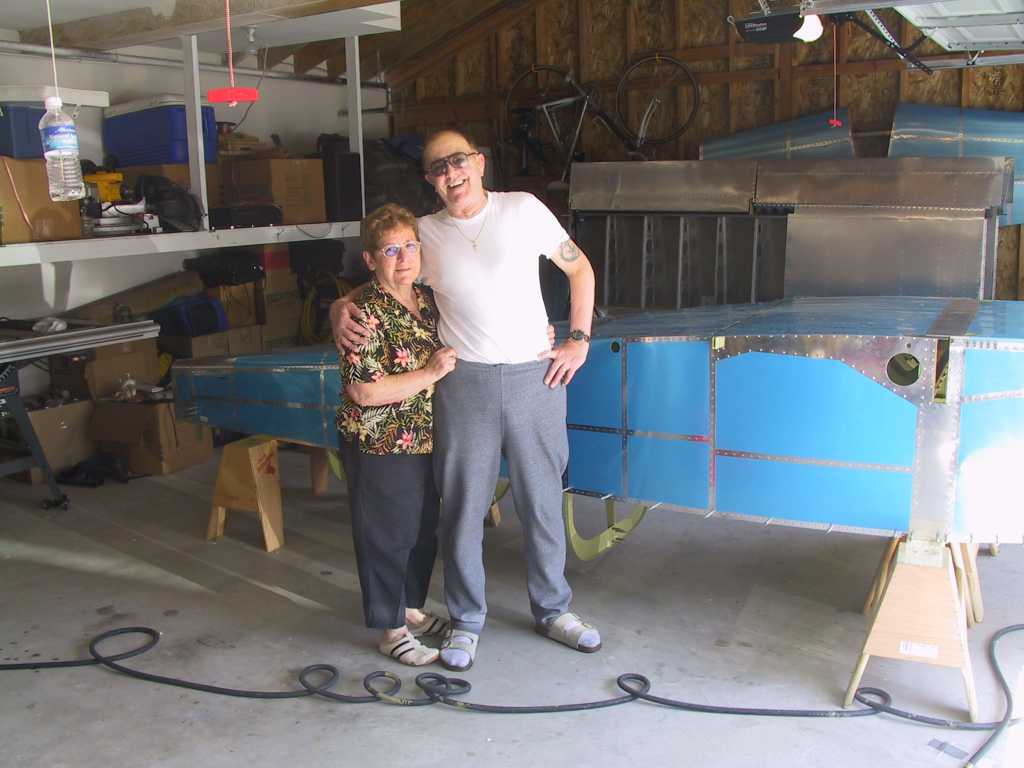
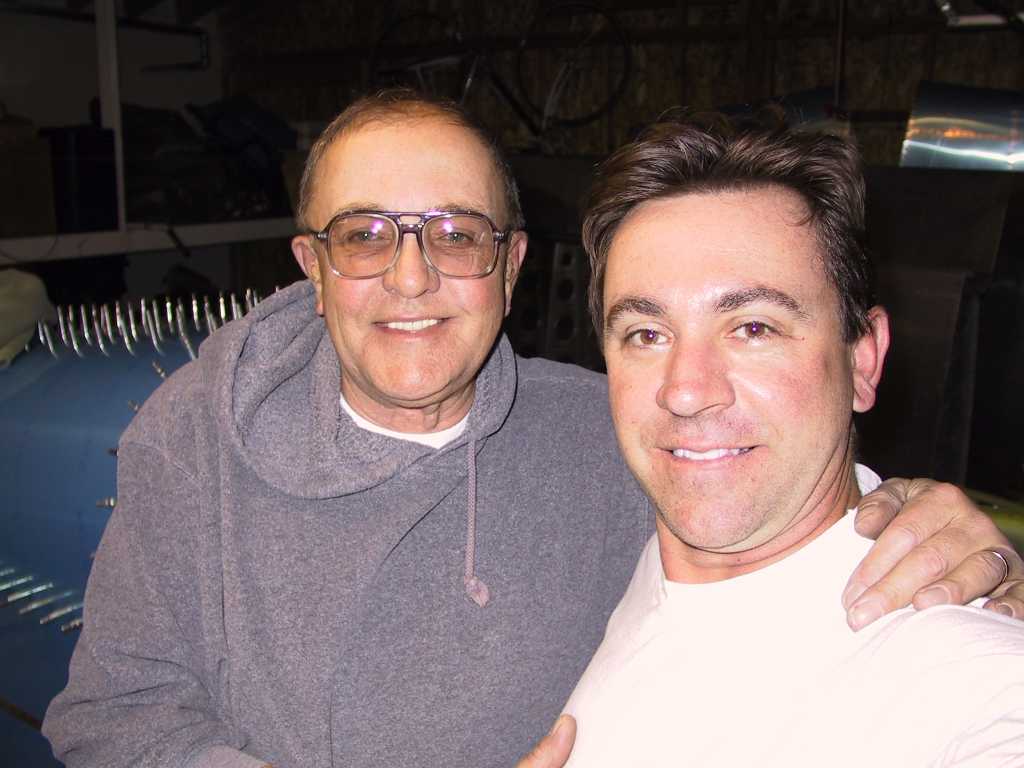
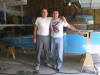
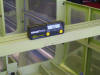
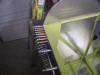
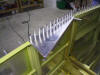
David Richardson was very
kind and offered his help to pound a few rivets to help seal up the fuselage
today. He did and excellent job and we're further on the road to
completion. Thanks David! Let me know when you need help with
those wings and I'm on my way. Here's David, myself, the almost
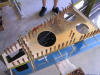
completed canoe and all the rivets I could place with the squeezer.
  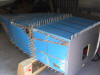  |
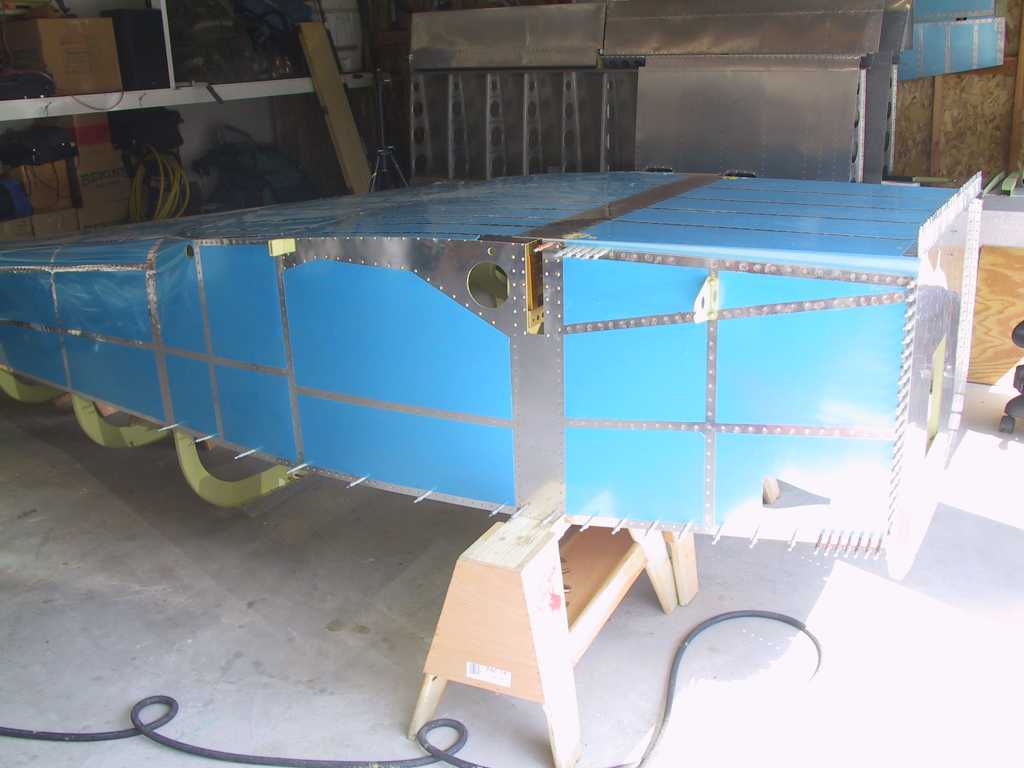
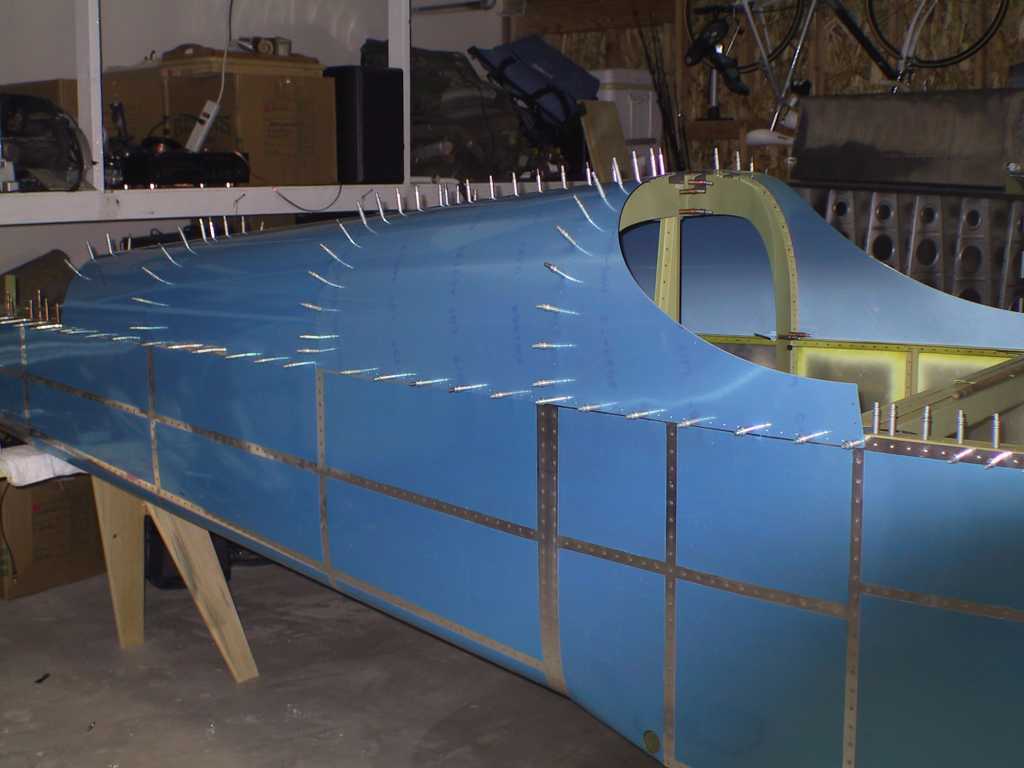
| 3/2/04 |
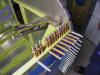
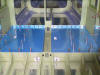
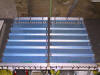
Banner day! All the bottom rivets except two are
bucked. The canoe can be rolled over. But since I've got less
then one hundred left on the sides of the forward section I won't roll it
over until they're bucked. It's easier to buck from inside when it's
upside down rather than crawling inside the fuselage, right side up.
Once again, Big Thanks for David for offering his help again. Get them
wings! |
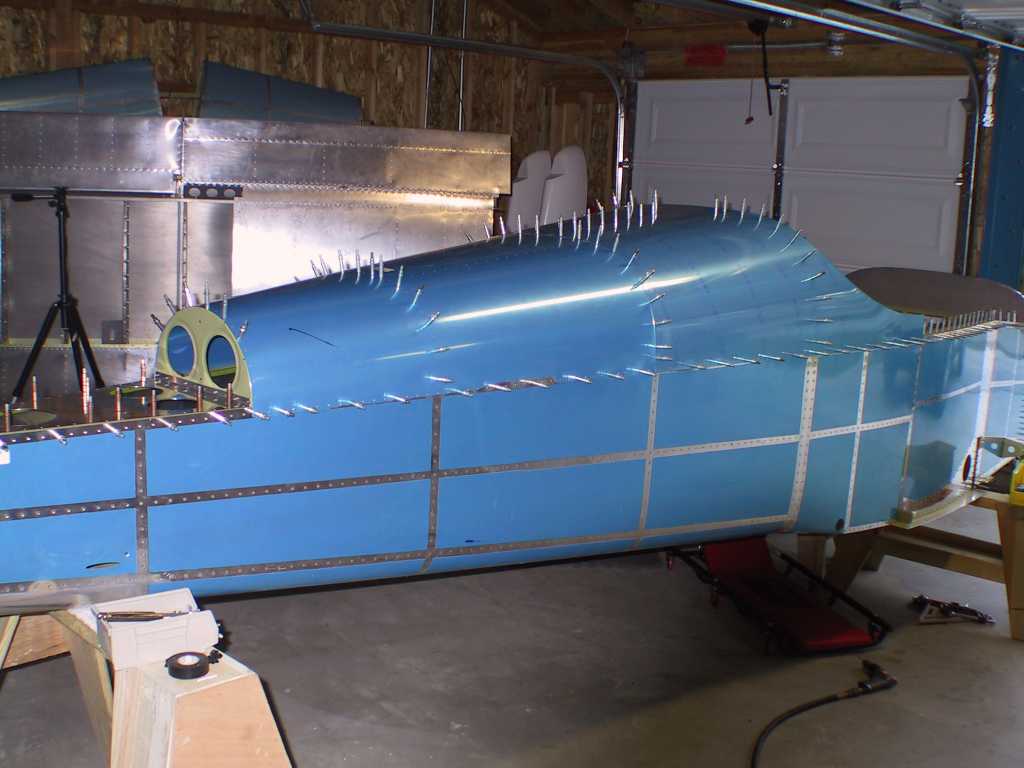
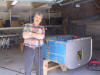
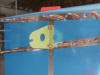
| 3/6/04 |
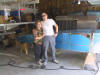
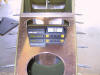
Mom and Dad strolled into town yesterday. Yes, more
good help is near, if not 'captive'. Just feed them some steaks and
fine wine and voila! you get near perfect help. It's especially nice
to be able to tell you dad what to do (and not to do). We were
resigned to get all the rivets in the fuselage done today and to right that
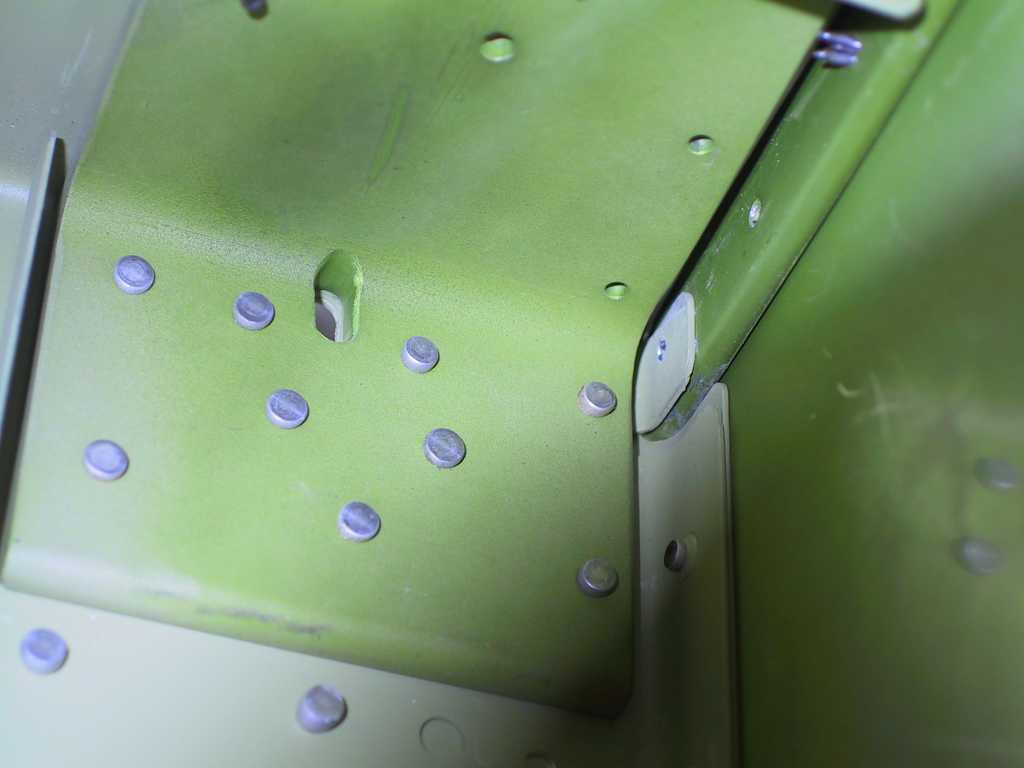
puppy. Job well done. Dad did and excellent job of riveting.
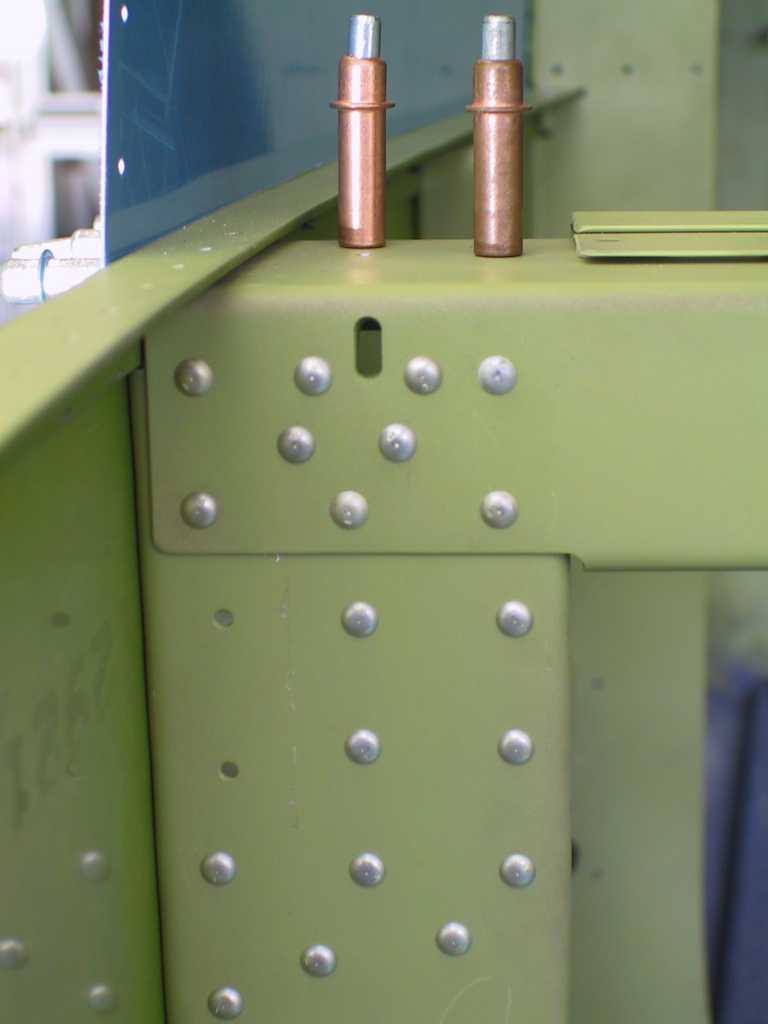
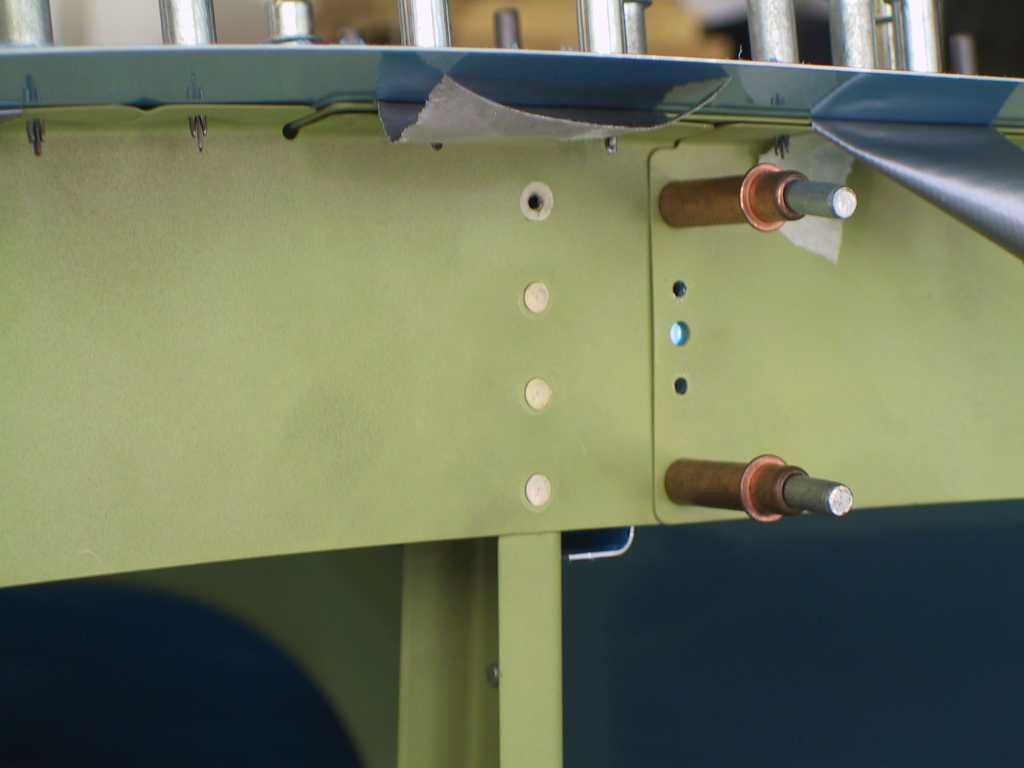
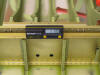
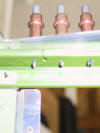
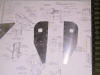
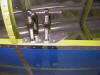
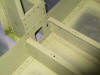
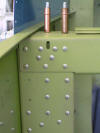
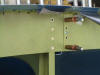
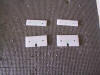
Here's the tank attachment bracket, torqued into place. One thing to
note here is that the rivet callouts are wrong on the plan. Just use
the rivets that fit. Notice the shop head on the rivets that might
interfere with the insertion of the bolts. You might want to turn
these around.
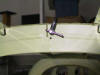
Here it is, no rivets to go. Two happy campers. And my
parents. Do you have the same problem with you mom? They never
want to be in a picture.
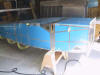   
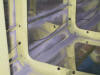
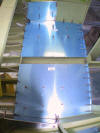
Now that it's shiny side up, here's some more.
  |
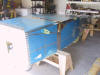
| 3/7/04 |
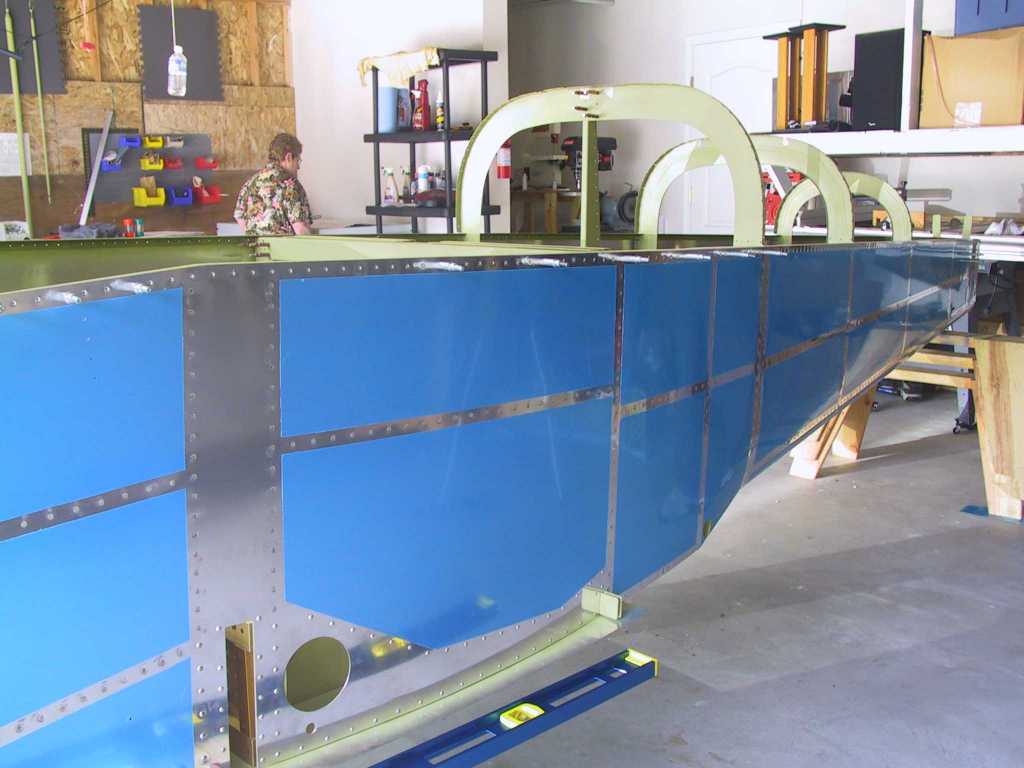
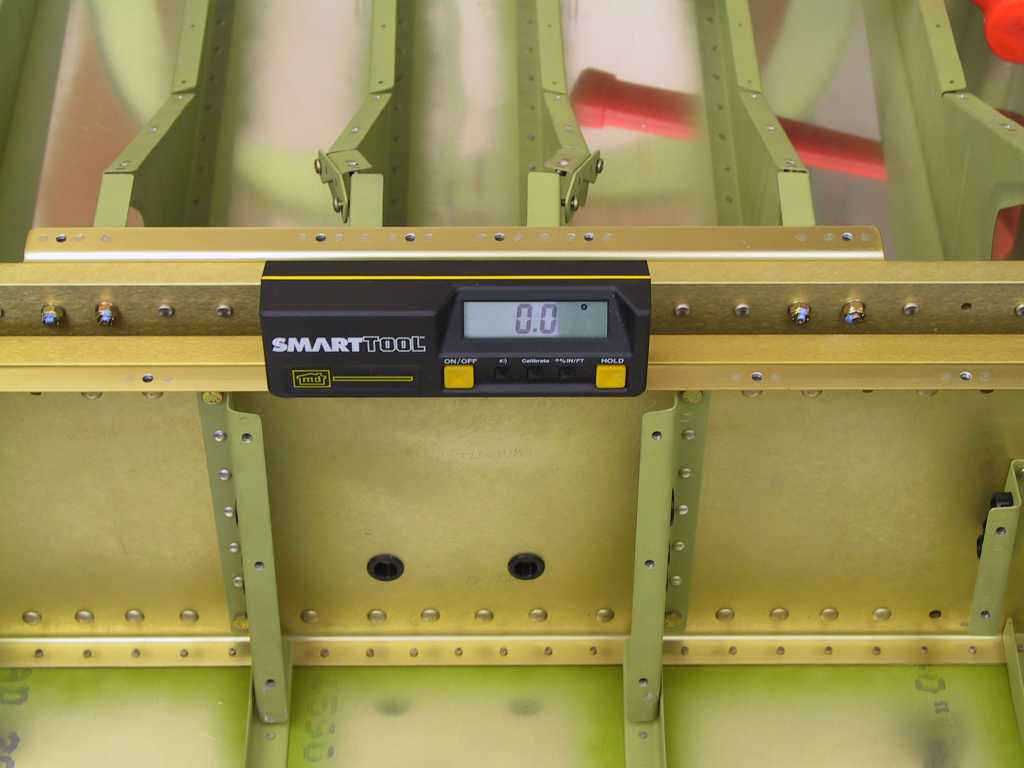
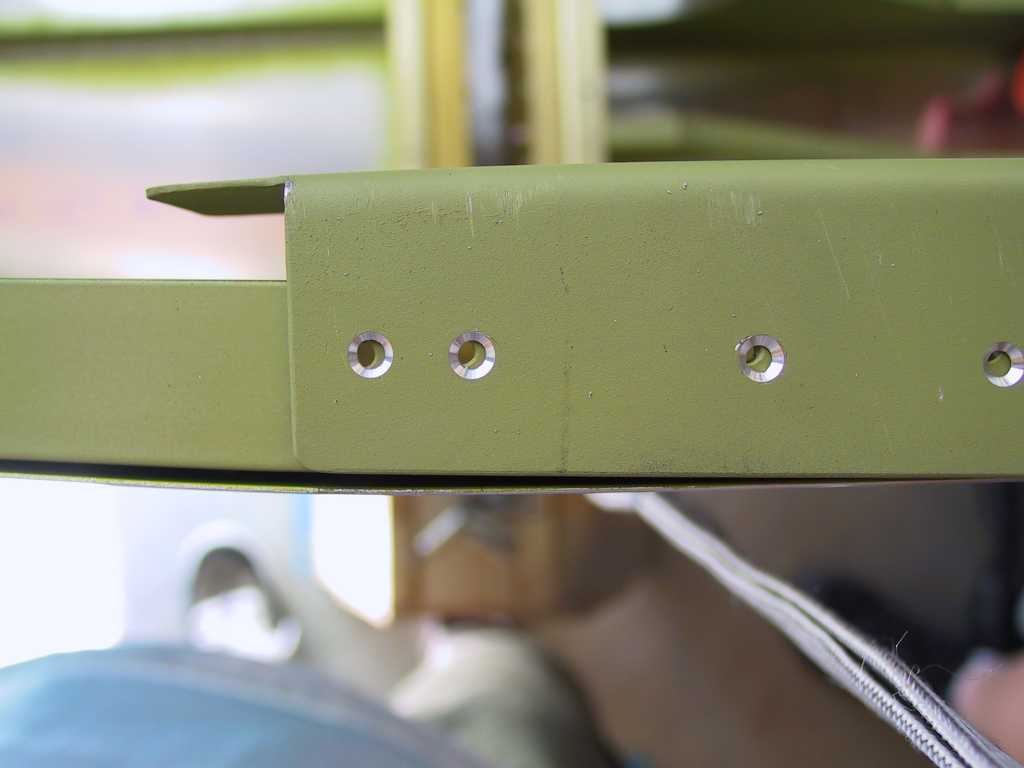
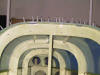
Ok time to continue. Bought a 29" sawhorse yesterday
from Home Depot. That was perfect to get the aft end level.
Here's some shots of a perfectly level airplane. Don't credit me.
Credit Vans!
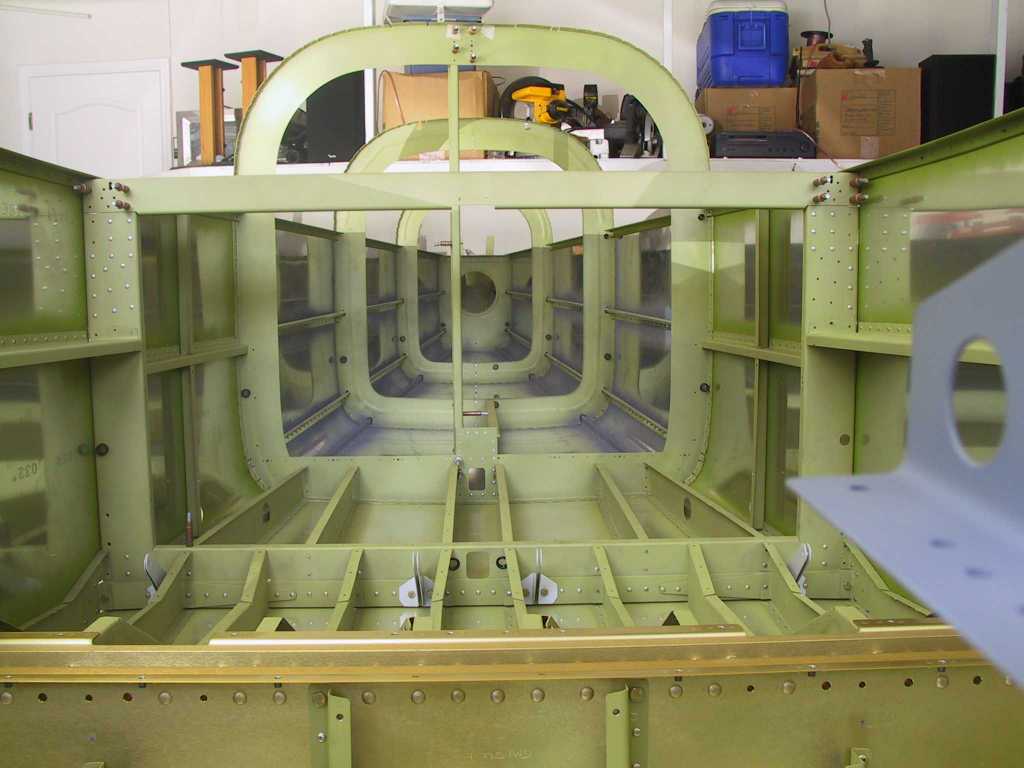
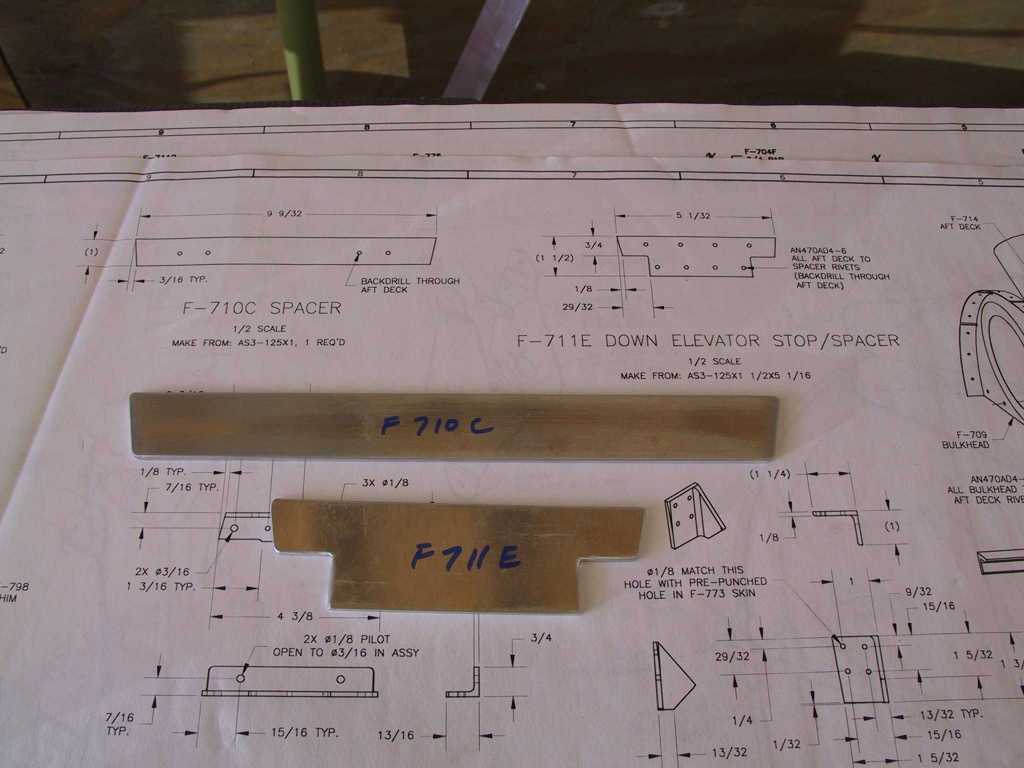
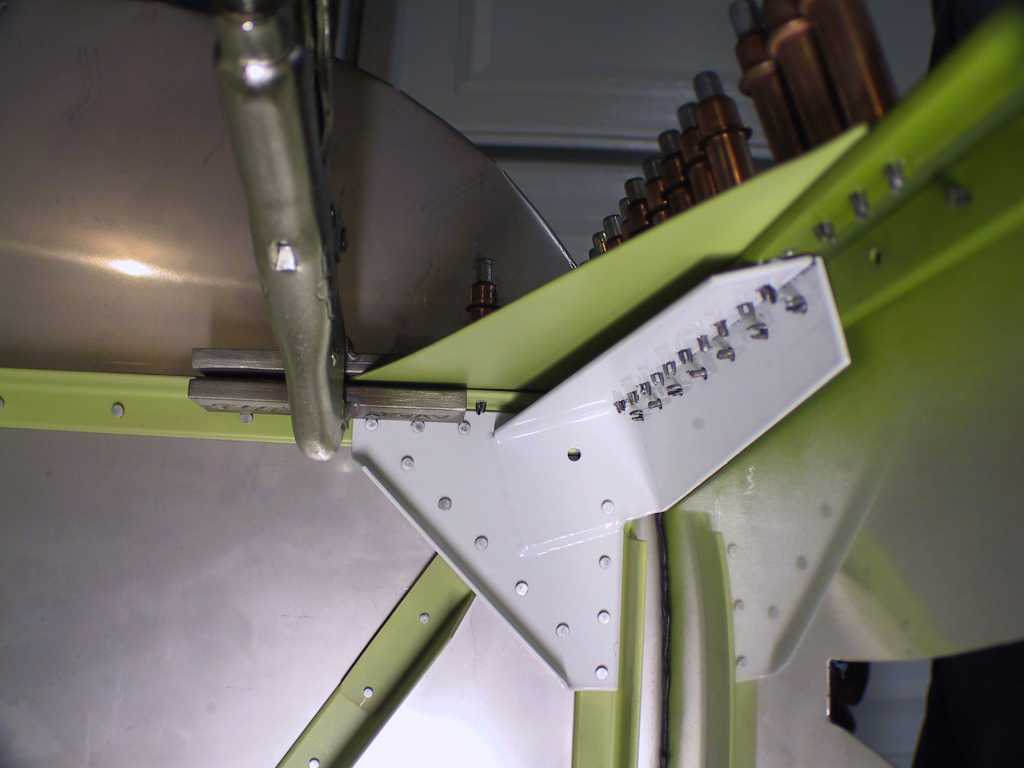
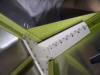
Time to get the F-714 aft deck installed. 'Made' the F-710C and
F-711E spacers/stops.

Secured the spacers with elec. tape and made sure the aft deck was level.
Then drilled that sucker. No problems except that I had to ream the
notches to fit the F-711C bars, that's pretty standard.
Here's the aft deck drilled and clecoed. The second shot shows the
little cut I made into the longeron when my band saw decided to have lunch.
I stop drilled it and drilled two holes on either side. Vans' said
this was no biggie so no stiffener was required.
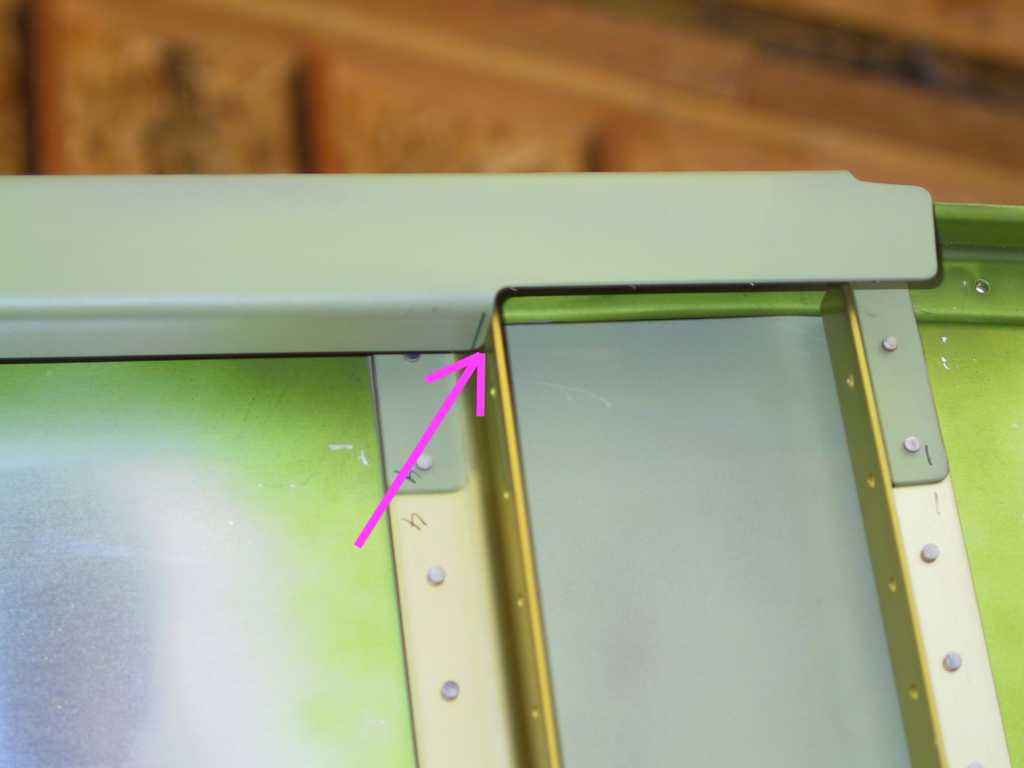
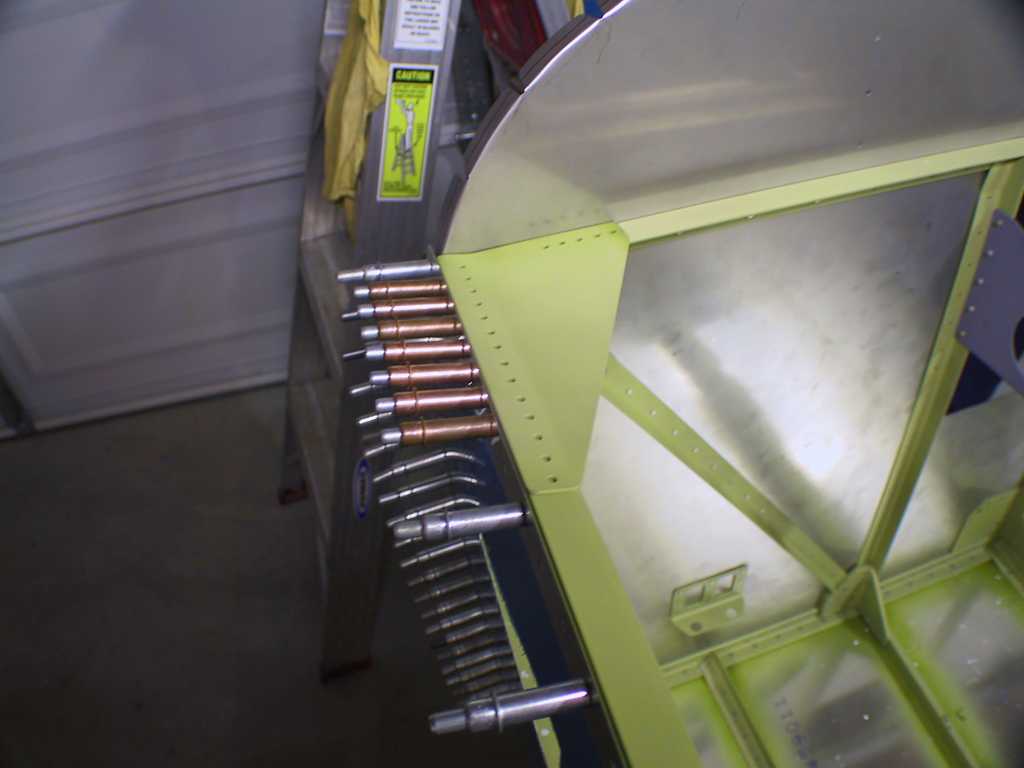
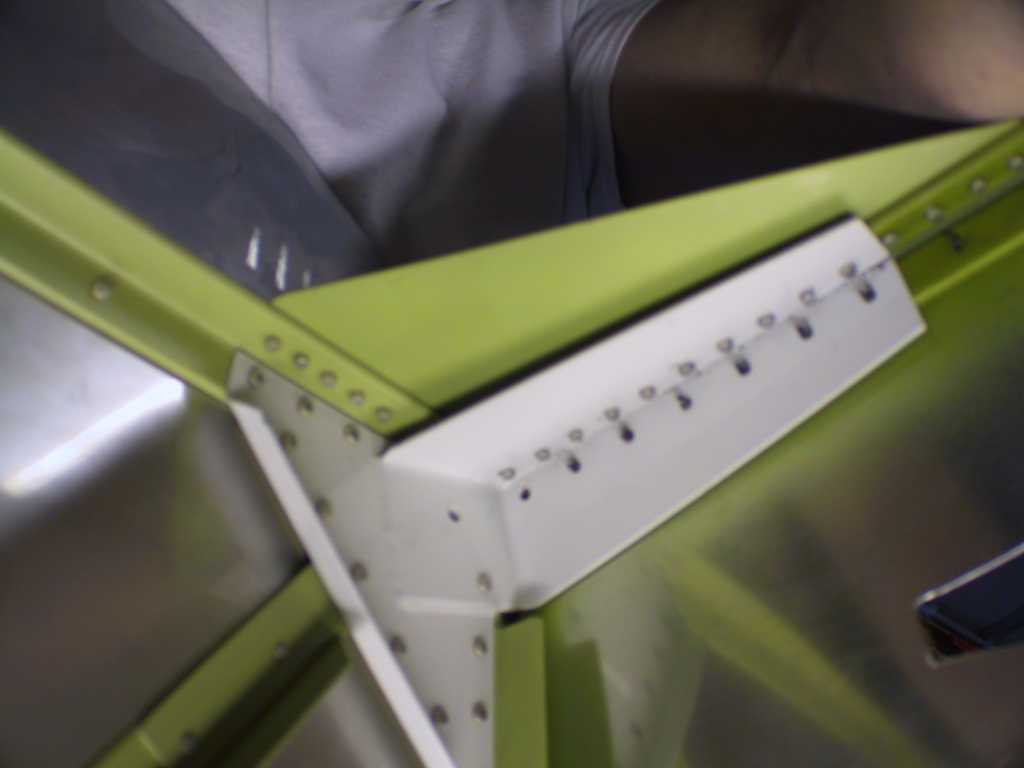
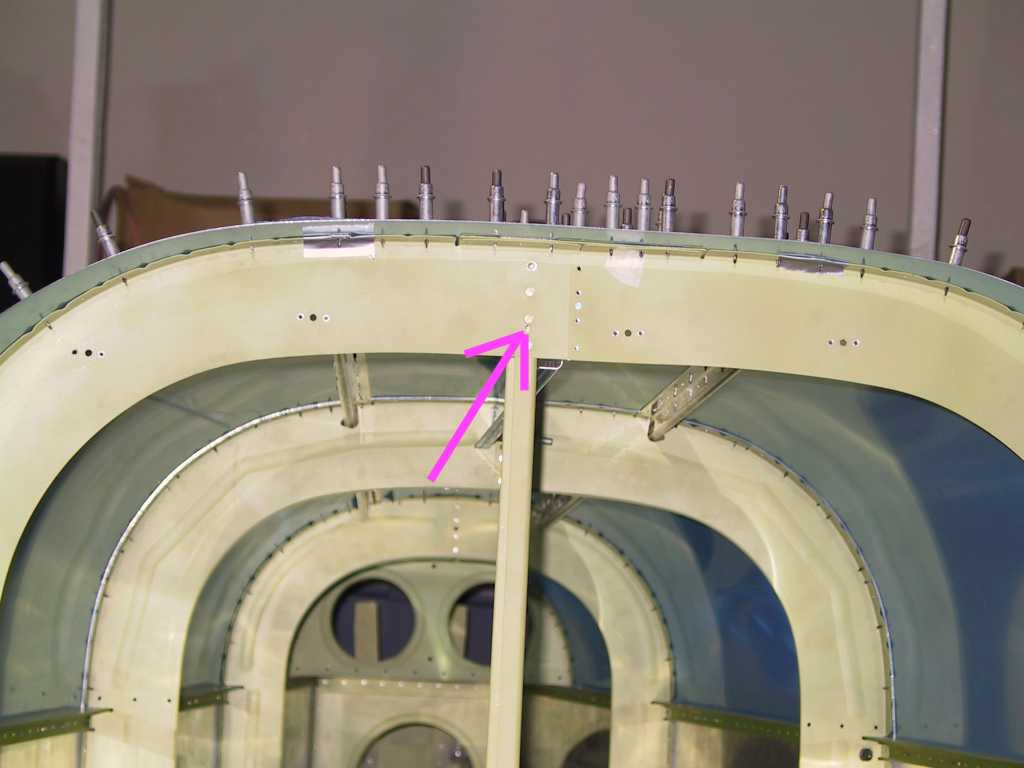
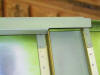
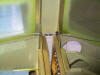
Ok, here's were it starts getting fun. While attempting to fit the
F-721B-R canopy deck I noticed that it would not line up with the
pre-drilled holes. There was a 1/10" interference with the center
section vertical stiffeners. Any body else have this issue? I
resized the canopy deck and match drilled the F-757-T plate to the longerons
and F-705F channel.
   |
| 3/8/04 |
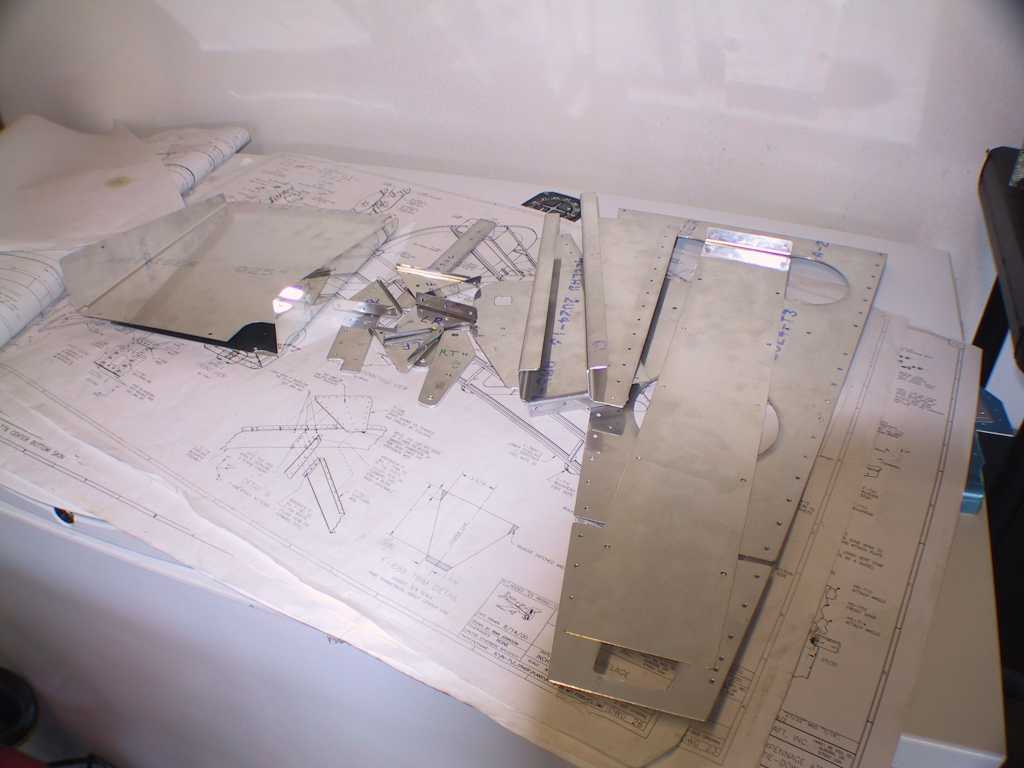
Thanks dad for cleaning up the workbench and garage!
Today we got more parts ready for priming and riveting. What we did to
get the center square cut out was to assemble the left and right parts back
to back and clamp together. Then drill a 1/4" drill into each corner
to keep the proper radius. Then drill a hole in the middle and use a
unibit to enlarge it. Then file as needed and debur. Works like
a charm. Heading to Cabo this Thursday and so hopefully we can get
these primed and riveted.
   |
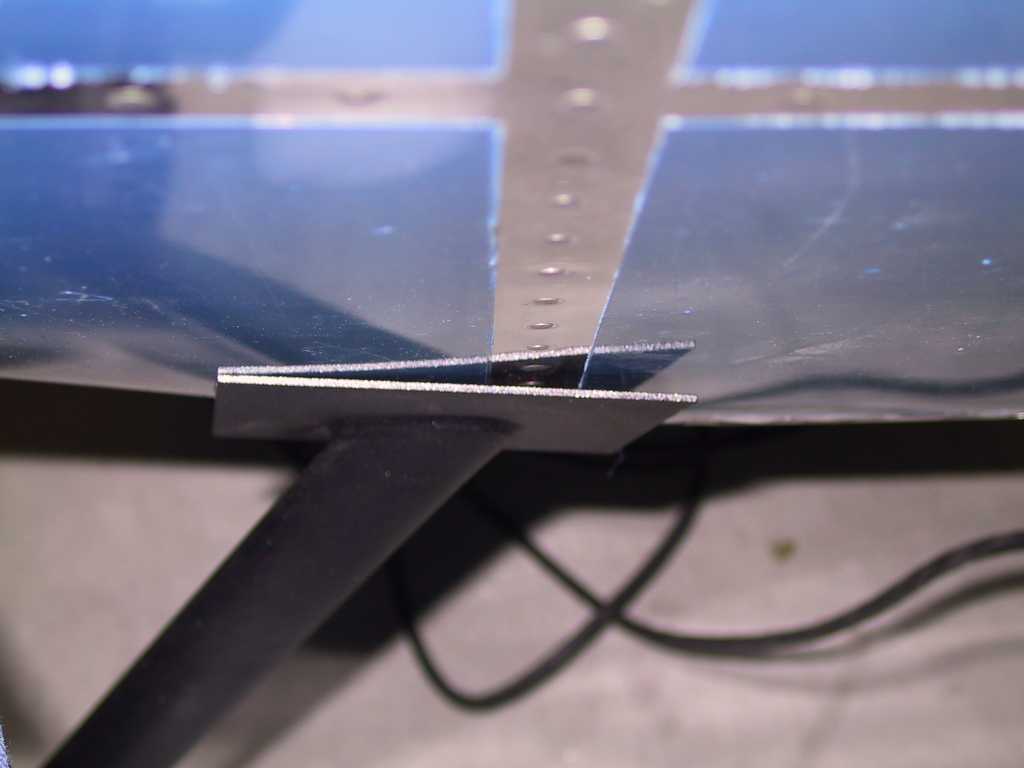
| 3/16/04 |
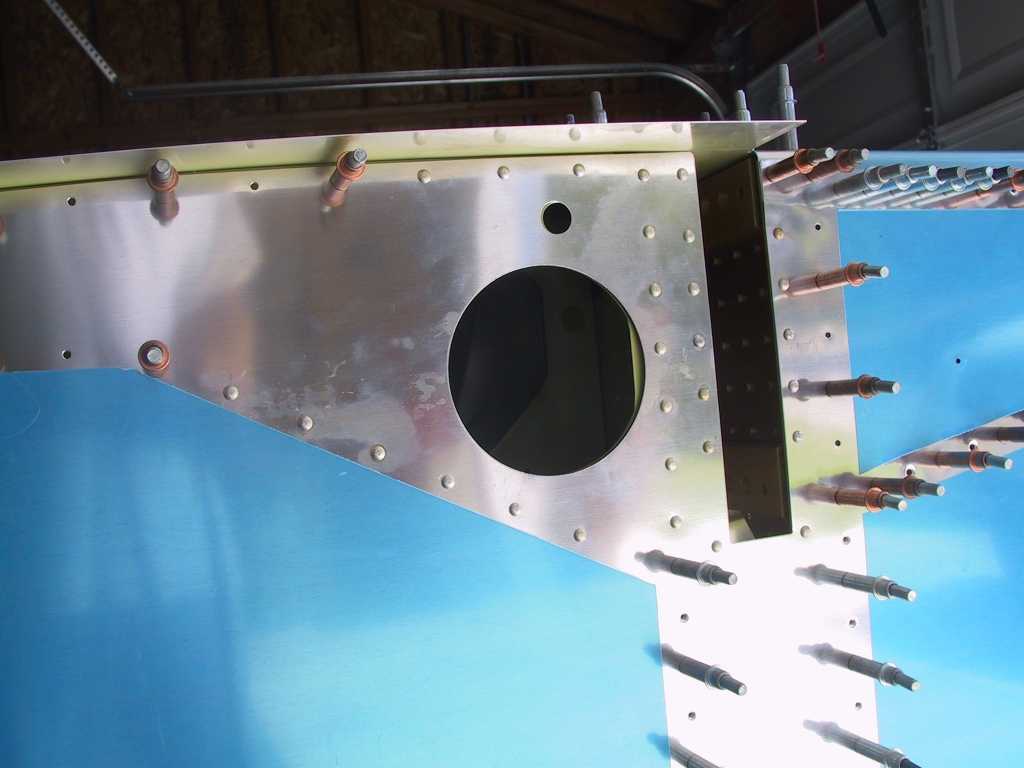
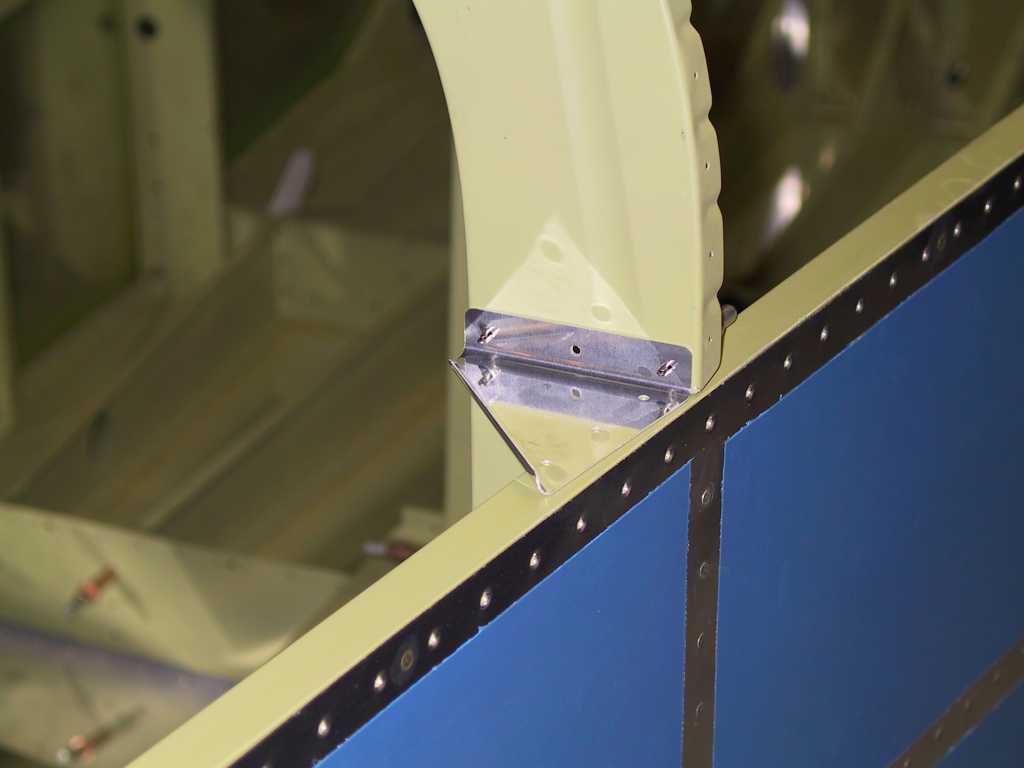
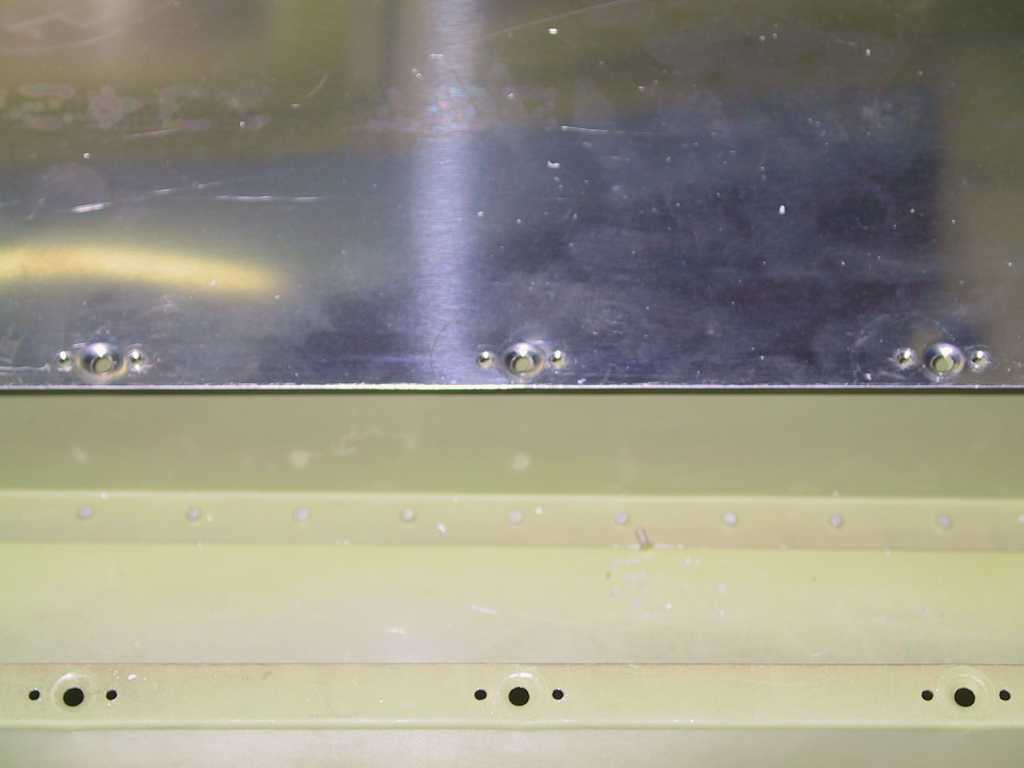
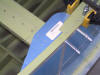
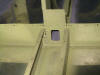
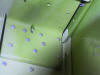
While testing the fit of the longeron/firewall gusset I
noticed that there was a slight gap in the fit of the gusset to the channel
on the firewall. Looks like the pre-made bend in the gusset isn't
quite enough. I'm just going to live with it. It should pull
together when it comes time to rivet. I did spend some time being
careful to pull the pieces together before drilling though.
    |
| 3/17/04 |
Time to place these pieces on. No mention in the book
on when to do it, just do it. Mounted the seatbelt anchors and prepped
some other misc parts.
  |
| 3/18/04 |
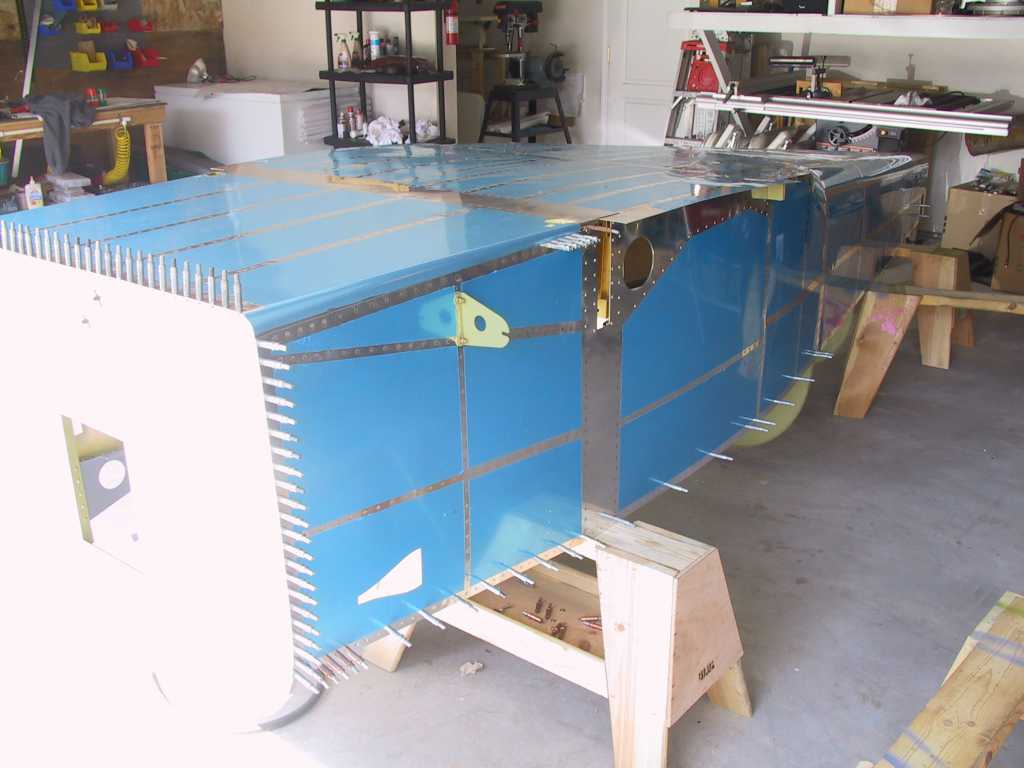
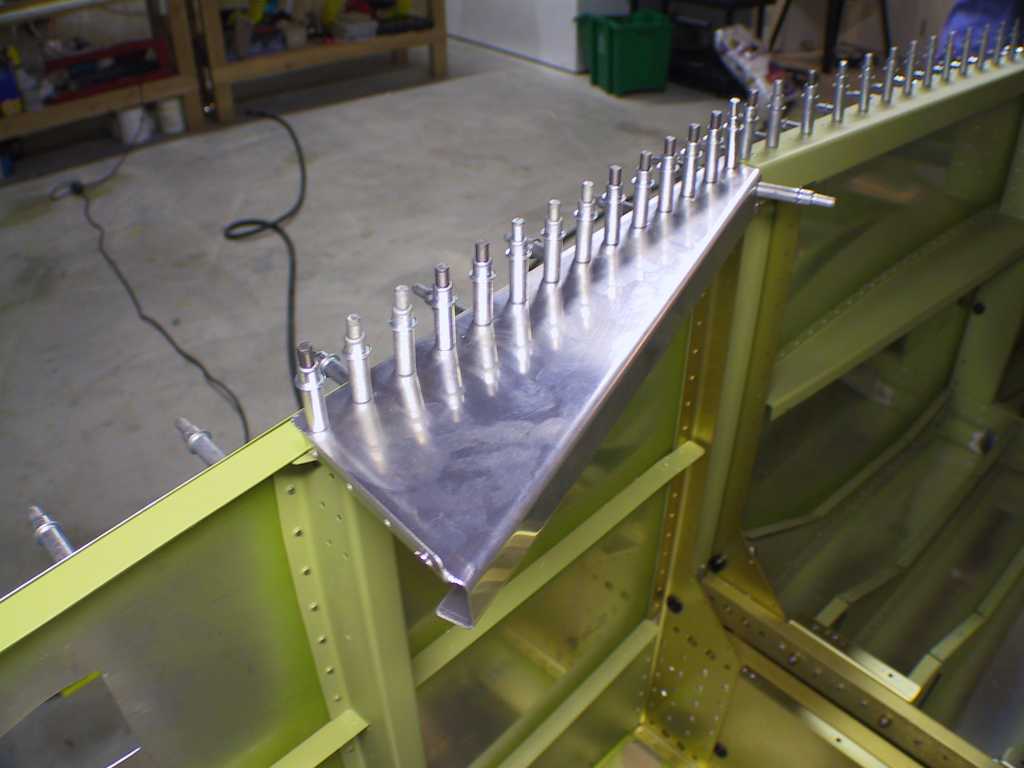
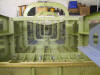
Time to get busy putting on the aft skins. I decided
to place both pieces on together and match drill. Why do each
separately like the plans? Boring. Duck taped the j channels to
the top as well as the pyramid looking plate and drilled the whole thing
out. Also drilled the mounting bracket for the centerline piece along
the top. I can't remember all those damn part numbers, you know which
one, look at the pic. I drilled it to the bulkhead and will drill the
holes into the bracket when I lift the skin up a bit enough to get a long
drill bit in there. Match drilled all the skins. Starting to
look like something.
    |
| 3/19/04 |
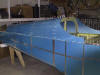
Today was the first day I ventured inside of the fuselage.
Laid some 1/4 " plywood in there and some foam. Seemed sturdy enough.
I had a hell of a time getting the rivets in this piece. Also drilled
the holes for the canopy latch. I'll rivet them tomorrow.
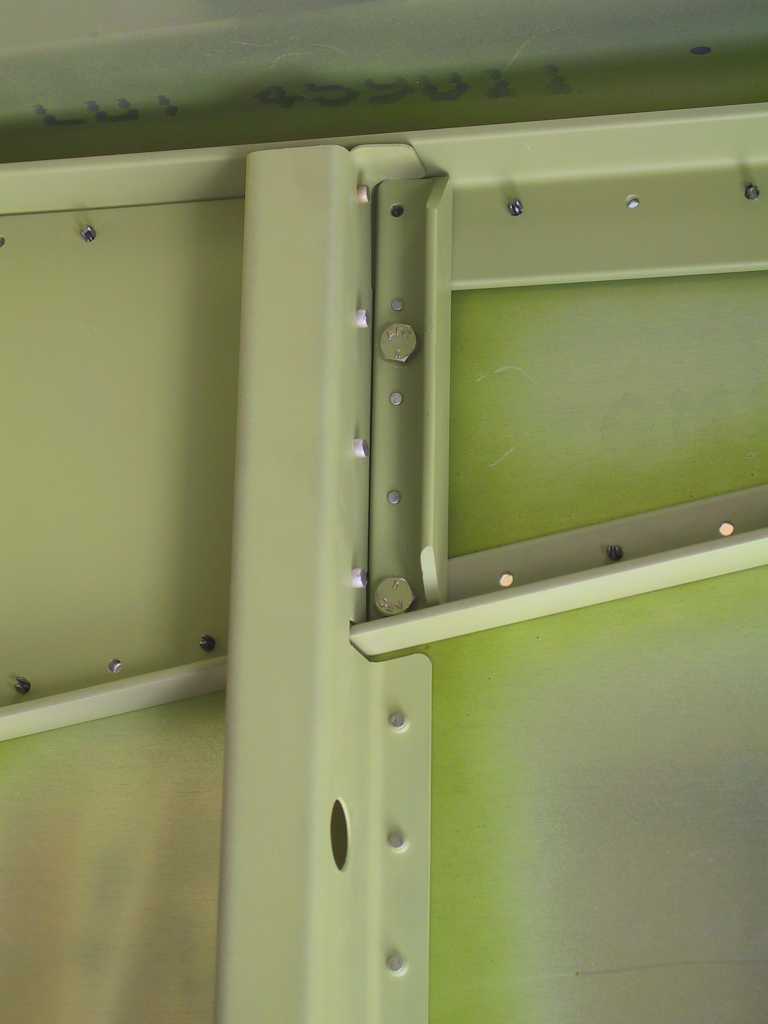
Also riveted the fuselage/longeron gussets. You can squeeze all of
them with a 4" yoke but I had to file the face of the yoke a bit because of
interference with shop heads of rivets on the firewall. Everything
came out fine. Thanks for all the help pops!
   |
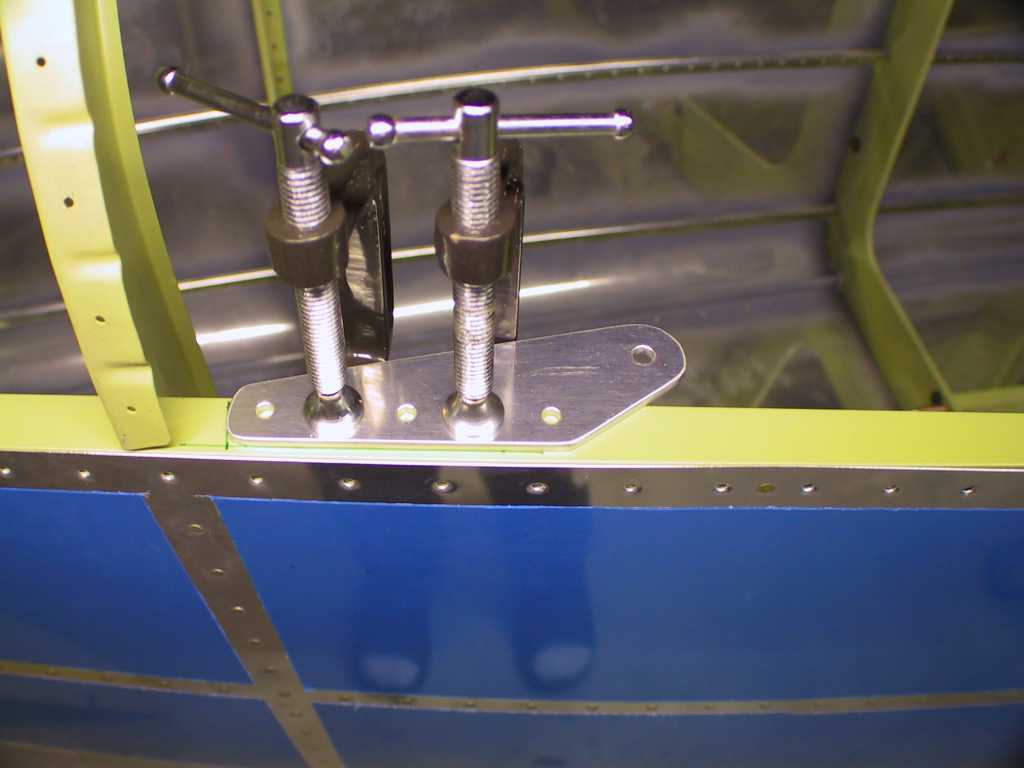
| 3/20/04 |
Skins are on so it's time to rivet the canopy latch brace
into place. You can put all these in with a 4" yoke.
Plans say to use a thin nose yoke, and it works fine for all of these.
Before the baggage wall covers are cemented in place be sure to run the
rudder cable on each side. One thing you will find is that the clevis
will not fit through the bushing unless you force it. Start from the
rear and work your way forward.
The nutplates can be installed on this rearmost aft baggage wall with a
thin nose squeezer. Pop rivet the top holes.
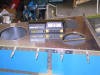
Time to get the baggage floors drilled and drill the match holes in the
baggage aft bulkhead. Here's a bunch of parts ready to be scrubbed and
primed.
No pictures to show it but you should rivet the 706 and 707 to longeron
gussets into place by lifting the top skins on the opposite sides of the
fuselage, stick your head and angle drill in there with a short bit and
drill it into place. If you don't, you run the risk of the bulkhead to
skins/or/gusset to longerons not matching. |
| 3/24/04 |
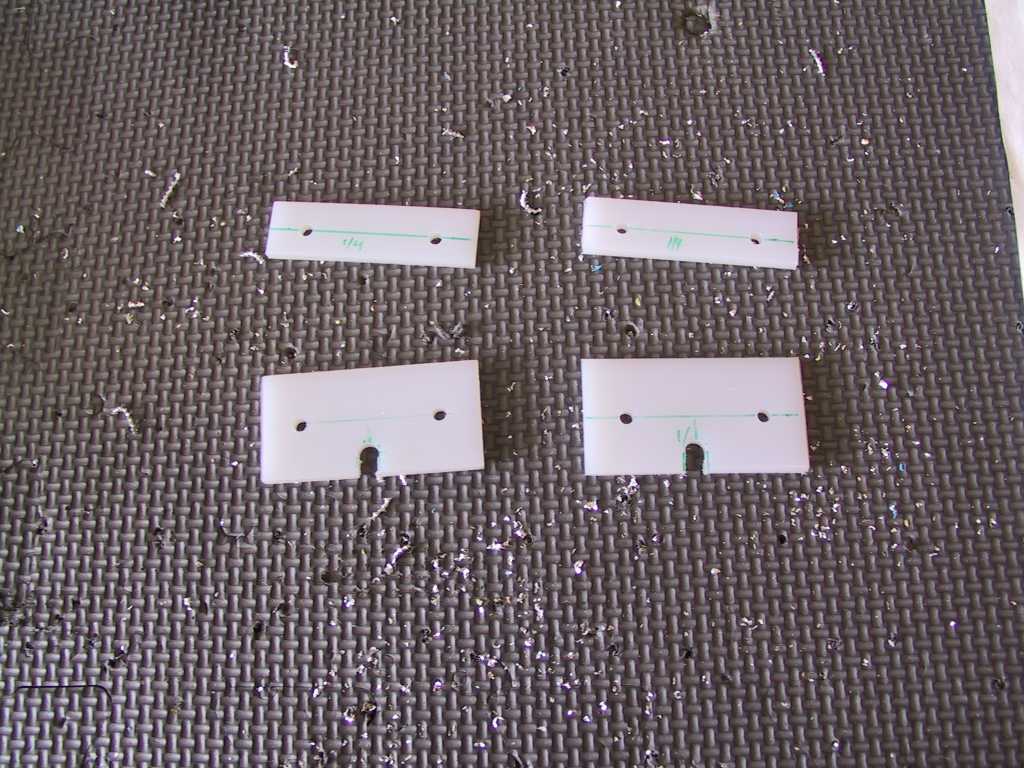
Began construction of the seat backs. One thing to
note here is that the plans call for the hinge on the bottom of the seat
back to be 15.5 inches and for you to mill down the vertical bars so that
the hinge sits flush between the seat back and the vertical bars.
Plans indicate to mill all four, you don't need to do that. If you do
there will be a gap under one of the vertical bars since the hinge is 1/2
inch too short. I fabricated a little 1/2 inch spacer but you can just
leave the hinge 16 inches long and cut the last hinge nodule off. I'm
probably not going to cut lightening holes in the plate between seat and
bulkhead (last picture).
Decided that the baggage floor tunnel cover should have flush screws.
Just dimple and use K1100 nutplates instead of K1000.
 |
| 3/25/04 |
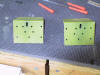
Began construction of baggage compartment wall. Don't
make the same mistake I did. The top two nutplates are NOT symmetrical
with regards to the centerline of the bulkhead. Fabricated all
necessary parts as well.
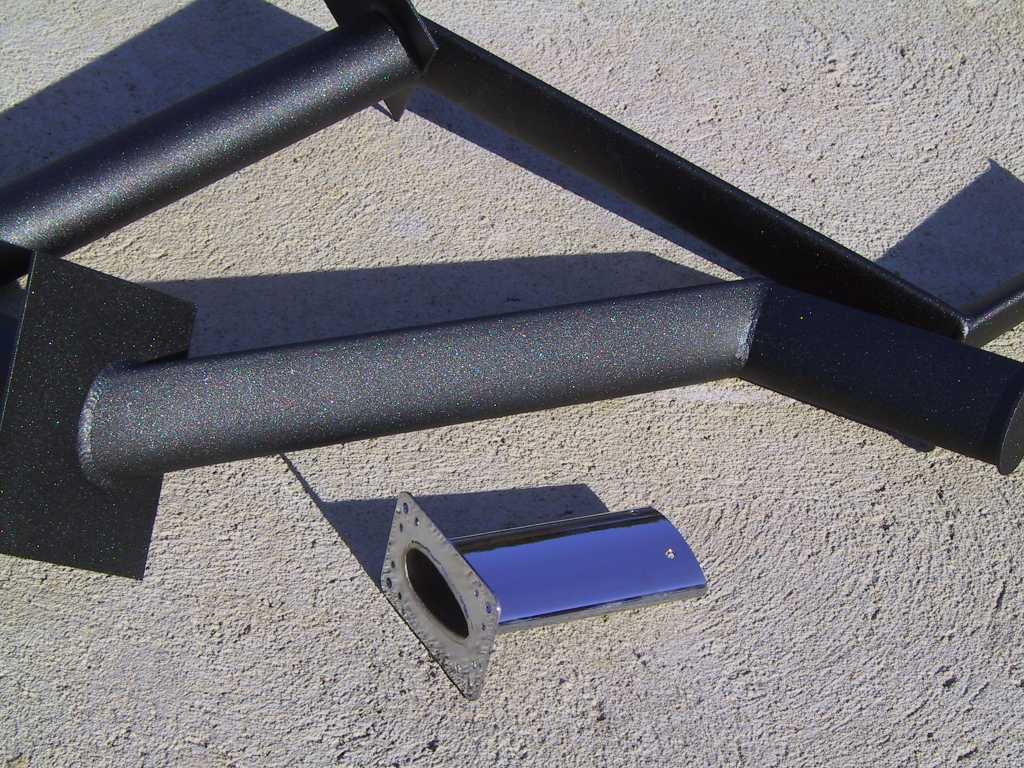
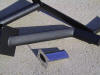
Got my steps powder coated a shiny black. They look awesome.
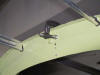
Also had the Gretz pitot tube extension chromed. The mating of the
steps will be this weekend. There doesn't seem to be a huge fitting
problem here but I'll know for sure soon enough.
   |
| 3/26/04 |
Started drilling and mounting all those damn nut plates on
the baggage bulkhead. I really need one of those jigs. Nutplates
suck, hence, no pictures. |