| 3/28/04 |
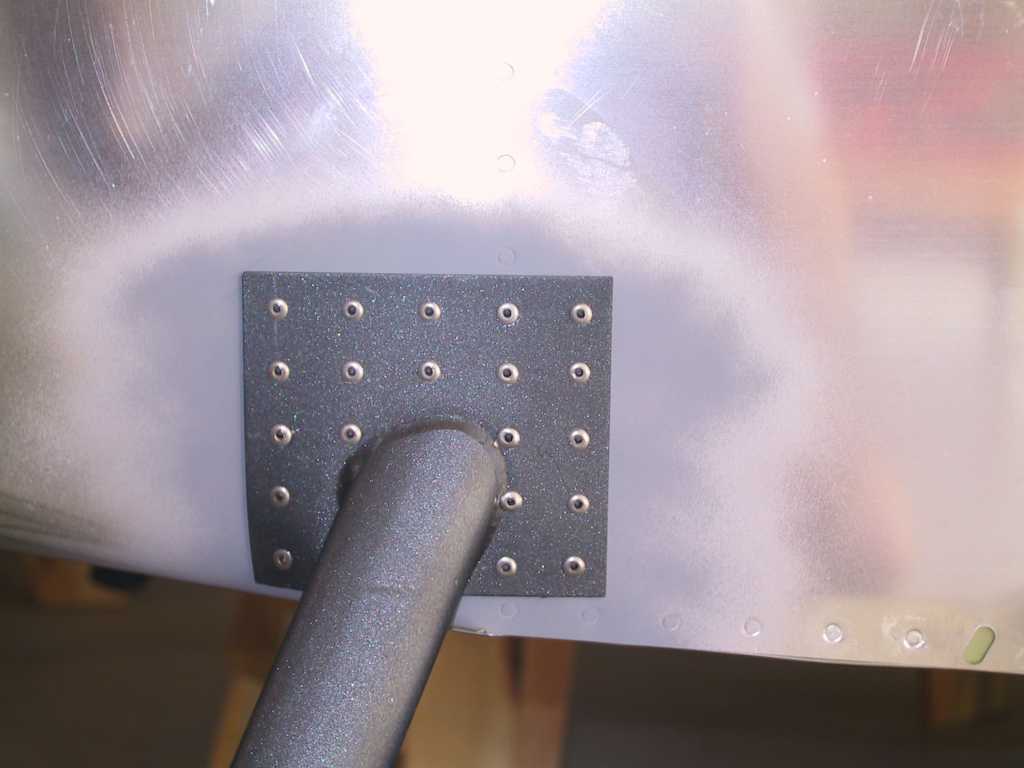
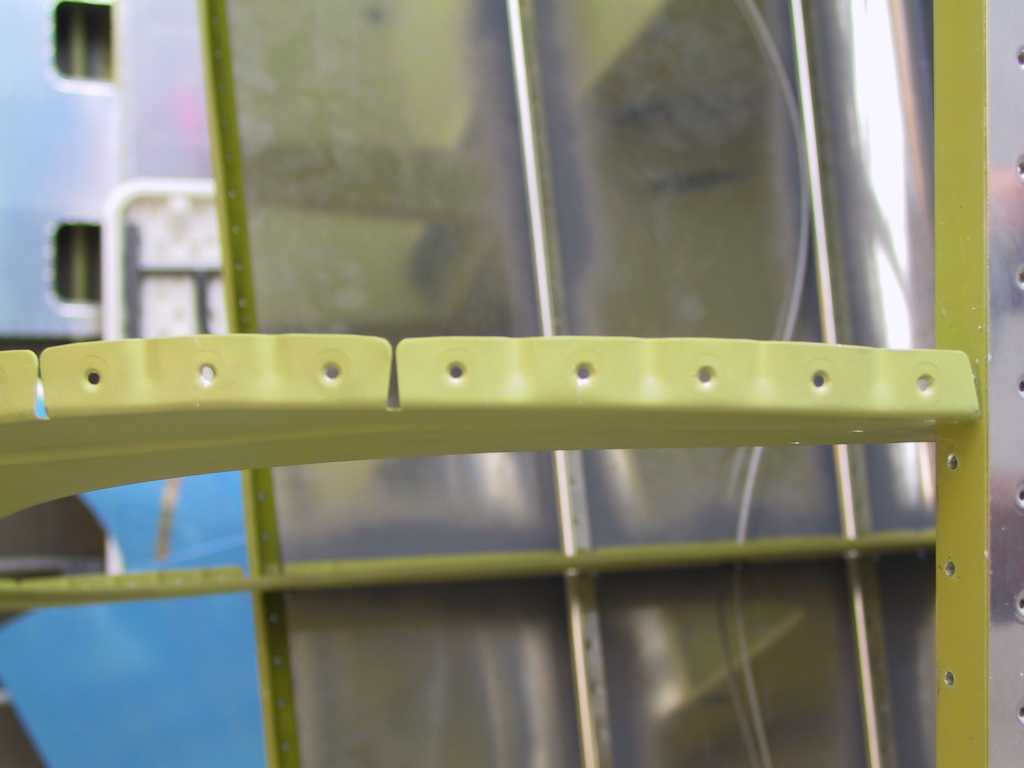
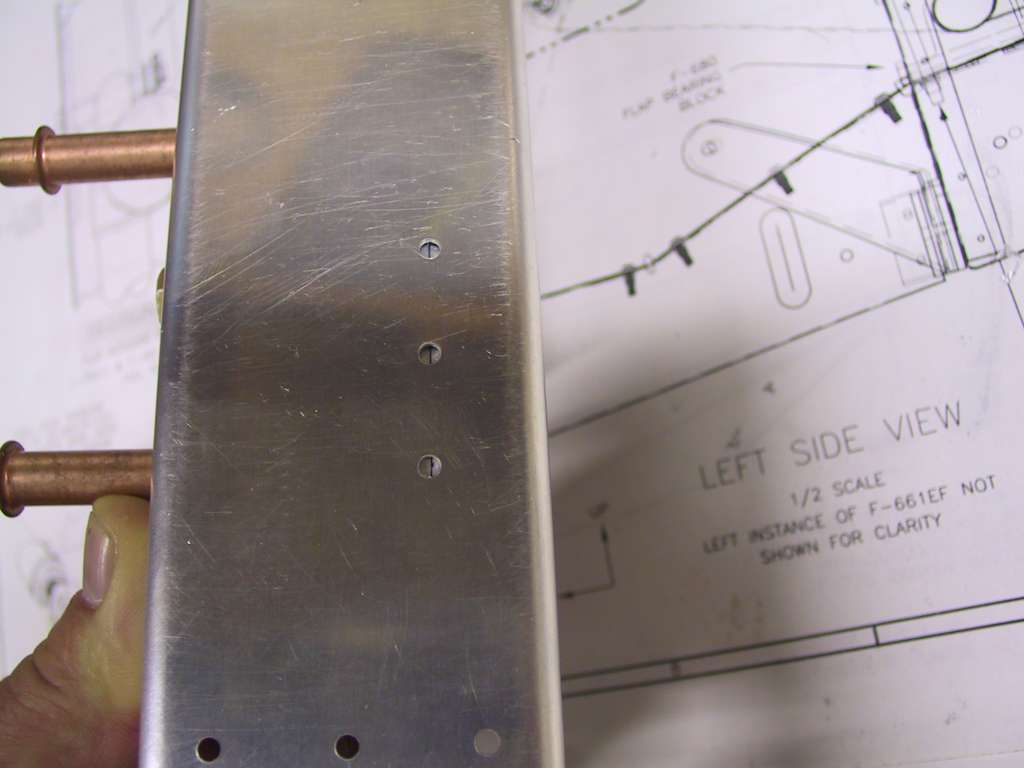
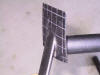
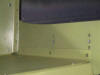
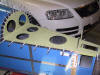
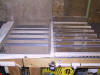
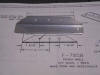
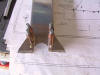
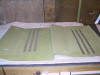
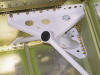
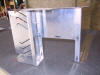
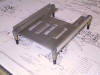
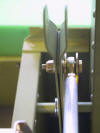
Next step in the plan says to install the steps.
Unfortunately, if you want to install the steps with solid rivets vs. pop
rivets you should NOT put on the aft baggage sidewall on first. I decided
against removing since drilling out those pop rivets really sucks. I
mounted the steps with pop rivets and to be honest they are 'on there'.
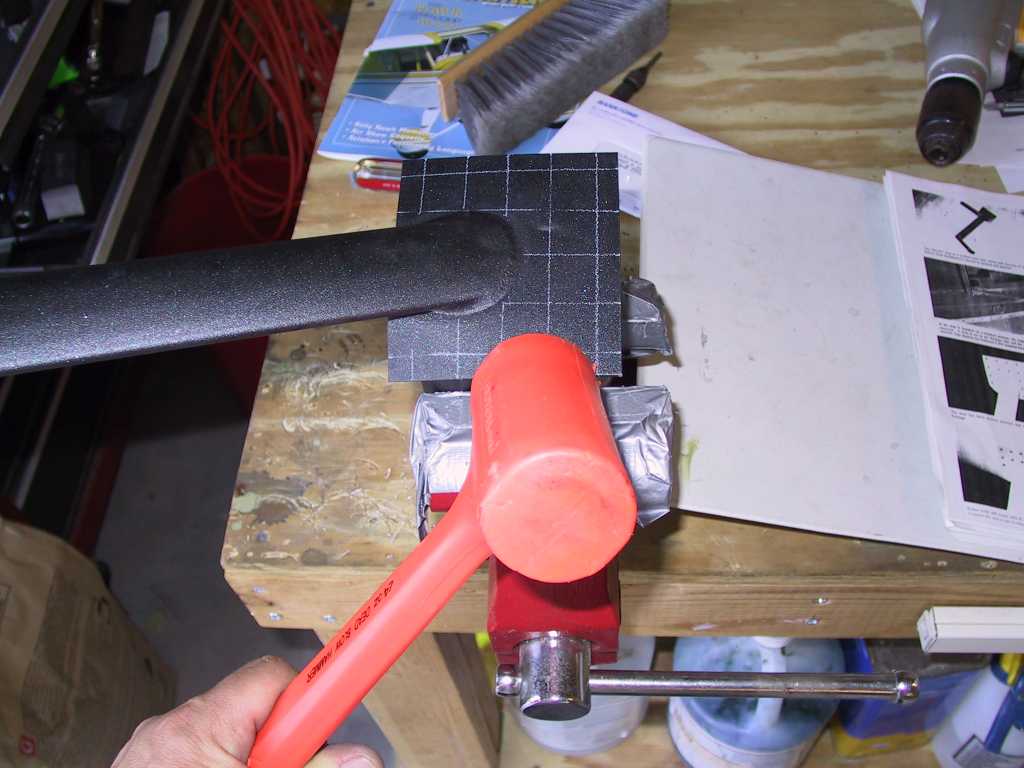
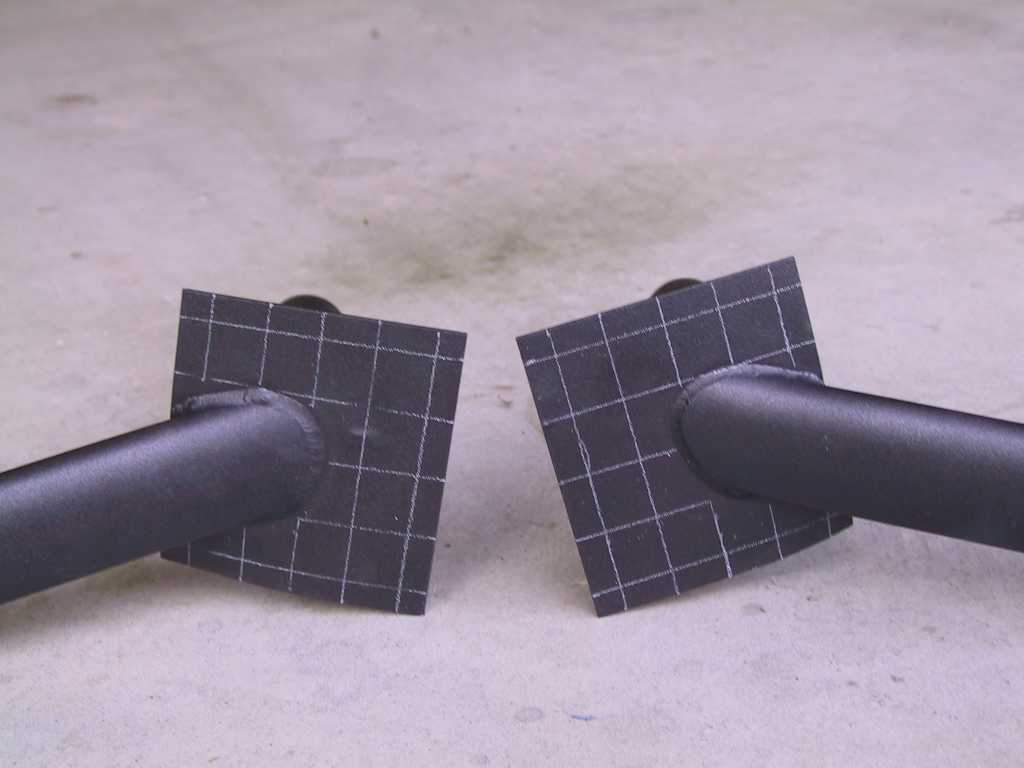
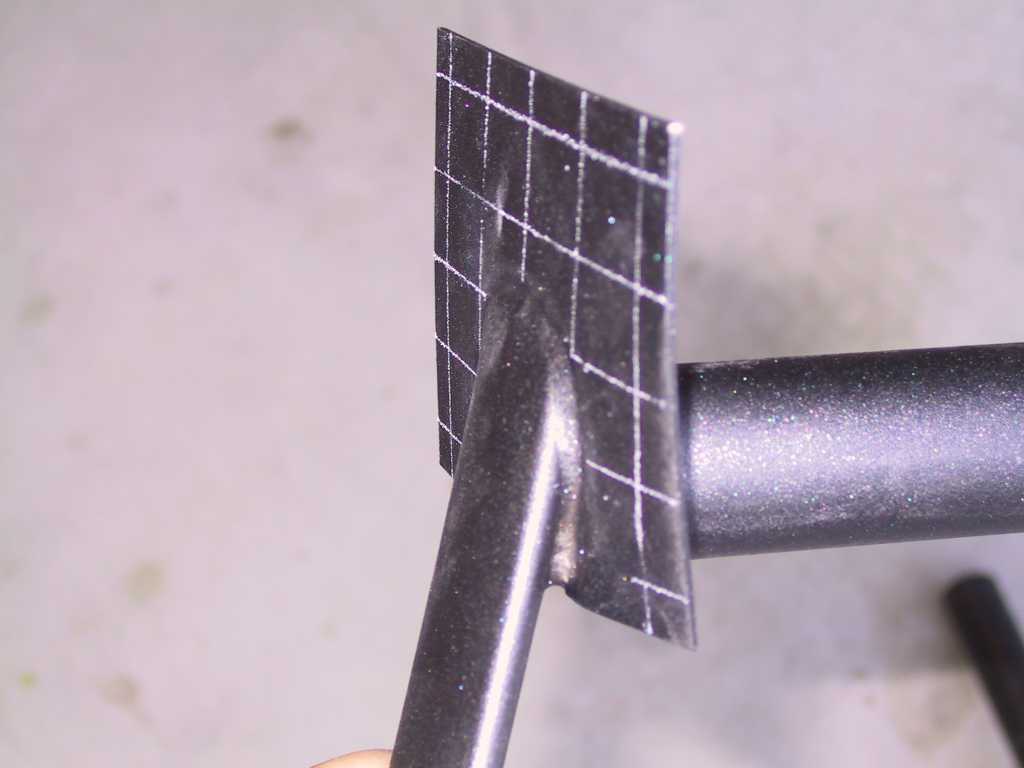
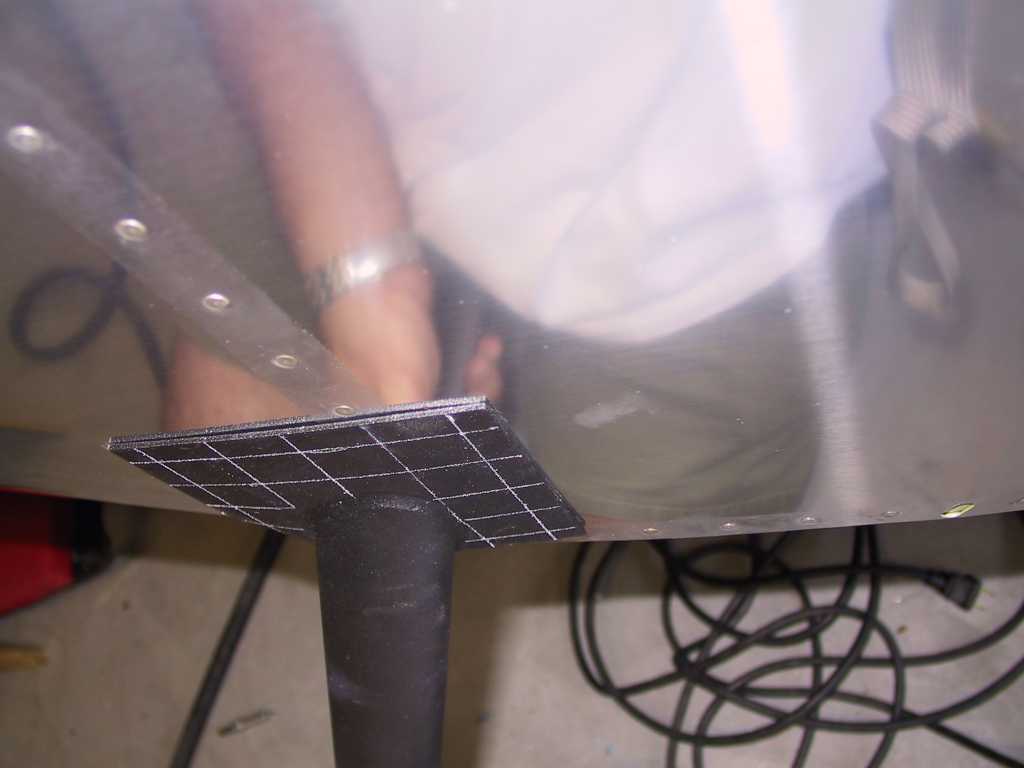
No way they're coming off. I also decided not to trim the rearmost
portion of the step flange. I decided to bend it. Just place the
whole contraption in the vise, get your handy plastic hammer and bend away.
Don't forget to prime the skin underneath!
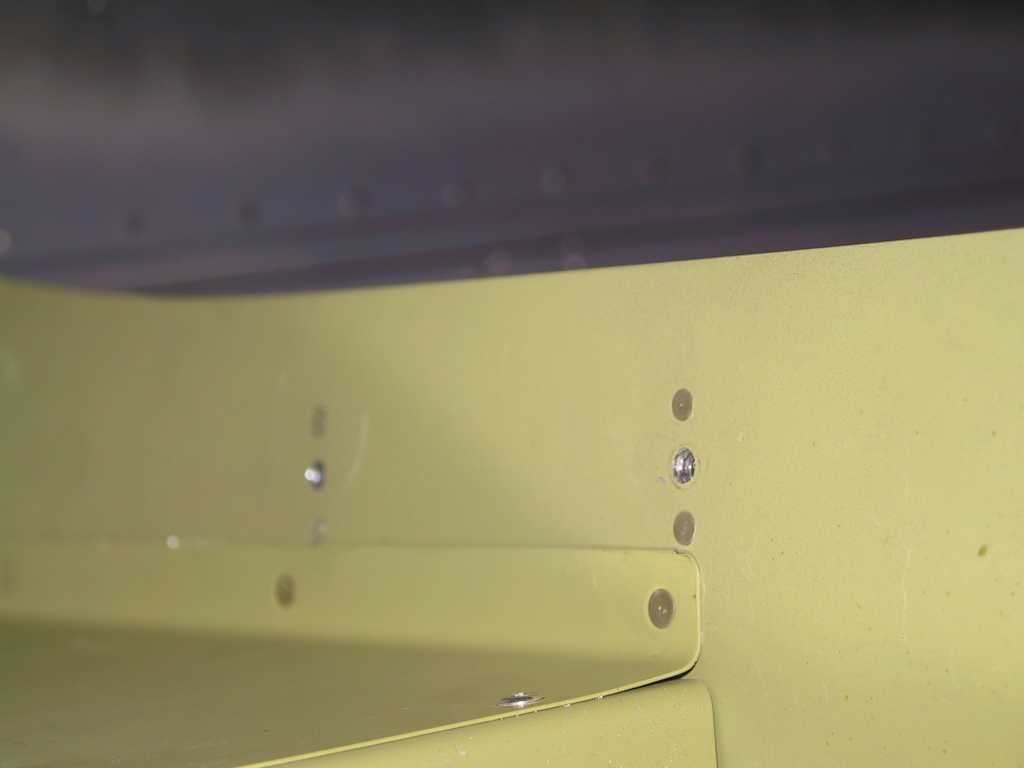
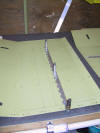
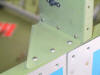
One thing to note here is that, again, the baggage rearmost sidewall gets in the way of countersinking the rivet holes
of the baggage bulkhead. Do yourself a
favor, put the baggage sidewalls on LAST.
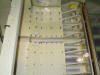
Cleaned, alodined and primed all the parts sitting on the bench which
looked like bare aluminum. No pics, you've gone through this before.
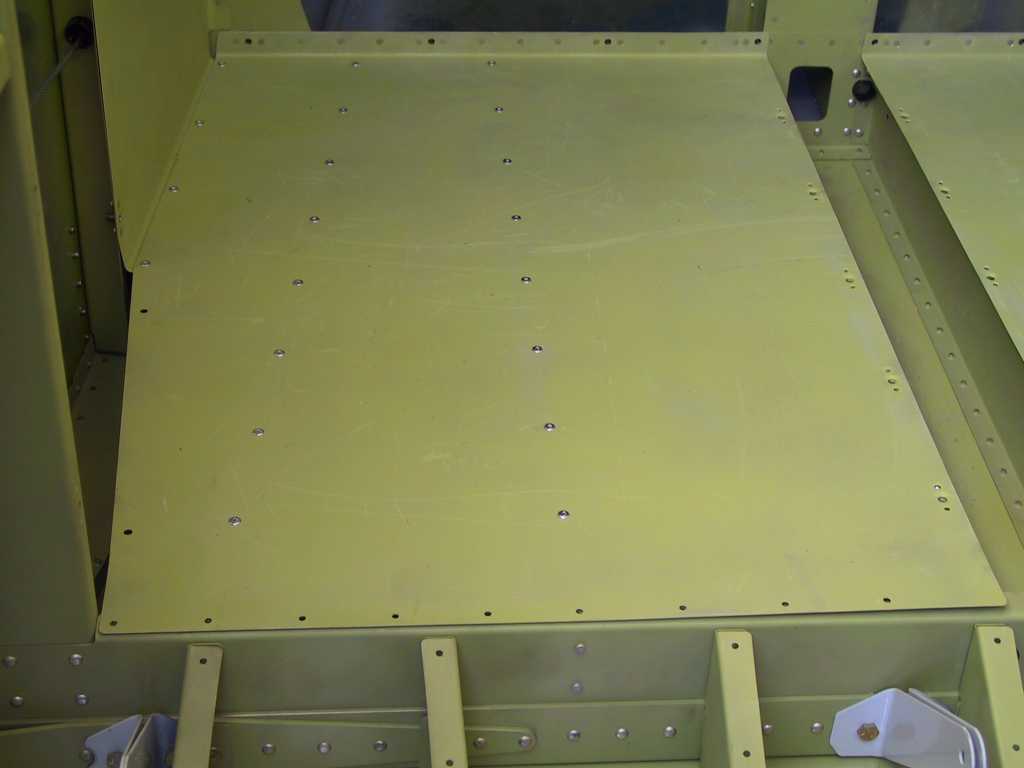
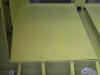
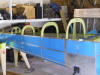
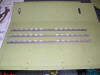
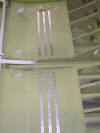
Now it's time to rivet the baggage floors on. No sweat, just pop rivet
them in place. I had thought that I would use flush pop rivets but
what the hell, these don't stick up at all. I ran into a bit of a
problem with the left MS21051 platenut. Just grind down one end if the
fit is a problem. I also went with 1100 instead of 1000 platenuts and
countersunk all holes for screws. I want at least those to be flush as
they stick up way more than the pop rivets.
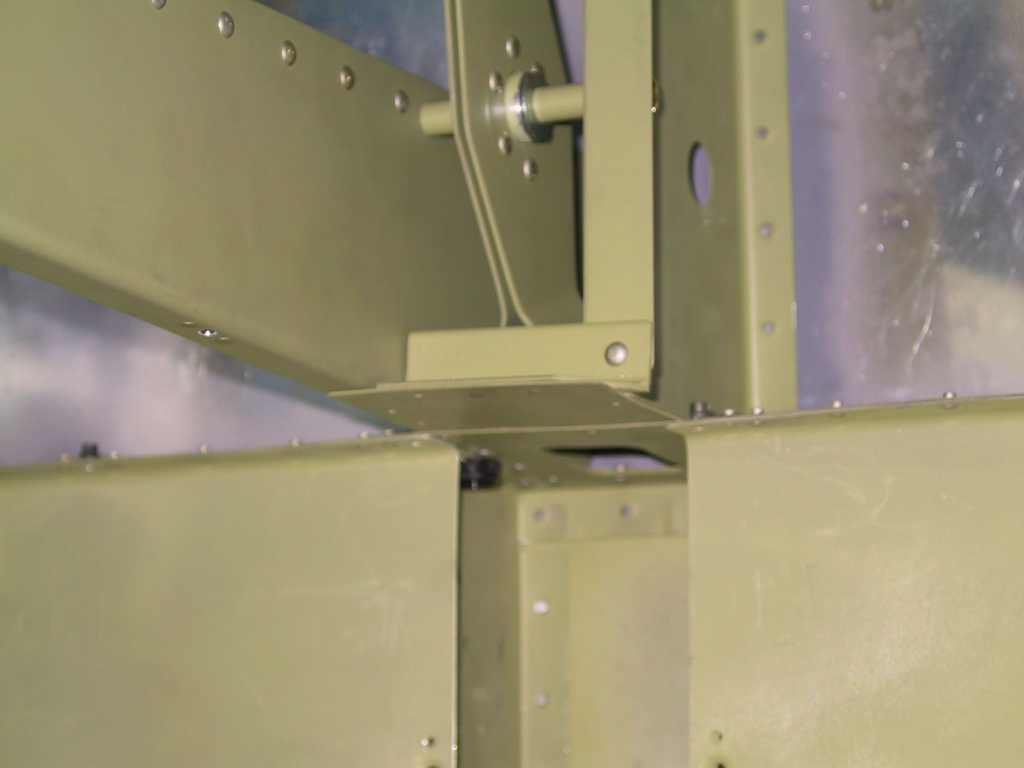
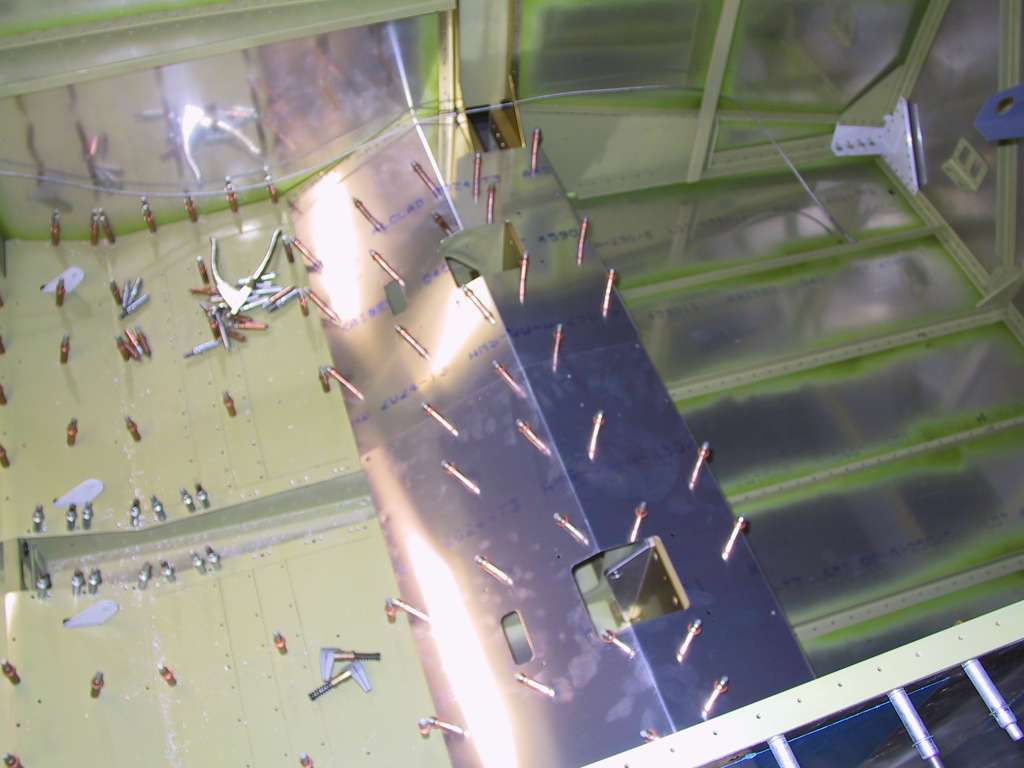
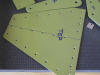
Next it was on to the F-714 aft deck. Finally get to make this
sucker stiff. I waited to do some of the rivets until the top skin is
off. It's much easier, especially the rivets located adjacent an on
the F-709 Bulkhead.
   |
| 3/29/04 |
Removed skin and now it's time to dimple.
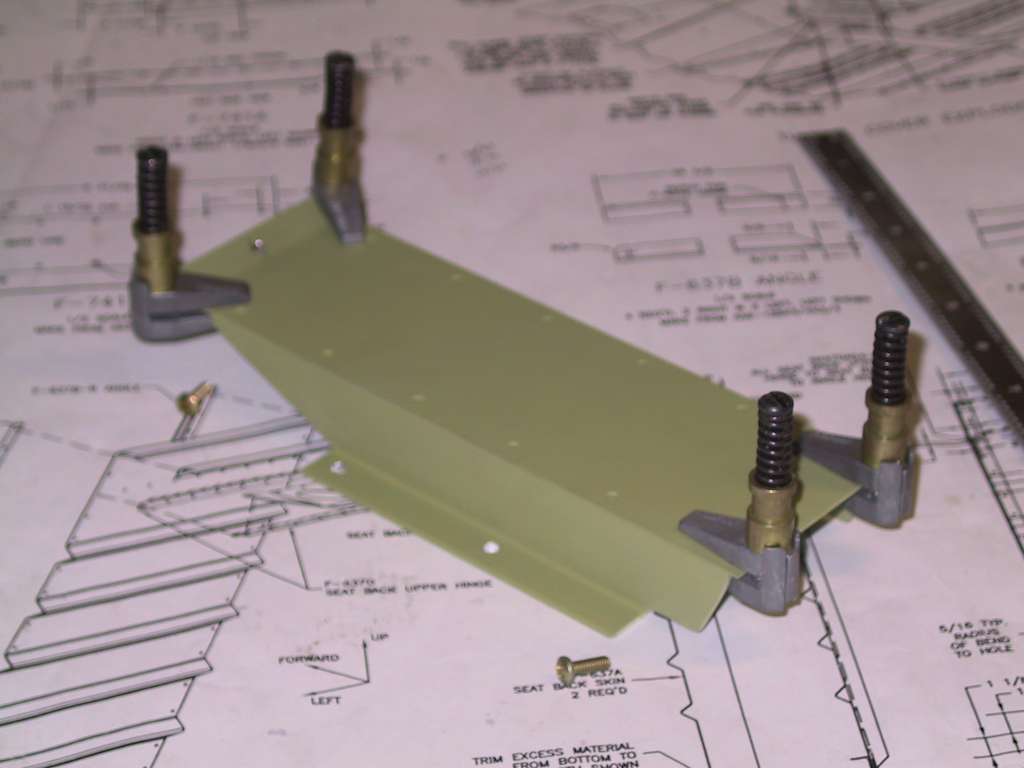
Tonight I also finished up the seat backs. No big sweat here, but
you'll need a long nose squeezer to reach the inner most seatback/hinge rivets. Note that
the plans don't way which rivets to use. I think I used 4-4, can't
remember.
|
| 3/30/04 |
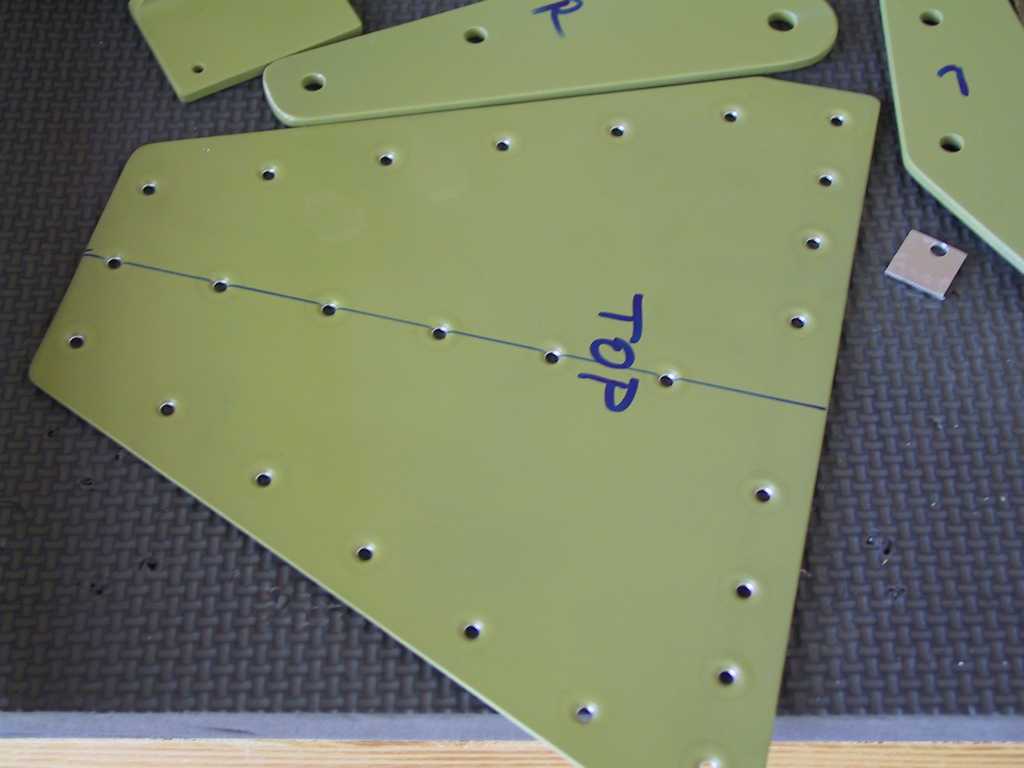
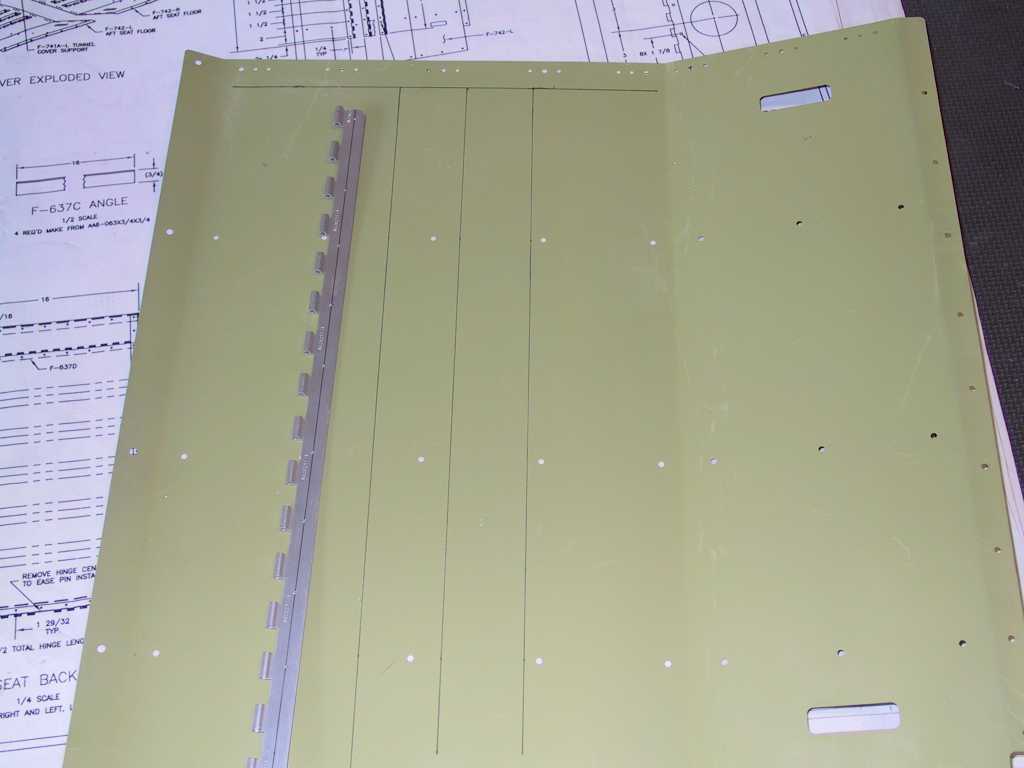
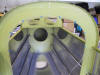
Decided to get the seat pans out of the way. I marked
the lines where the edges of the hinges go. Then made a template hinge
of scrap with the holes made undersized. Then drilled all holes on
both pans with the template. Cut the center two eyelets out.
Didn't get to rivet them on since I'm short of hinges, how did that happen?
Then I clecoed them both and match drilled all the holes. I futzed
around too doing little crap here and there (no pics of the futzing around).
    |
| 3/31/04 |
Tried to mount the F-741A and F-741B pieces into the cockpit
but noticed that the F-741B trailing edge hangs over the F-741 Z brackets.
I'm not going to put this in yet until I see where the F-766A flap actuator
channel lands between the seats. Considered drilling the holes while
it's off the fuselage but I'll just wait.

Futzed around and clecoed the F-740 seat floors in to test fit. Not
much accomplished today.
 |
| 4/1/04 |
Skipping ahead in the plans and now working on the electric
flap installation. Fabricated most of the parts.
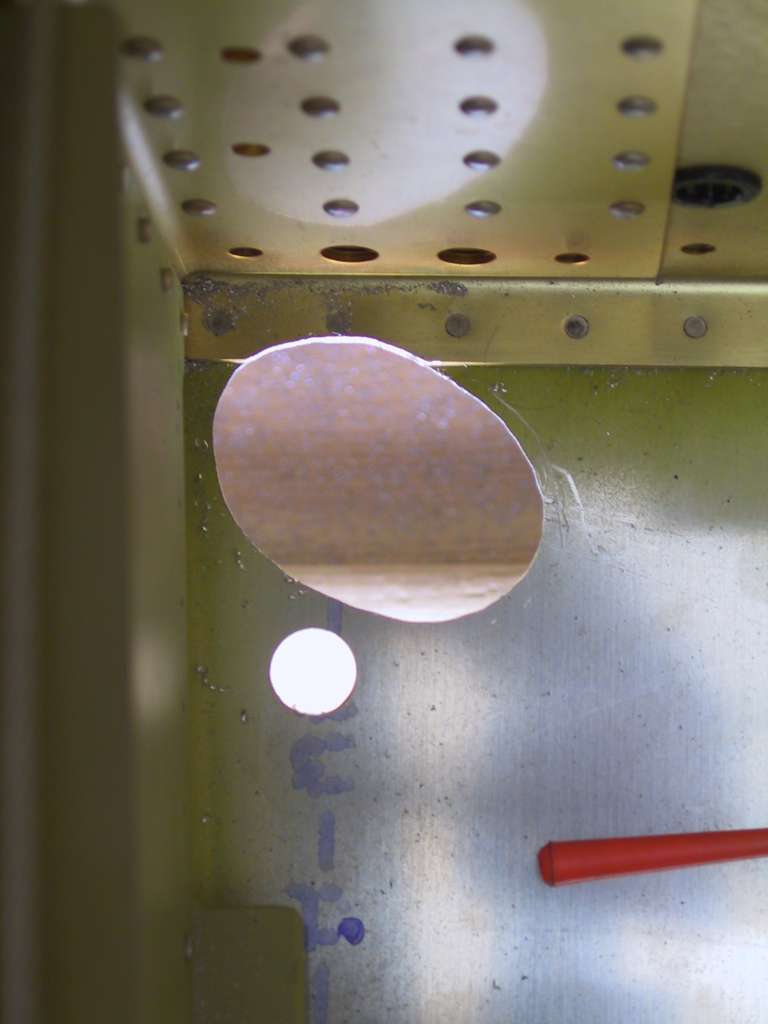
Drilled the safety wire hole in the lip of ES-85615-157. I removed
the jam nut to do so, marking where the hole should go. I used my
smallest drill bit I had and it busted in half just as I was finishing.
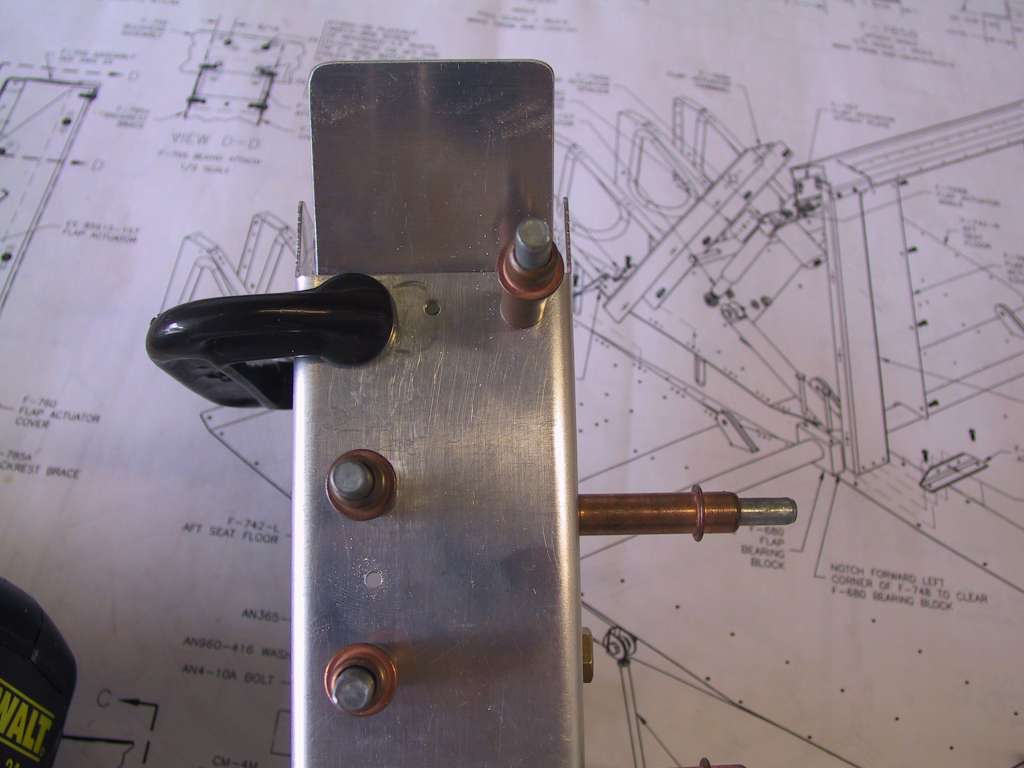
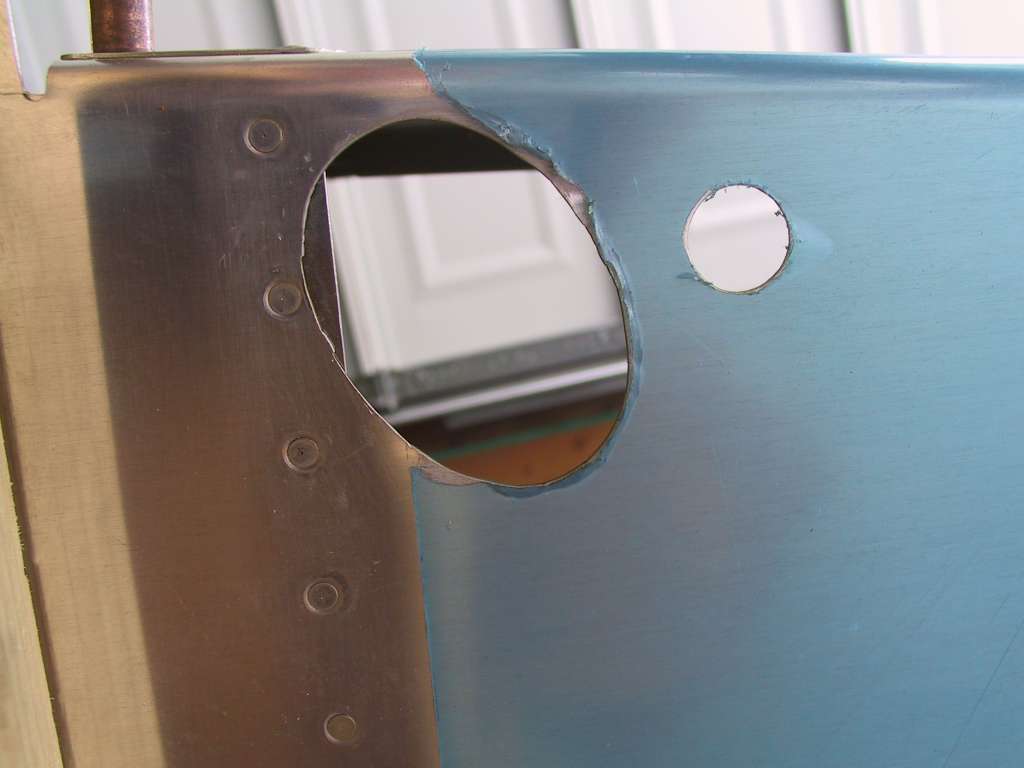
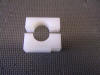
Mounted the flap actuator weldment and cut the notch on the forward left
corner of F-748. Don't do what I did, mark the dimensions of the flap
bearing block when everything is bolted together. I left a significant
gap around the block. But it will be covered with carpet anyhow.
 |
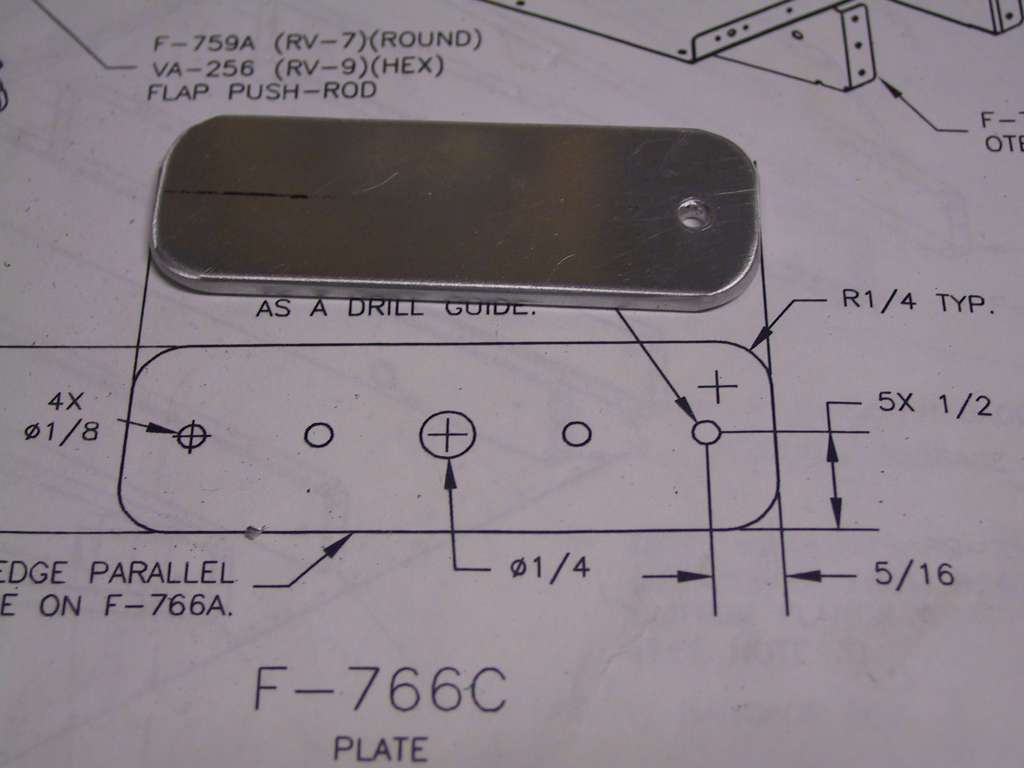
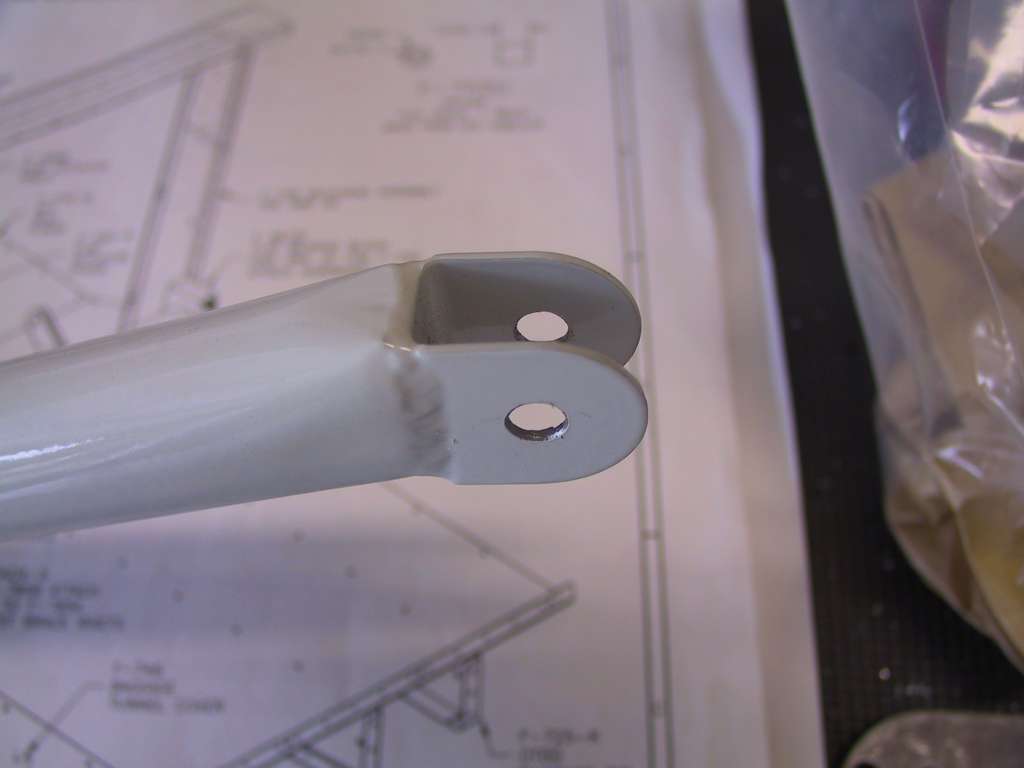
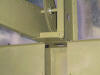
| 4/2/04 |
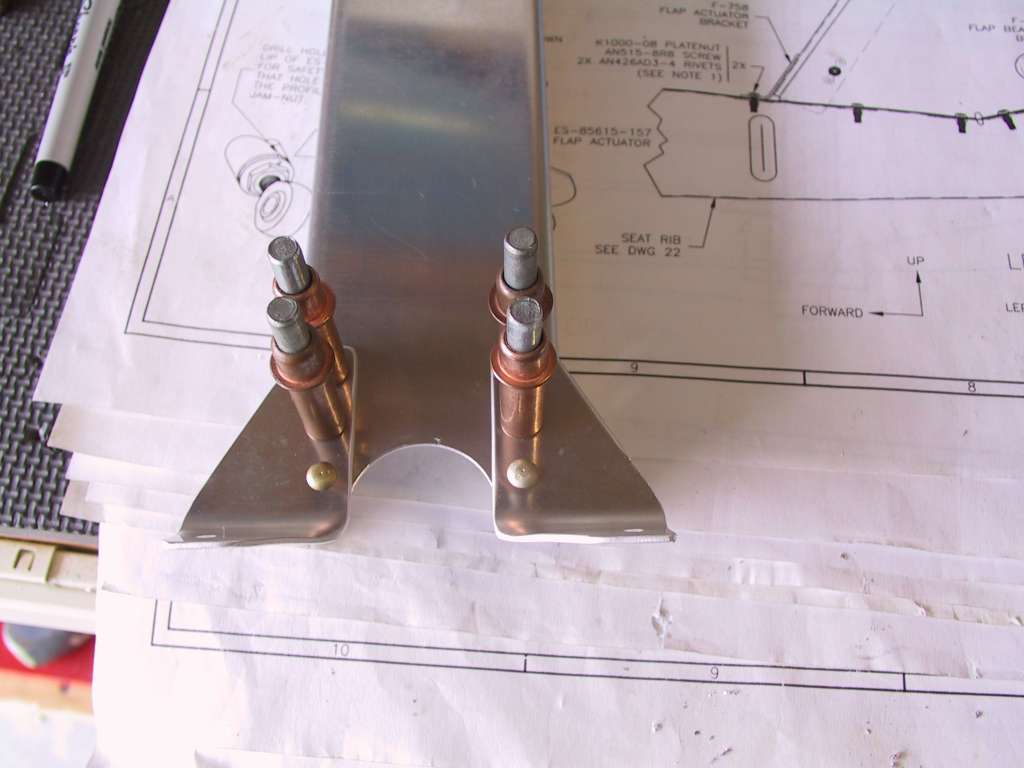
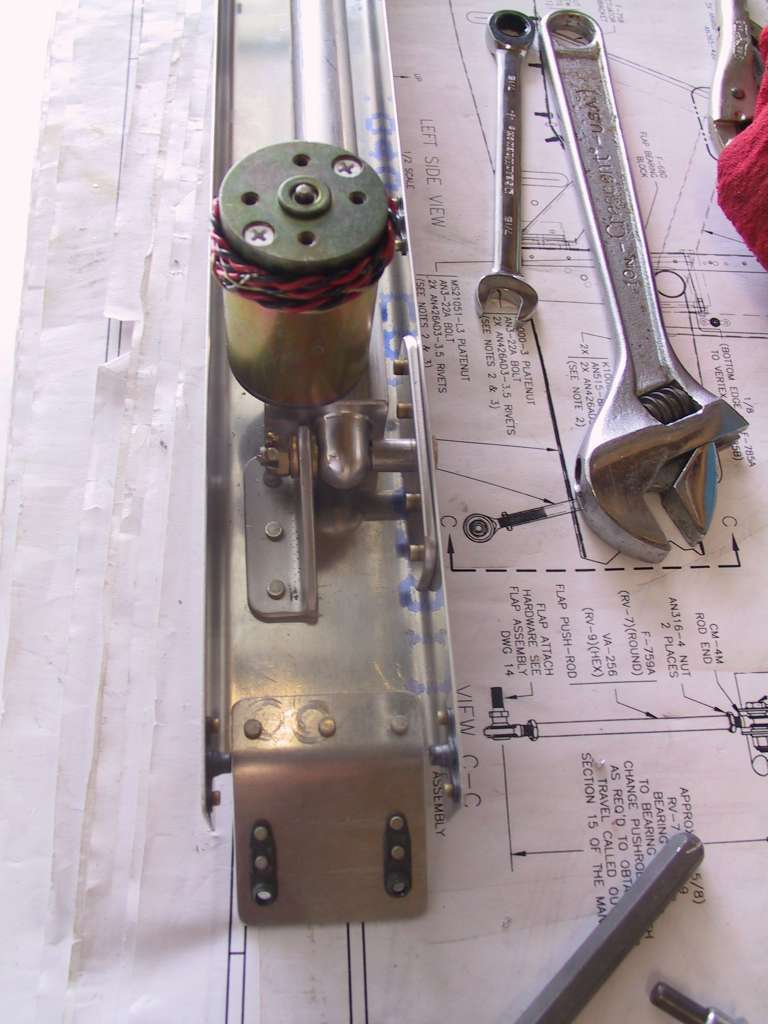
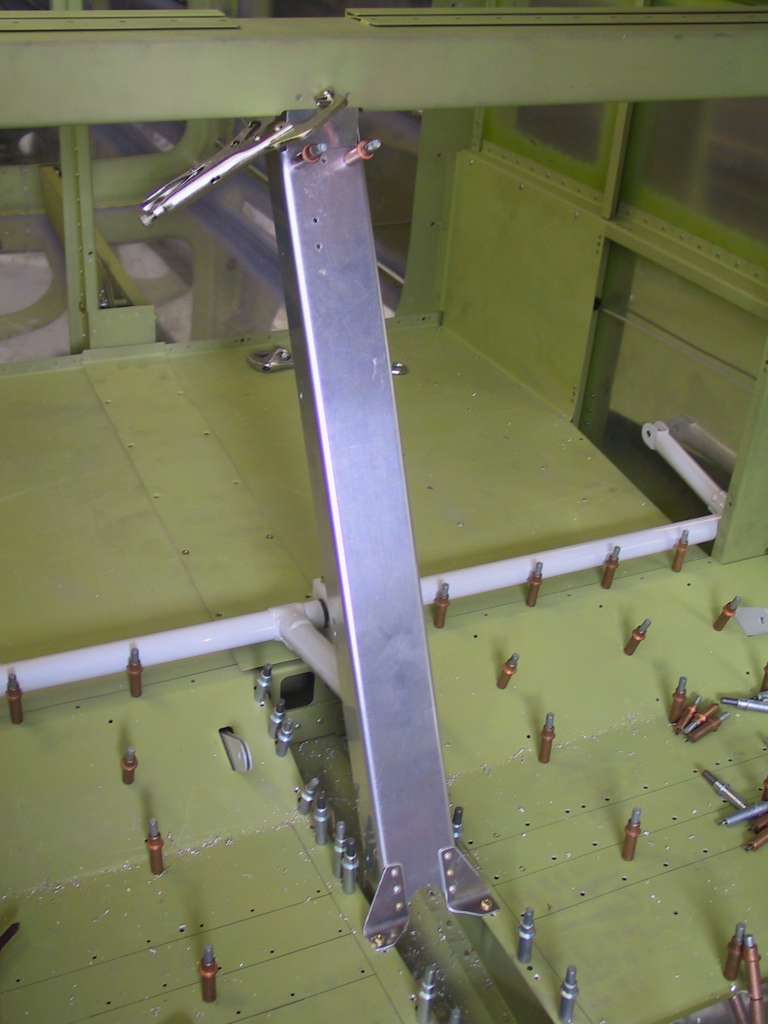
Finished up the Flap actuator assembly. I didn't
follow the instructions for this phase. I simply extended the arm
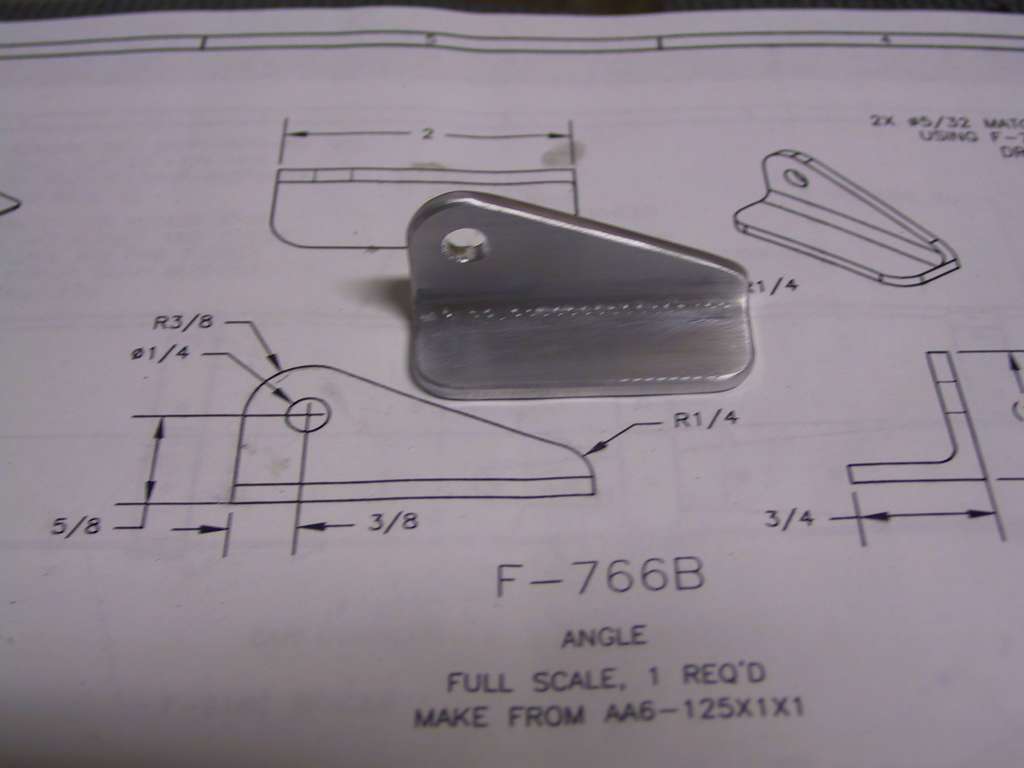
manually by turning it and setting the arm in the middle of the F-766A Flap
actuator channel. Drew a centerline on the F-766B angle, clamped it
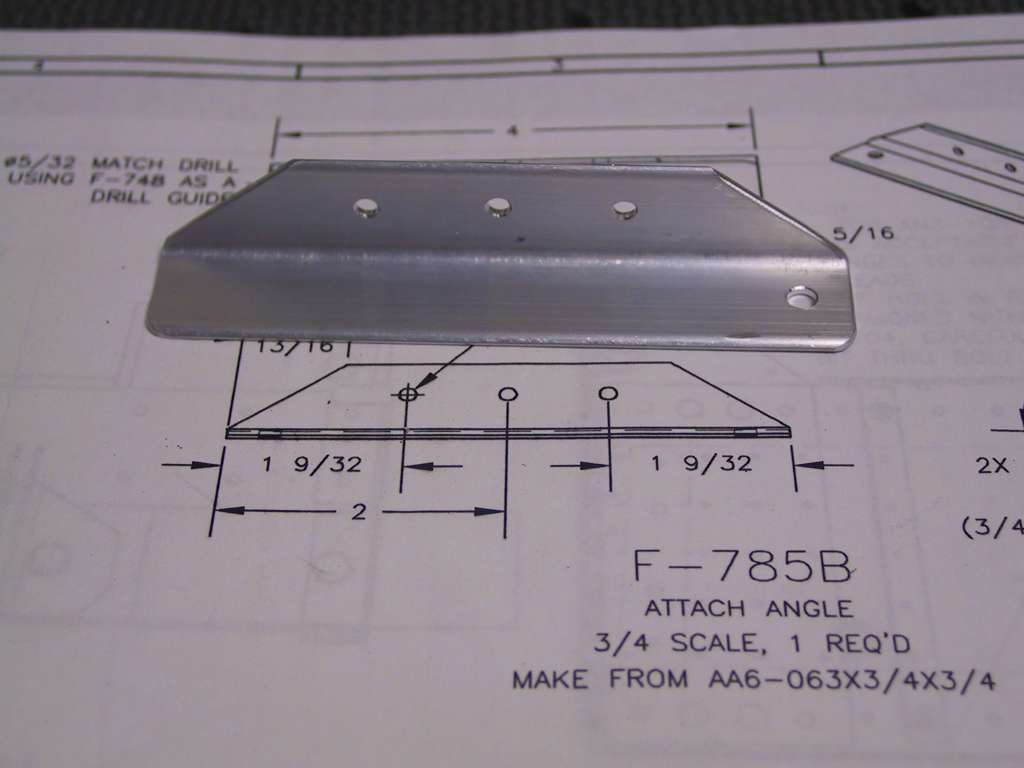
into place and back drilled. Did the same with the F-767 attach plate,
first to the F-766A channel. Then riveted most of the rest of the
components.
Don't forget to cut a hole for the bolt. Unibit it.
Clamp everything in place and back drill the attach plate to the F-705
bulkhead.
Drilled and added plate nuts to all the other assorted pieces. |
| 4/3/04 |
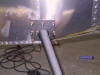
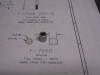
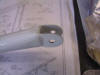
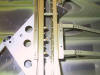
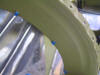
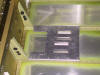
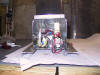
Decided to finally get those gear weldments into place.
Drilled and fit the right weldment. Found that the whole weldment is
slightly out of plane. No matter what I did to get that damn thing in
there would always be at least 1/4 to 1/2 inch gap. And the bold
callout (AN4-12A) is too short. You could eliminate the washer or use
a thinner 'L' washer, but each of those still results in no threads sticking
through the nut. Wasted half a day farting with this. Decided to
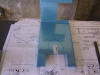
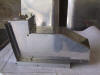
call Vans on Monday. Here's some shots of the unfinished hole and the
gap. * Update * I spoke with Vans and they indicate that some
builders have had the same issue. They suggest using a 2x4 and a jack
and forcing the weldment outwards to get the proper fit. Unfortunately
that still won't work for me as the weldment is just plain bent. I
ordered a new one for $175, which sucks donkey kong.
Since I'm waiting on more hinge for the seats I'm kinda stuck in a rut.
I can't put the seat pans in permanently and the gear weldment won't go in
and I don't want to attempt the left one just yet, still too pissed.
Monkeyed with a few other chores instead.
 |
| 4/4/04 |
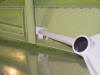
Got on the left gear weldment today. It fits like a
glove. No pics since I'm still pissed about the right one. |
| 4/5/04 |
Dammit Vans is slow as hell. I ordered hinge pins last
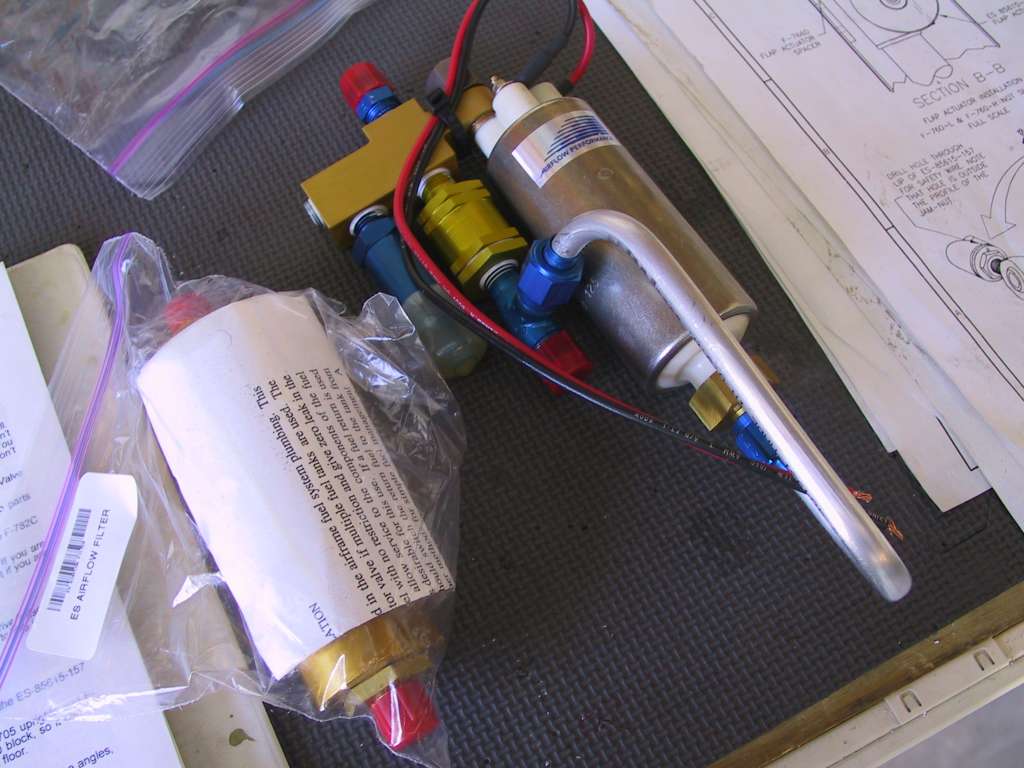
week, next day air. It's Monday and their still not here. But,
the fuel pump assembly did arrive. At least I can do something while
waiting for hinge pins and the AN4-13A bolts (longer) to mount the gear
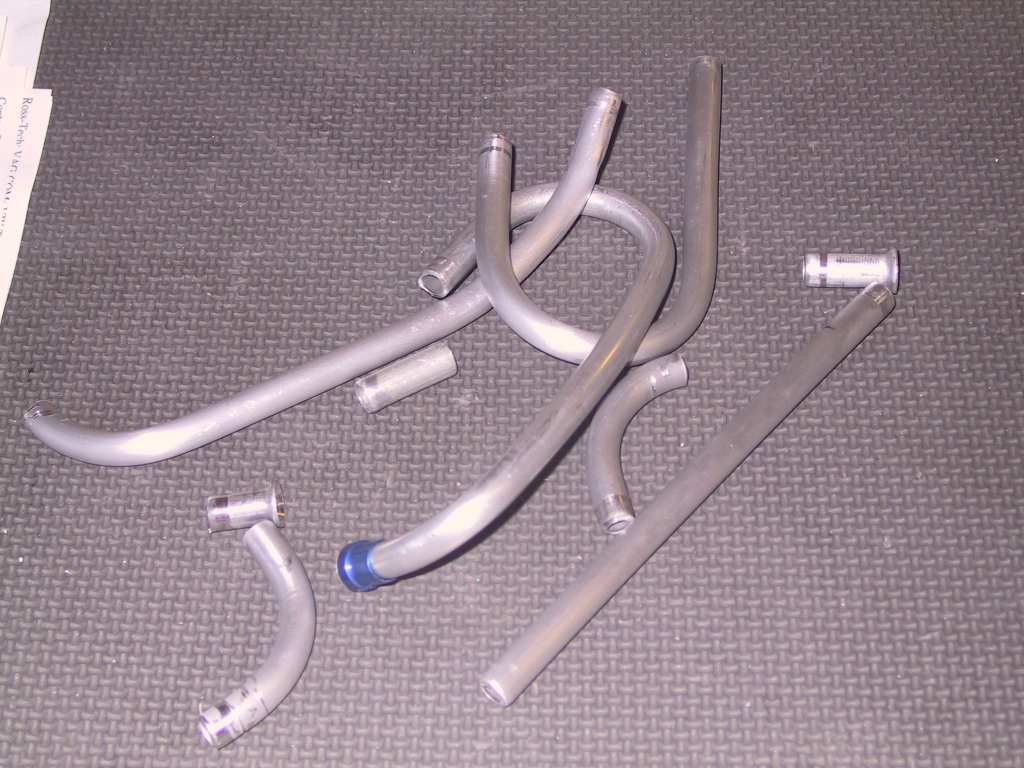
weldments. Unfortunately, again, Vans only sends three pieces of 3/8 alum.
tubing to construct the fuel pump assembly. I've never used the tube
bender before so tonight was the big test. I got the first bend
halfway through when I noticed a grinding on the tube. The crappy tool
started to have the enamel or paint grind off on the tubing. Crappy
powder coat job. I'm going to order a better tool tonight. You
have lots of bends to do on this plane and I won't stand for half assed job
because a cheapo tool sucks.
Started cutting the parts. Pretty simple stuff. I've now gone
from using a larger drill bit to a unibit to get the corner radius.
Simply mark off 3/16ths from the corner in two dimensions, drill a pilot
hole and use the unibit to enlarge until it touches both edges.
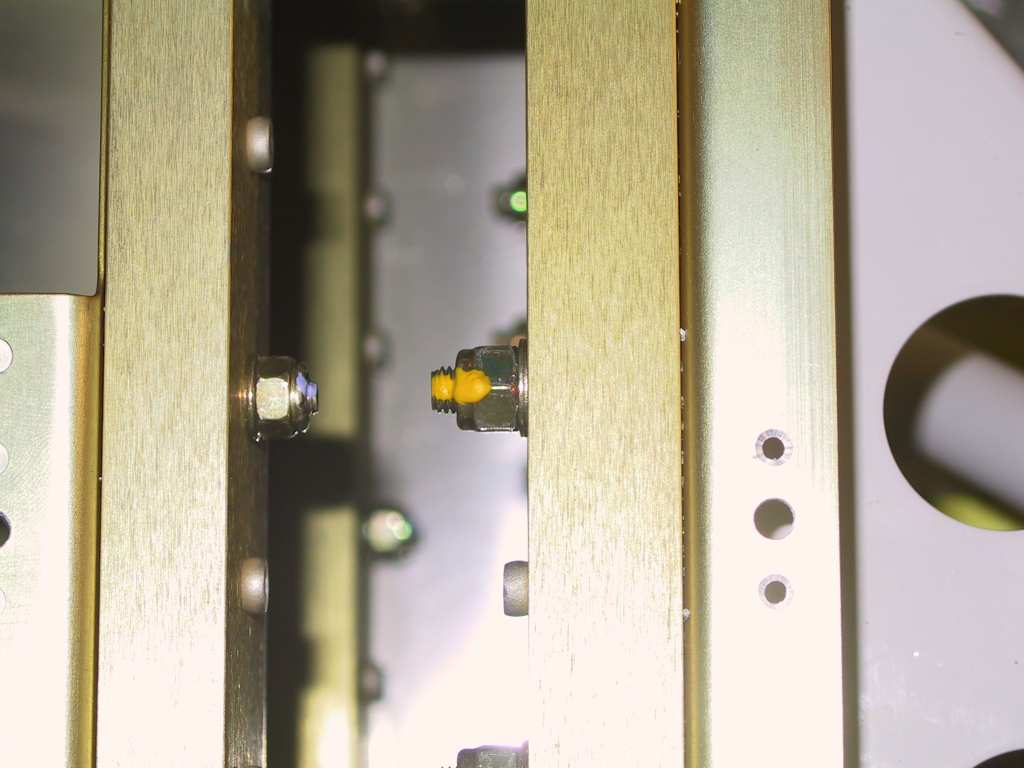
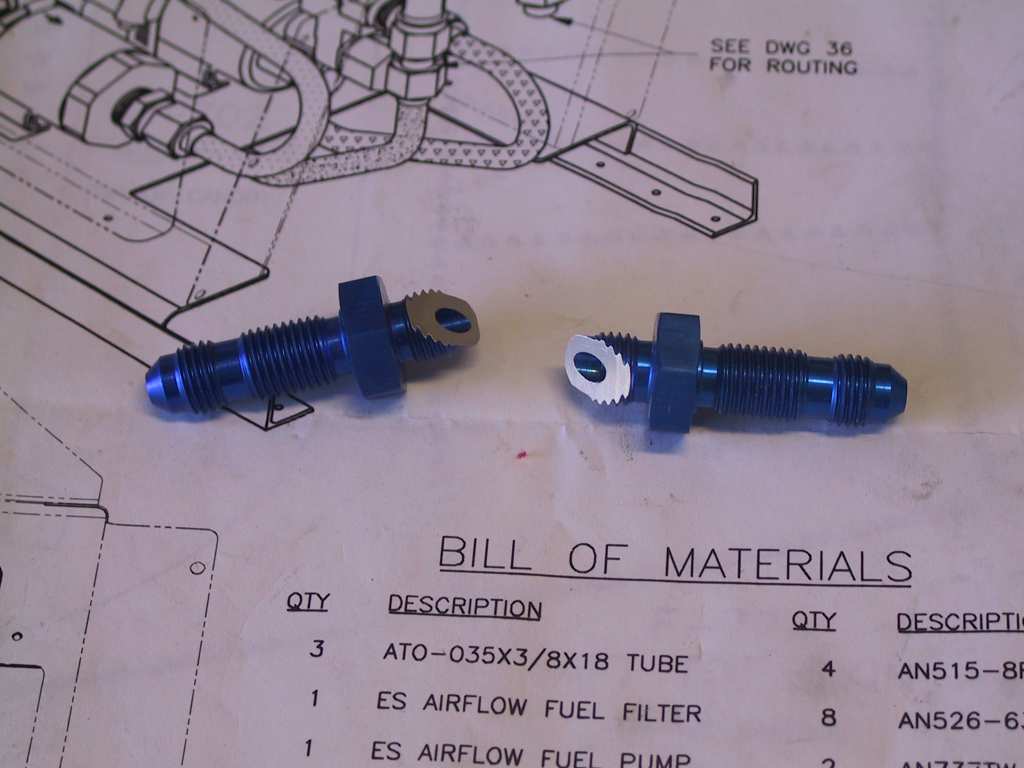
Placed an order for Loctite 567 for the fuel and brake fittings.
I've heard good stuff about this. |
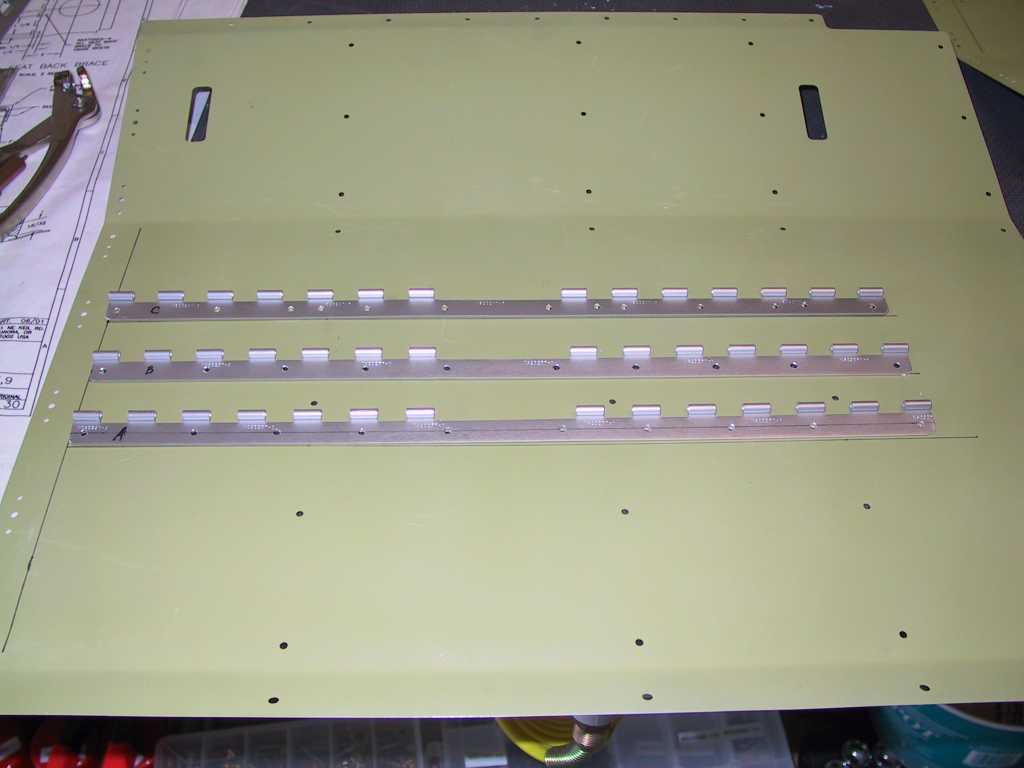
| 4/6/04 |
Finally, the hinge arrived. Back drilled them, and
rivet them to the aft seat floors. I used the C-frame for this, it
works great.
 |
| 4/7/04 |
Got the aft seat floors completely installed tonight. I
think I'll leave out the flap assembly for now as I'm sure I'm gonna have to
run a bunch of crap in there. I also had ordered a thin microstop
countersink. This is really a nice tool. I think it works better
than the regular one, especially for nut plates.
  |
| 4/8/04 |
Remember all the cussing I was doing with regards to that
crappy fitting right gear weldment. Well I ordered a new one and it
arrived today. I'm happy to say that if fits like a glove, just like
the left one. If you get a bum fitting (really shitty), don't damage
it. Send it back to vans and ask for a new one. Managed to get
both gear weldments installed completely tonight. I feel a whole lot
better.
If you will also remember I was cussing about the bold callout. The
plans call for AN4-12A. BS. I order a dozen AN4-13A bolts and they
work perfect. I would rather have a bit more thread than none at all.
Also it's near impossible to drill the second hole hidden by the F-902
bulkheads. Turns out that the holes are exactly 1 inch on center.
So on the 770 outside skin mark a point 1 inch away from the hole you can
drill. Make sure the holes are parallel to the rivets just below which
hold on the forward bottom skin. Drill with a #40. In both of my
holes it came out perfect right through the hole in the weldment. Now
open up to the correct size. Easy as pie.
 |
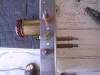
| 4/9/04 |
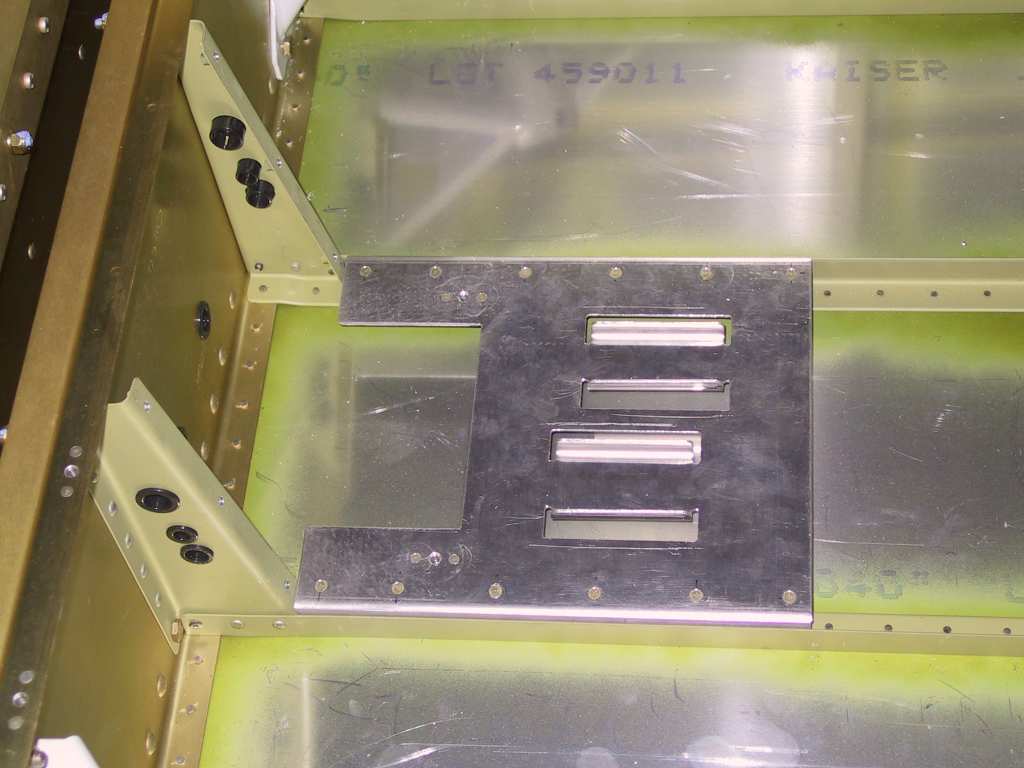
Started to get some of the cabin odd's and end's in place so
I can start running my fuel and brake lines when my new tube bender gets
here. This is pretty straight forward stuff.
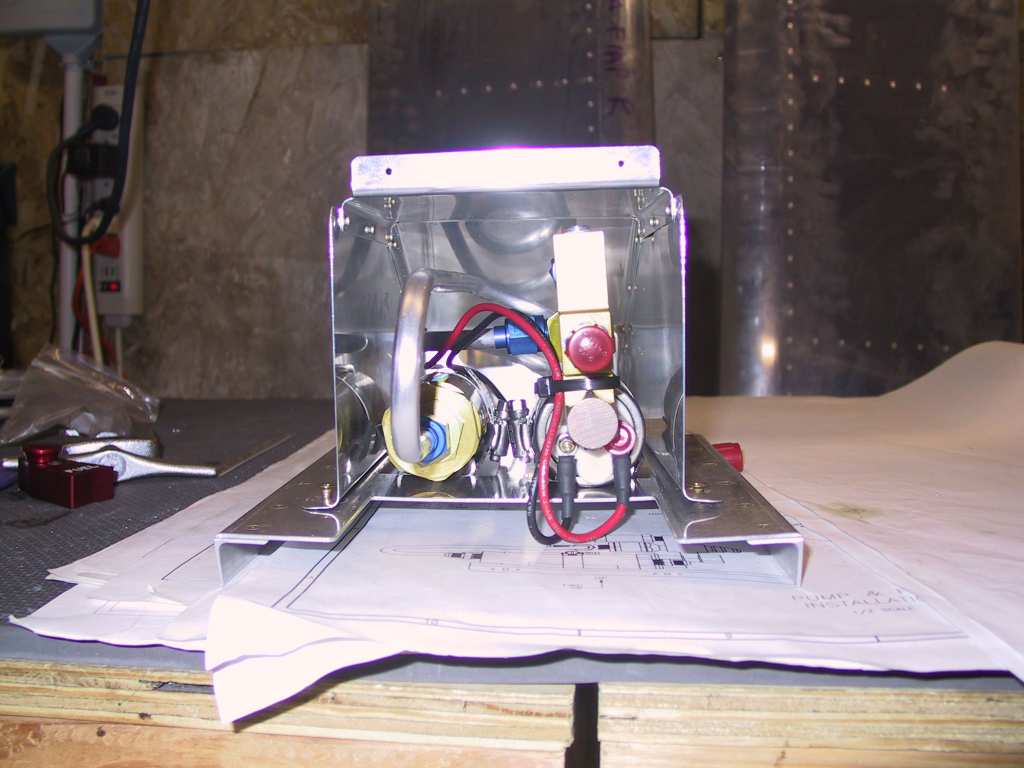
I ran into a fairly significant fit issue here to. The high
pressure fuel pump and filter assembly doesn't fit in between the forward
floor stiffeners. It's off by almost 1/8". Gotta call Vans.
I think I might just saw off the sides and use angle spaced a bit further
apart and riveted to the top of the plate. I'll get some pictures
soon. |
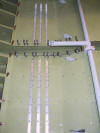
| 4/11/04 |
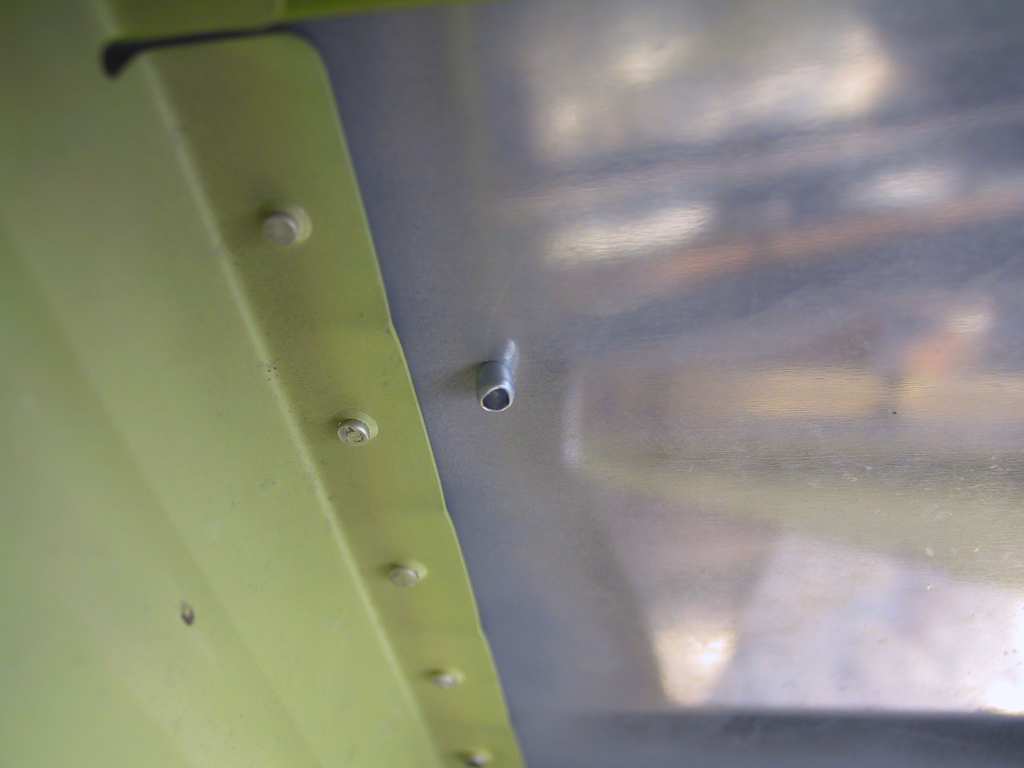
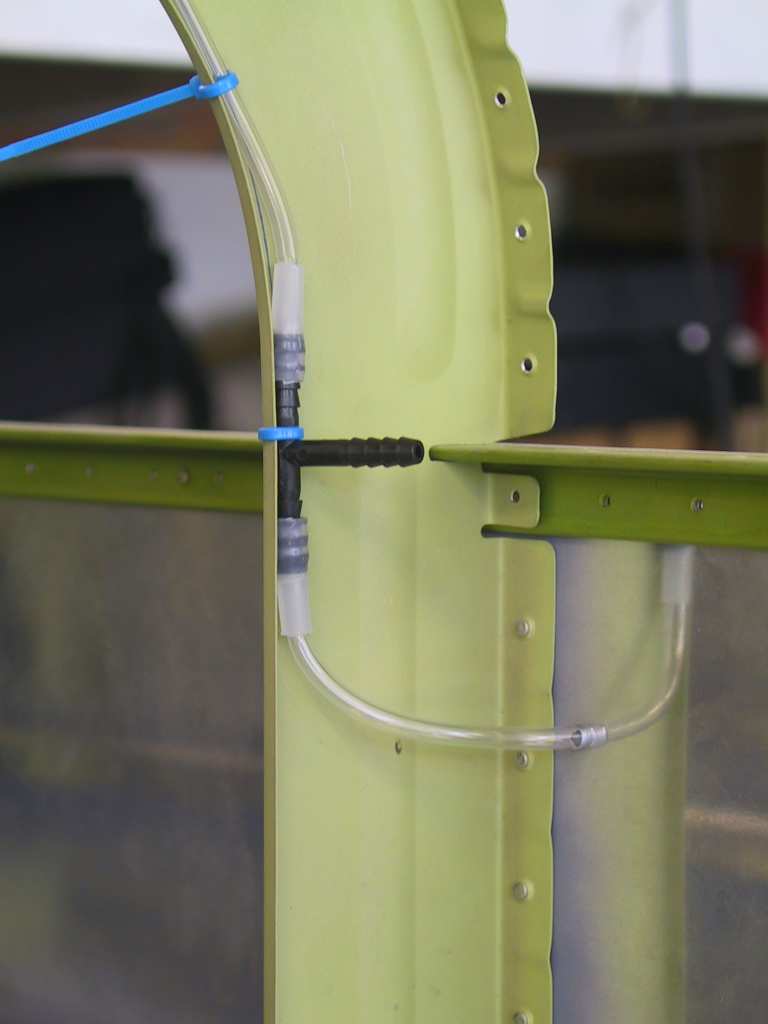
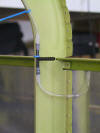
Time to get some other small issues sorted out. First
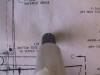
I started with the static pressure ports (rivets). You end up
squeezing these on both the right and left sides and then you have to punch
out the stem. Crazy. I didn't squeeze them too much so that
there would be something left to attach the static line to. There
isn't much but with a good dob of RTV is should hold.
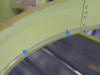
Next I marked the edge of the tubing as it rested on the bottom inside
lip of the bulkhead. Traced a line then marked every three inches, and
drilled a pilot hole there for the zip ties.
Finally added the T and joined up all the lines. It's kind of a
hokey setup. I may get a new T "that fits" and do this over.
Kinda cheapo if you ask me.
Thanks for Easter Dinner Ed and Gayun, it was excellent! Later
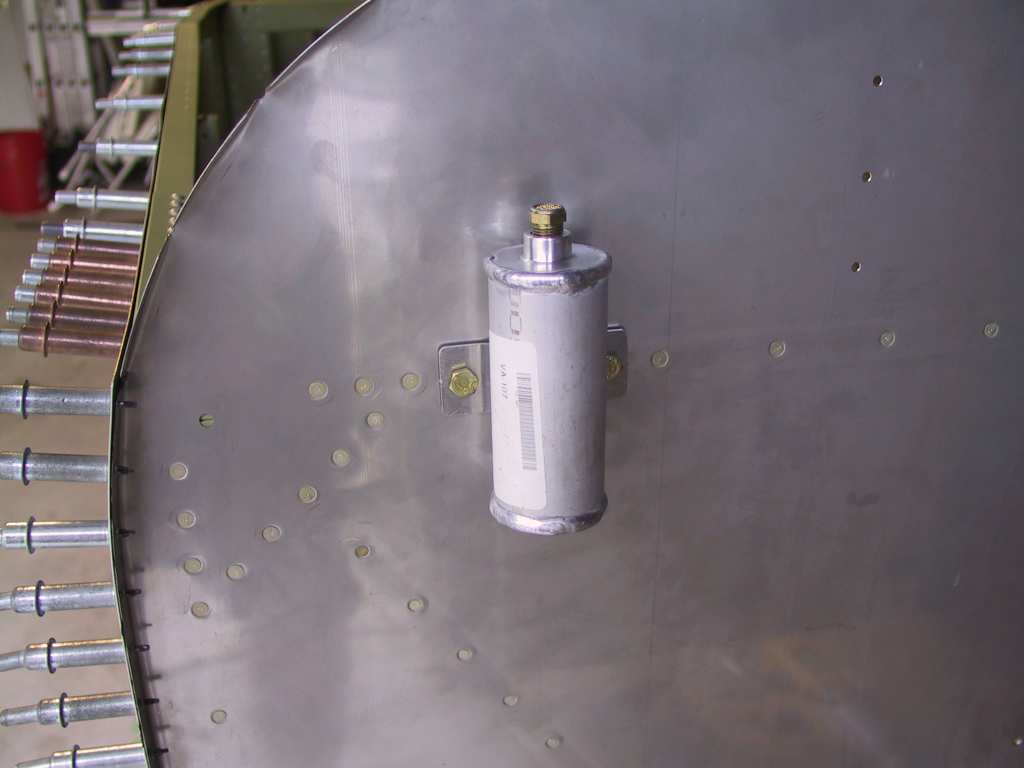
today I decided to mount the brake reservoir. Pretty straight forward.
   |
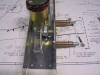
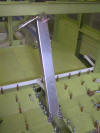
| 4/12/04 |
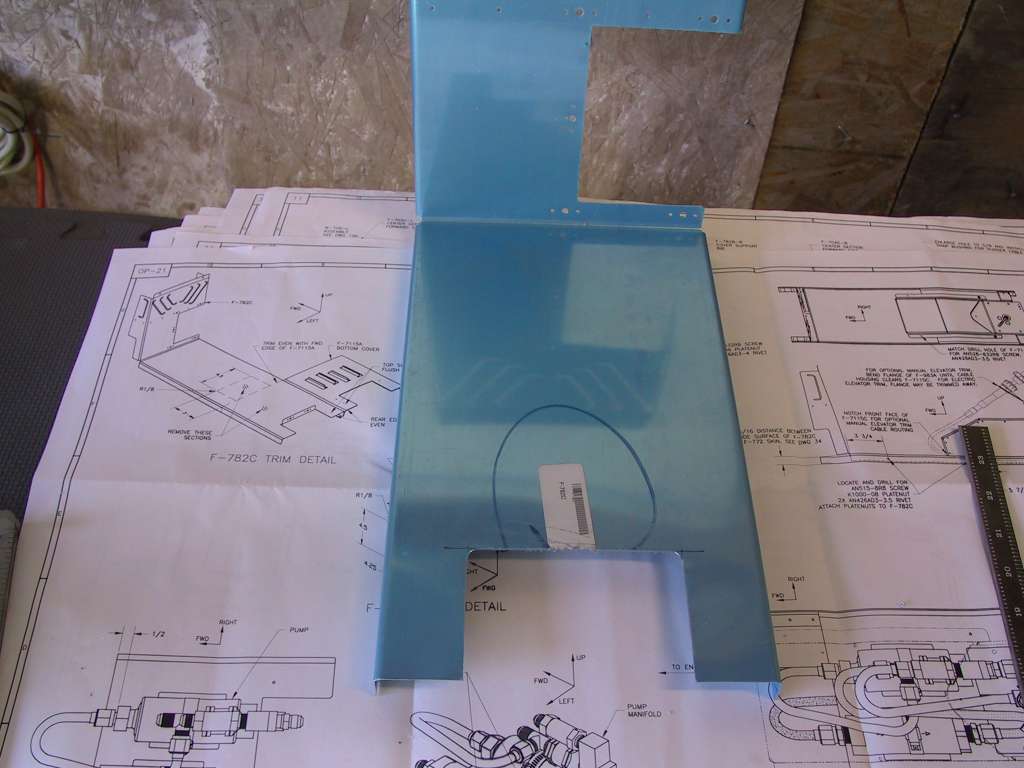
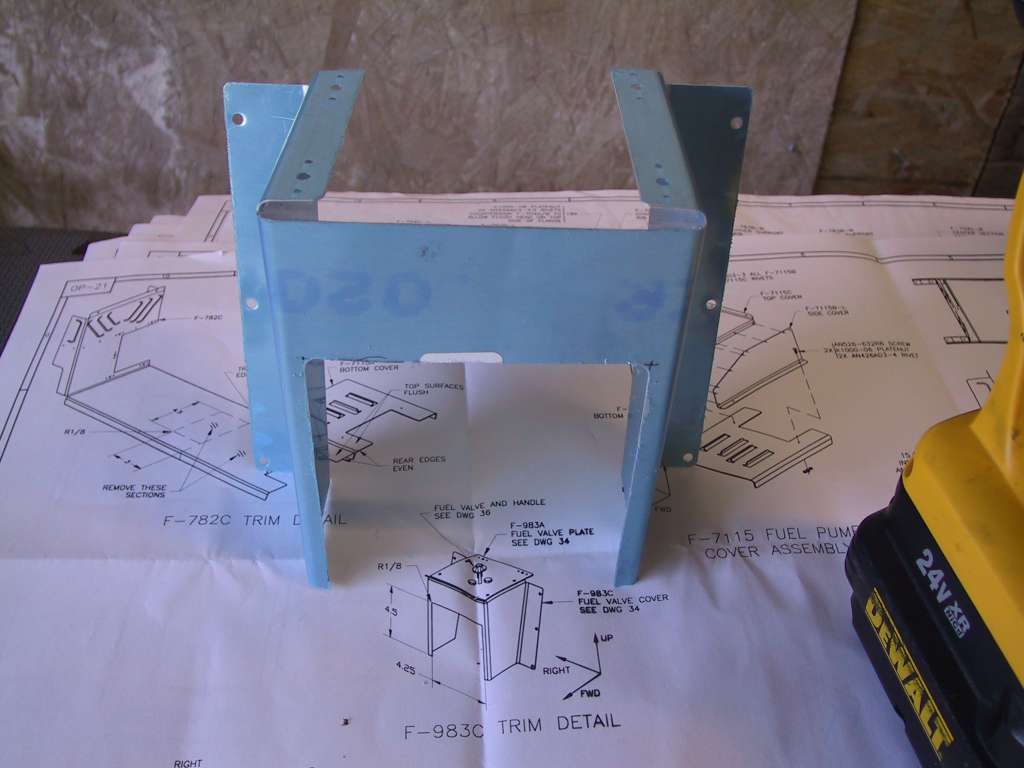
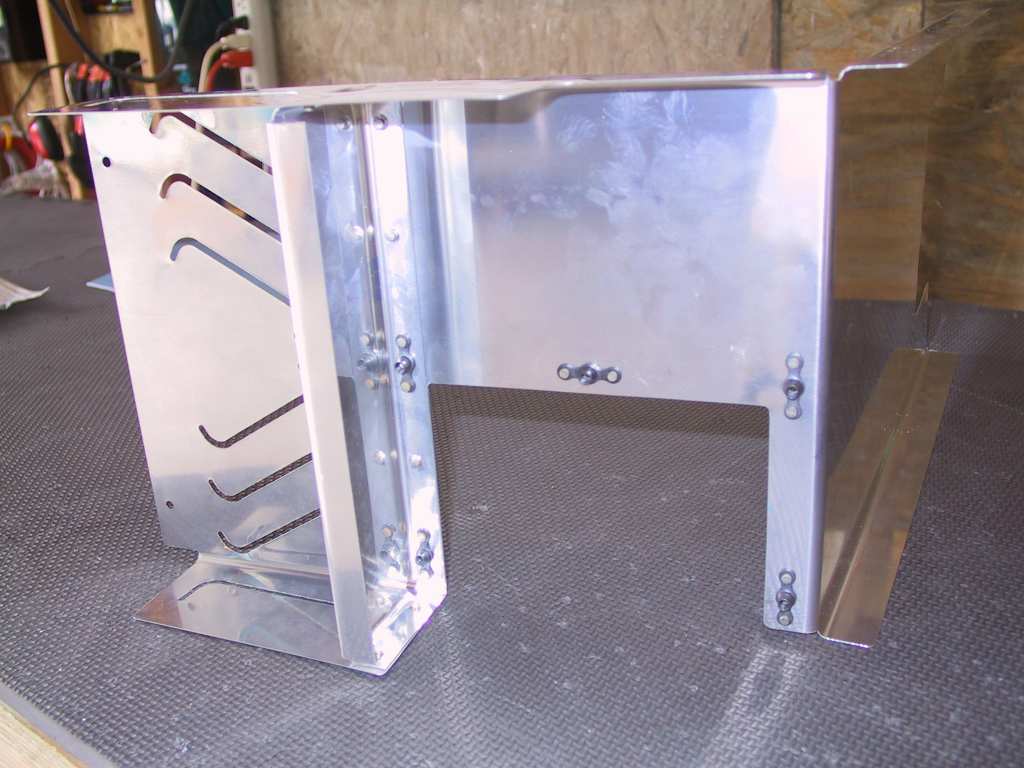
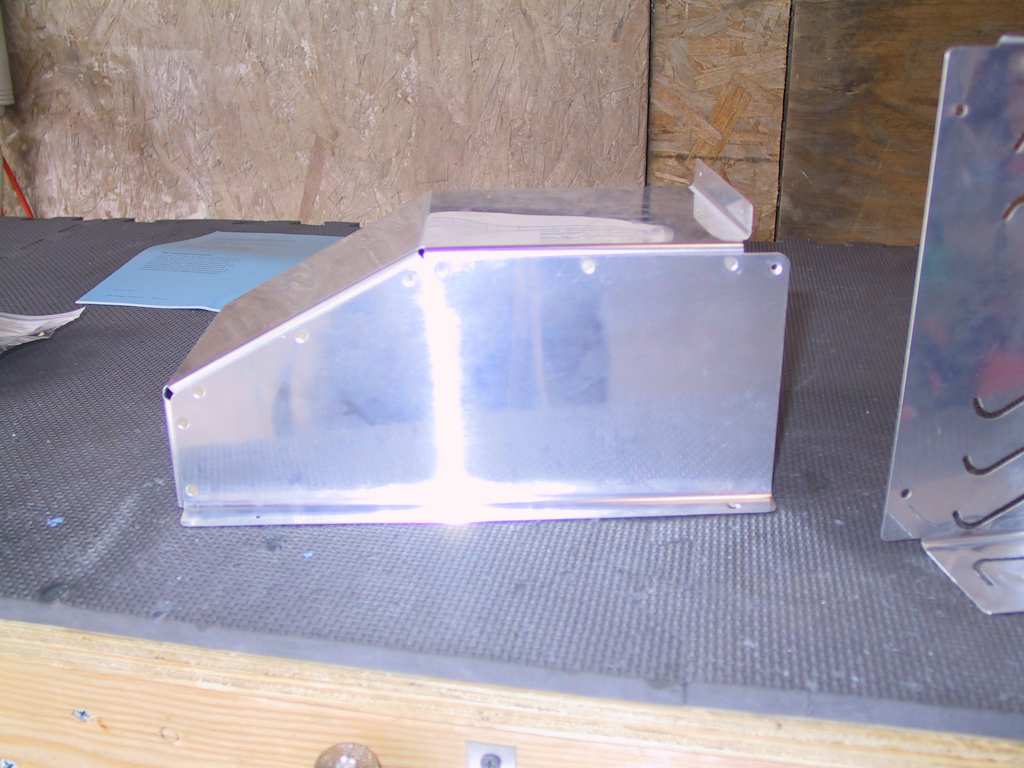
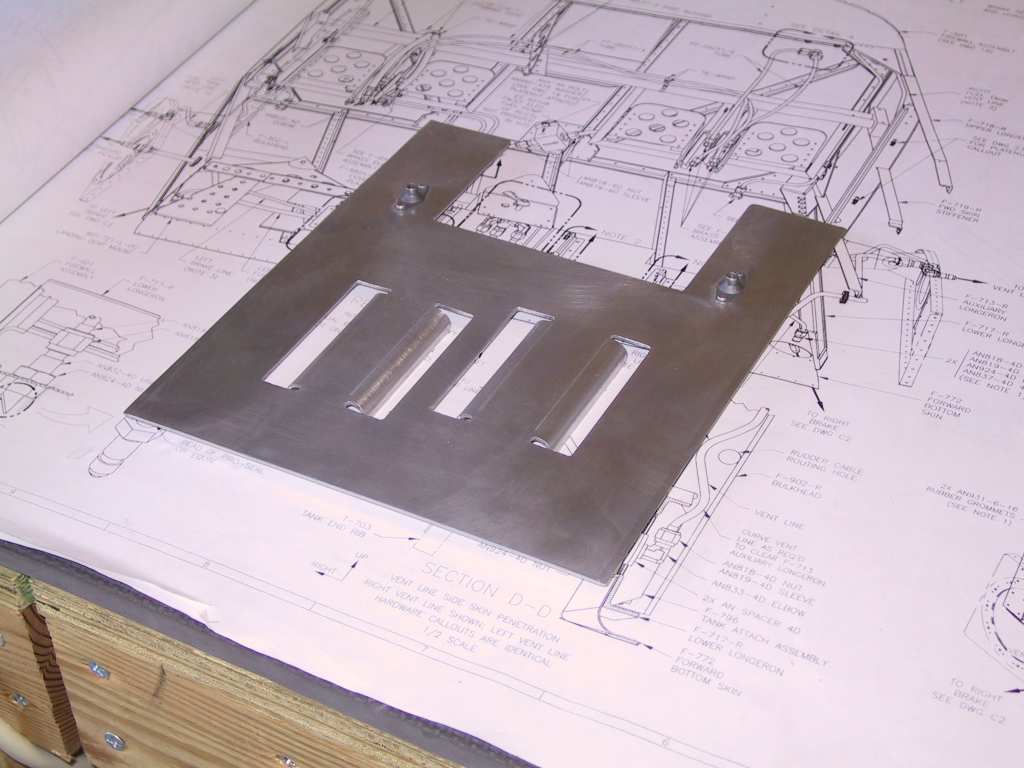
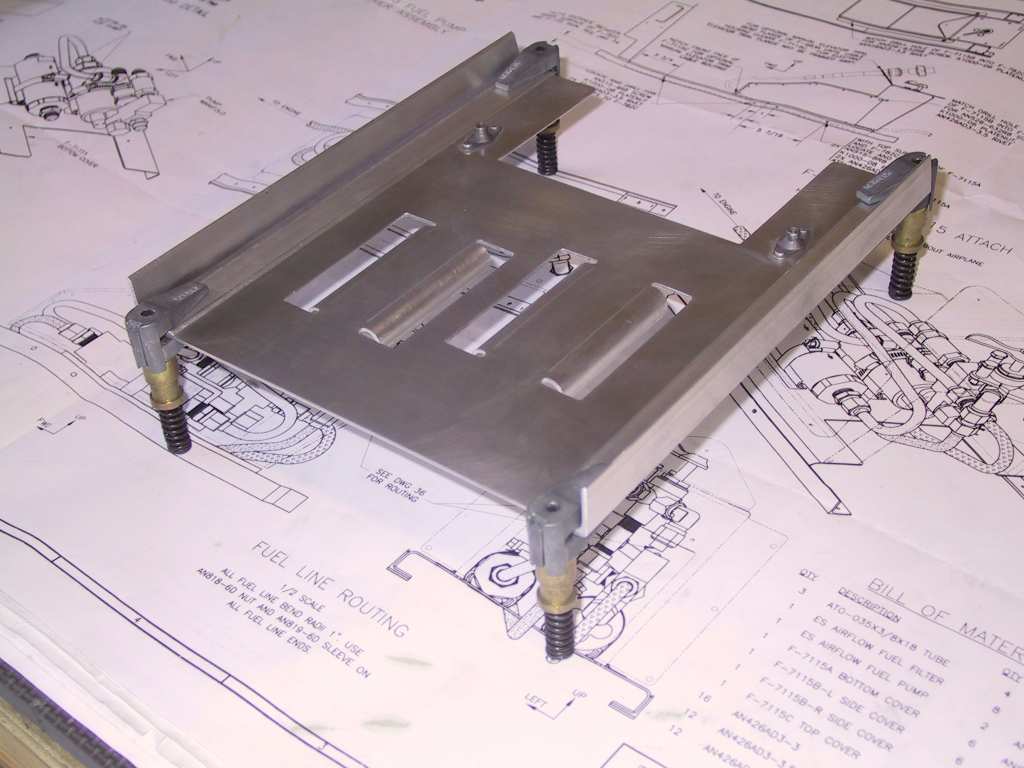
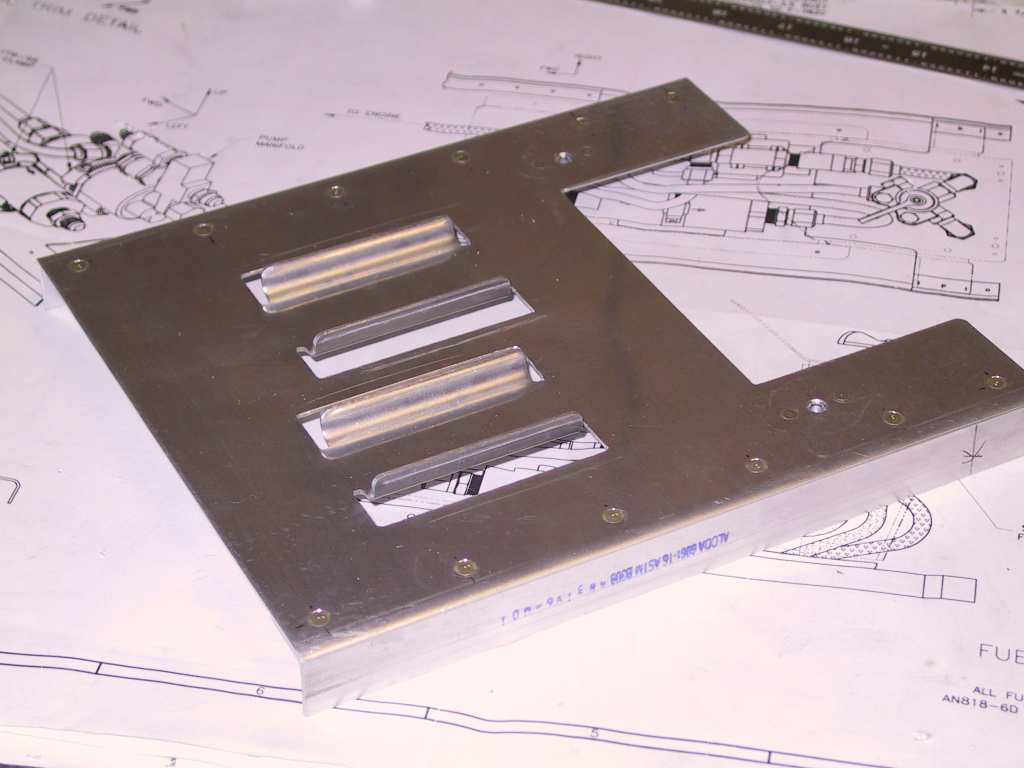
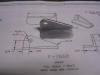
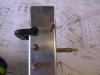
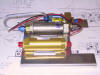
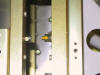
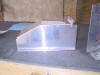
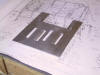
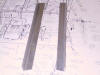
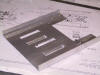
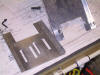
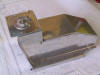
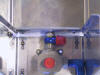
Well the mount for the high pressure fuel pump and filter
doesn't fit in between the forward F-772 floor stiffeners. I checked
and the distance is perfect for the F-782C. Weird, another part that
doesn't fit. I called Vans about this and I suggested that I cut the
side pieces off and mount some angle. They said this would work
perfectly. Here's a shot of the plate with the sides off, the
sides I created and the finished product.
   |
| 4/13/04 |
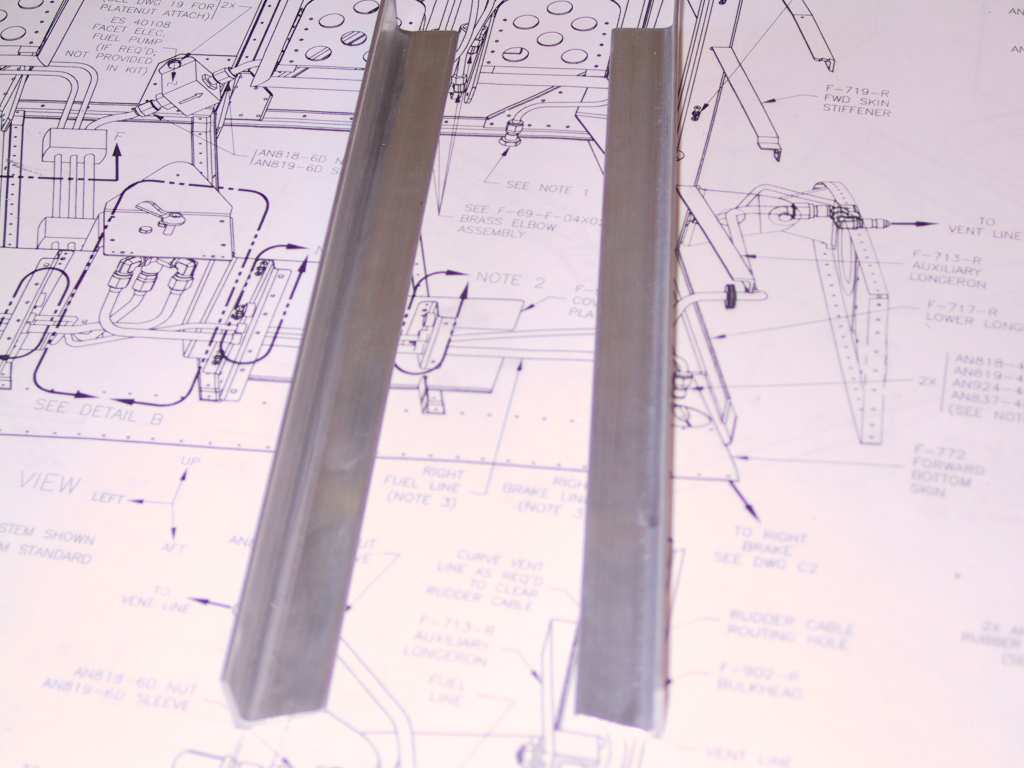
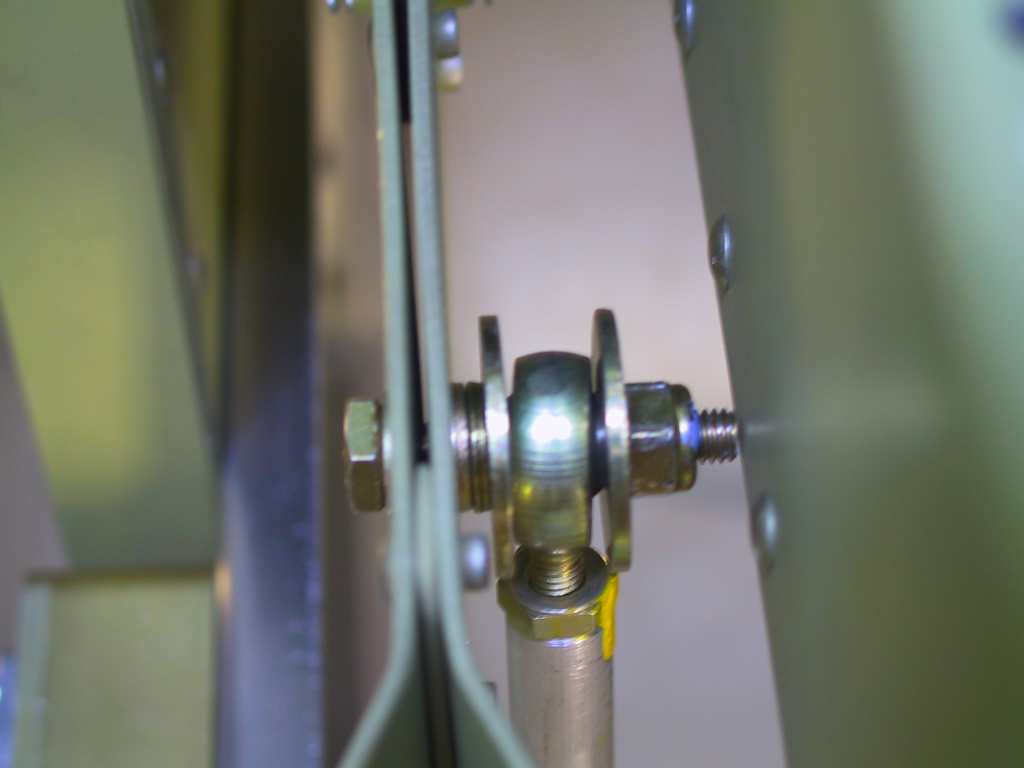
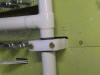
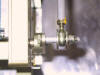
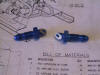
Back to trying to finish the AP servo mount in the fuselage.
I received a package from A. Spruce with a whole set of different sized
bolts, both A bolts and drilled shank. Now I find that the Trutrak
plans don't work. Just to make a test fit here's what I ended up
doing. Making an extension of T6-058-5/16 tubing. You'll notice
the orientation of the bolt causes interference with the F-728A bellcrank
channel. Just reverse the bolt direction. Note that the bolts
and nuts are just loosely placed in for now with scrap nuts.
   |
| 4/14/04 |
Decided to take it easy today. Just deburred some
edges and called it quits for the evening. |
| 4/15/04 |
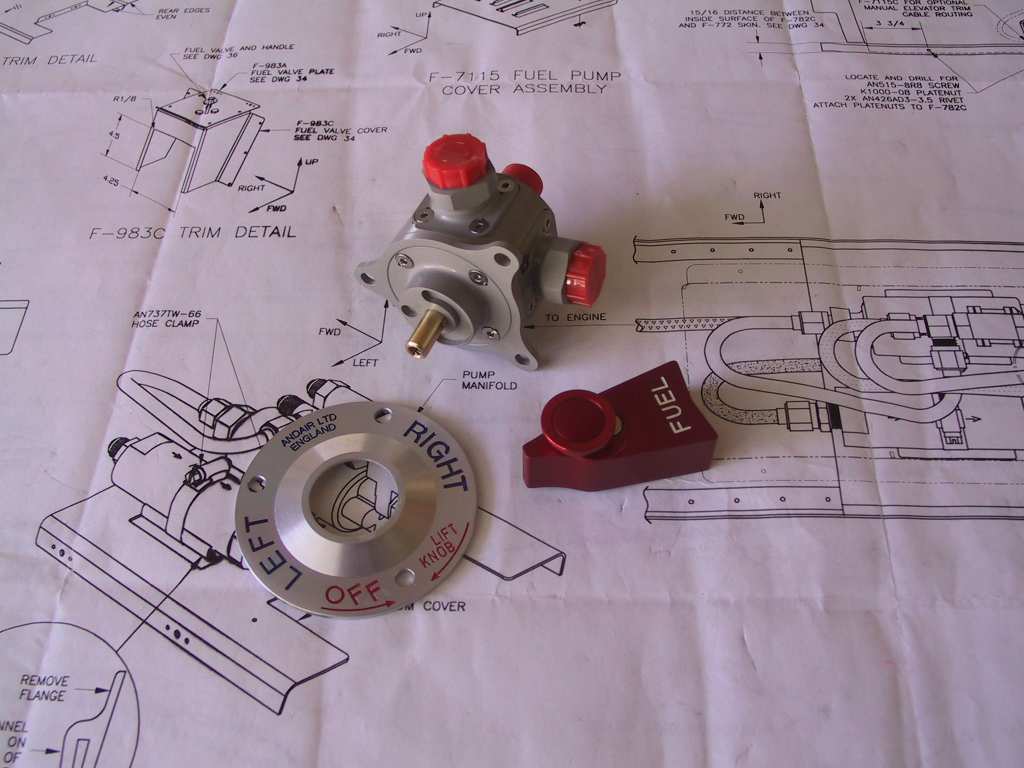
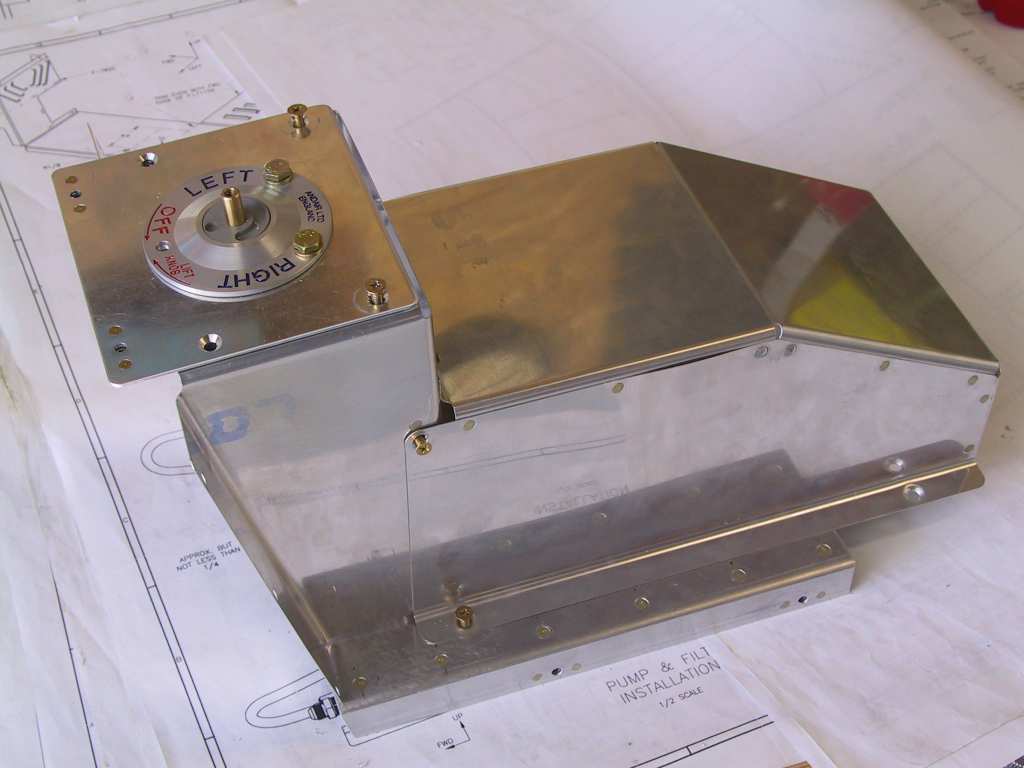
The Andair fuel valve came in today. Here's where Vans
sometimes excels. Their price was almost $35 better than any where
else. Mounted it where the old Vans faucet turner would go.
Drilled a 1" hole in the plate making sure the orientation was correct and
drilled the three bolt holes. It's just temporarily together to test
fit now.
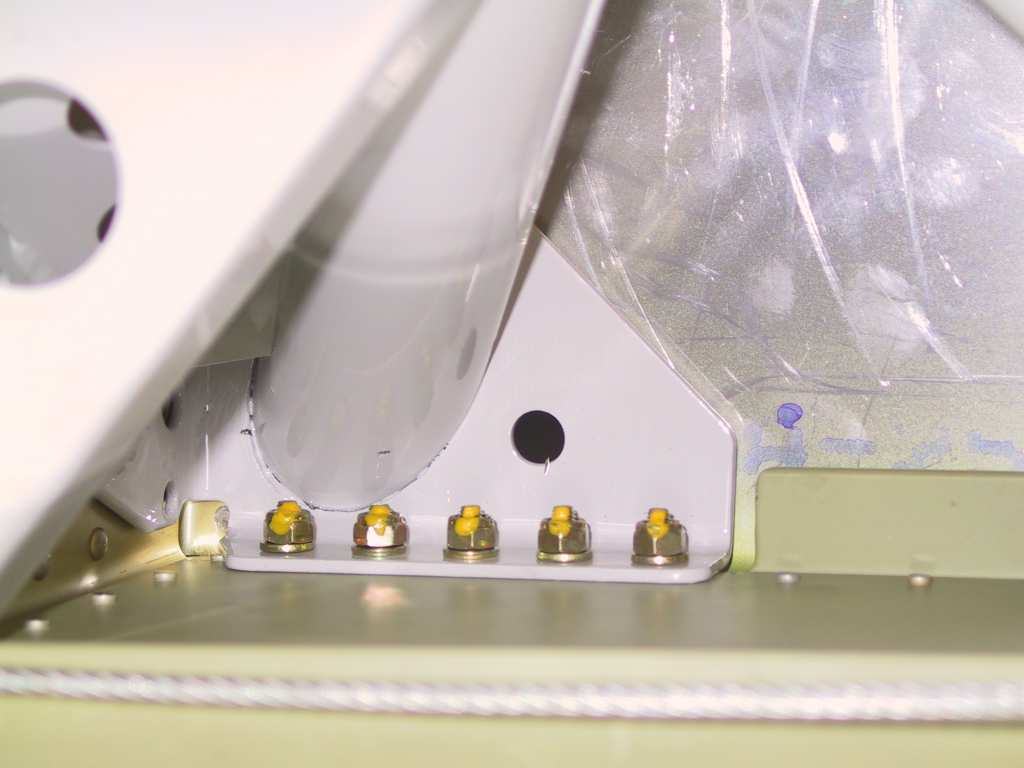
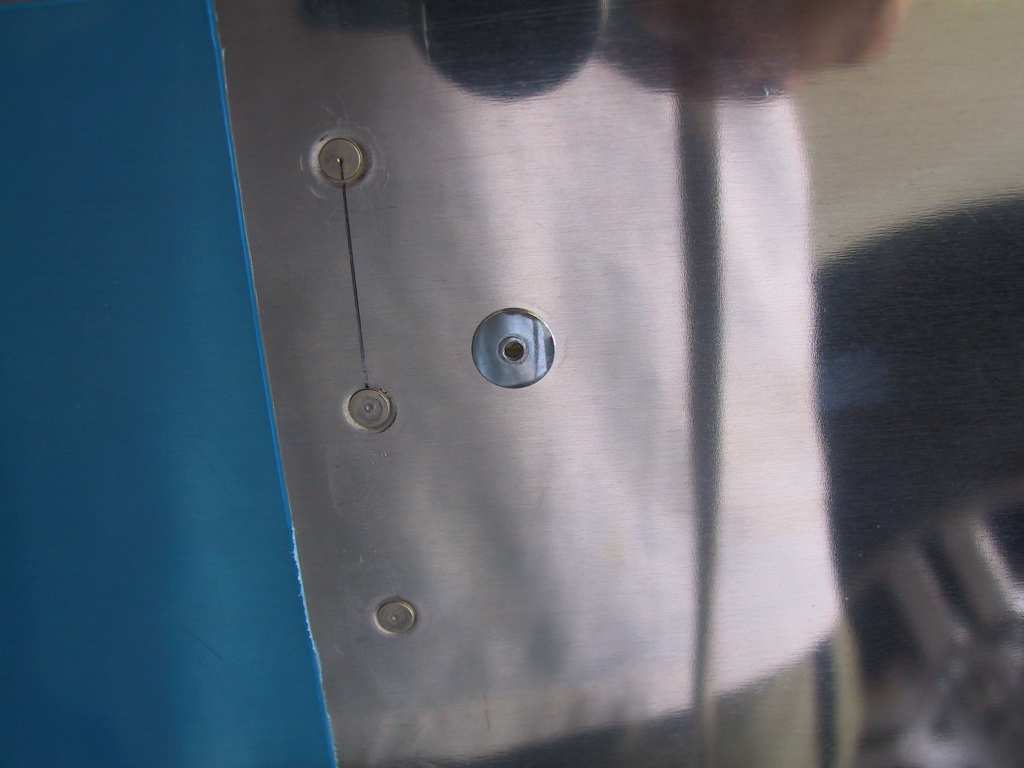
Finished placing all the rest of the nutplates on the fuel/filter mount
and F-782C.
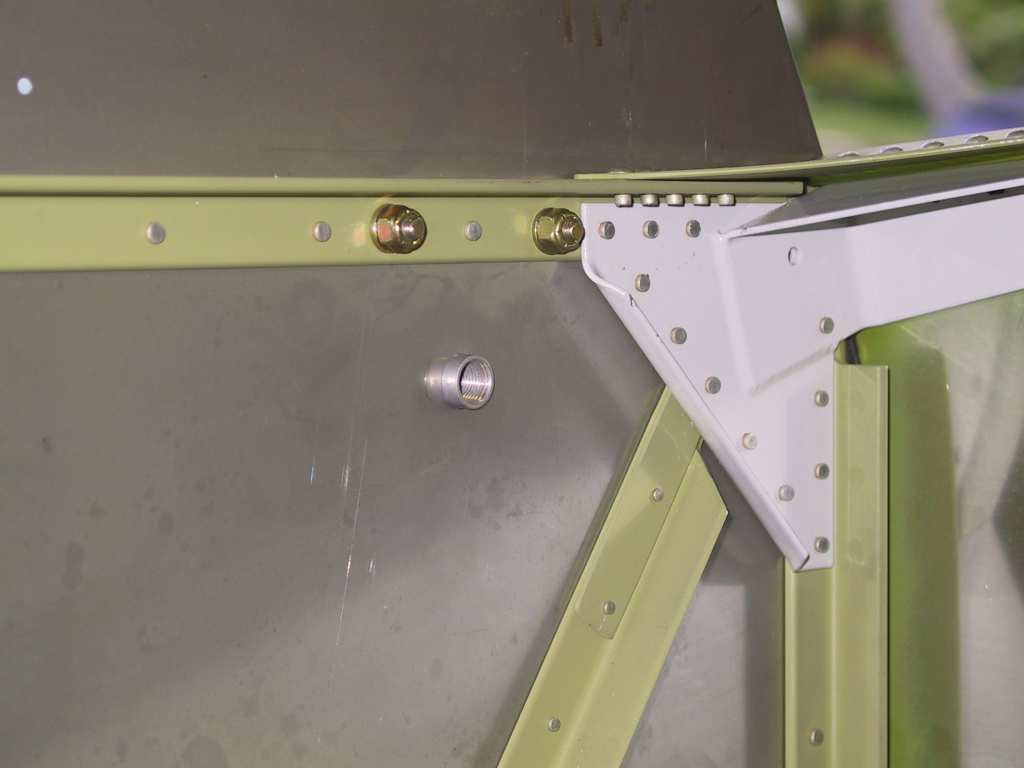
Sanded the vent line egress, still need to place some screen on this.
 |
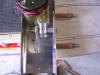
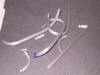
| 4/16/04 |
Trying to get the hang of bending these damn fuel lines.
My last bender was a piece of crap. The powder coating came off on the
inside and basically ruined each piece I tried to bend. Plus it would
only bend 90 degrees. I searched and searched and searched on the
internet for a good 180 degree bender. I finally found one and it came
in today. It's made by Imperial model number 370 FH. It's
awesome! Get one!
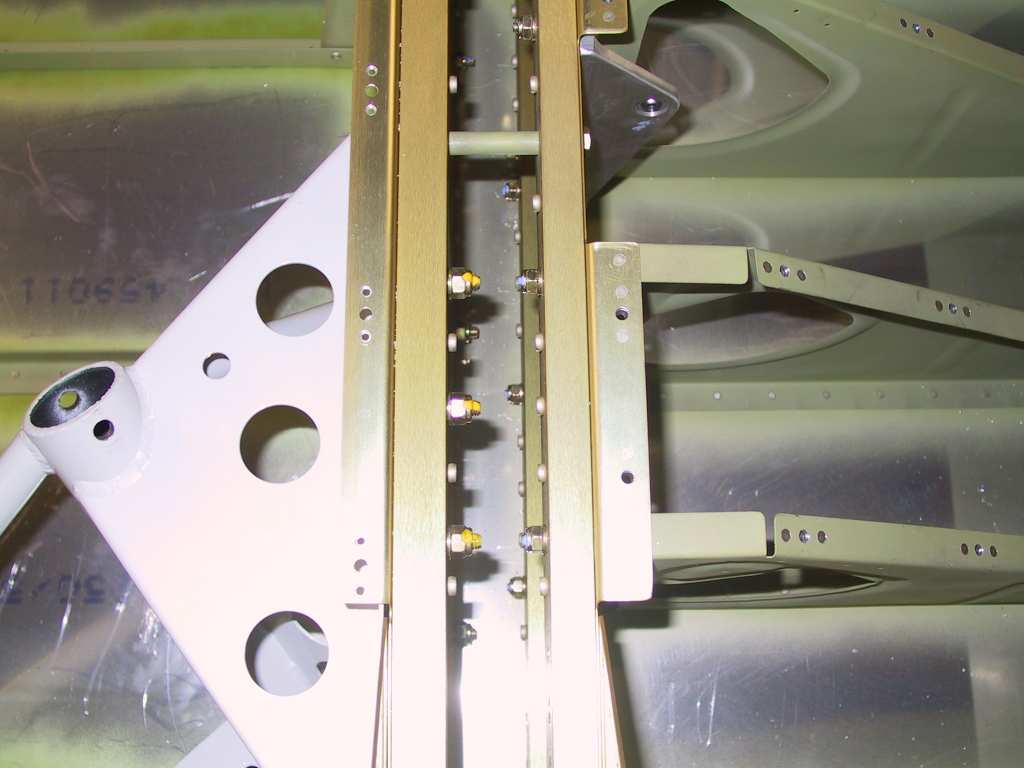
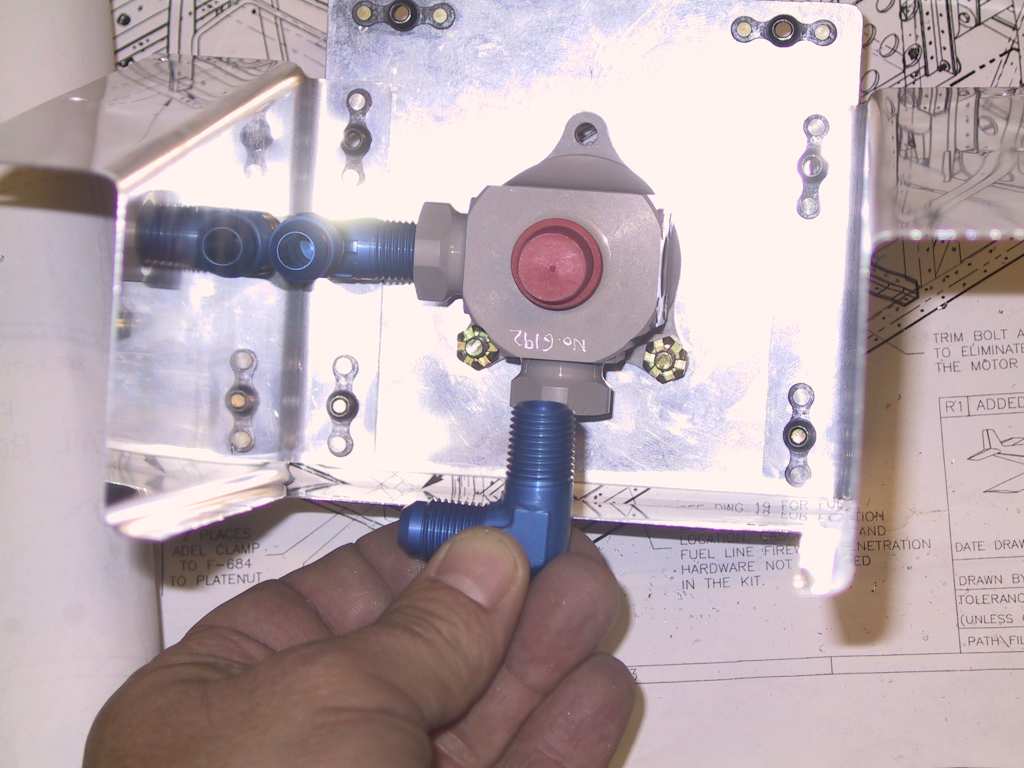
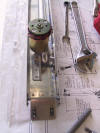
Trying to fit the fuel pump and filter assembly together. You'll
note that the fuel pump and assorted valves and bypass fittings aren't lined
up vertically. I took the assembly apart and made it nice and square.
Trouble is that the one tube which is already assembled on the pump won't
fit any more. After much trial and mucho error I was able to get it
working.
 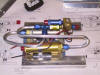 
Mounted the whole shebang together for a trial run.
There is a bit of a concern now because the Andair right fuel tank feed
is too close to one of the forward walls. I'll have to order a 90
degree fitting from Andair to make it fit.
 |
| 4/20/04 |
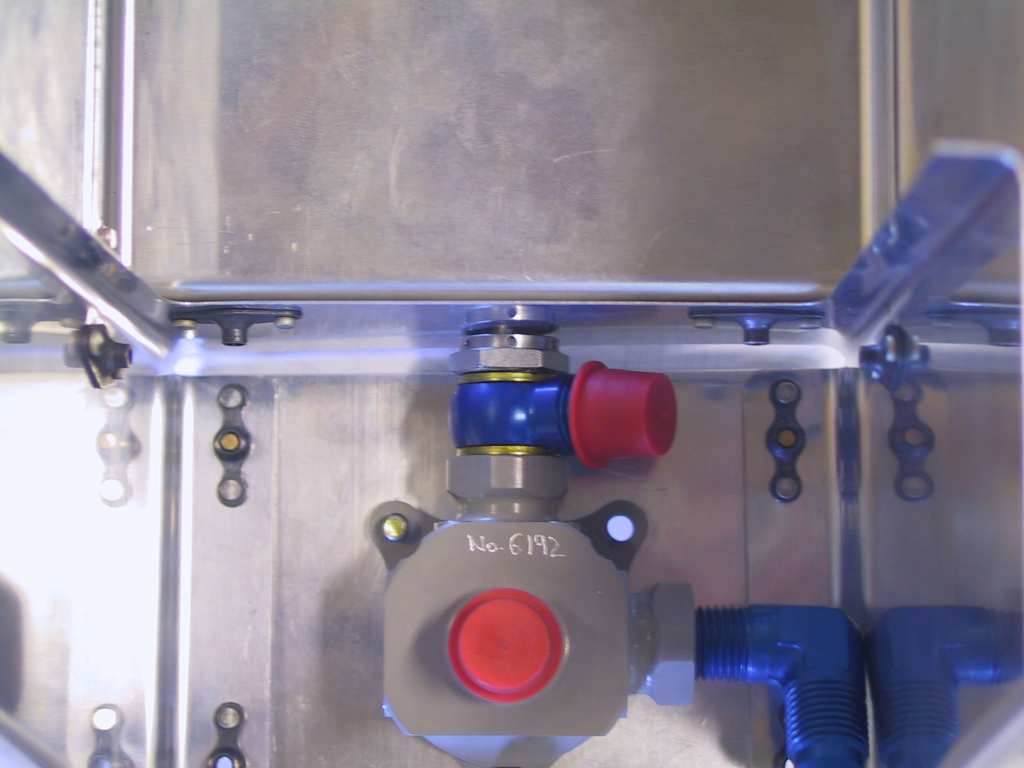
Received the Banjo style connector for the Andair fuel
valve. It fits perfectly. Once I'm done with the flap pushrod
egress holes I'll continue with the fuel lines.
|