|
Home
Why an RV?
Choices
Search
Empennage
Empennage Attach
QB Wings
Bulkheads
Aft/Center Fuselage
Forward Fuselage
Cockpit 1
Cockpit 2
Cockpit 3
Tip up Canopy 1
Tip up Canopy 2
Tip up Canopy 3
Avionics/Panel 1
Avionics/Panel 2
Avionics/Panel 3
Avionics/Panel 4
Firewall
Tricycle Gear
Engine/Prop 1
Engine/Prop 2
Cowling 1
Cowling 2
Baffling
Ram Air
Last 10 Percent
Last 5 Percent
Last 3 Percent
Last 1 Percent
Phase 1
Phase 1 pg. 2
Phase 2
P-Mag Install
Videos
EFIS Flight Logs
Tips & Mods
Links
Fine Living
Avionics Manuals
N447RV Documents
Helpful Builder Docs
FAA Documents
Contact Information
The Boo
| |
Last 10 Percent
| 3/7/05 |
Time for a new page. Well it's official.
I've made my short list and it all fits on an 8.5 x 11 sheet of paper.
Here I have it on two sheets, but it does fit on one! So this is the
downhill slide, feels pretty good too. I can see not only the tunnel and
the light at the end of the tunnel, but there is what looks like an airplane at
the end, in the beaming sunlight, and I'm marching towards it.
Determination, perseverance, and perhaps a bit of destiny, that's all that is
required. (and maybe some money)
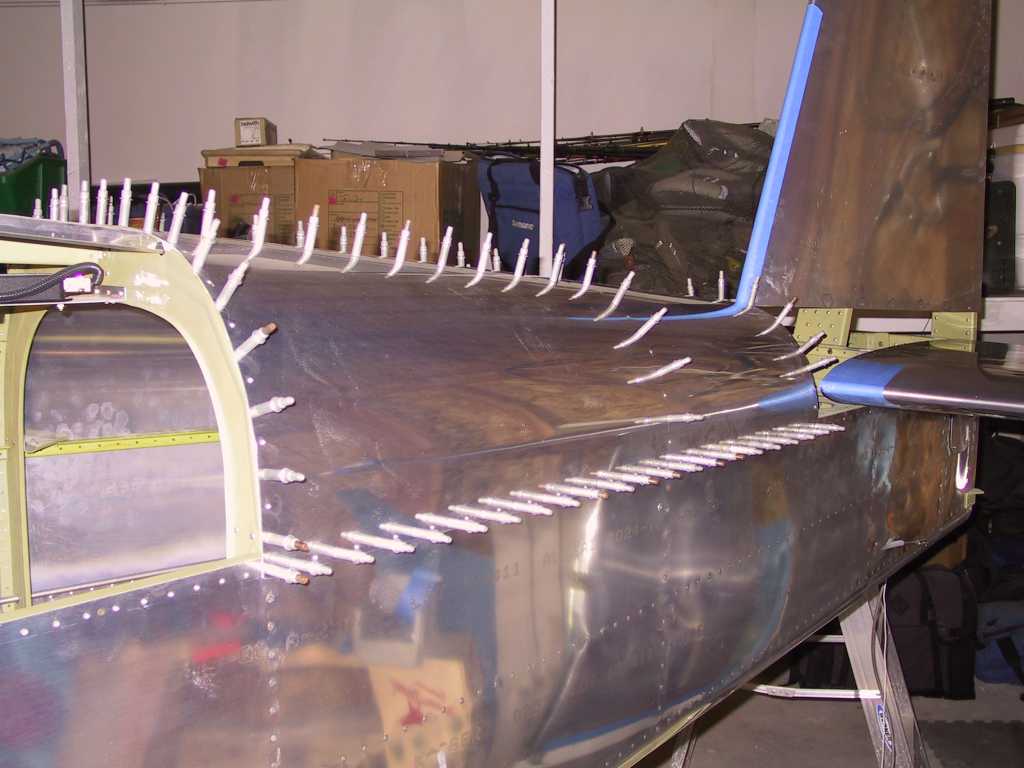
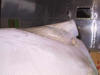
Aft deck skin in place ready for riveting.
Nutplate put on to hold lower and upper empennage fairing.

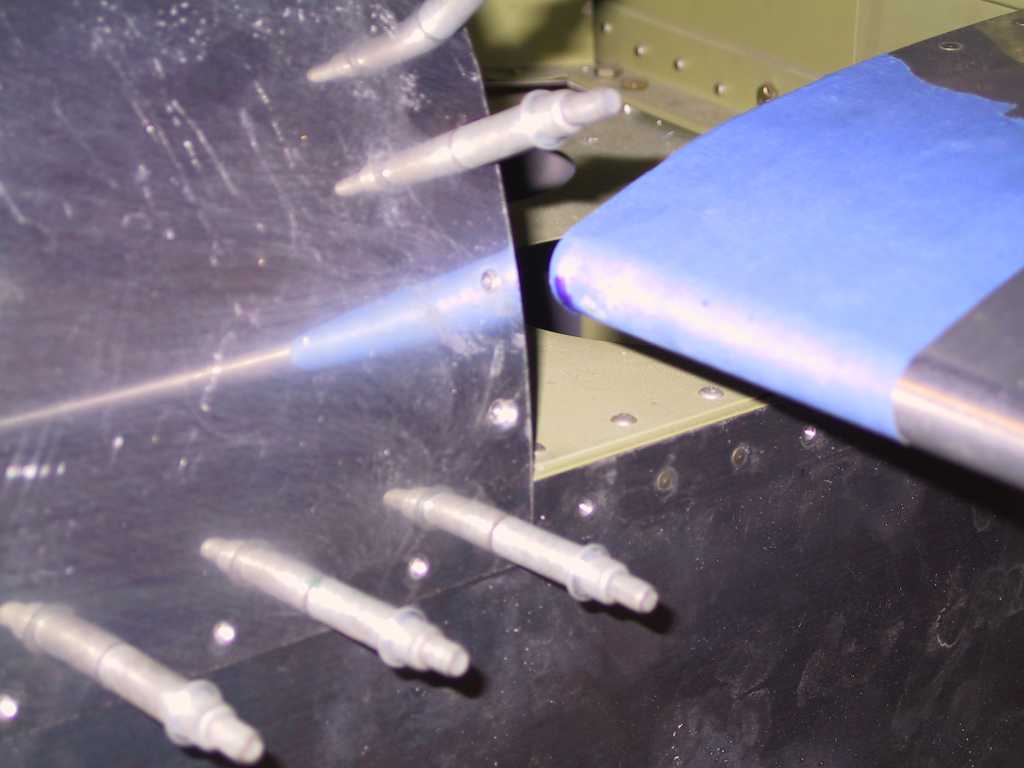
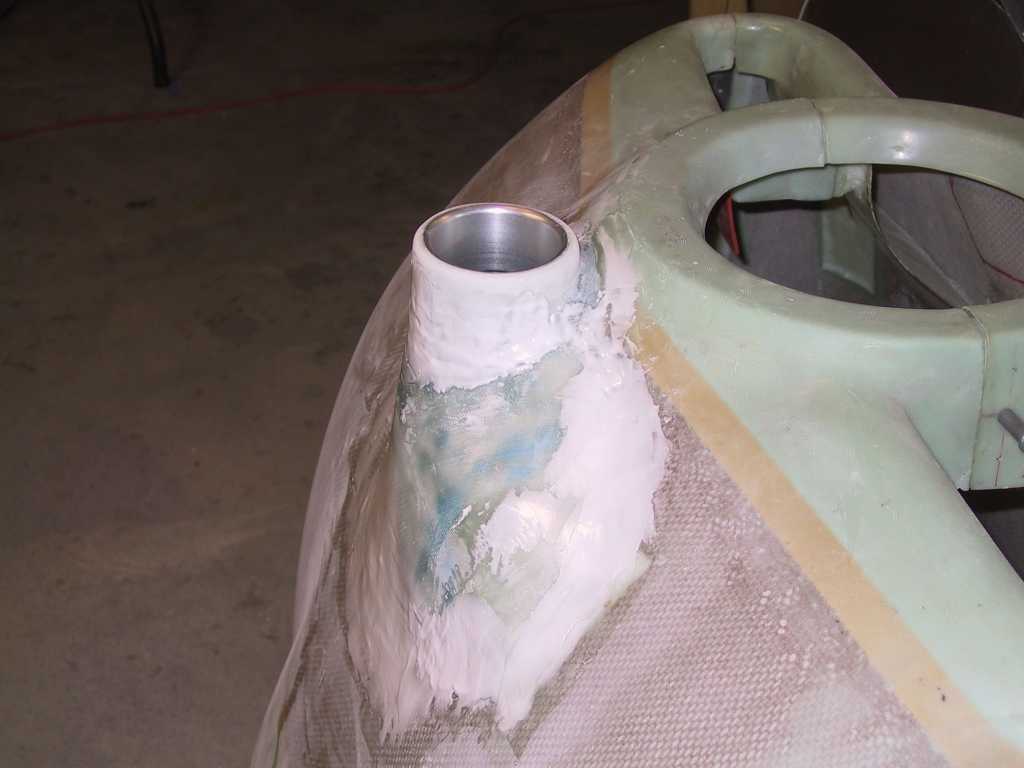
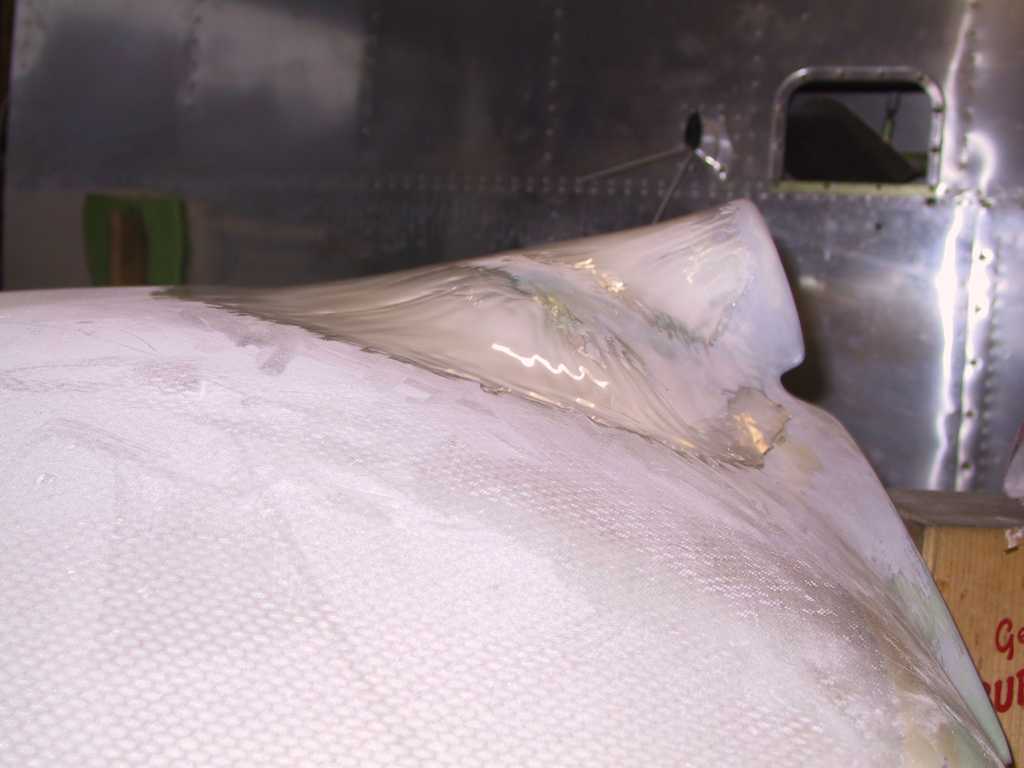
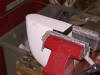
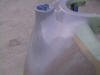
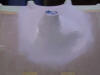
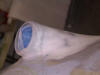
Little bit more fiberglass work on the ram air snout. I
want the outer portion of the lib to be rounded so I'm adding flox and BID to
build it up slowly.
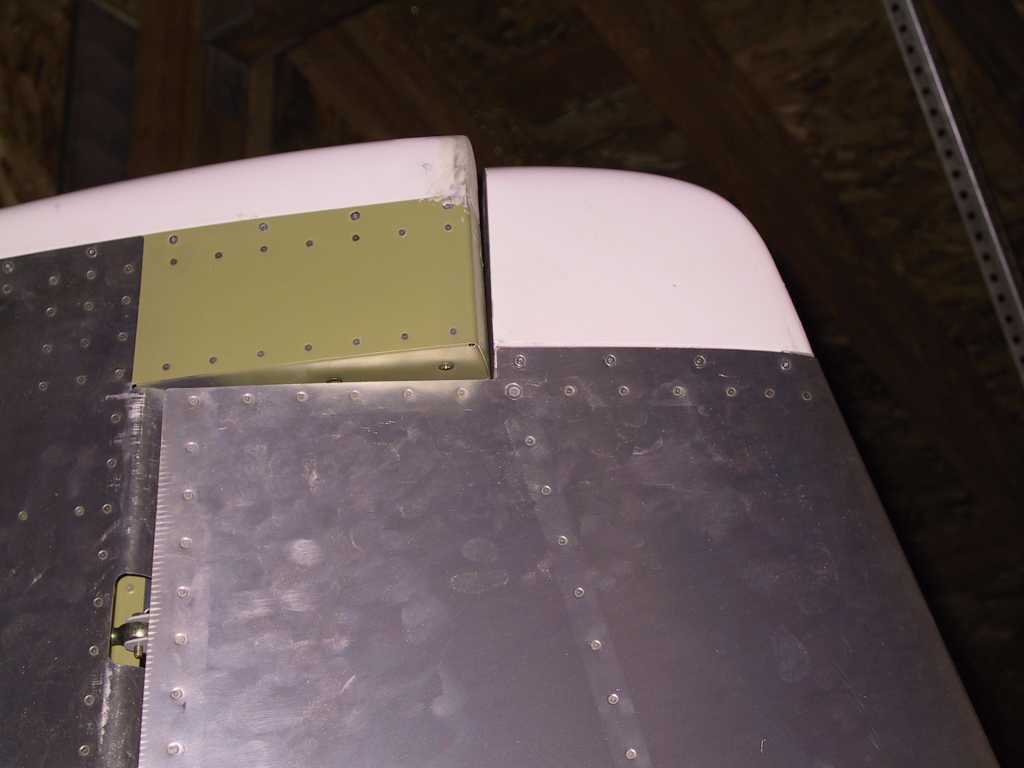
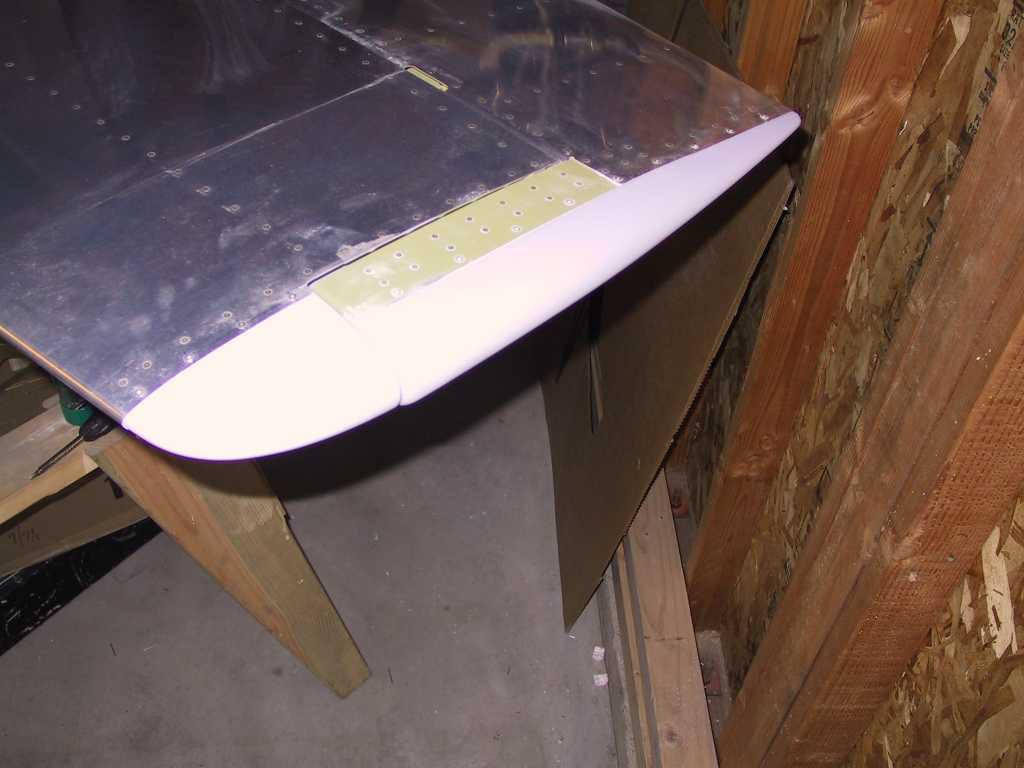
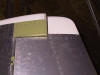
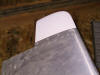
New VS tip from vans arrived. I goofed on the
first one and made it two wide. This one fits perfectly, except it's more
than an 1/8" lower then the rudder tip. Looks like I'll have to build it
up too.
 |
| 3/8/05 |
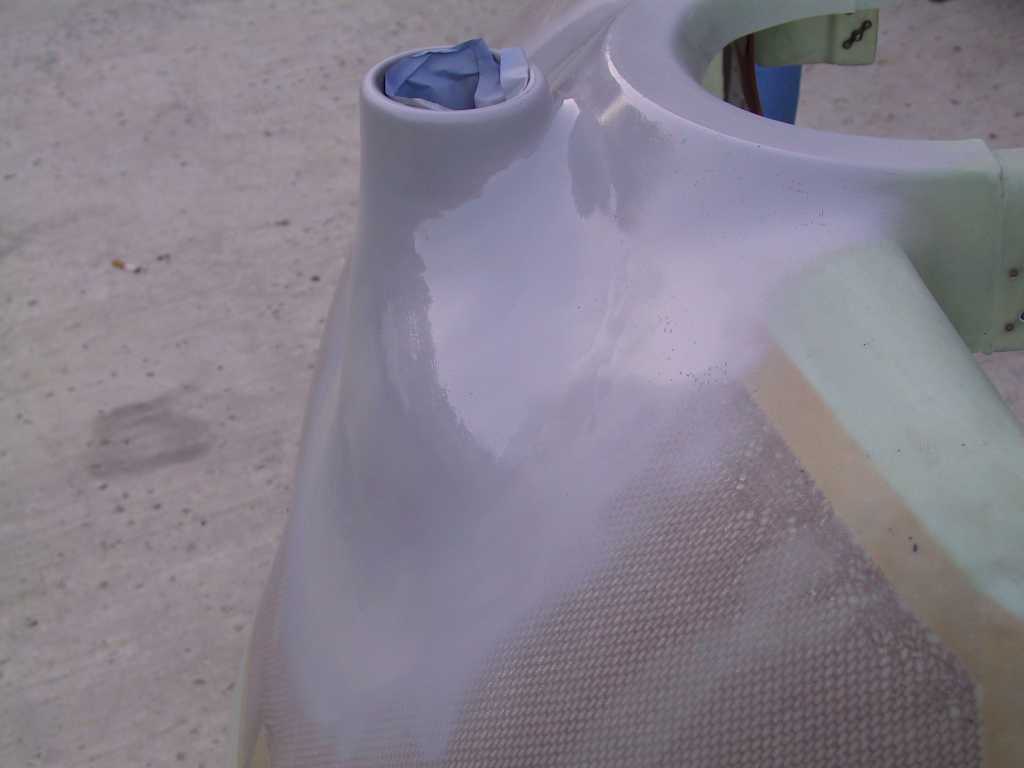
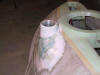
Got the VS tip mounted. Did a bunch of
sanding on the Ram Air inlet and applied a finish coat of microballoons.
This should be the last big amount of epoxy as I really like the shape at this
point. You can't see what it really looks like with all that goop on it.
  |
|
3/12/05 |
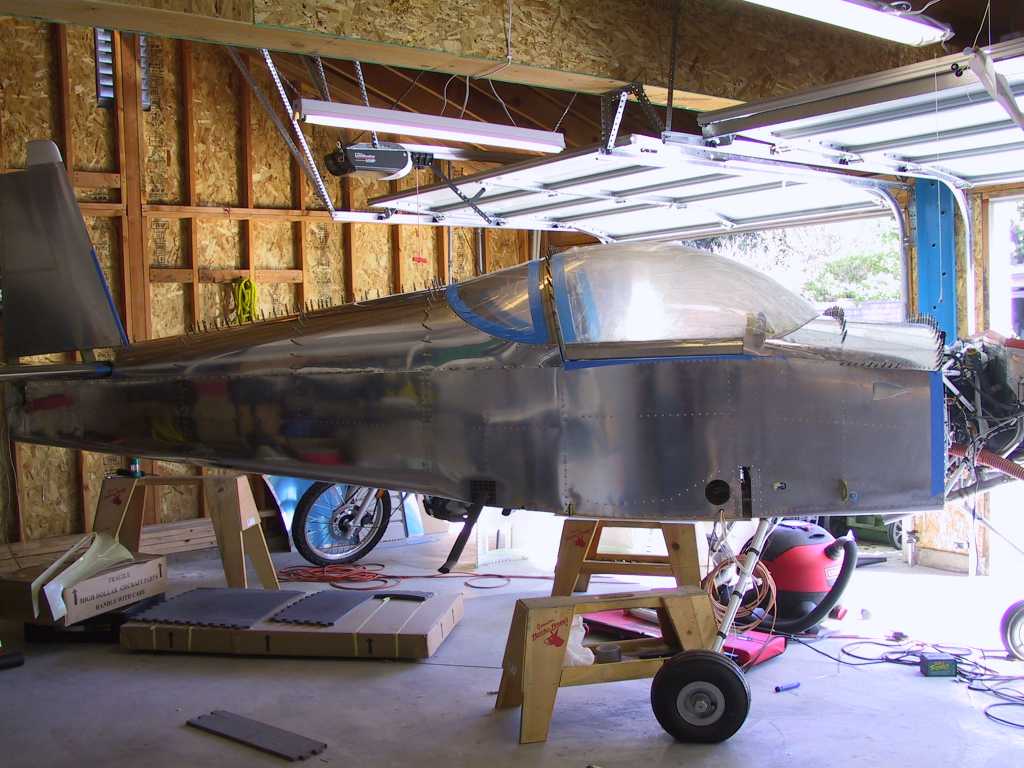
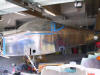
Gratuitous shots of the canopy on. Man
these are sweet looking planes.
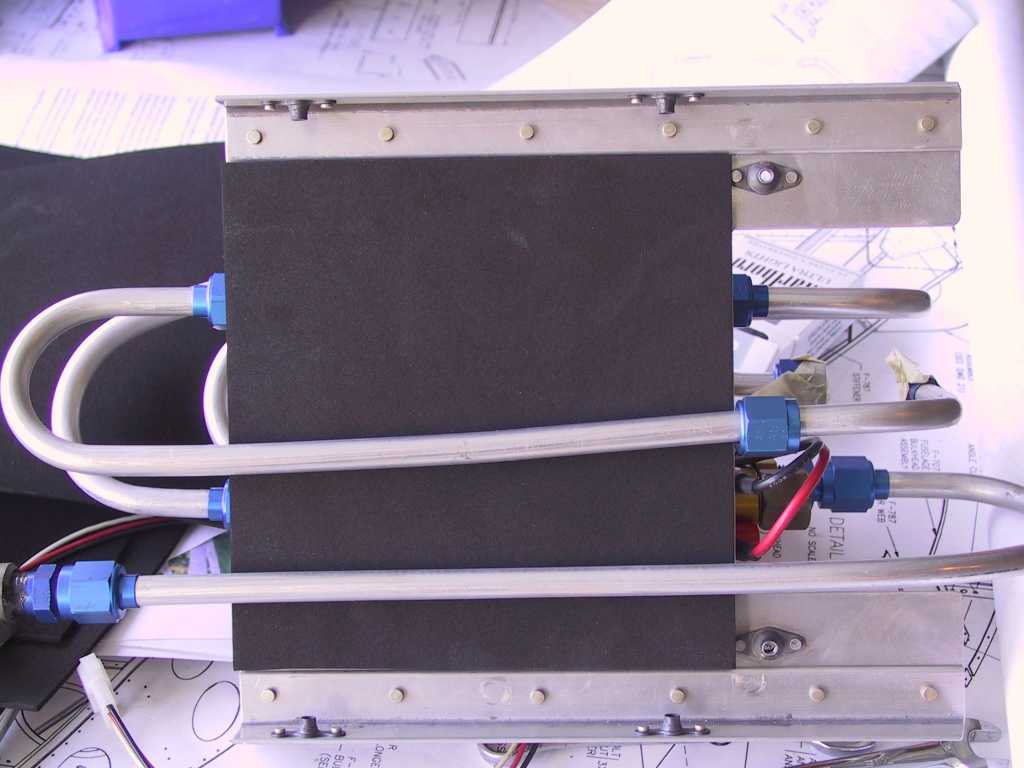
Painted the empennage tips with a high fill lacquer paint to
fill in all the little stuff. Also did the ram air box.
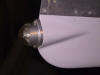
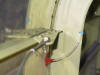
Mounted the rudder strobe/position light. I grounded the
nav light on the bottom of the three bolts holding the rudder on.
 |
|
3/13/05 |
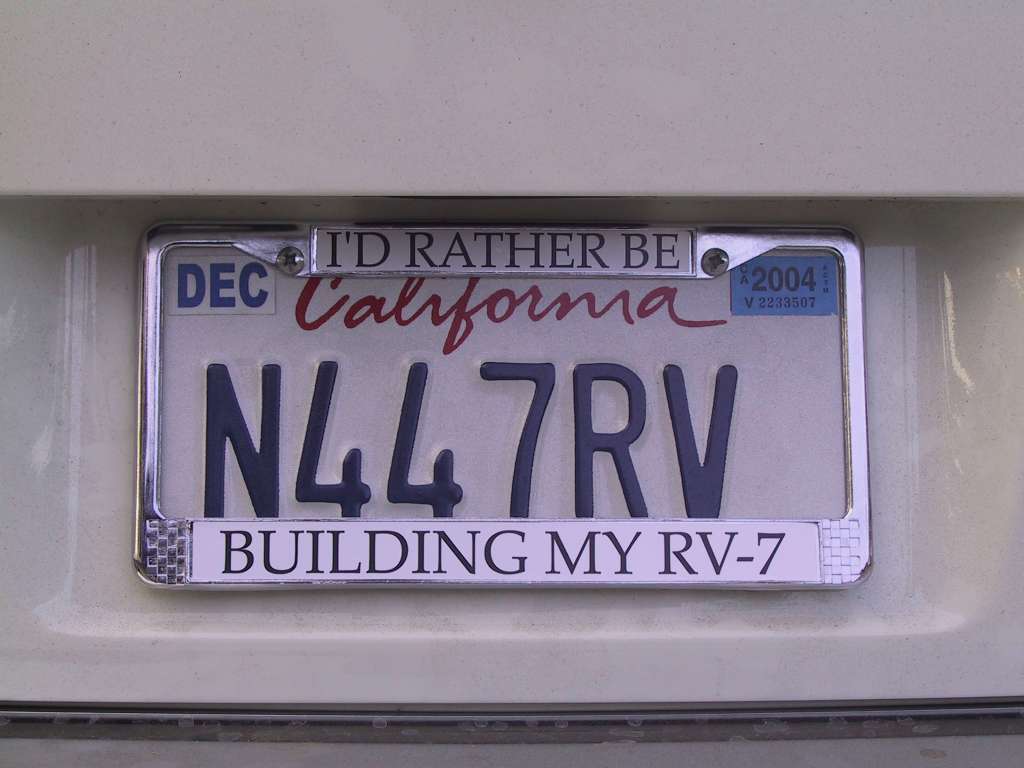
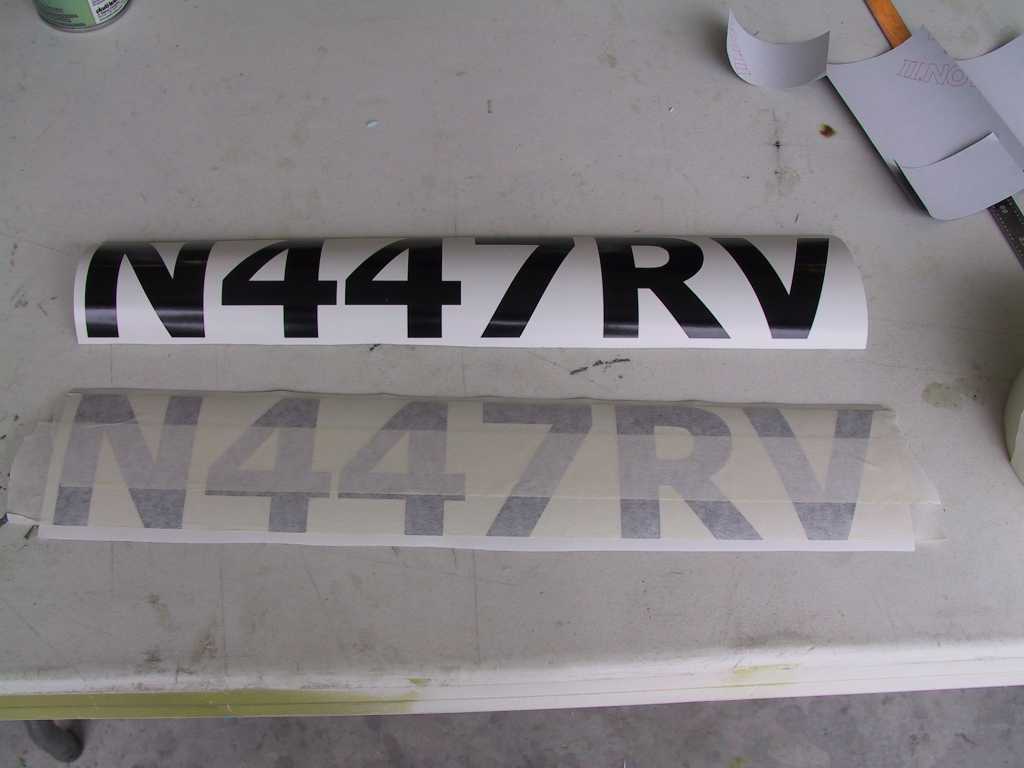
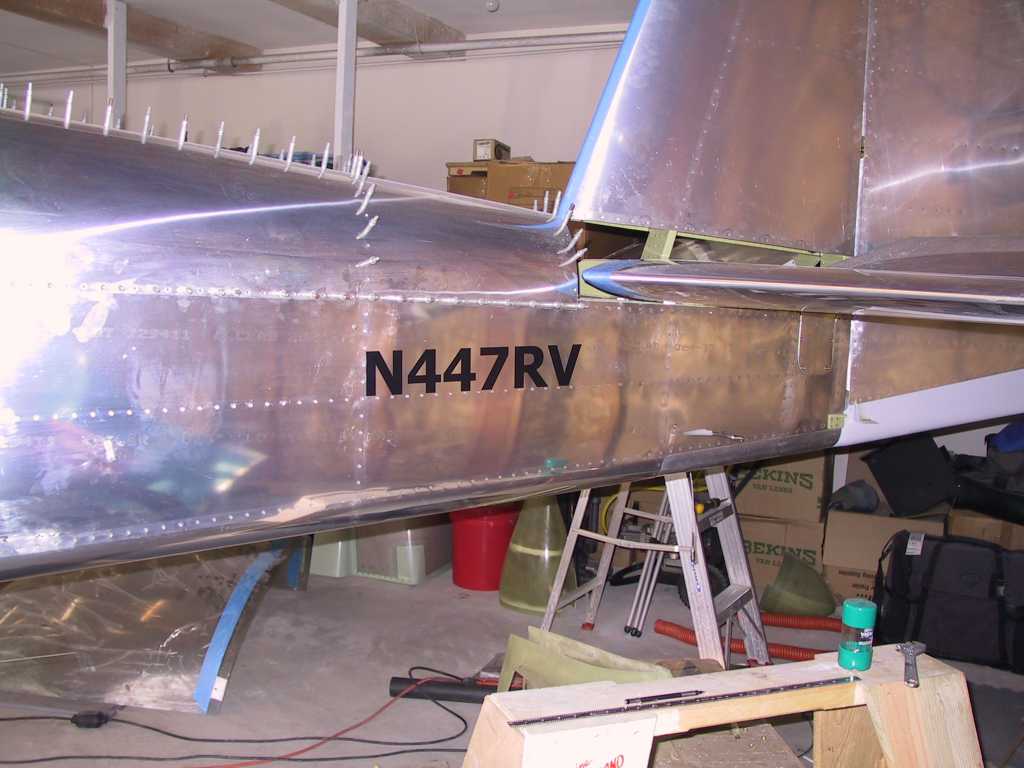
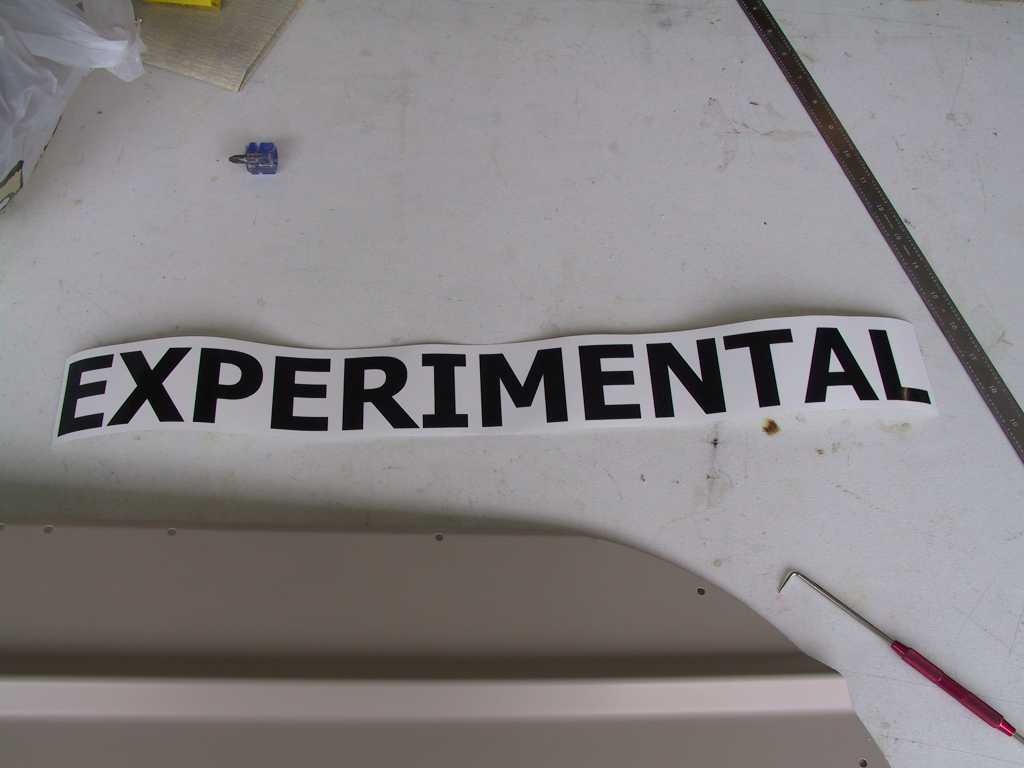
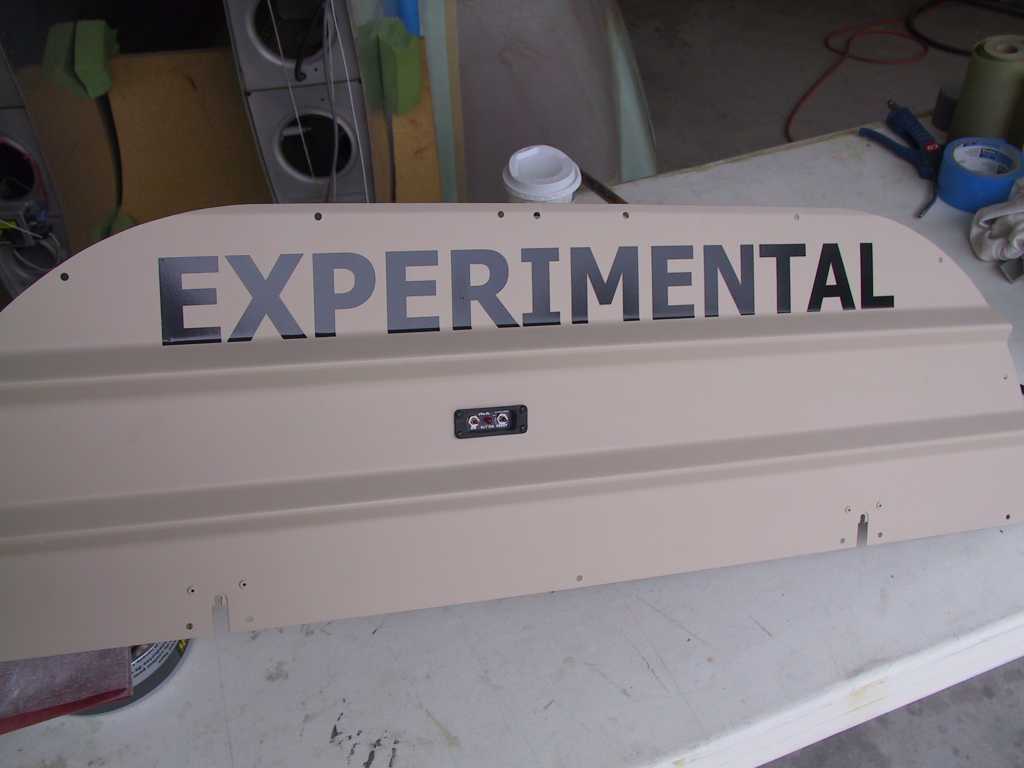
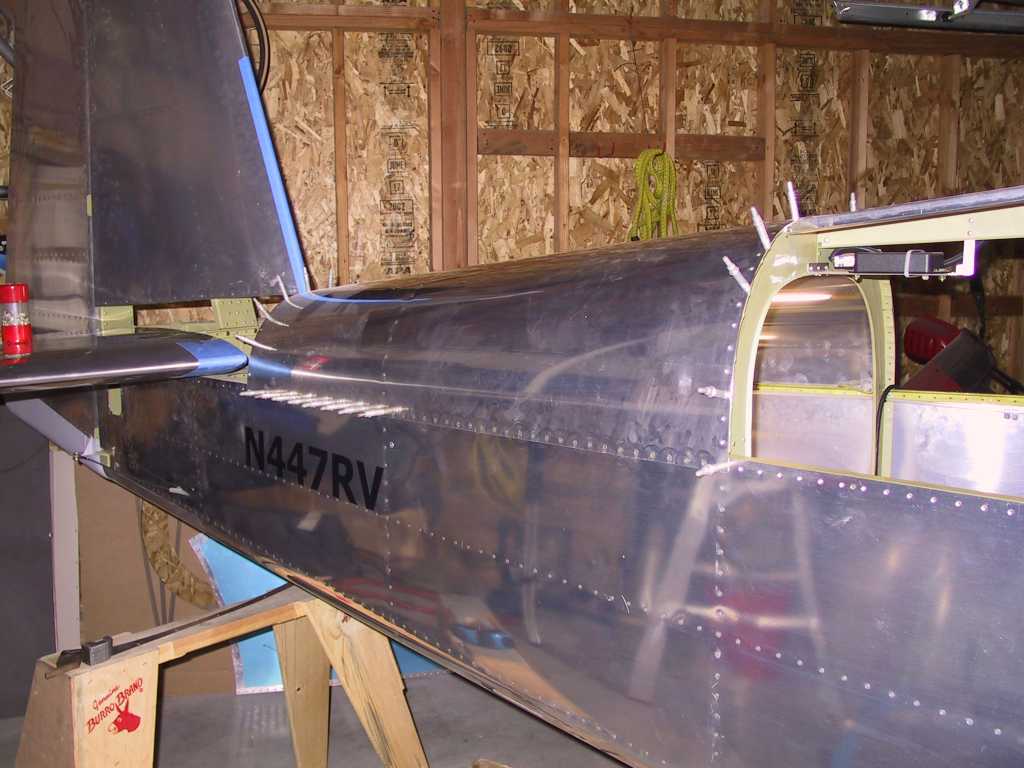
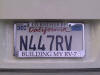
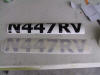
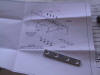
A while back David Richardson gave me a complete
set of labels for the plane. He's got some fancy machine at work that
produces them. Thanks David, I feel like my tax dollars are working :)
So now my baby has a name. This is such a little thing but it really means
your in the home stretch and I'm pretty pleased with the amount of work I've
been able to accomplish lately.
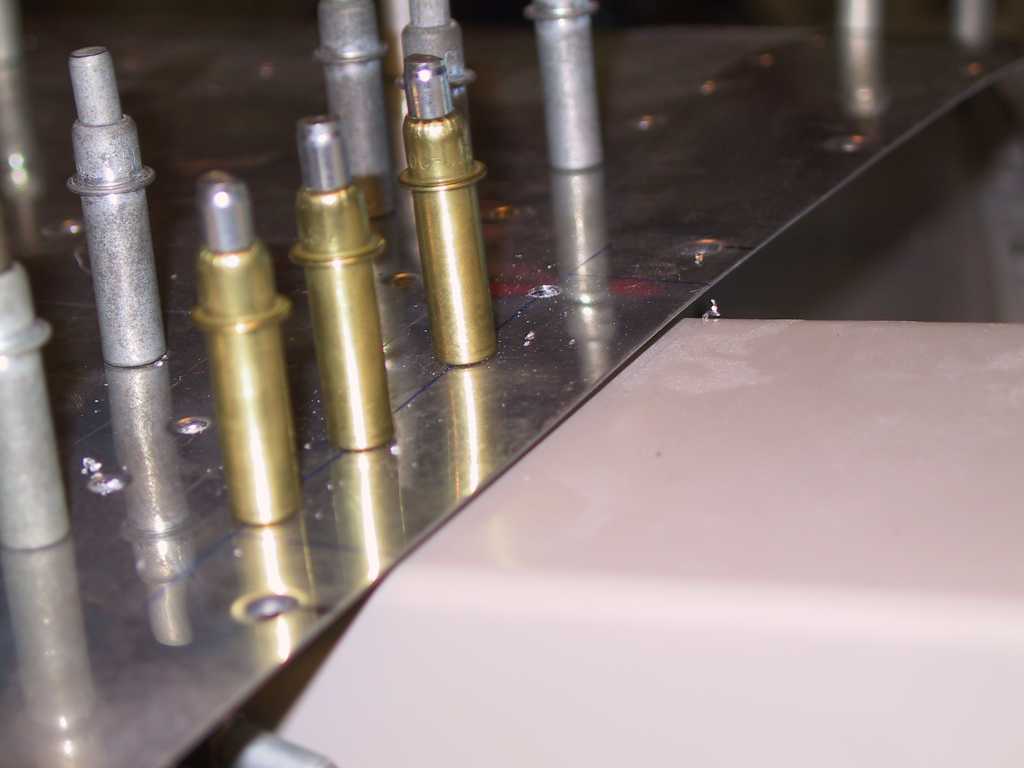
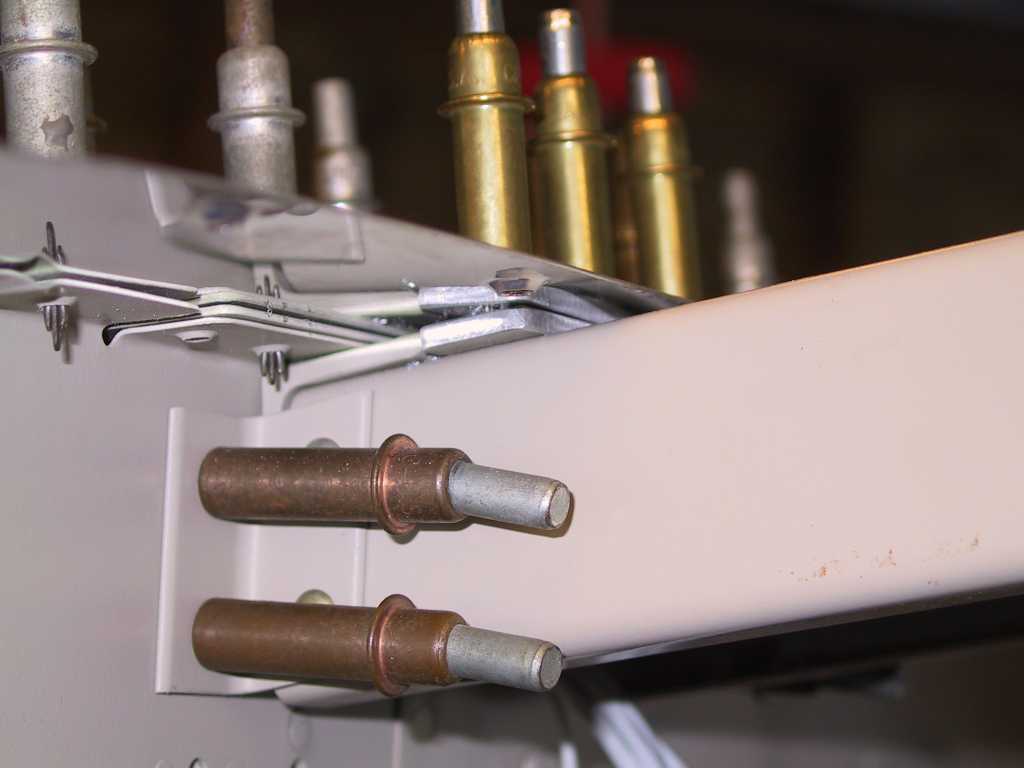
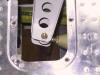
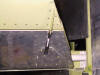
Finally decided to do something about those rivets along the
firewall which you cannot buck. I countersunk them, drilled them out to
#30 and placed AACQ-4-4 structural rivets in.
 
Drilled and tapped the holes for the lower empennage fairing.
Connected the push-pull tube to the elevators. I had to
use 4 washers on each side of the bearing to fill the gap.
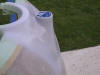
Drilled a 1/4" drain hole in the lowest part of the lower
rudder fiberglass tip.

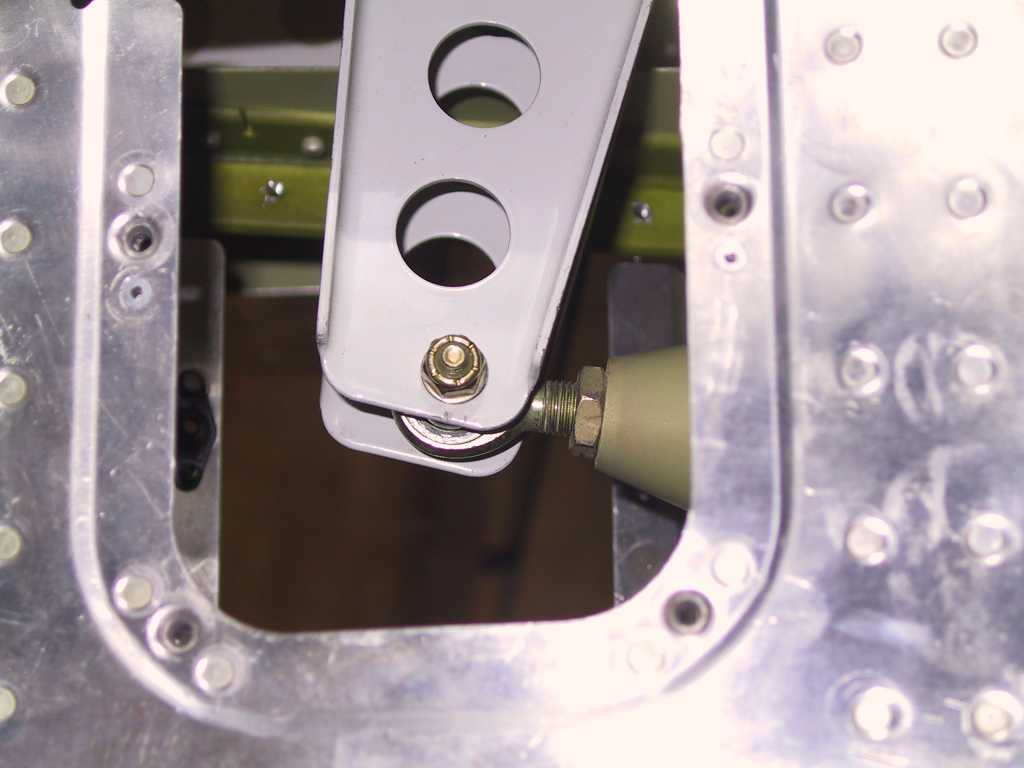
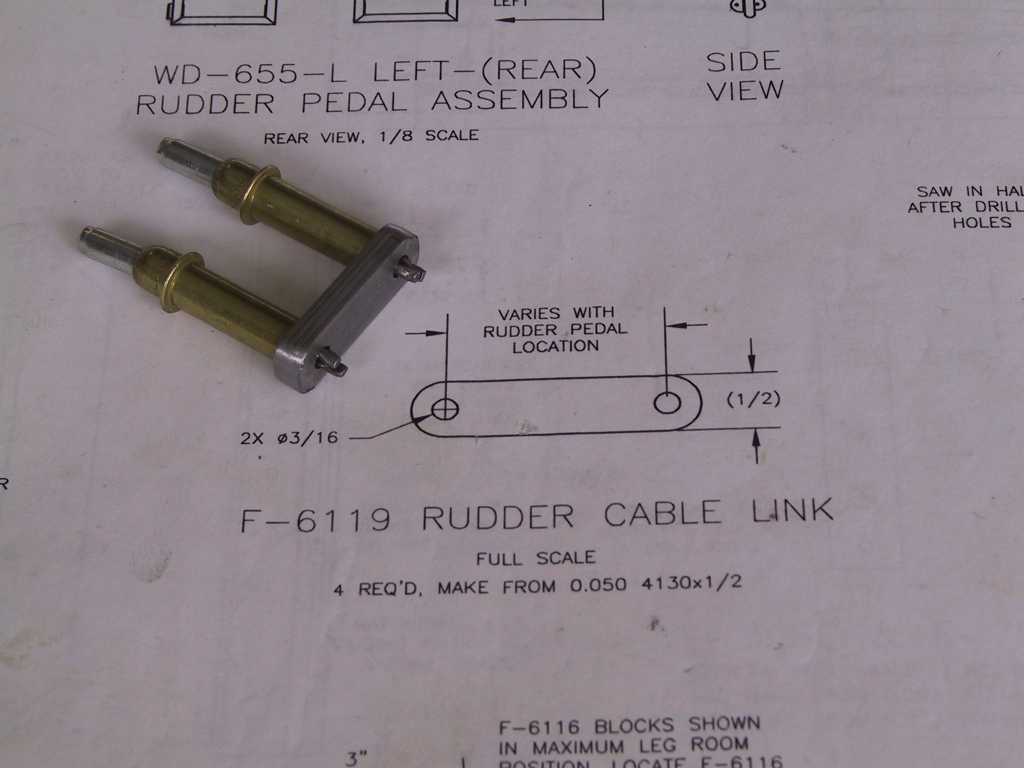
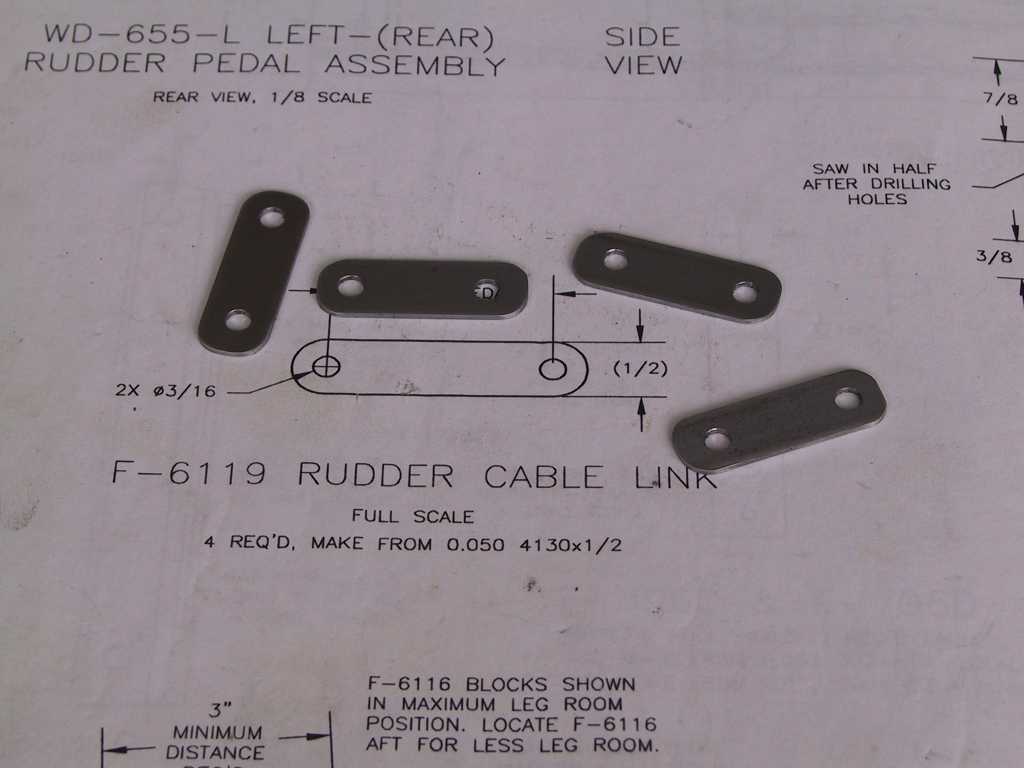
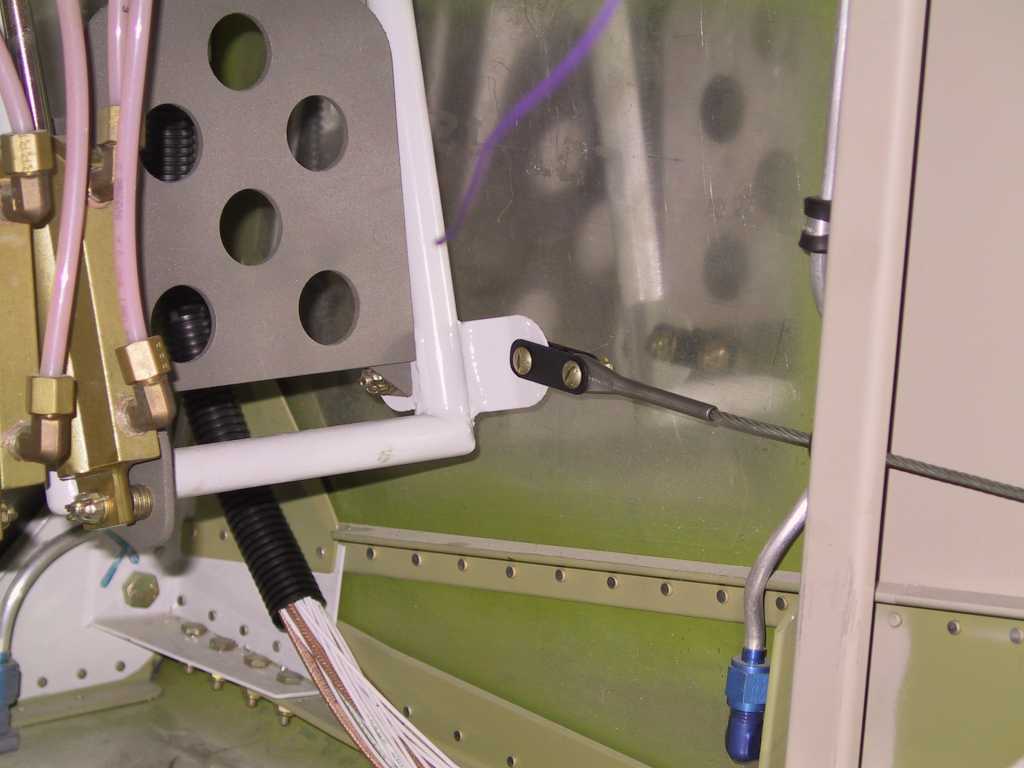
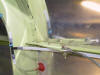
Made the rudder cable attach brackets out of steel as
required. I was very careful to make them exactly the same left and right.
 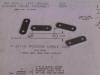
Attached the rudder cables to the pedals and rudder.
Still have to place the cotter pins in. FYI, I'm 5/10, and have the rudder
pedals in the middle attachment holes. The steel attachment brackets are
1" long hole to hole and the pedals are perfect for me. I painted the
steel brackets with a flat black aircraft lacquer.
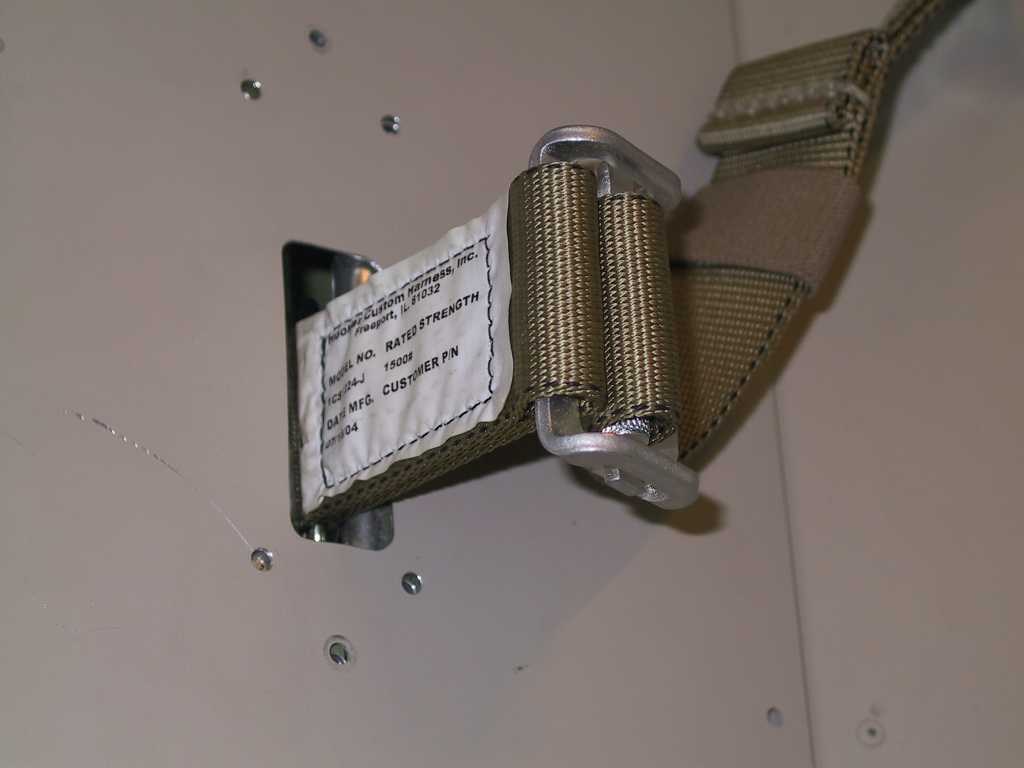
I also drilled out the holes on the ball crusher 5-point
harness. Vans has you drill the holes out for a AN5 bolt but the hooker
harness that I have will only accept an AN4 bolt so that's what I drilled it to.
Good luck getting an angle drill in there to enlarge the holes. Match
drill them *before* attaching to the floor ribs, like the plans say. |
|
3/14/05 |
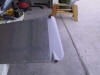
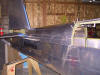
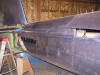
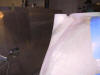
Primed the lower cowl so I can see just where I
need to do more sanding and filling. It's not obvious in these pictures
but there's considerable work still ahead to get this baby's ass smooth.
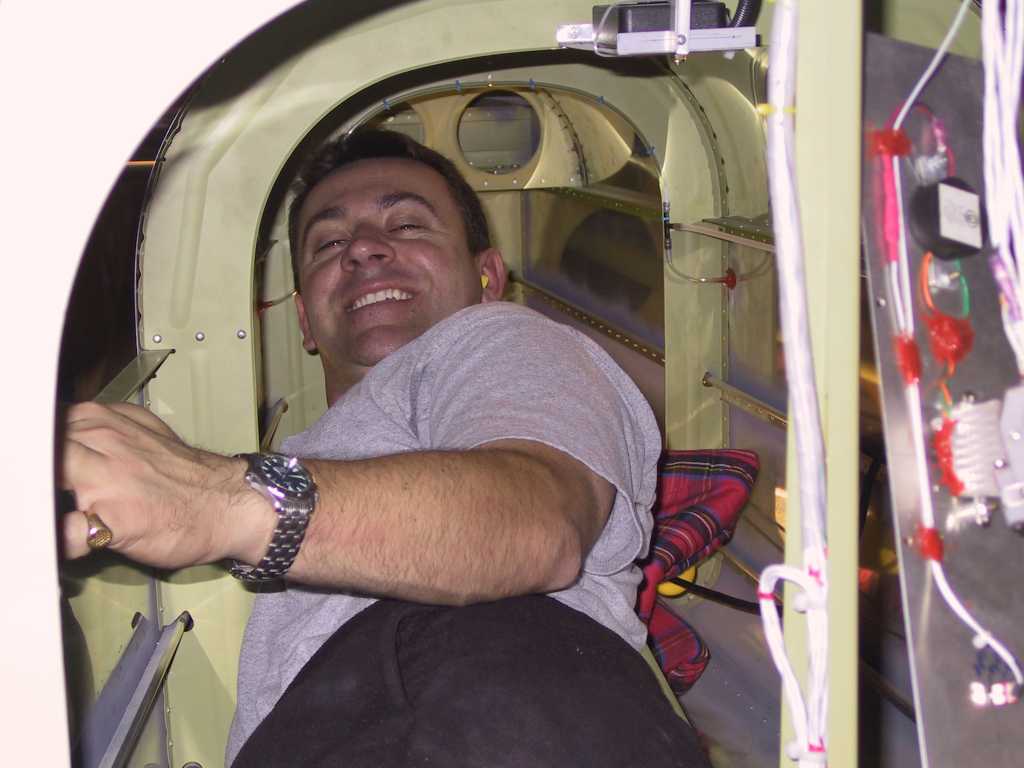
David came by to loan his services as bucker and riveter.
We got almost all the rivets shot in the aft deck skin. You don't have to
get inside the plane for the front half, just hang part of your body in there
and buck away. Now the aft half can be done as well but you are bucking
blind at that point. I may just crawl in the tube when David gets another
chance to come over.
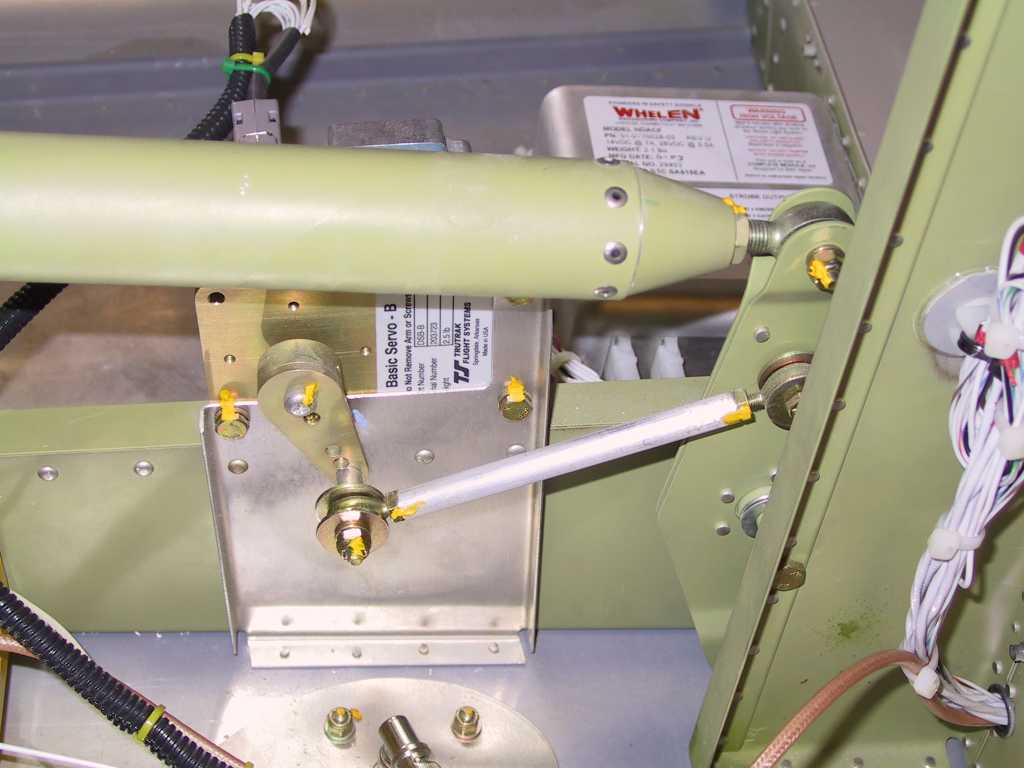
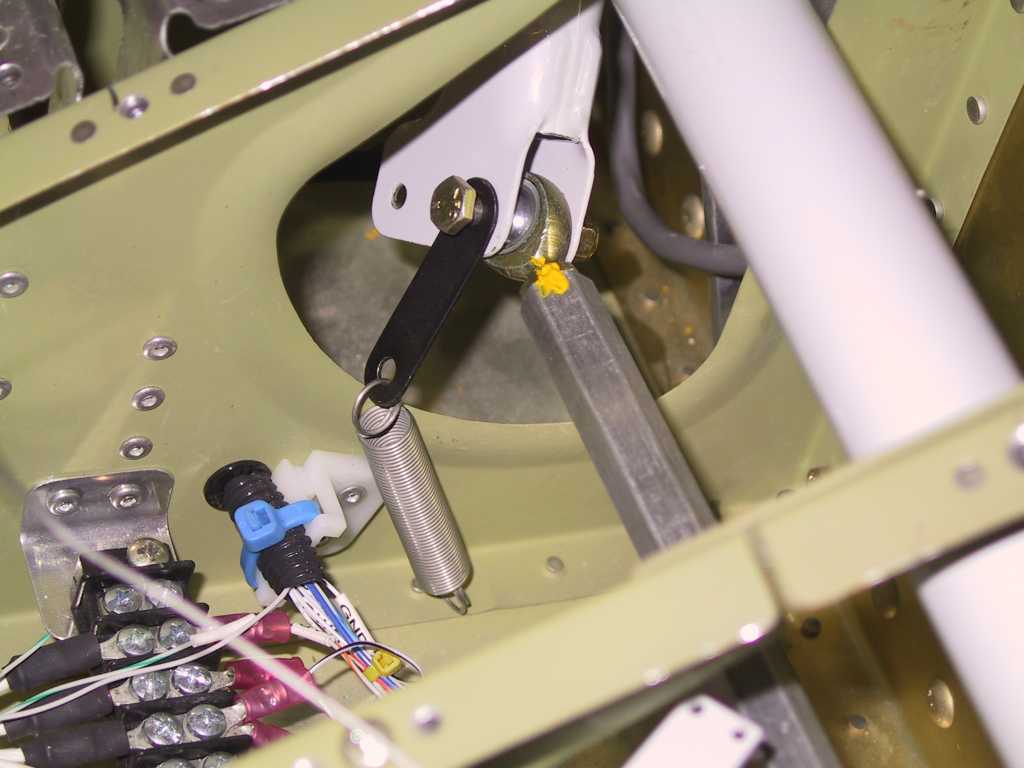
More minutiae. I made sure the servo arm is
perpendicular to the drive shaft and tightened everything up and added some
lacquer to note that everything is torqued to spec. I'm sort of working
from the back forward and calling it good or done as I work forward.
 |
|
3/15/05 |
I received the tip up
canopy fix from Vans
today. It's quite easy. Fabricate the spacer by drilling four holes,
match drill with the skin and F-632 channel, countersink the spacer and you're
basically done.
Then I spent a few hours scratching my head on how I want to
get the stick grip wires routed and affixed within the limited area between the
seat ribs. I'm sure it will become crystal clear tomorrow after I sleep on
it. This is almost the last few wires to attach. Thank goodness.
Once this is done and the wiring is tidied up, there aren't any more big wiring
jobs. I still don't positively know what I want the second momentary
switch on the grip to do. Perhaps switch frequencies on the SL40, or
something else, dunno yet.
 |
|
3/16/05 |
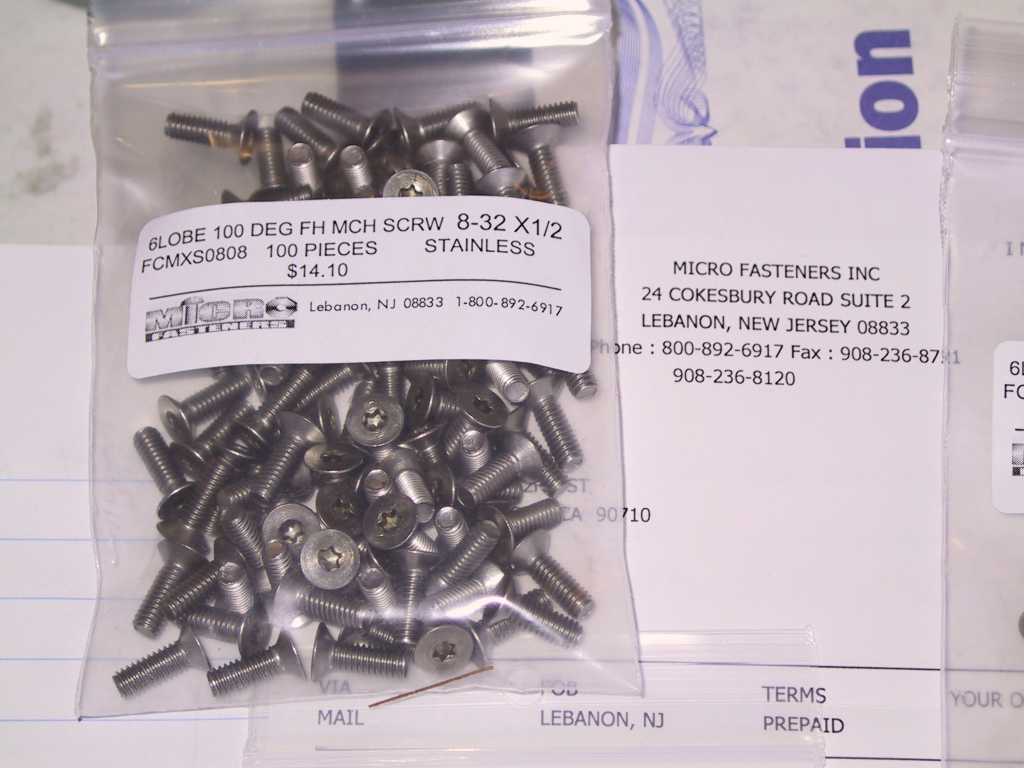
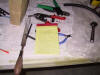
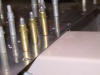
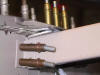
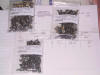
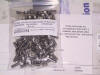
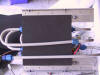
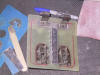
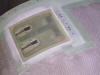
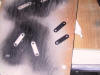
I ordered some Torx screws last week for all the
access panels and exterior screws that are visible on the plane. The Torx
screws don't strip, have a larger paint surface and are, well, just plain
better. The second picture shows where I ordered them from in case you are
wondering.
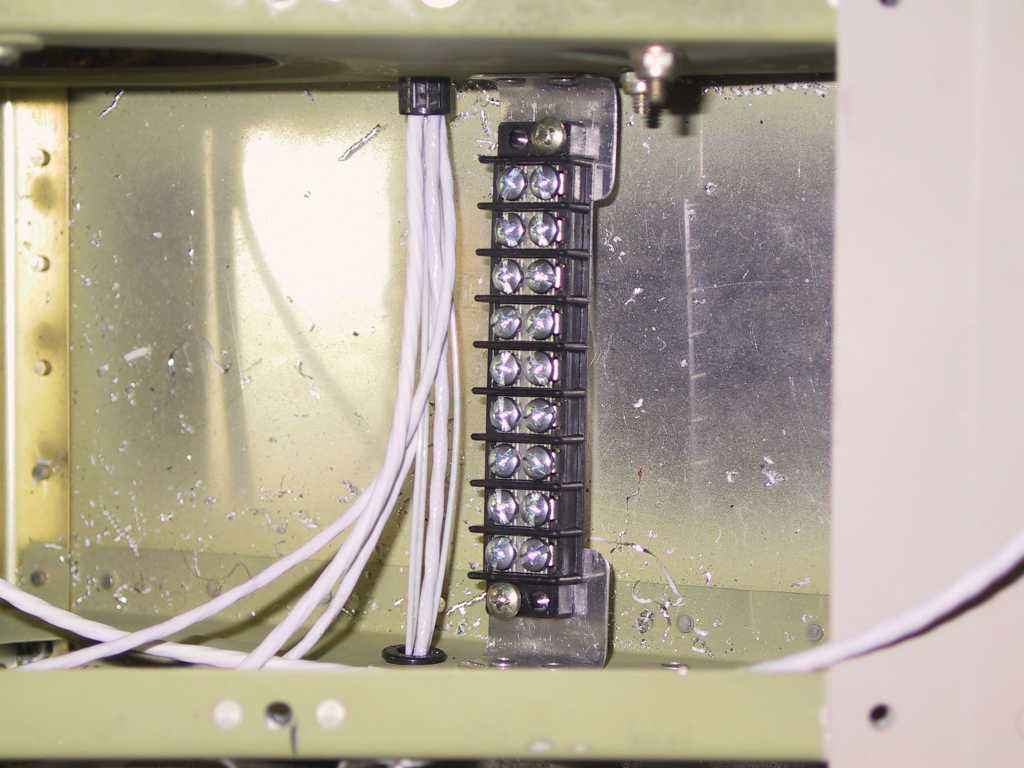
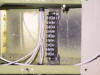
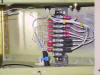
Then I spent several hours getting stick grip wiring done.
I mounted a small terminal block in between the ribs just outboard of the center
pass-through, on the pilots side. The stick grip wires will come through
one bushing and get mated to the terminal block. I'm doing this for two
reasons; 1) in case I need too swap wires on the controls for the roll and pitch
servos, 2) in case I ever need to remove the pilots control stick.
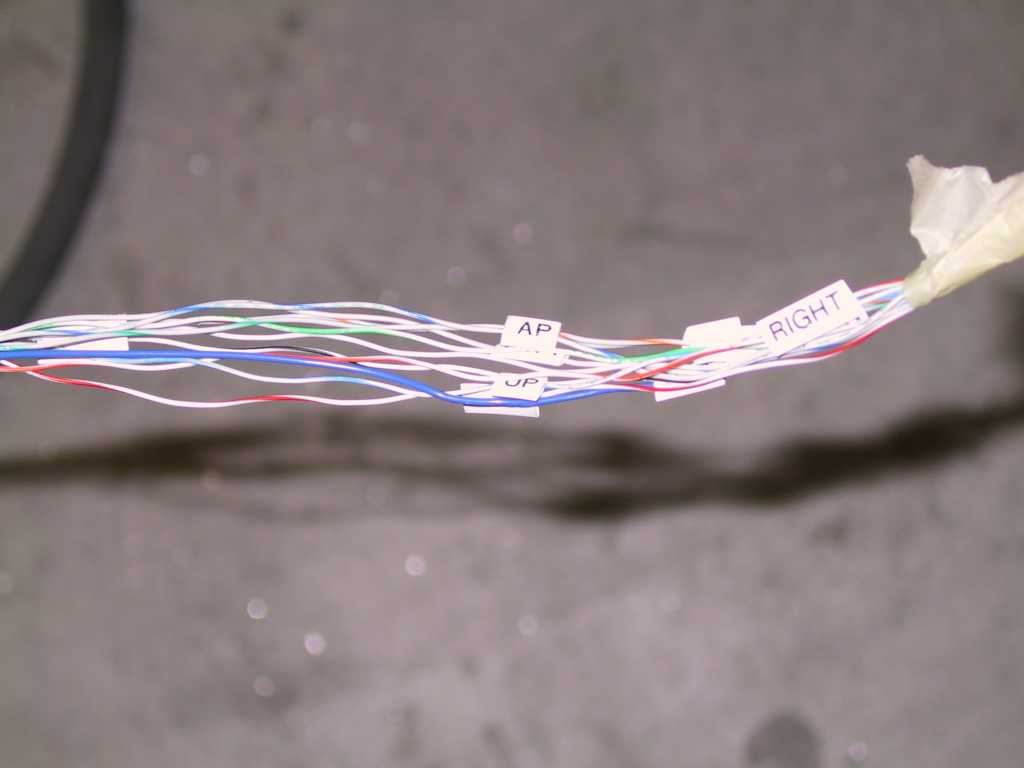
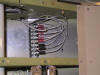
Then I spent an exacerbating amount of time standing on a
sawhorse, hunched over the side of the fuselage while I cut, labeled and mated
the wired to the terminal block. Geese my back hurts. Thank god for
wine. I'll put the control stick in place tomorrow and test the
connections. Trust me, this is almost the worst part of the wiring, YUK!
Earlier today I made a decision about whom I would use for my
DAR. Those of you that know
Gary Sobek know that, if anything, he's one thorough person. Exactly
what I want. I'm no test pilot and will never claim to be. I can fly
but there is ALWAYS room for improvement. The last thing that I want is
too take off and have issues with the plane on the first flight. My skills
just might not be enough, even with a heavy dose of transition training.
I'm happy with my decision and judging by the wealth of information that Gary
has already provided me (I only made the call today) I'm really excited to
utilize his experience and expertise for my final checkout.
And, I also made a decision about transition training.
I've selected Ben Johnson in
Mesquite, TX. Some of you may know that I moved to California 5 years
ago from Dallas, which is still my "home". Someday, I expect to move back
there. I love that town, and the folks there are the best. Anyway, I
gave Ben a call today and I felt like I was back home. There's just
something about Texans. I can't put my finger on it but the word
"hospitality" is coming close. He has a 6A that I'll use for my training
and he's building a 7A. How good is that? I'm really looking forward
to getting out there, staying with old friends, and busting my hide learning the
ways of the A series. Today was very productive. |
|
3/17/05 |
Tonight it was time to finish the control stick
wiring. Yesterday I completed the wiring to the terminal block from the
power, ground, electric trim servos, etc. Tonight I finished the wiring of
the stick grip to the terminal block. And wouldn't you know, everything
worked the first time. AP switch engages the AP, PTT works, I tested it
with a handheld, and both trim motors are humming away when told too.
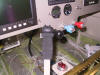
I labeled the myriad of wires coming out of the stick and
connected them.
The wires exit at the base of the stick and I've got enough
slack so the stick moves freely without bending the wires too much. They
are wrapped in two or three layers of shrink wrap too. Where the wires
pass through the seat rib I have them immobilized with a plastic 90 degree
fitting and wire ties.
I ended cutting 1.5 inches off the top of the stick. Now
the top touches no buttons or switches and it cannot fit between the power and
prop controls either. The last thing I want is the stick to get wedged
someplace. But If I'm making stick deflections this big, I'm in trouble
anyway and would probably be wishing for a parachute on my back too.
    |
|
3/18/05 |
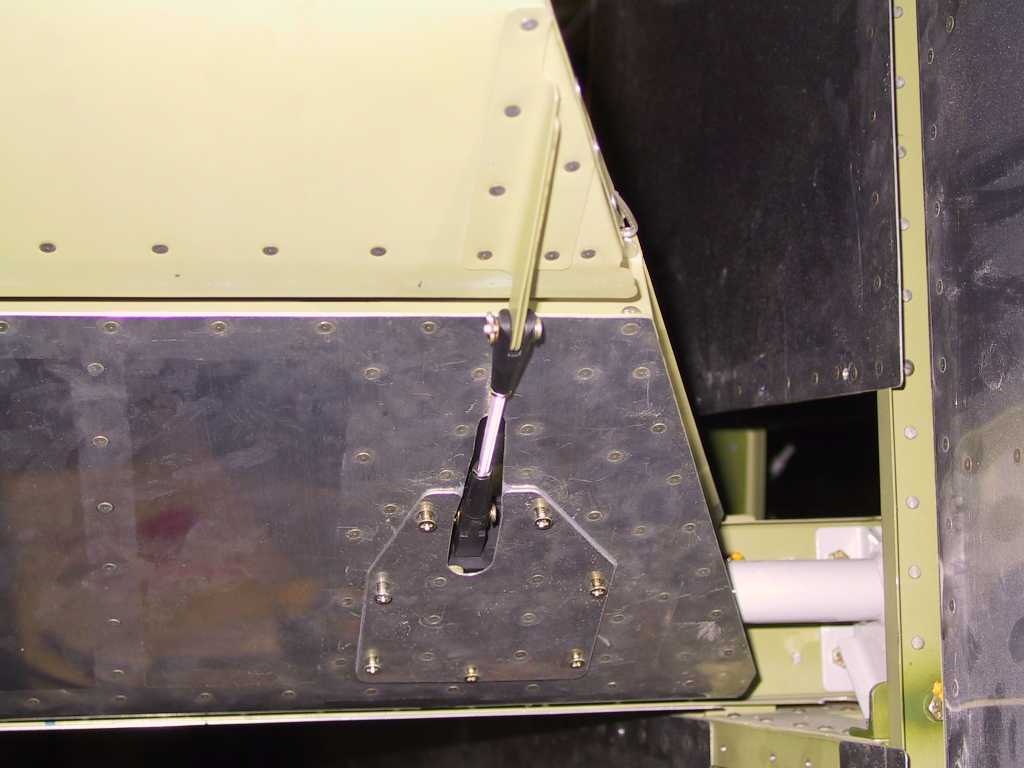
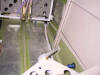
With darn near every wire terminated and tied aft
of the center section it was time to mount the controls. The control
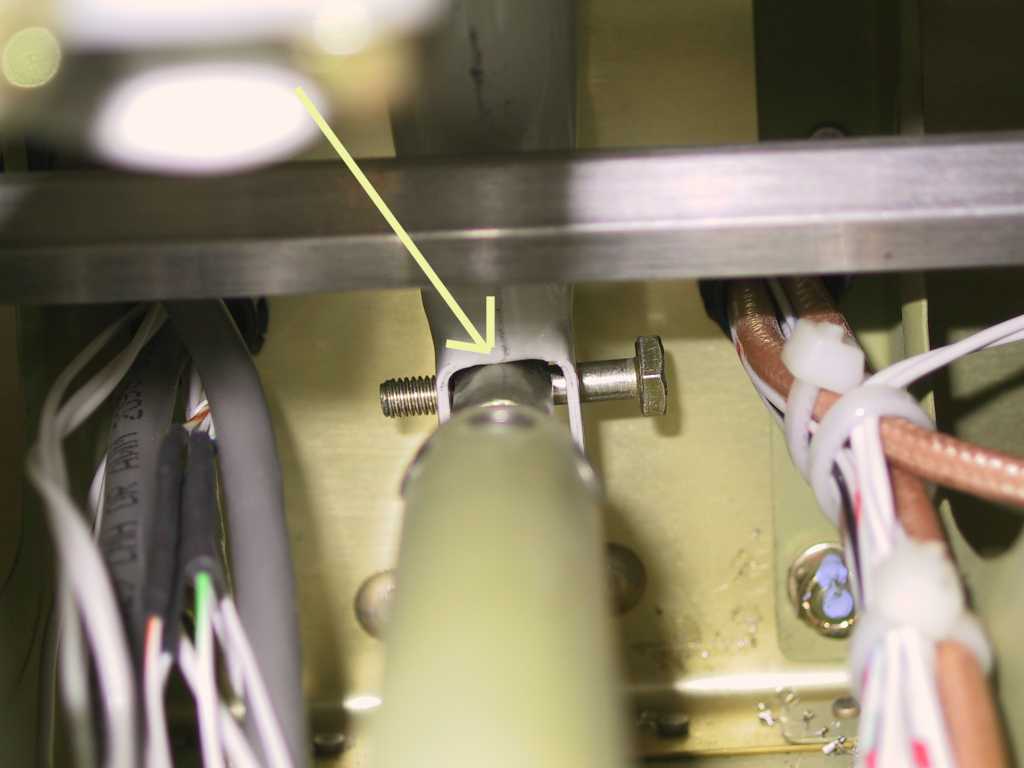
sticks are now both perfectly parallel, but, I've run into a snag with the aft
travel on the sticks. I can't get the elevators to hit the stops.
They miss by almost .5". Seems that the rod end bearing on the front
elevator pushrod is binding on the control column pivot point. So I can't
get full aft travel. When the controls are in the neutral position the
elevators are neutral and the elevator bellcrank assembly is perfectly vertical.
I'm sure it's a mater of adjusting both the for and aft pushrod lengths, but,
and here's the assumption that I may be wrong about; I thought that when the
controls are neutral the bellcrank assembly should be vertical. Maybe some
sleep will help. Or, maybe you can help :) Neutral
Not full aft deflection.
Oh, and to make my night even worse; yesterday I cut 1.5" off
the pilots control stick. So tonight I cut 1.5" off the copilots stick,
thinking that "hey, they Have to be the same length, right? NOT!". I
blindly cut before measuring and you know what happens when you do that.
Ask me how I know. Now I have a "shortie" for the co-pilot. I think
I'll order another, either that or find a broom handle.
On another note, Pops is coming out for another month (in 10
days) to help out with the final push to get this thing in the air. The
elves and gnomes are on their way. Hopefully, I'll come home from work one
day and the plane will be finished :) |
|
3/19/05 |
The floor pan holes for the ball-buster 5pt
harness are too small for my hooker harness. I had to widen the holes just
a tad on either side. Now they fit perfectly.
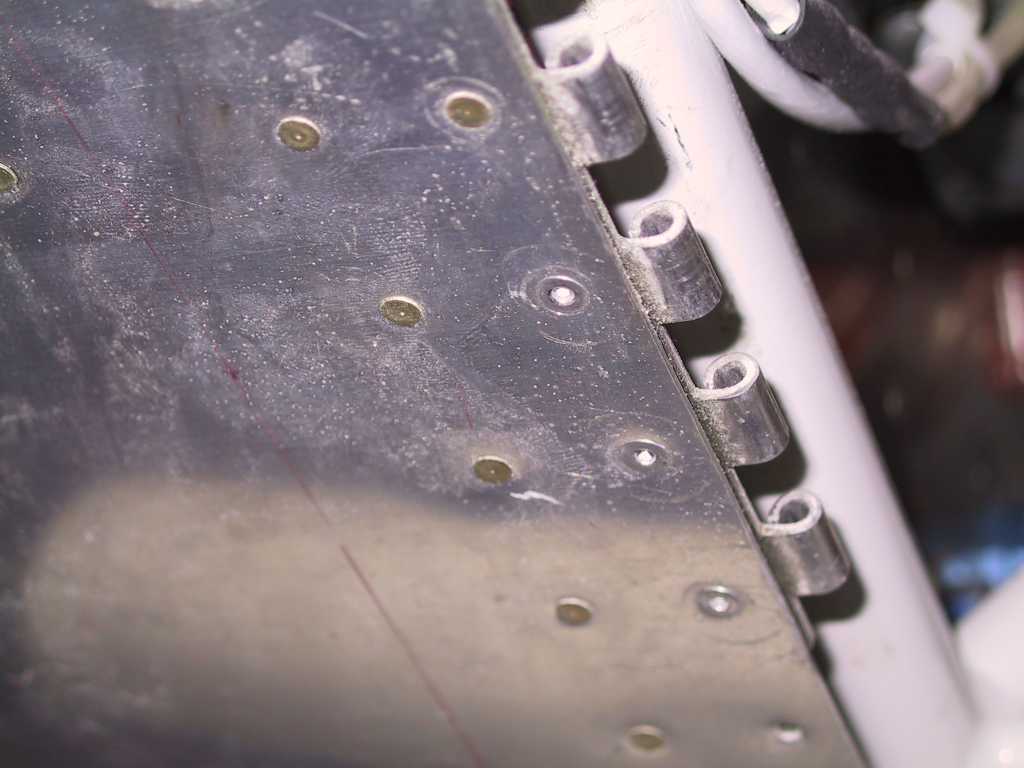
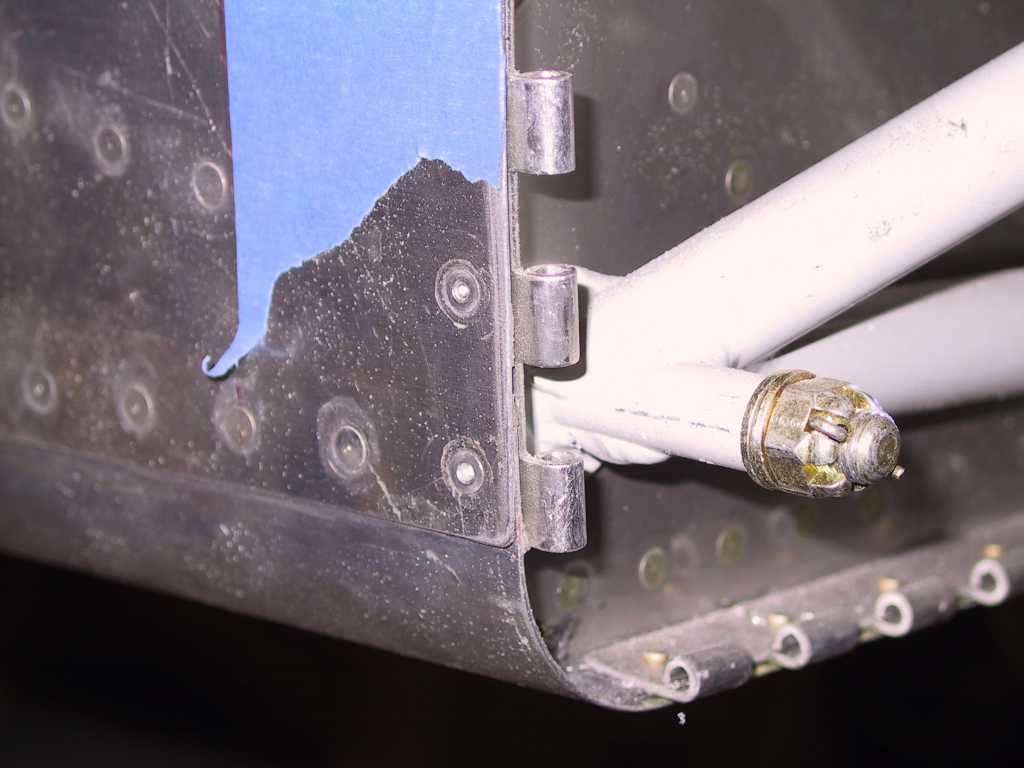
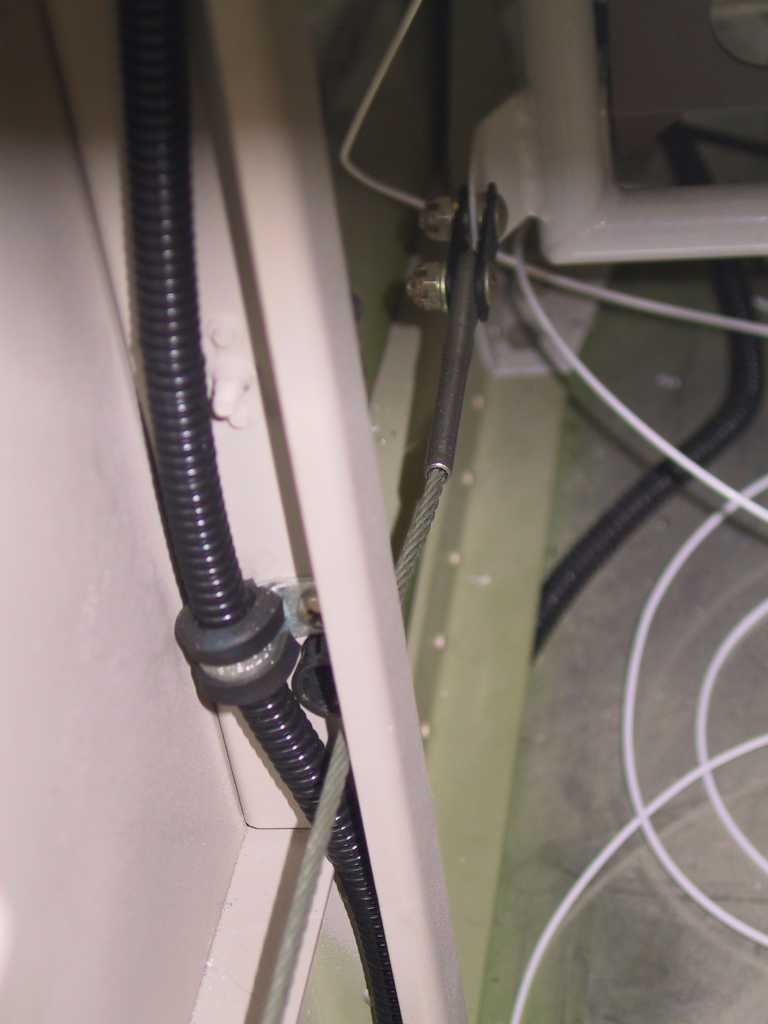
Another issue I have yet to call Vans about are the tabs on
the rudder pedals. They aren't aligned with the bushings going through the
F-902 bulkheads. The bushings are located properly and the pedals are in
correctly. The rudder cables have a solid metal end to them which doesn't
bend. Consequently the cable itself bends to conform to the needed shape.
What I'm worried about is the cable rubbing against the aft side of the
bulkhead. I'll call vans about this. They'll probably just tell me
to bend the tabs a little or not to worry about it.
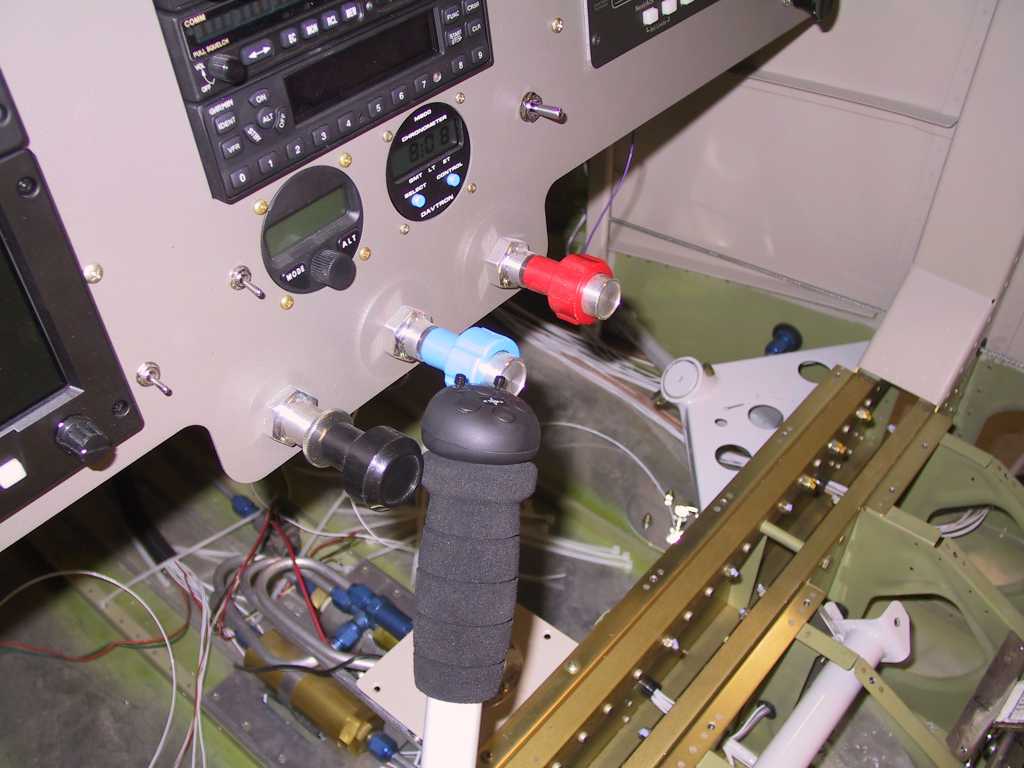
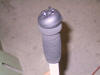
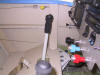
Don't tell me again, I know the foam grips are upside down on
the control stick. Yeah, I did it on purpose, just to be different.
(right)
 |
|
3/20/05 |
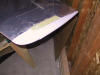
Slathered on some more microballoons on the lower
cowl. I'm almost totally satisfied with the shape. I sanded off all
the primer under this before.
Next, I headed to JoAnn Fabrics. They have all kinds of
varying thickness of foam, not to mention that there are about a bazillion
chicks in there and no guys. Too bad their either 80 or 12 yrs old.
I get some good looks coming in there covered in airplane "goo" and walking to
the counter with popsicle sticks or, in this case, foam sheets. Love it.
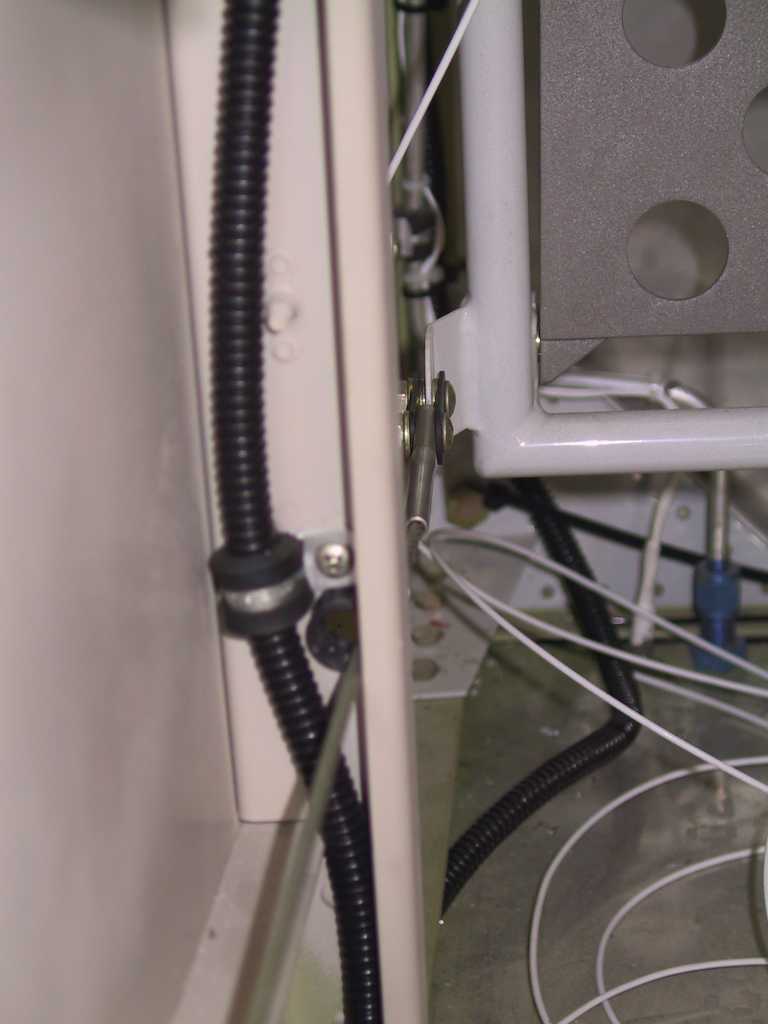
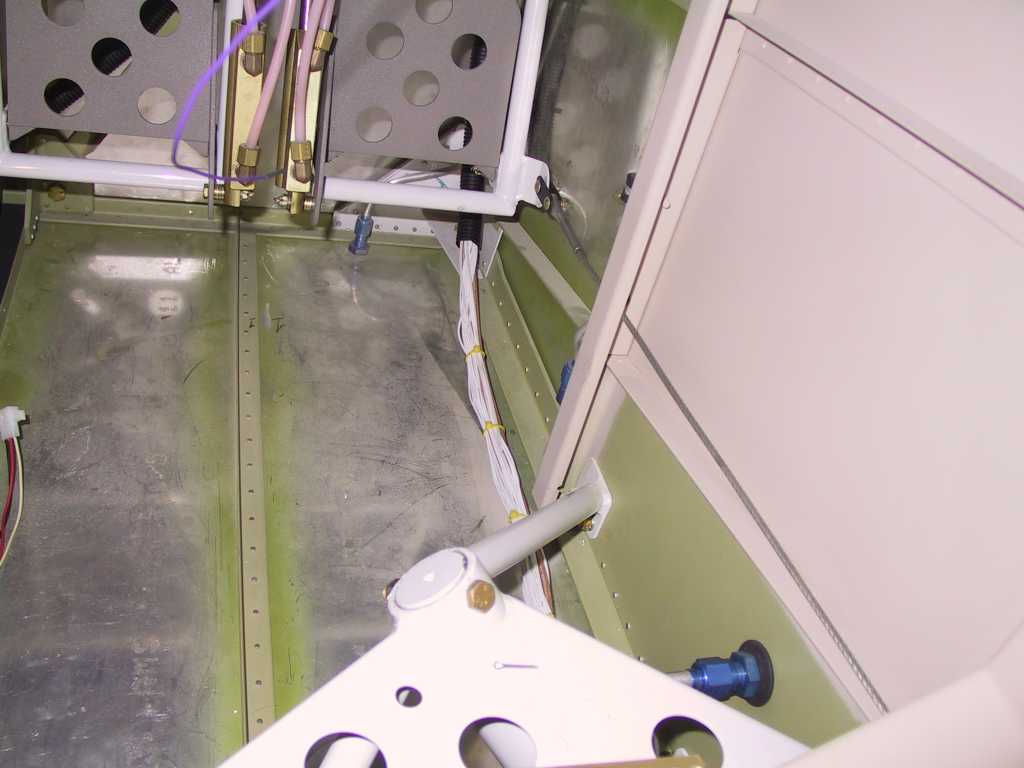
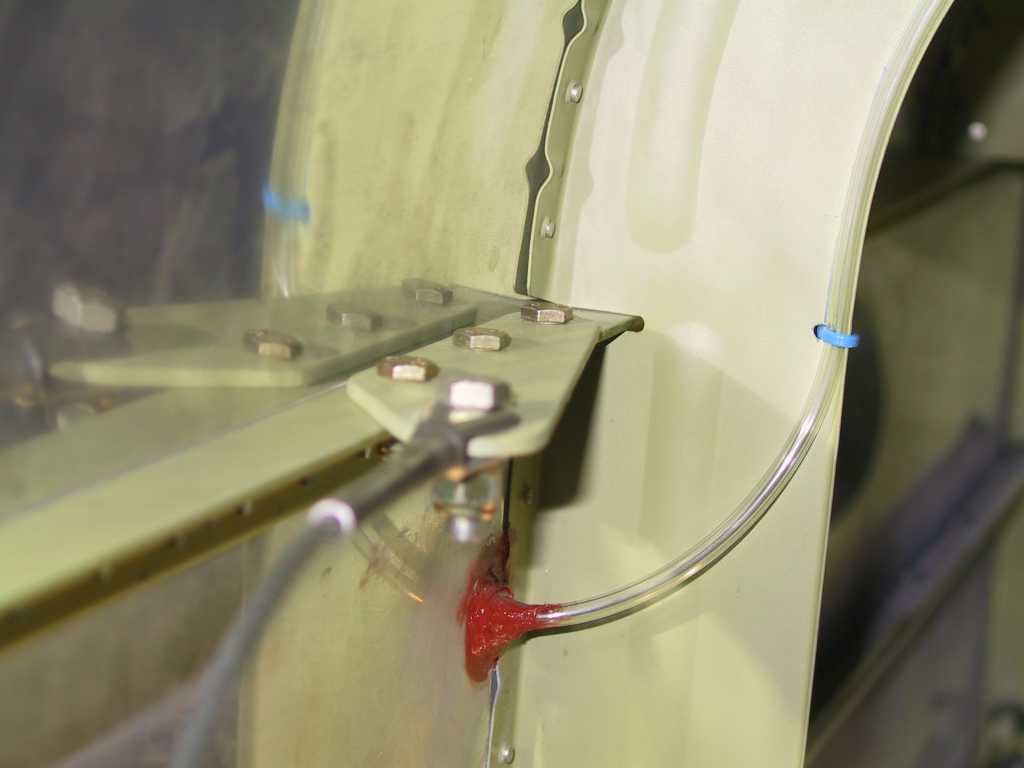
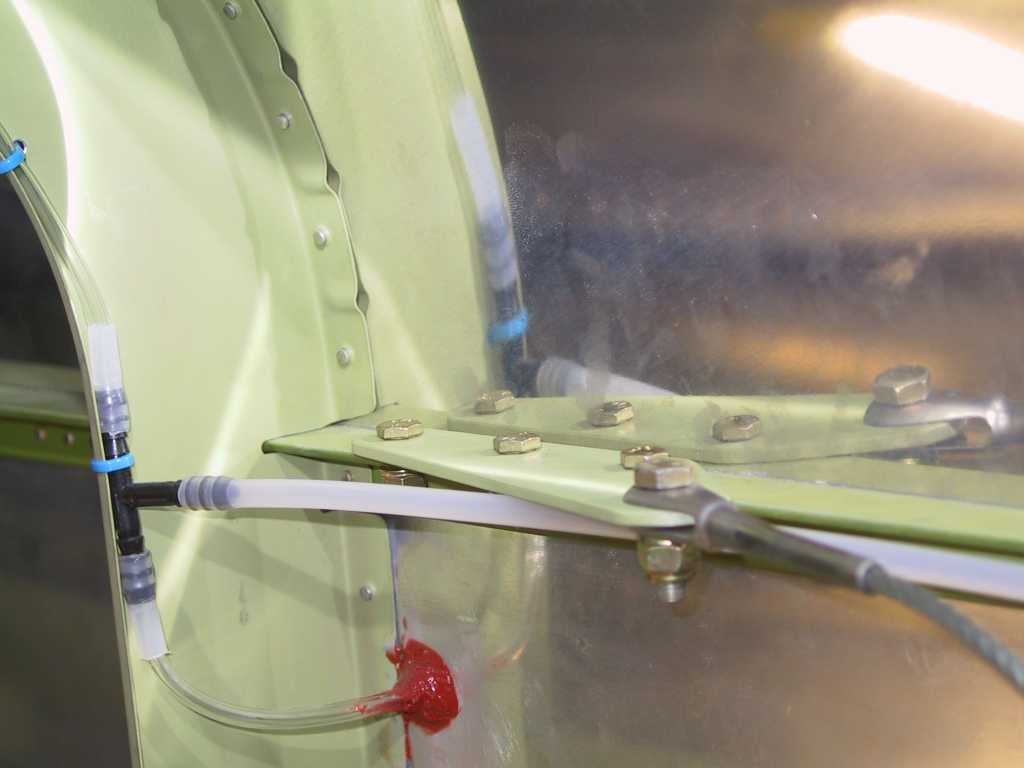
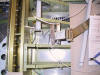
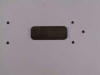
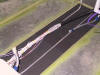
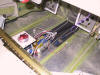
I purchased the 2mm thick sheets and cut them to width and
laid them along the floor under the brake and fuel lines. Even stuck one
piece between the shelf for the fuel pump and the lines running under it.
Should protect them from rubbing.
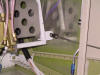
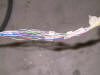
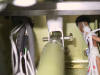
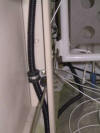
Also note, the only wires left to run on this plane are
the ..... Yep, done with wiring, just connect these laying here by the
pump and flowscan and call it game. I used a molex connector for the
flowscan in case it ever needs to come out but I'm just going to crimp the fuel
pump lines. You can also see at the top of the picture the AOA lines
covered in plastic sheathing.
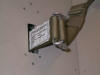
Want to know something that's really weird when you are
building? Sometimes the first things you made are the last to install,
case in point, electric trim. Done.
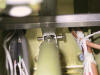
Shot of the right hand set of wires coming aft. I'll
cover these as well later.
Then I spent the remainder of the day checking out why my
switch for the A/P doesn't work in the GPS mode. It works in the EFIS mode
though. So some data is not making it's way. I think I have it
sorted out though. It became apparent that the GNS430 *cannot* output the
same type of data (Aviation) on two RS232 channels at the same time. It
just won't let me set it up that way. Unfortunately I thought I could when
wiring and utilized the second RS232 output for the switch. Fortunately, I
have the original pigtail just sitting there waiting for me to use.
TIP. When wiring the 430, or any other piece of
equipment in the plane, wire ALL available input and outputs, because "you never
know....". I'm glad I did. |
| 3/21/05 |
Not much on the plane but I was able to get Dick
Woods (past president of EAA chapter 96) and his lovely wife started on their
website tonight. When they get it going I'll post the link. |
|
3/22/05 |
Darn it, it's raining again in sunny southern
California. It was blowing so hard I had to shut my garage door, basically
putting an end to tonight's labor on the plane.
After doing my taxes (that's a whole nuther page) I sanded the
crap out of the lower cowl but I decided that another slathering of micro
baloons was necessary. Here you can see how the smooth transition is
shaping up.
Then just going straight through my short list I finally
decided that I would use the fiberglass oil door and only put one stip of bent
aluminum to keep it rigid. JB Welded it into place and will squeeze some
rivets on it tomorrow. I'm calling this, done.
  |
|
3/23/05 |
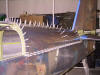
David dropped by today to help out with a few
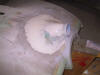
more rivets in the tail area. I got some pillows and soft blankets and
stuck them in the back, propped up the rear of the plane and dove in. It's
pretty unbelievable how sturdy the floors are back there. Almost
completely riveted. Thanks David.
After that I mounted the shoulder harness braces and cables.
I put some twine through the forward attach points of the harness cables so I
can "grab" them when the baggage bulkhead is mounted. Gotta think ahead...
Oil door got riveted on too.
Worked on the aileron trim. First I sanded and painted
the steel couplers. When the controls are full left and full forward and
the trim is full left you need about 1.25 inches of .041 wire to connect the
motor tab and the spring. I wonder if I can use something other than the
wire. It's such a short distance and bending that wire is killer on your
fingers. You don't want to use needle nose pliers because you don't want
any nicks on the wire. hmmmmm
Oh yeah, spoke to Vans yesterday about the rudder cable
misalignment. Guess what they said, "Don't worry about it, that cable
isn't going to cut through the bushing, and just bend the backside of the
bulkhead outwards a bit so it doesn't touch the cable." In other words,
"Move on Dude." |
|
3/24/05 |
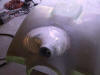
Finally, I think I'm satisfied with the shape of
the snout. I'm not going to lay another slather on this unless pigs fly,
and they better do it quick.
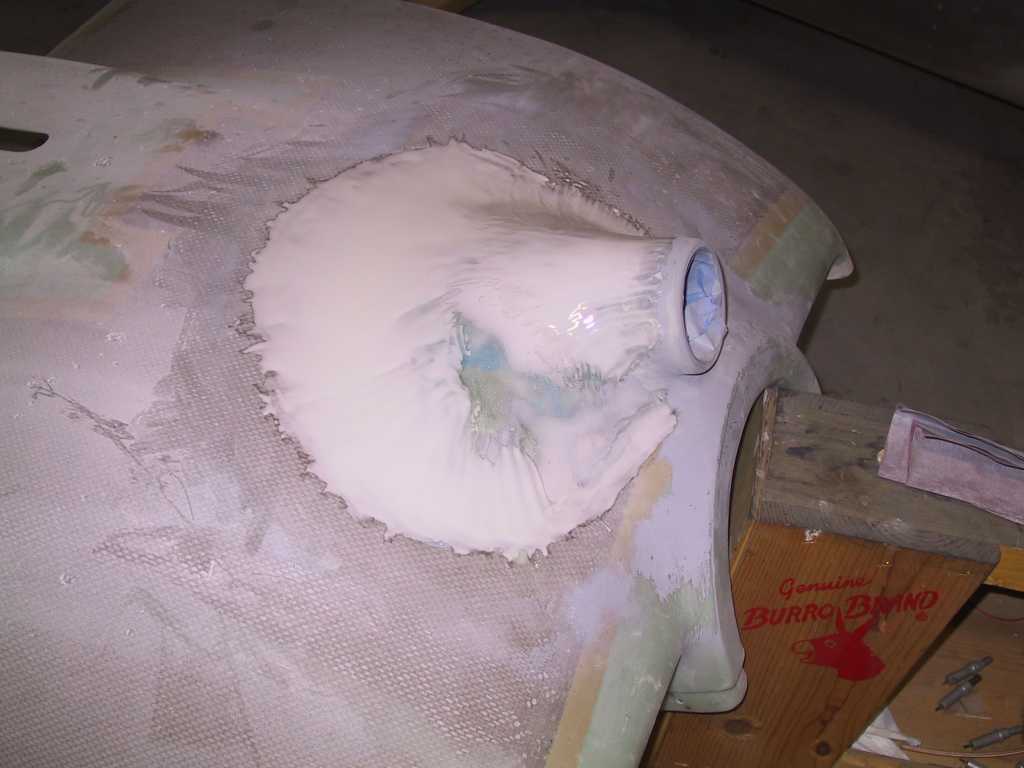
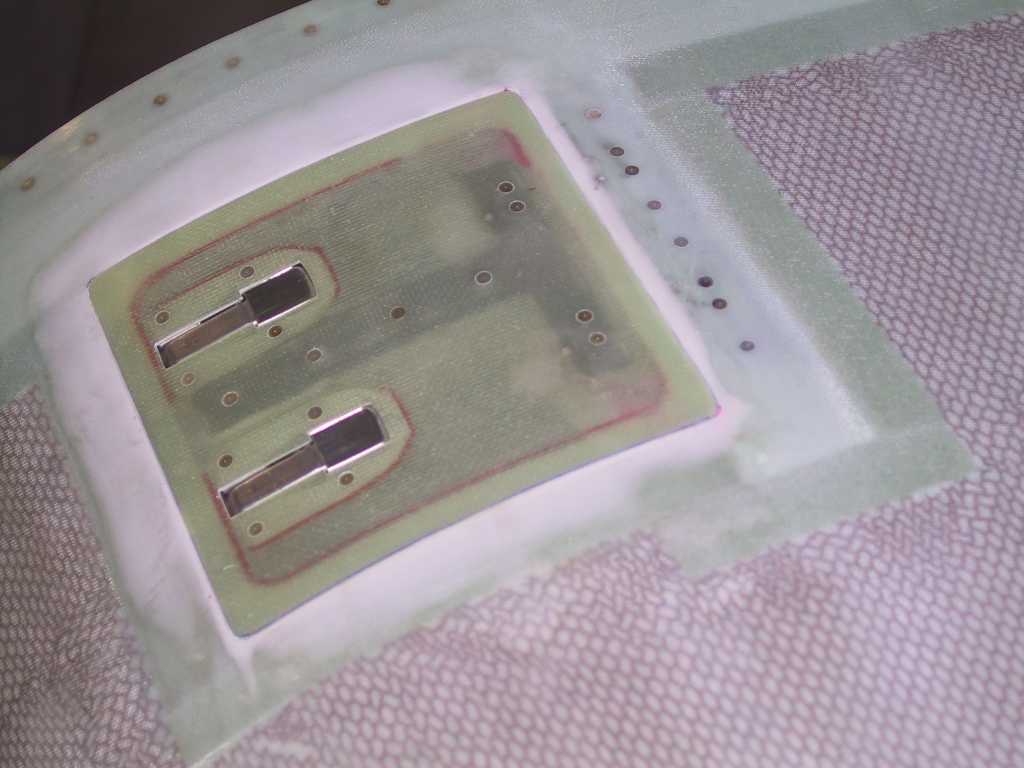
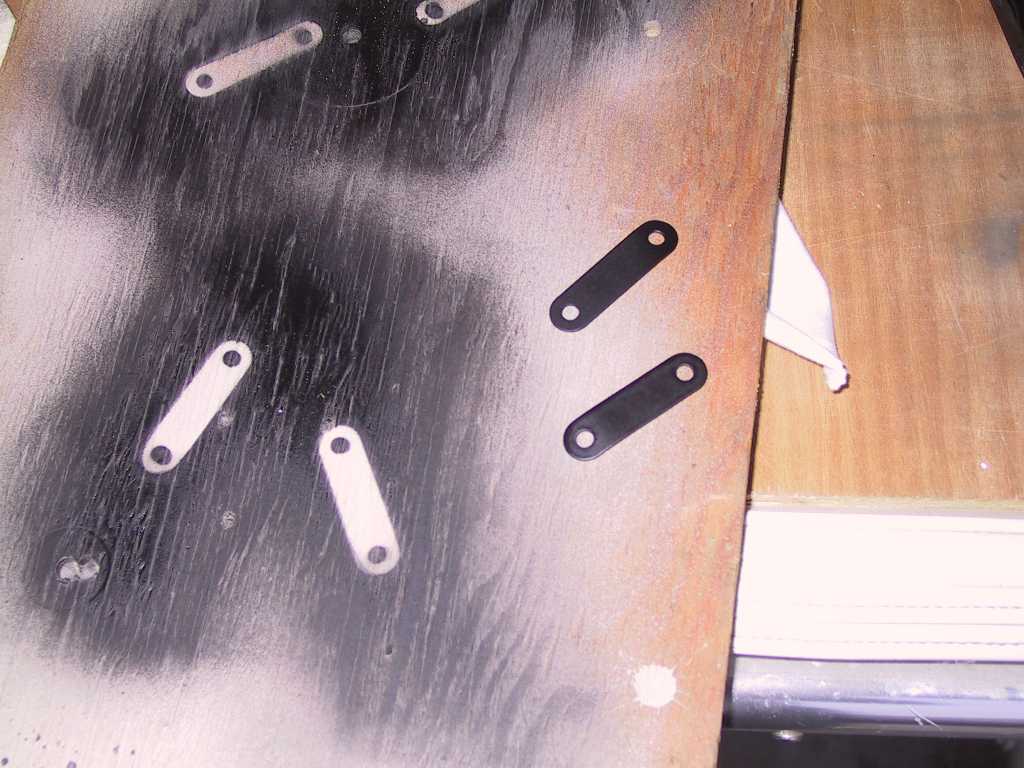
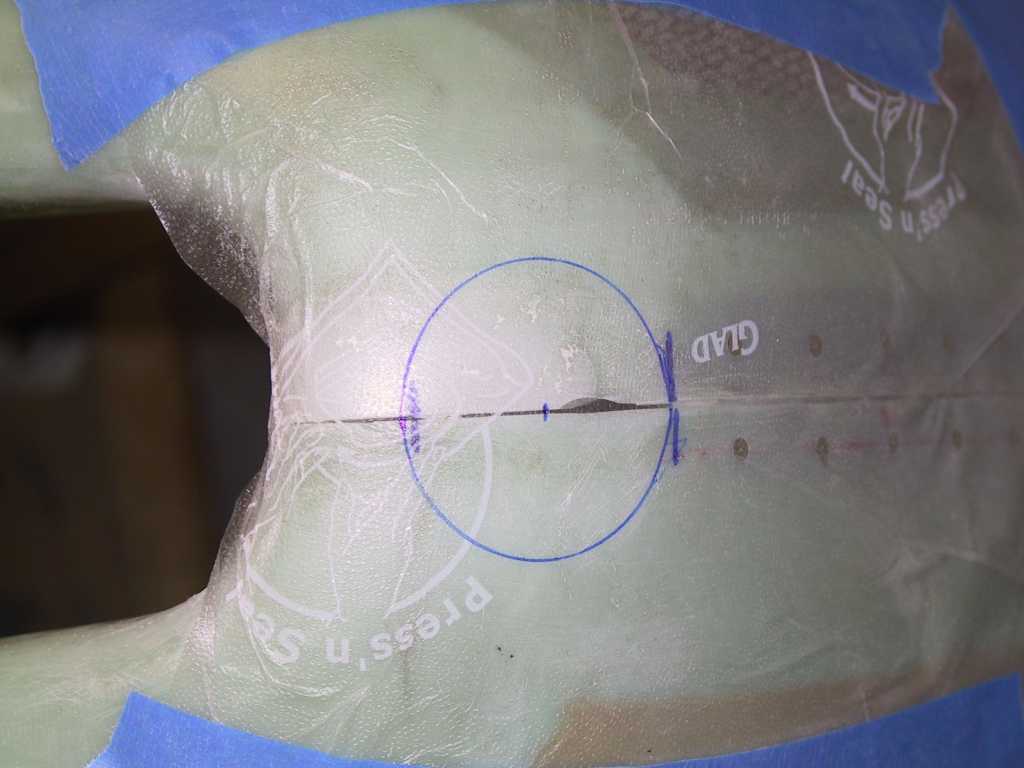
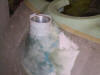
After weeks of thinking about how I want to secure the cowl
hinge pins I've decided to screw a round plate flush with the cowl skin.
I'm going to take two molds of the area I want to place the recessed covers; one
for the cover and one for a backing plate so I'll have something to put the
nutplates on. The backing plate will be bonded to the inside of the cowl.
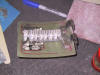
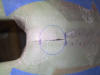
Here's the circle with some glad wrap stuck on the top to keep
it from sticking to the cowl.
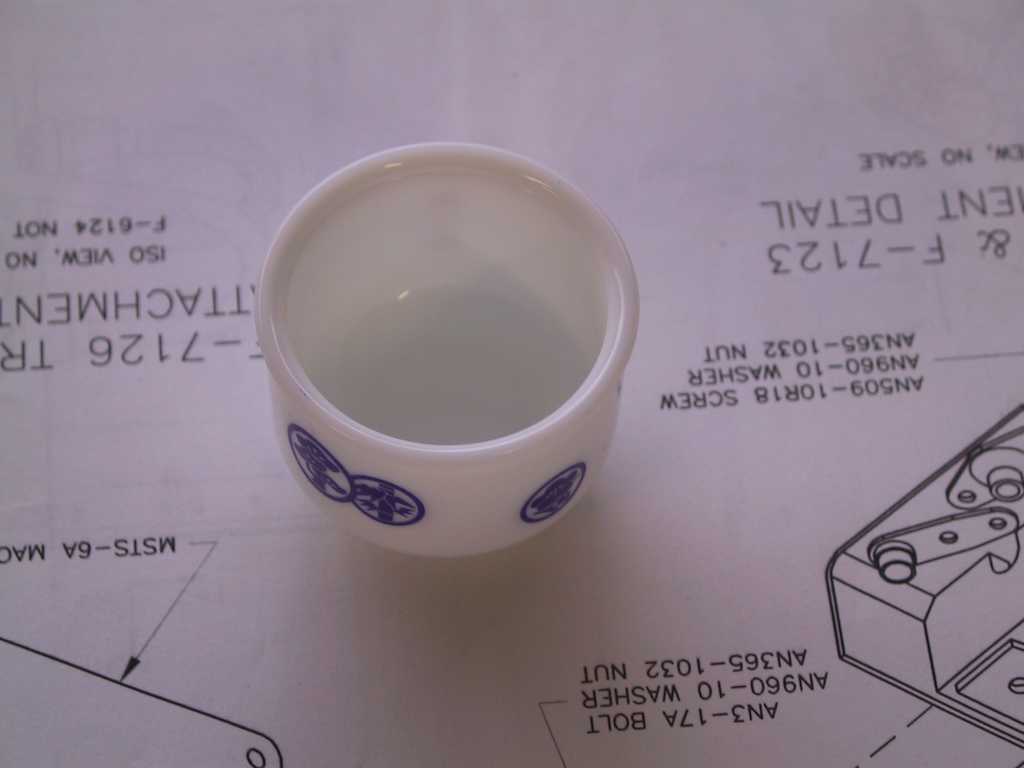
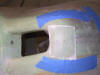
Here's three layers of BID covered with dacron.
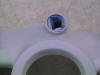
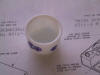
And here's what I used to draw the circles. Yep, it's a
Sake cup. Guess what I'm having later on...
 |
|