Home
Why an RV?
Choices
Search
Empennage
Empennage Attach
QB Wings
Bulkheads
Aft/Center Fuselage
Forward Fuselage
Cockpit 1
Cockpit 2
Cockpit 3
Tip up Canopy 1
Tip up Canopy 2
Tip up Canopy 3
Avionics/Panel 1
Avionics/Panel 2
Avionics/Panel 3
Avionics/Panel 4
Firewall
Tricycle Gear
Engine/Prop 1
Engine/Prop 2
Cowling 1
Cowling 2
Baffling
Ram Air
Last 10 Percent
Last 5 Percent
Last 3 Percent
Last 1 Percent
Phase 1
Phase 1 pg. 2
Phase 2
P-Mag Install
Videos
EFIS Flight Logs
Tips & Mods
Links
Fine Living
Avionics Manuals
N447RV Documents
Helpful Builder Docs
FAA Documents
Contact Information

The Boo

Engine/Prop 1

9/21/03 Started thinking about which engine I want in the sucka.  Definitely 200hp and I don't really want any RPM limitations.  That and I have to have a CS prop.  My last airplane had a CS prop and the advantages FAR outweigh the disadvantages.  The Van's documentation describe in detail the advantages and disadvantages.  I'm willing to go in the hole a bit deeper for added performance.  After all, that's why I'm building and not buying.
1/31/04 Well it's official.  I'll be ordering my engine from Penn Yan on Monday.  I'll be going with their experimental, standard compression IO-360 with LASAR ignition, CS and cerminil cylinders.  I may have them do an extra hour on the bench for break in.  Not sure about that yet.  I like the fact that their price was less than all other Lycosaur look-alikes and that they did dynamic balancing on internal components.  Looks like 4-5 week lead-time.  I won't need it that fast but it sure will be cool to look at in the garage/hangar.
4/21/04 Yes, it's here.  What a thing of beauty.  From Penn Yan Aero; here's the specs:  IO-360 experimental, cerminil cylinders, forward facing sump, LASAR ignition, lightweight starter, standard compression (180 hp.) and already run for 1.5 hrs on test bench.  I can't tell you how pleased I've been so far with Penn Yan.  Firstly, their engines are dynamically balanced!  That's a HUGE plus.  And their experimental warrantee is better than any other builder I can find.  And the whole thing was under $24K.  Packaging was very good.  I thought about leaving the plastic off as I won't be mounting this for a month or so, but I couldn't wait.

On another note, every part of the plane is here.  No more big pieces to buy.  Now it just like an erector set.  Avionics: here.  All kit parts: here.  Engine: here.  The only thing missing is the prop and I could have that now but I'm waiting for WhirlWind to sell me the WW 151RV instead of the WW 200RV.  I think the 3 bladed props are just Too Damn Sexy.

And while I have typing fever, let me say Hi to Jay Zuckerman who came over today to have a look at a kit in progress.  He's got a QB on order.  Looks like he's raring to go.  Good Luck and I'm gonna take you up on your offer to come to Utah!

5/29/04 I realized today that I don't know squat about airplane engines so I started looking around for Lycoming manuals.  I need to get one.  Penn Yan doesn't provide an operators manual with their engines.  I find that very strange.

Today, I got my third inspection by Dave Bristol.  He swung by around noon and we looked over the plane and then shot the bull for about an hour.  Dave's a hell of a nice guy and his advice and recommendations are very valuable.  Thanks Dave.  Oh, no squawks to speak of.

6/3/04 I never made a note of it before but about a month ago after talking with the good folks at Whirlwind I changed my mind about which prop to get.  Even though I really like the looks of the 3-bladed prop better I succumbed  and decided to get the WW-200RV.  Several reasons.  Number one is that they won't sell the WW-151RV to me because I have EI.  Oh well.  Today I got word that my prop will be ready next week on Friday, so I'll drive down there (2 hrs) and pick it up.  It's the last big piece of the airplane.  It's already paid for so I'm happy to get it.  It will look good sitting on the floor in my hangar/workshop/garage.
6/11/04 David decided to run down to SandyEggo with me to pick up the prop.  He hasn't made any firm decisions on props so it'll be neat to see the WhirlWind shop.  The drive down was smooth but the drive back up was a major drag.  Why do people still drive pieces of junk that might go up in smoke at any time?  Well at least there's one less piece of crap on the freeway.  The delay nixed my plans to head back to work.  Maybe I should thank that guy...

I was very impressed with the quality of the props WhirlWind Propellers makes.  These have got to be the lightest props I have ever felt.  Mine is absolutely beautiful.  Had a nice conversation with Jim and David was able to film some of their fabrications.  We also got to see one of their props which had just been subjected to a ground prop-strike.  Very impressive how it holds up.  I don't think a metal prop would have held up as well.  It would have at least been very unbalanced, trying to shake the motor from the mounts.  The composite prop, on the other hand, still looked like new except for a bit of abrasion on the tips and a couple of cracks along the chord line.  But it stayed together, and that's what counts.  This prop was off an Europa.  It couldn't have weighed more than 10 pounds!

Here's my new toy sitting on the garage floor.  I don't want to take the packaging off just yet.

6/13/04 I couldn't stand it any more.  I took the wrappings off one blade...

8/24/04 Really beginning to get the engine ready now for mounting in 4 days.  Here I've mounted the oil output line fitting.  In my case this Penn Yan engine has the Oil filter mounted on about a 40 degree angle from TDC.  Of course Vans says to put a straight fitting here but there is no room.  I have to order a 45 degree fitting from AS tomorrow.

8/25/04 Placed the overflow fitting, input and output fittings on the engine driven fuel pump.  Just make sure you use Fuel Lube.

Next I mounted the prop governor and bracket.  I had/have some questions about this.  According to Vans there should be some mounting studs but there aren't.  According to Penn Yan I should just get some 5/16ths SAE bolts and stick them in.  I think I purchased 1 1/4 and 1 1/2 length bolts to see which fit better.  I went with the 1 1/4 grade 8 SAE bolts.  The little cable end fitting has the bolt shown in the wrong orientation in this picture according to the plans but it has better clearance this way...

8/27/04 I got the 45 degree fitting today from AS.  I had to remove the Safety wiring and Oil filter to get it into place.  You really need to be a magician when trying to snug these into place.  It's very hard to get a wrench in these tight spots.  I may go to HF tomorrow and get a set of crows feet box wrenches.

Now I had to Safety wire the oil filter back into place.  Well as it turns out I don't know squat about this so out comes the bible.  Here are a few snapshots in case you don't have one, shame on you.

Now I asked around and it seemed ok to just leave bolts to hold the prop governor in place, with split lock washers.  But I have a nagging feeling in the back of my neck.  So out came the bolts.  We drilled the SAE bolts and I put them back with Safety wire and split washers.  I feel much better.  It's probably overkill but you can bet your patootie I won't be worrying about those 4 bolts....

Time to get the engine ready to get mounted tomorrow.  We started moving the engine crate and hoist into place and then realized that the pallet was wider than the hoist is and we couldn't get the hoist mount point anywhere close to the hook on the engine.  A bit of "engine"-uity :) and we had it licked.  Propped the pallet a bit higher with 2x4s and slid the legs under the pallet.  Now it's ready to go tomorrow.  The firewall is as far as I can take it too.  I'm ready.

8/28/04 
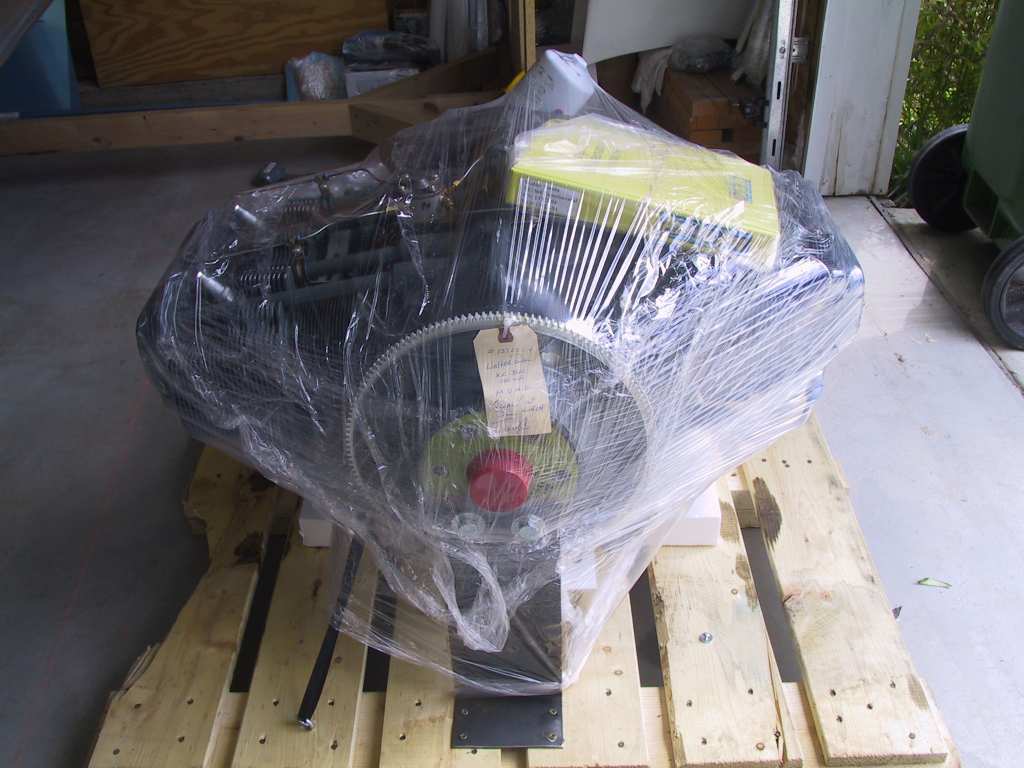
Well today is the day.  I woke up late, got the garage cleaned up a bit and did inventory of the parts to mount the engine.  
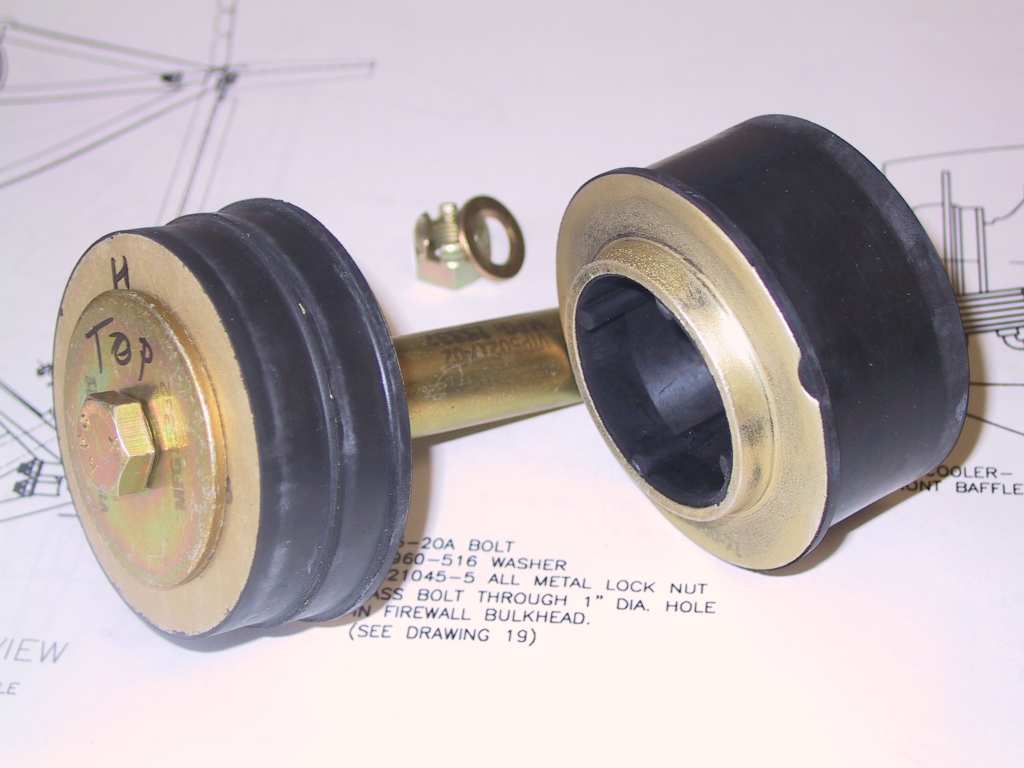
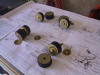
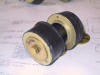
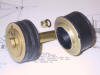
Vans Firewall Forward kit includes the mounts, nuts, washers and bolts to mount the engine.  There are two long bolts and two shorter bolts, the longer ones go on the bottom mounts as there is an extra washer against the engine frame.  Well I'm glad I inventoried them at 8am because the kit only contained 1 long bolt and 3 shorter ones.  I phoned Dan and he graciously said he would trek to AS and get a replacement bolt.  Man I owe you big time Dan!!!  Thanks 
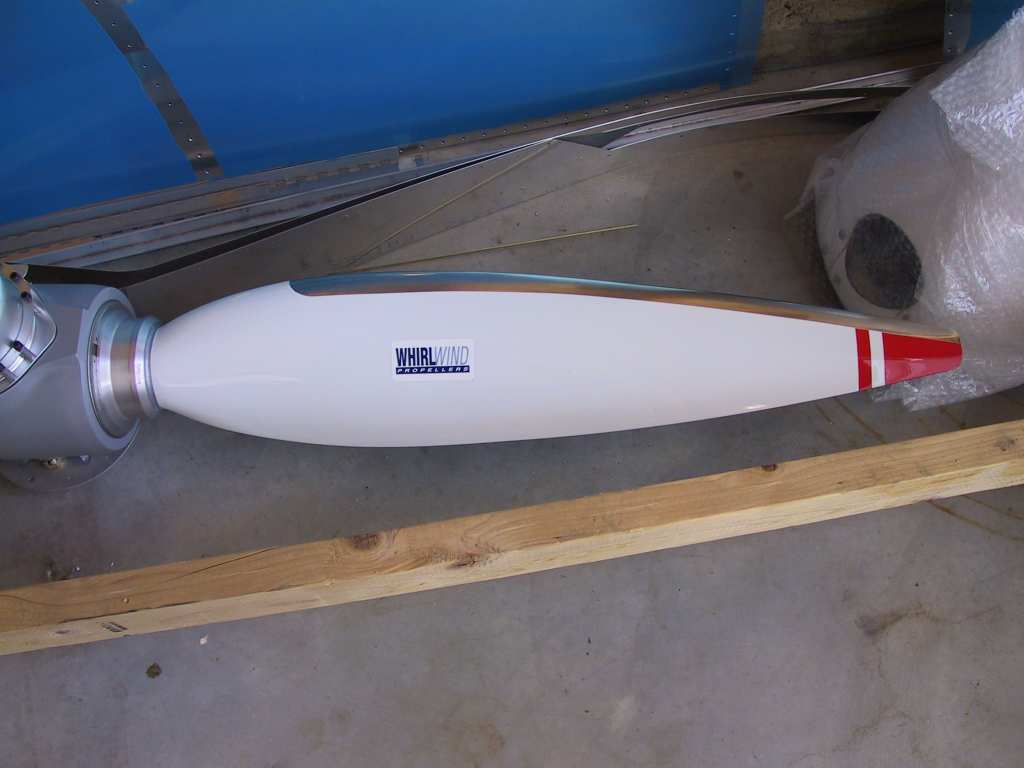
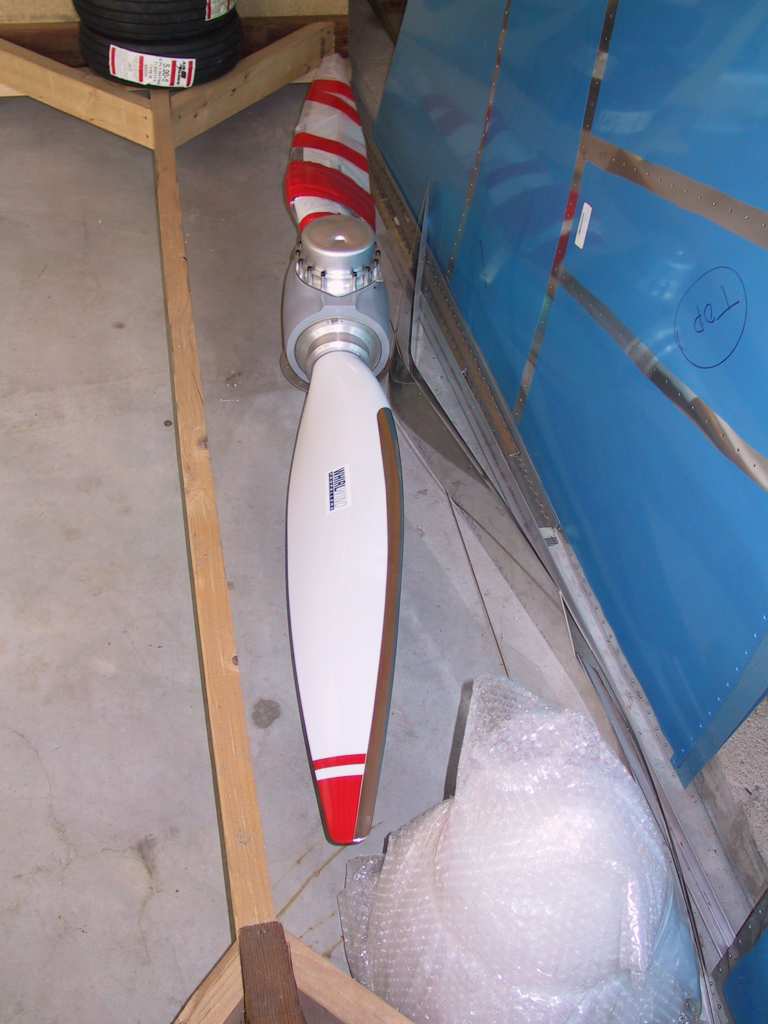
buddy.  The plans are pretty straight forward about which part of the 
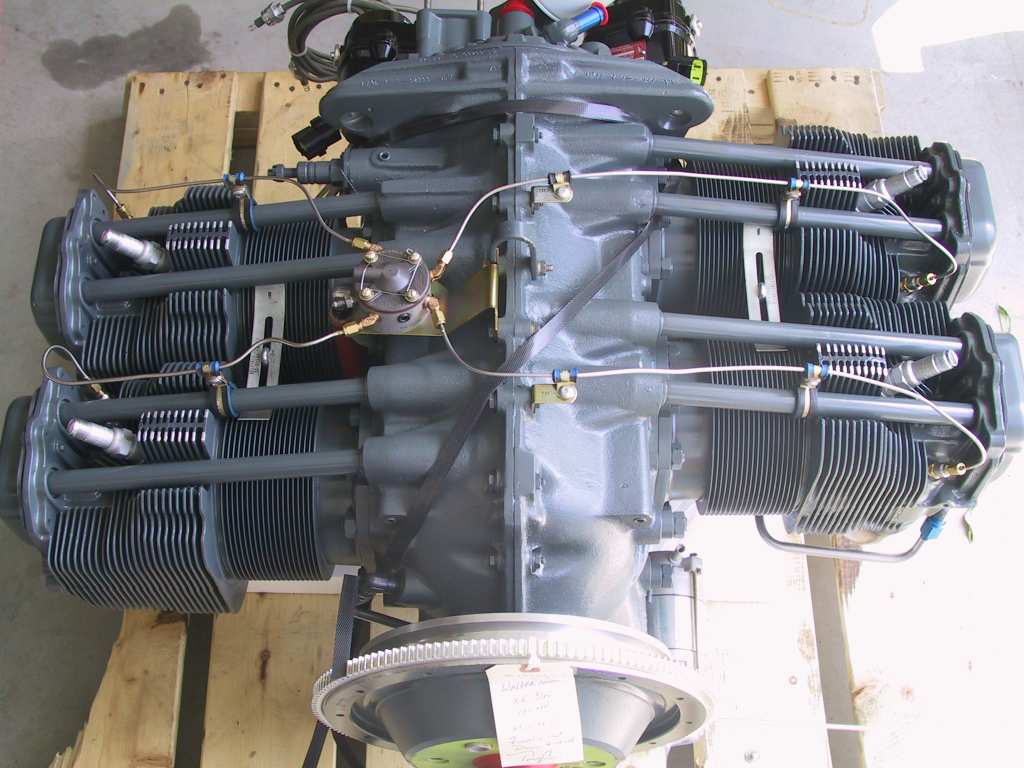
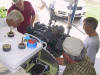
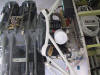
mount, hard or soft go where so I won't go into that here.  Here are some pics of the inventory process...  I've labeled them top and bottom.

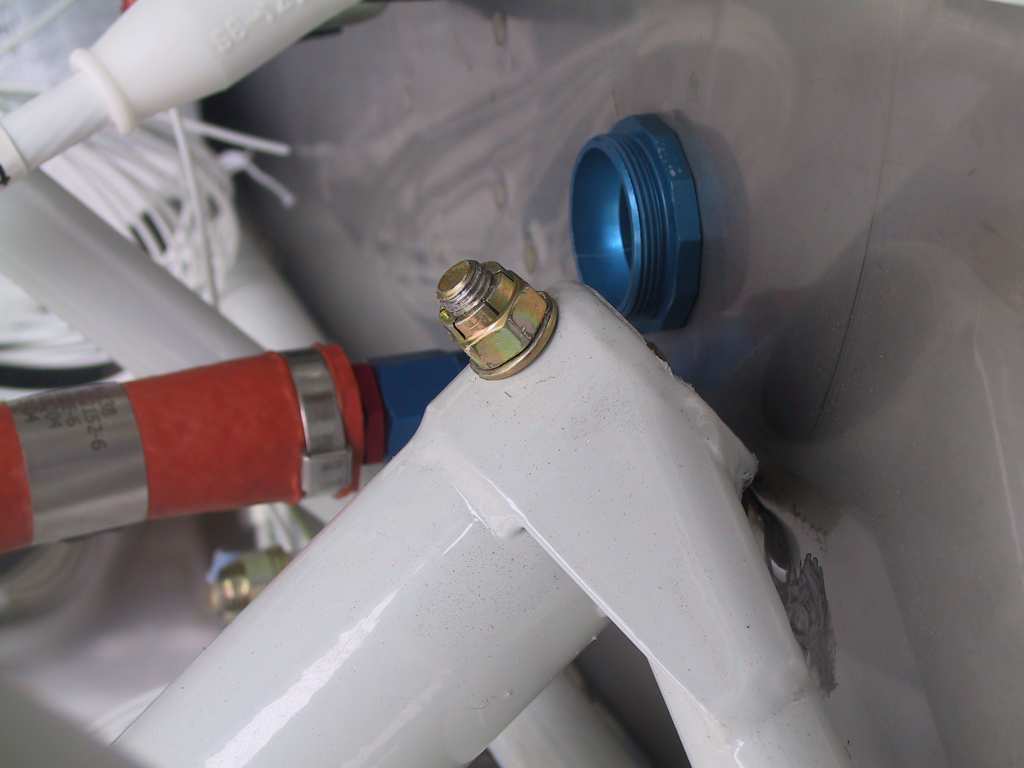
Just before everyone arrived Dad spotted an inconsistency.  I had a nylock nut on the nose gear mounting bolt, a no-no.  Removed the offending nut and replaced it with a all metal lock nut.  Thanks Pops!

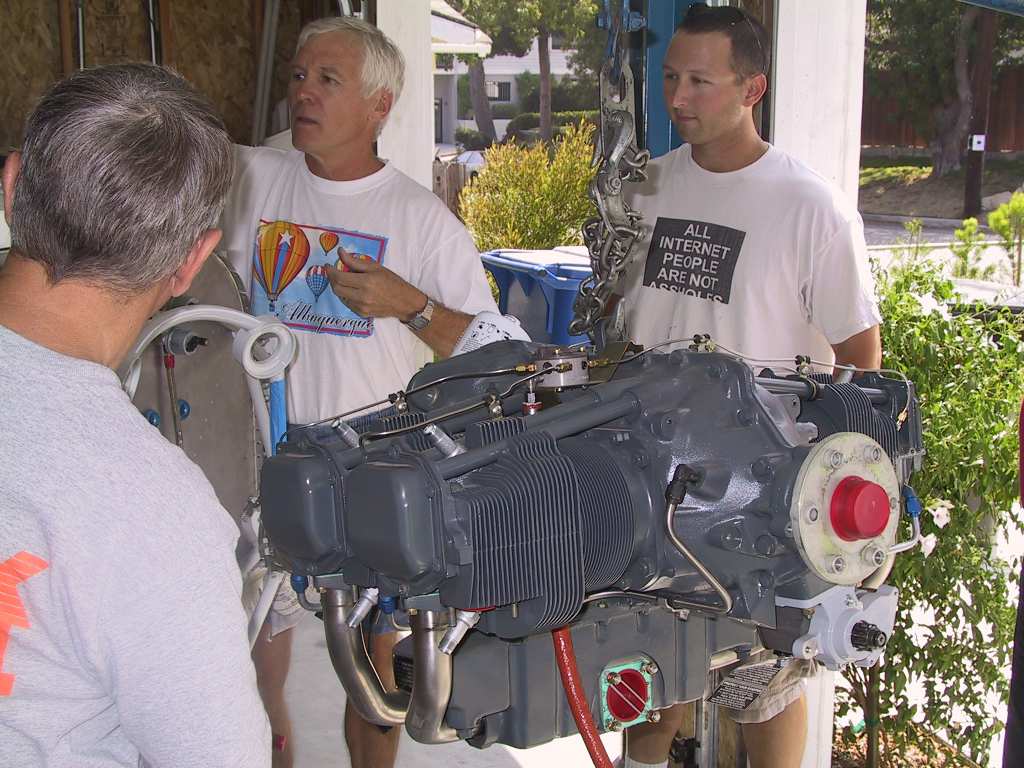
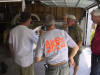
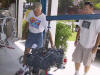
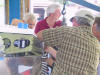
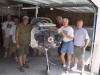
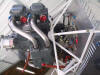
The crew started arriving and we had a good time looking over the engine and plane, bs'ing about airplanes and waiting for Dan to show with the new much-needed bolt.  I went to pick up Dan at Torrance early because I knew he would ask for the option, he always does, and it's a real joy to watch his plane fly.  He didn't disappoint.  What an airplane, and pilot.  Here are some of us doing a preliminary review of the engine and plane.

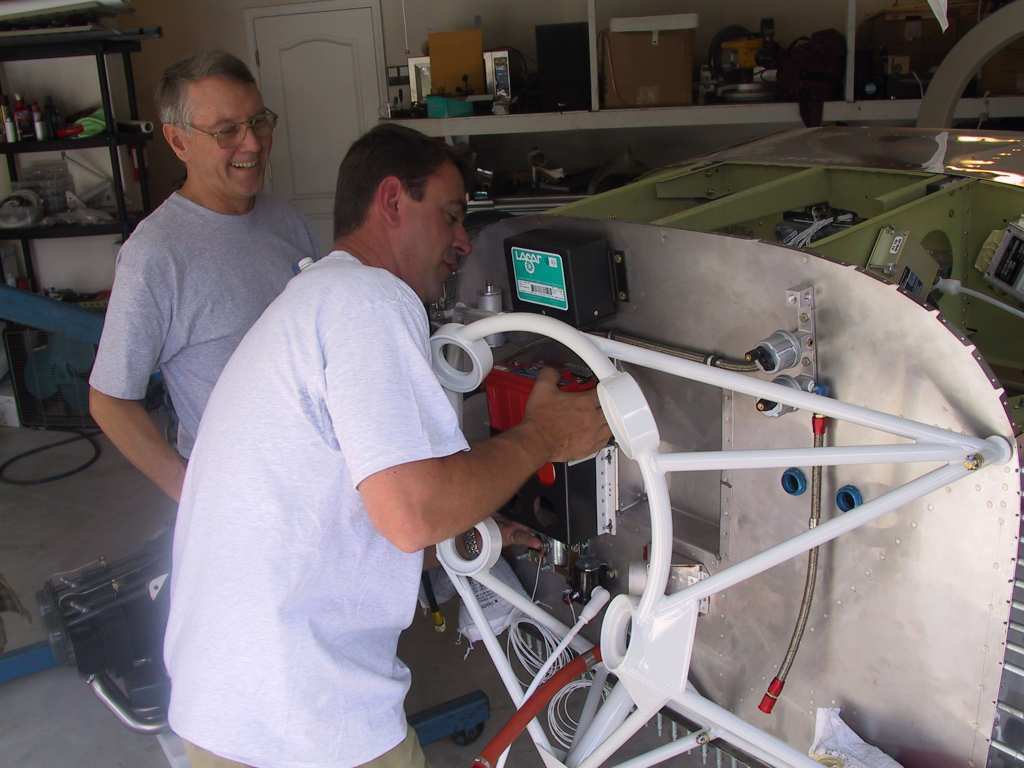
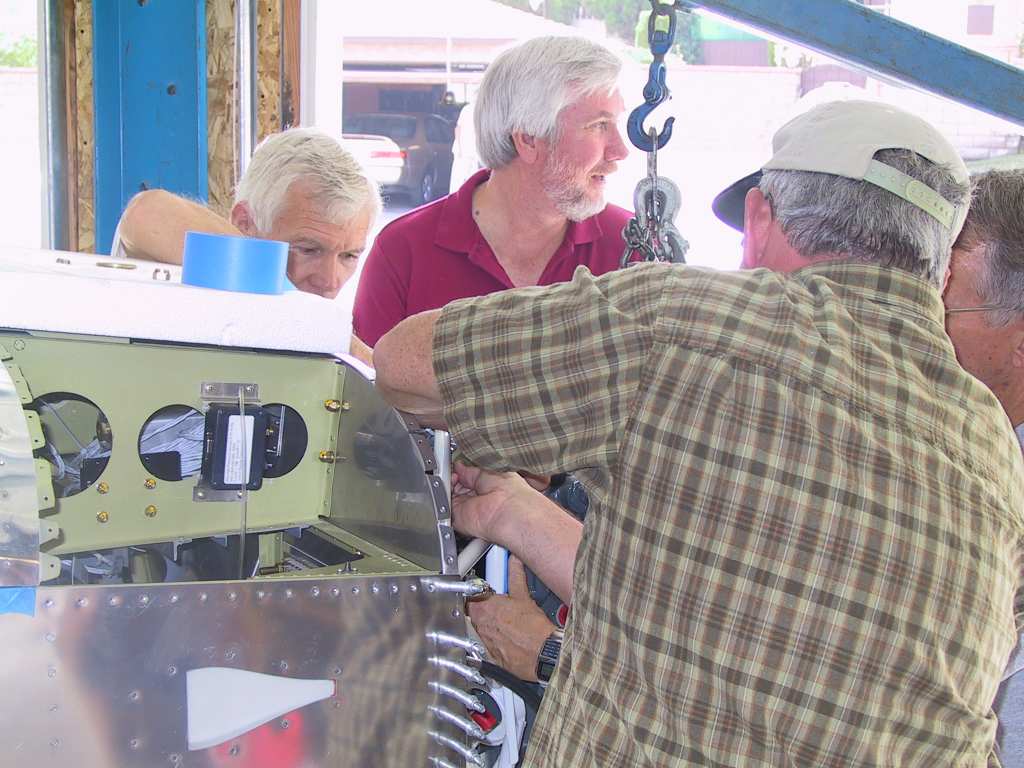
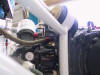
If you will remember, a while back Dan came over to do an EAA TC inspection.  He caught the fact that the ground tabs were in the way of the battery coming out.  You think I would have learned my lesson.  
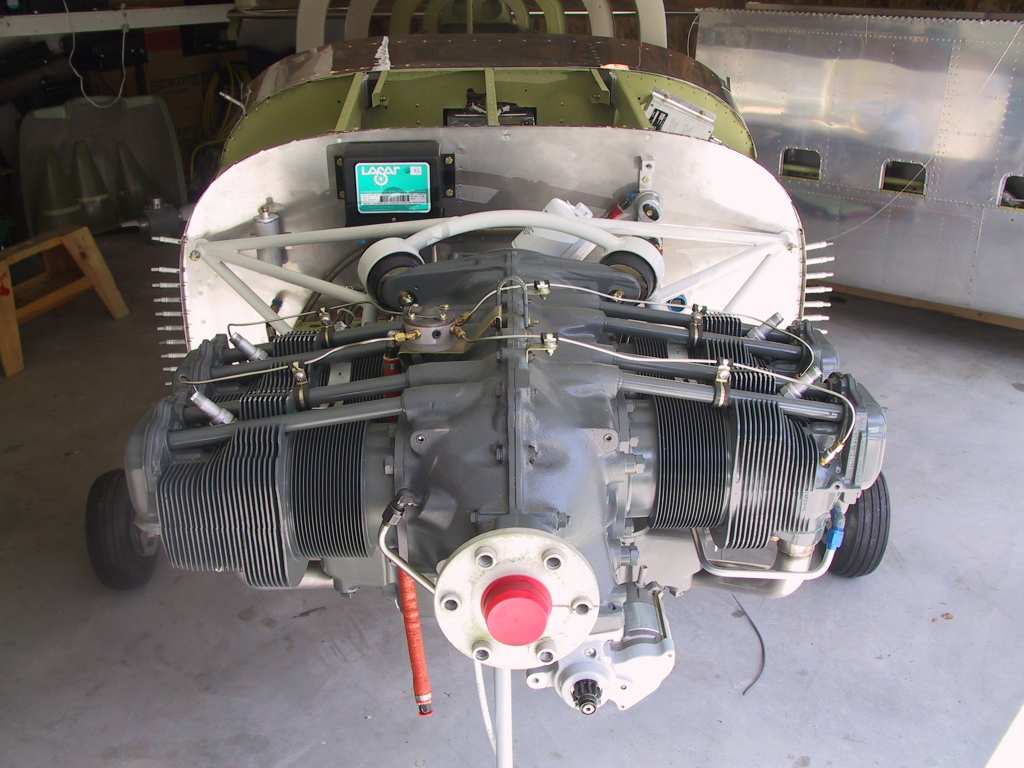
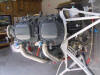
I placed the LASAR box in the way of the battery again.  I swore that I would be able to get the battery out for maintenance.  Here I am proving a point.  Luckily, it worked.  Hopefully it will work with all the wires in place.  I think it will.

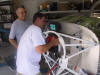
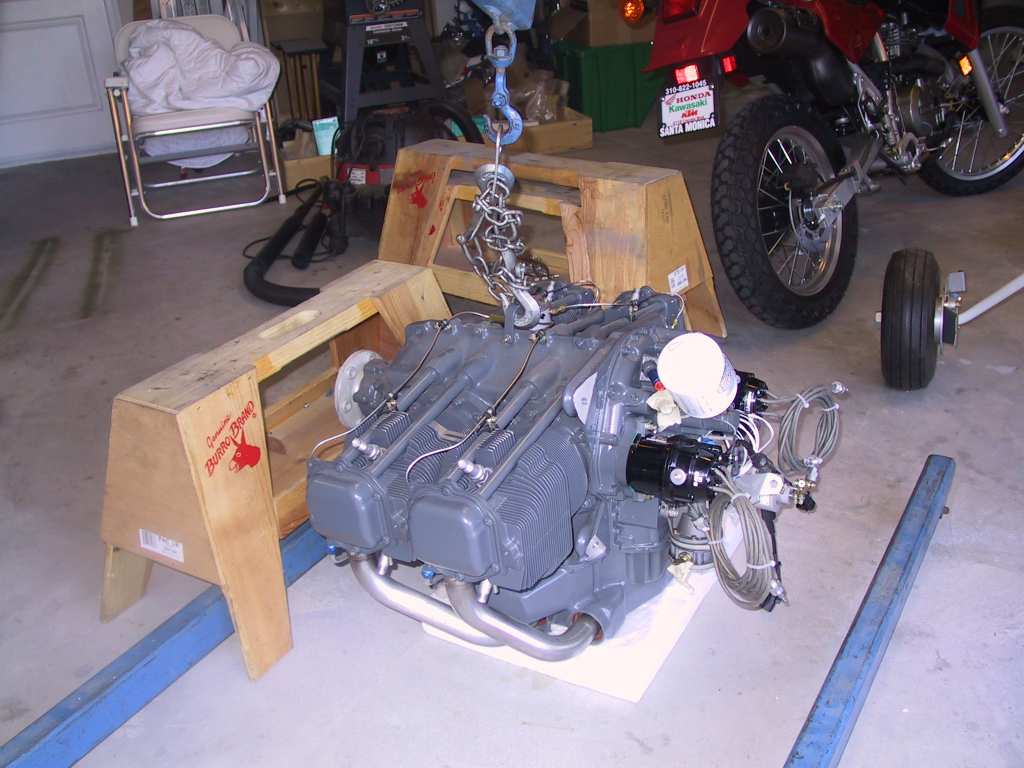
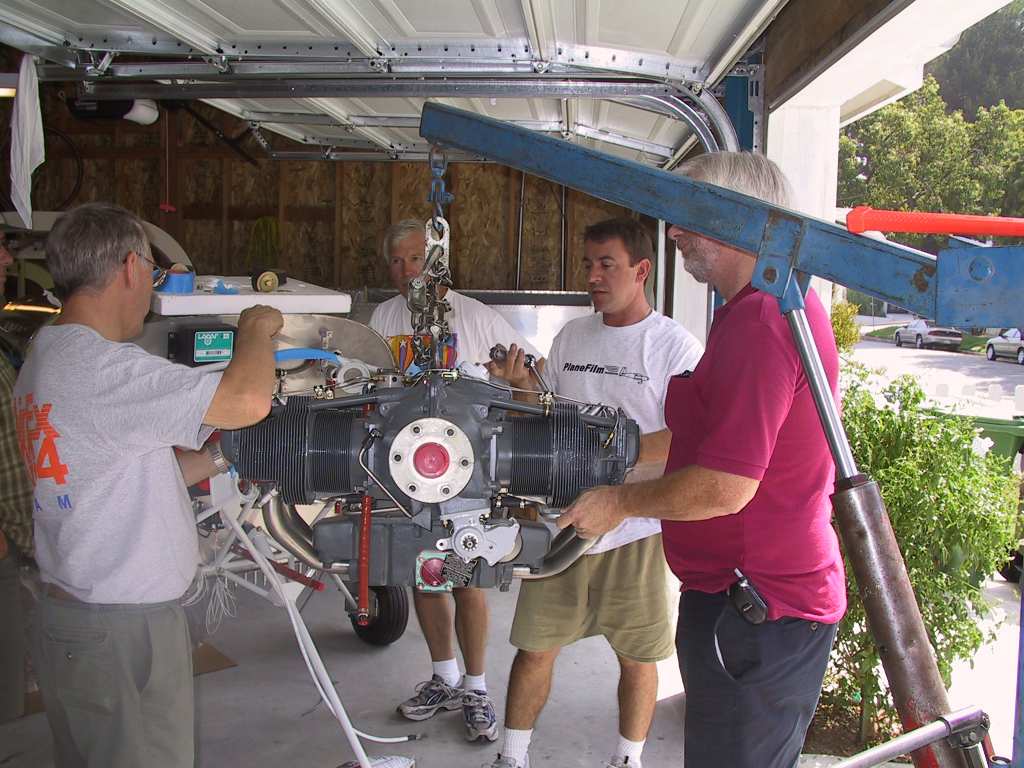
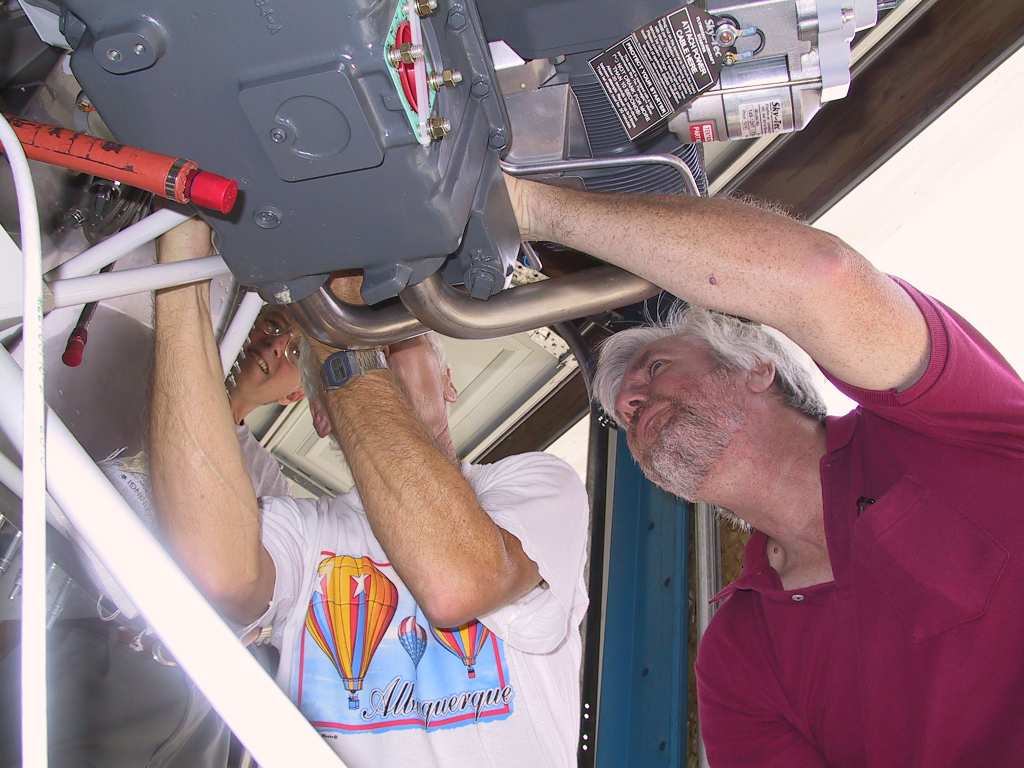
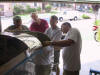
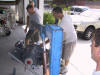
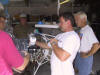
Ok new bolt in hand it's time to raise this puppy and get it on.  I was in command of the lift, and beers.  Everyone else pitched in to get it in place and bolted in.  Tireless bunch of guys.  I cannot thank you enough.  Starting to lift.

We had to remove the oil filter to get it to fit. 

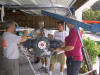
As it turns out, placing the top bolts in first is a tougher strategy than bottom bolts first.  I estimated 10 minutes to mount,  Dan said 5 minutes, it took about 45 after all was said and done.  We started trying to get the top bolts in first but sort of gave up and followed the Vans plans method (who does this?) and tried the bottom bolts first.  It's easier because the bottom bolts have an extra washer and holding it in place using the top bolt first method is tough.

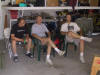
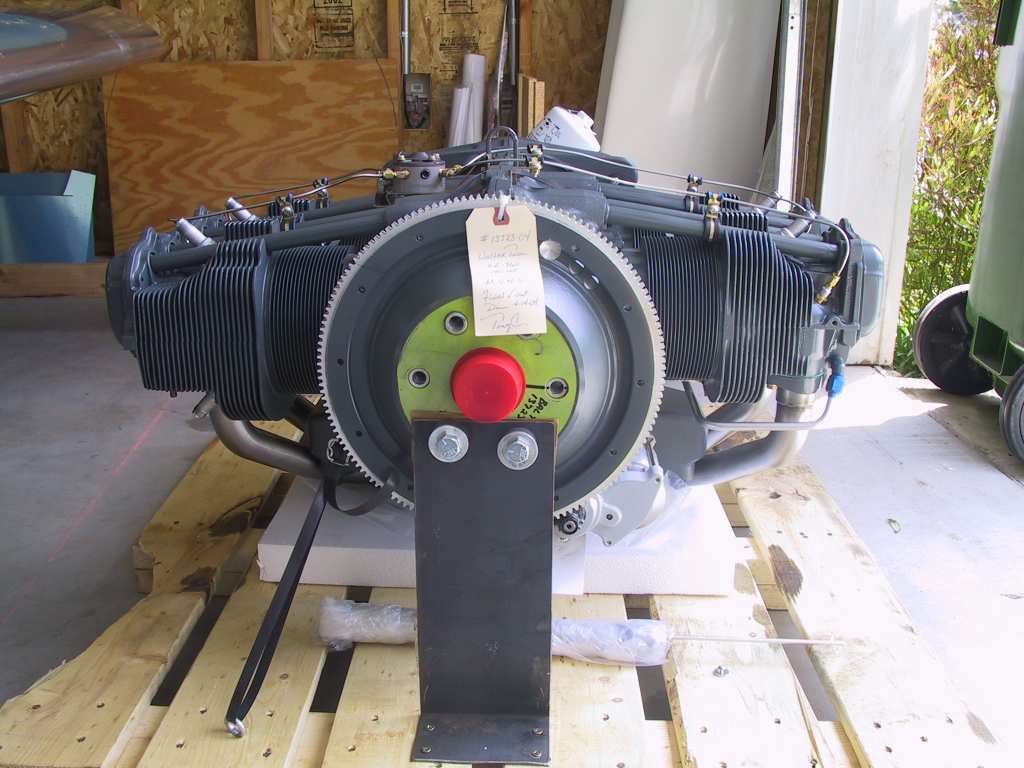
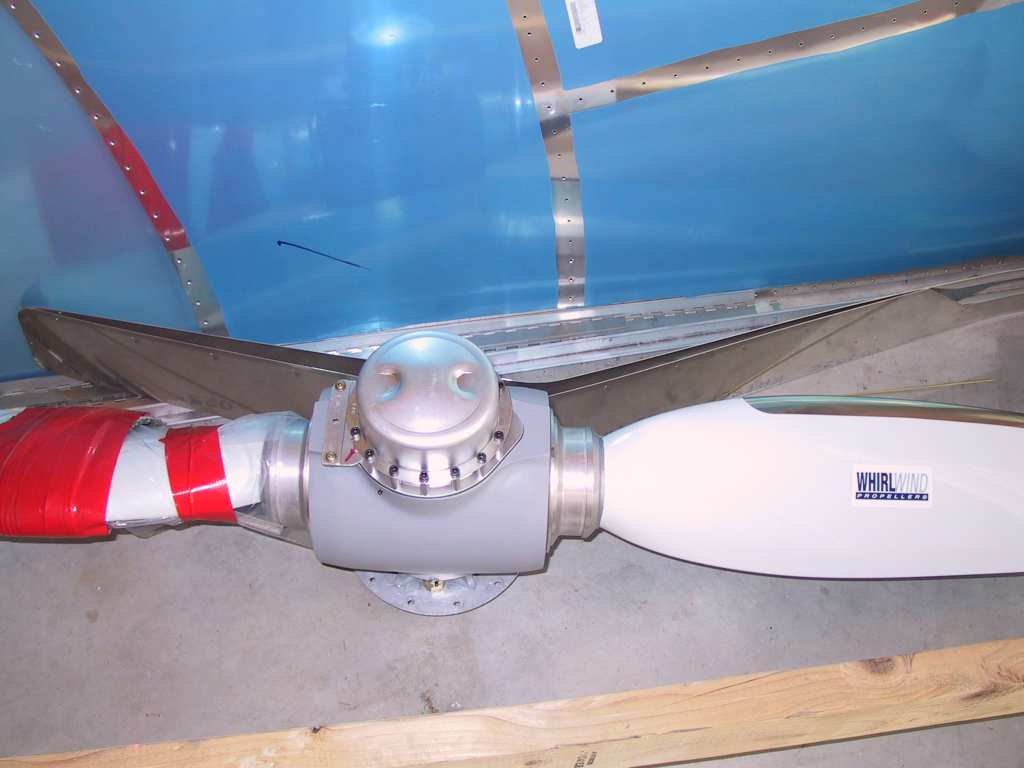
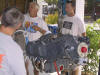
Shot of the crew.  I can't thank each and every one of you enough for helping me out today.  I'm so fortunate to know each of you.  What a day.  I guess now I can start calling it an airplane.  Thanks again!

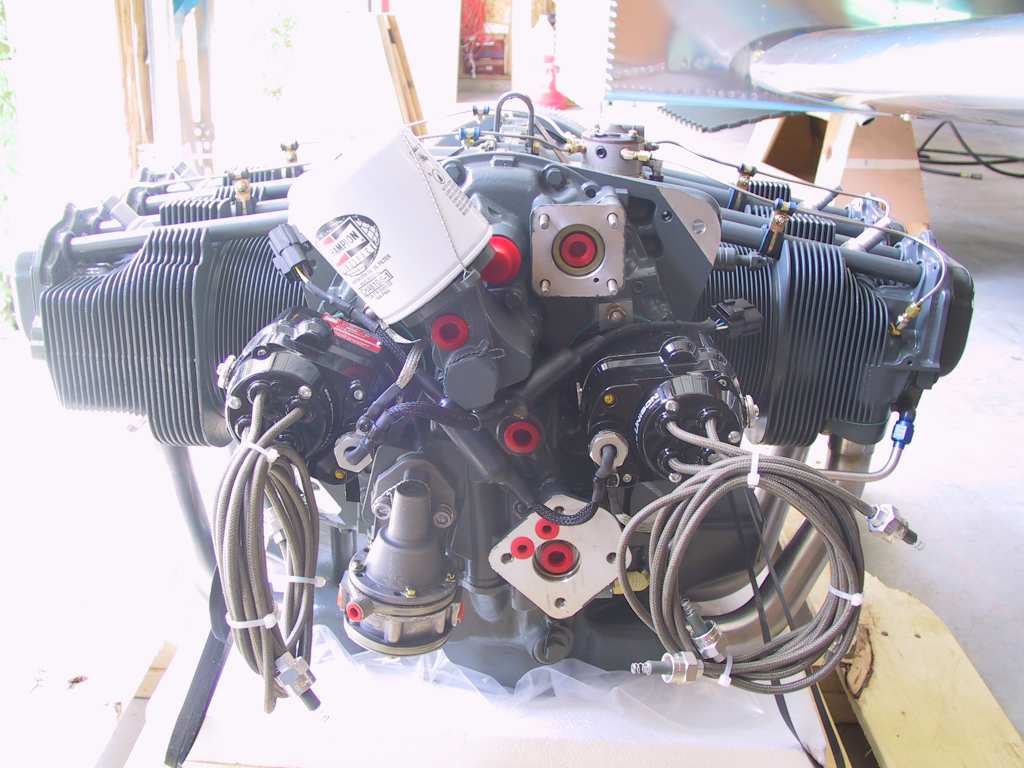
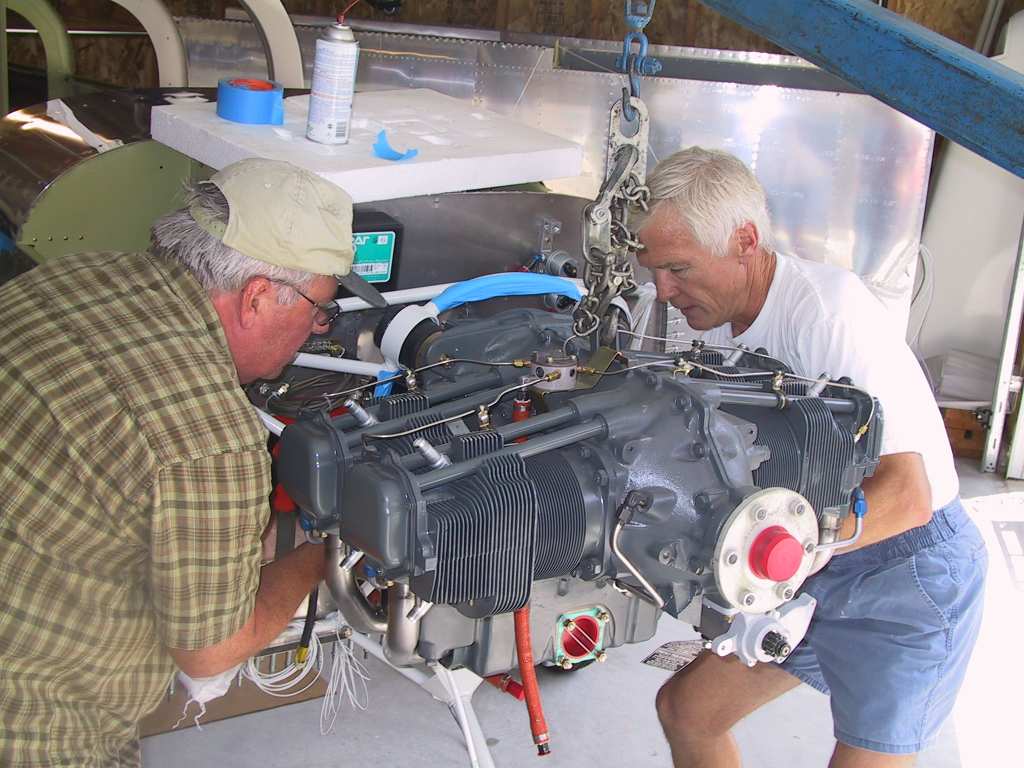
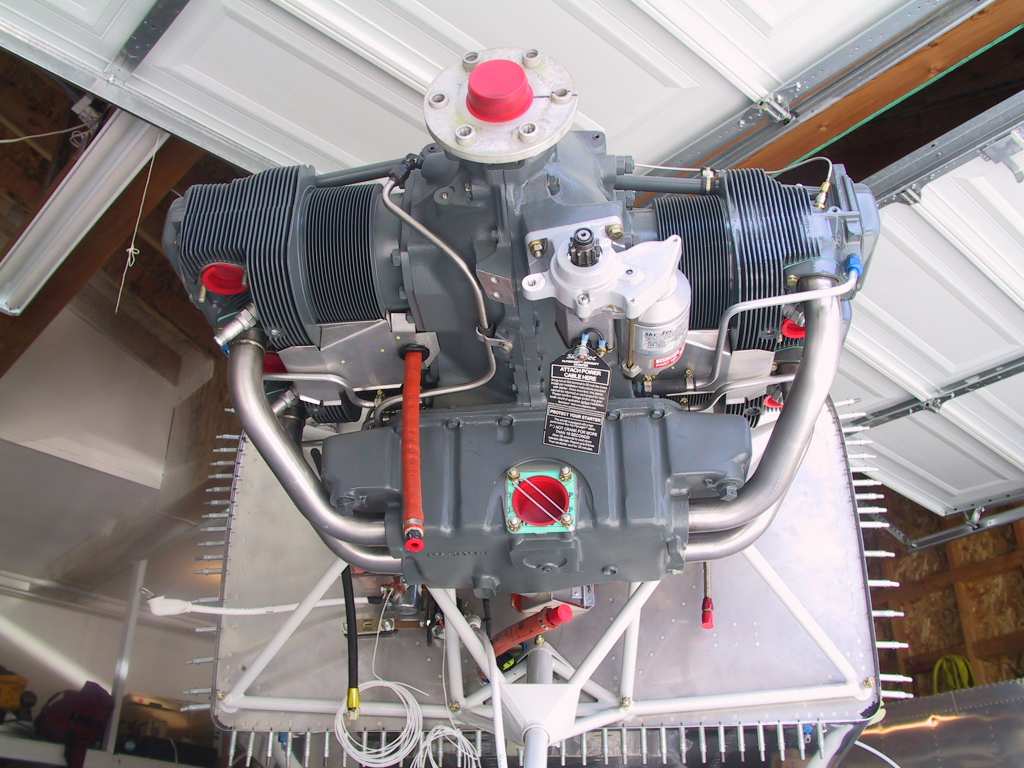
We munched on some burgers and dogs and beers later.  After everyone had left I couldn't let alone.  I had to do more.  Here are some post mortem shots.

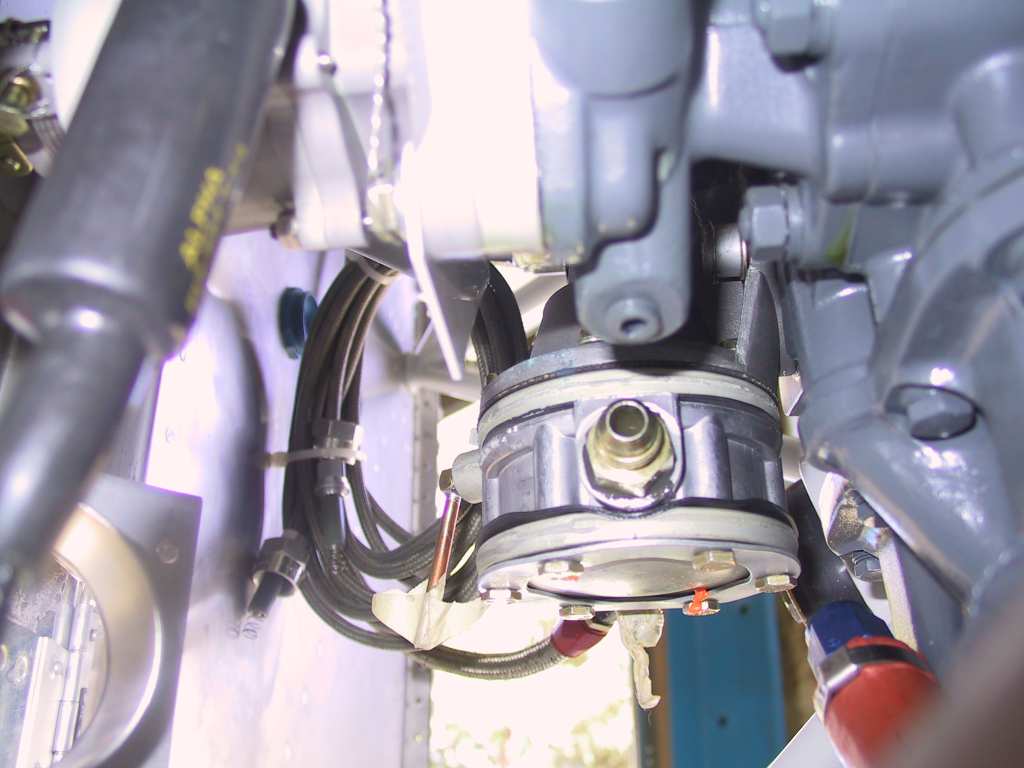
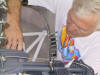
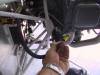
Fitting the oil pressure line.
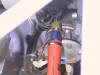
Fuel pressure line.

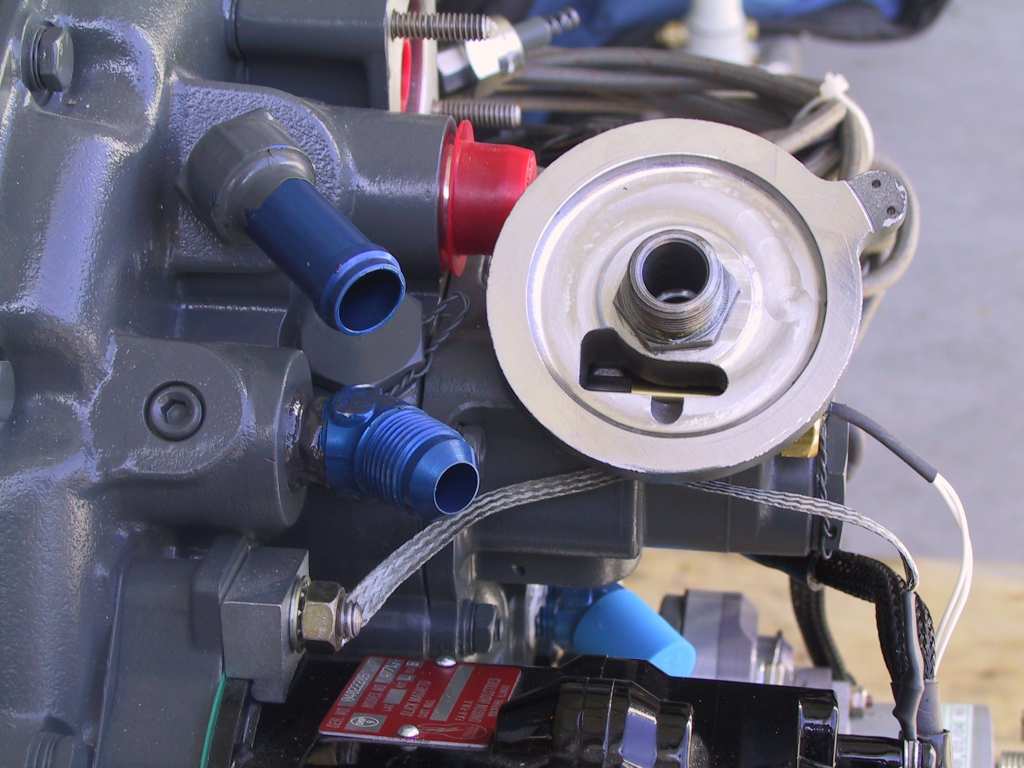
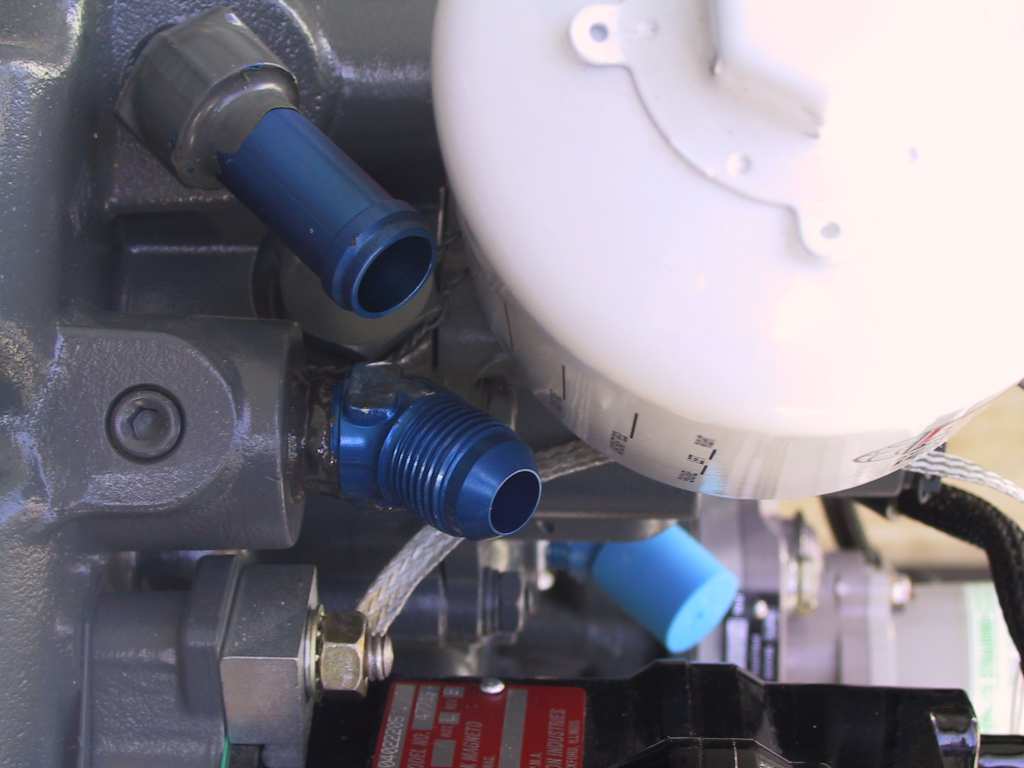
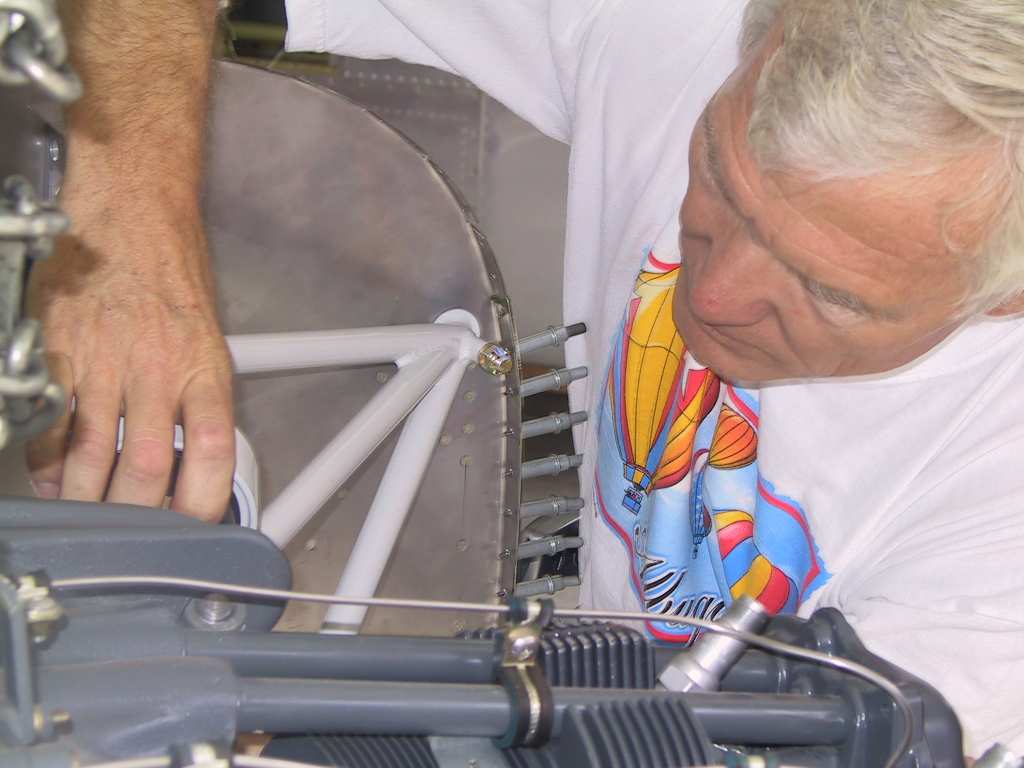
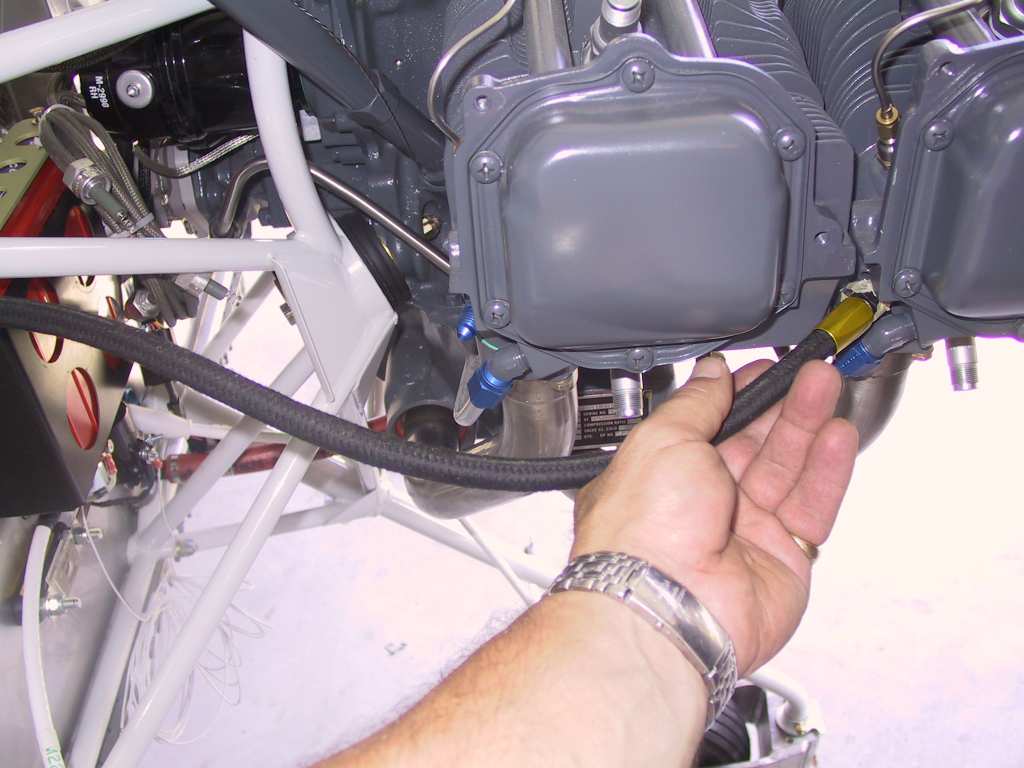
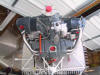
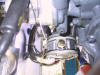
I have some questions about the manifold pressure line.  It's Way too long to go to the #3 cylinder but perfect for the #1.  Will the #1 cylinder work?  Is there some special reason why the #3 is always chosen???  #3 is the left picture (bad) and #1 is right picture.

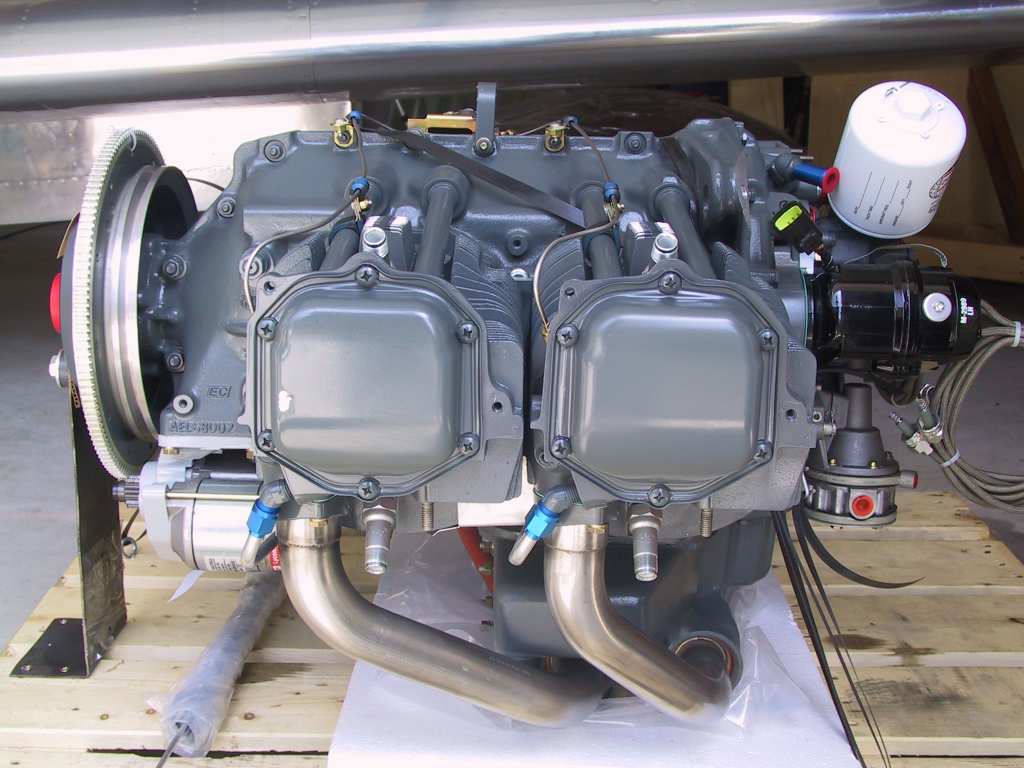
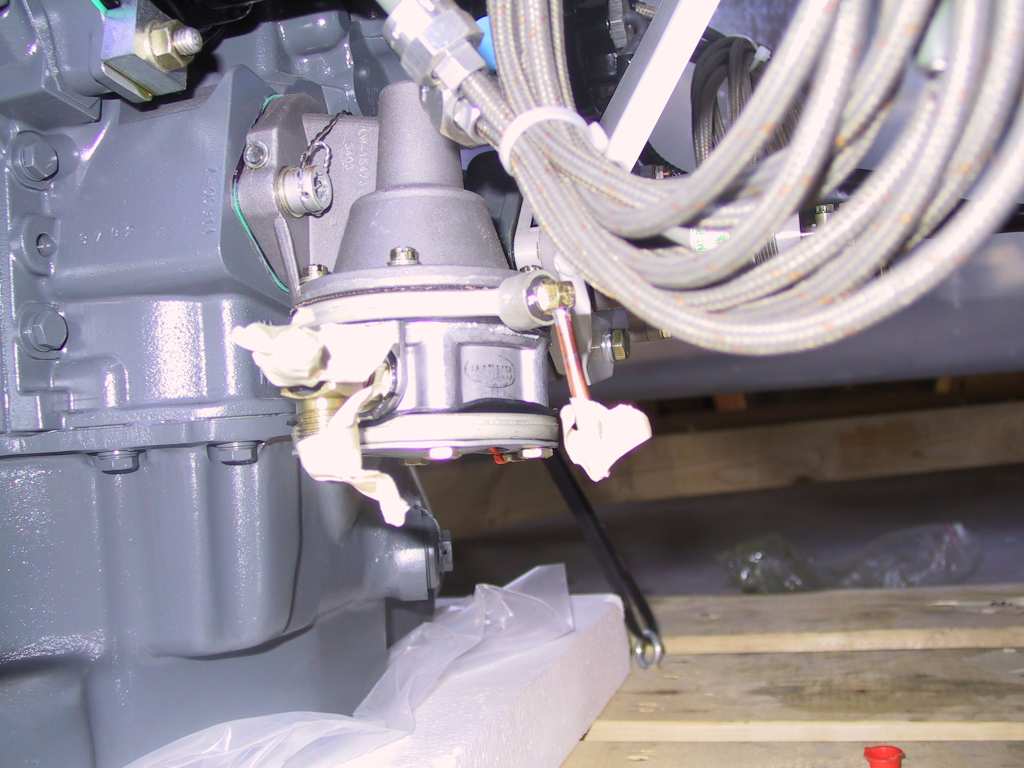
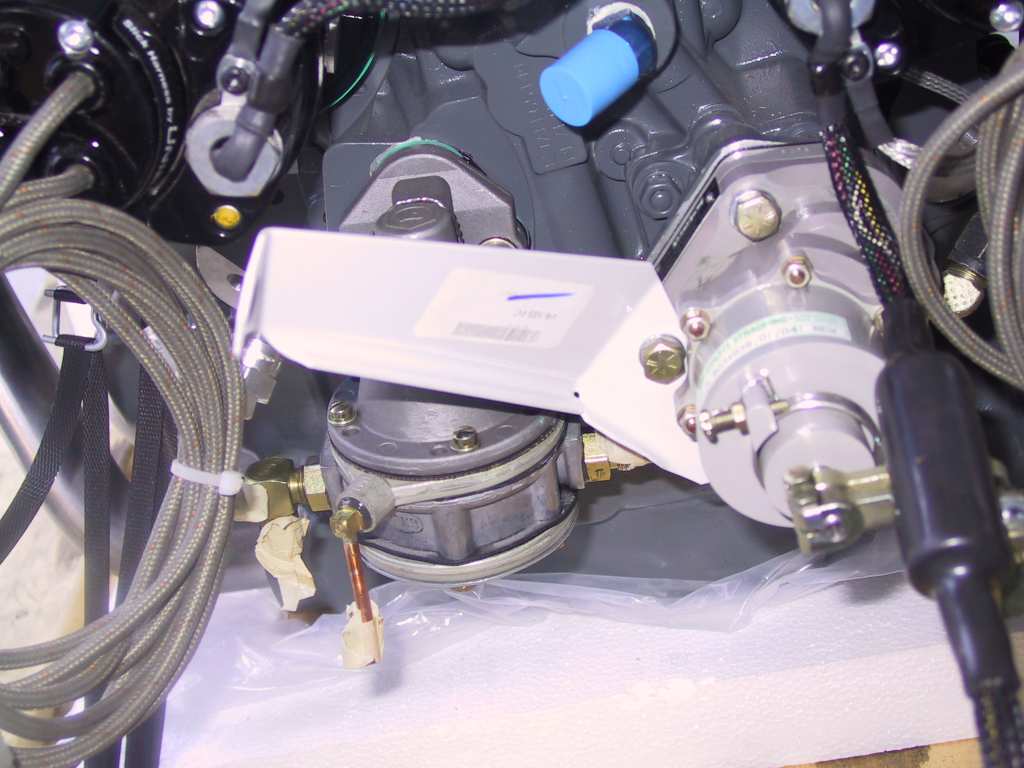
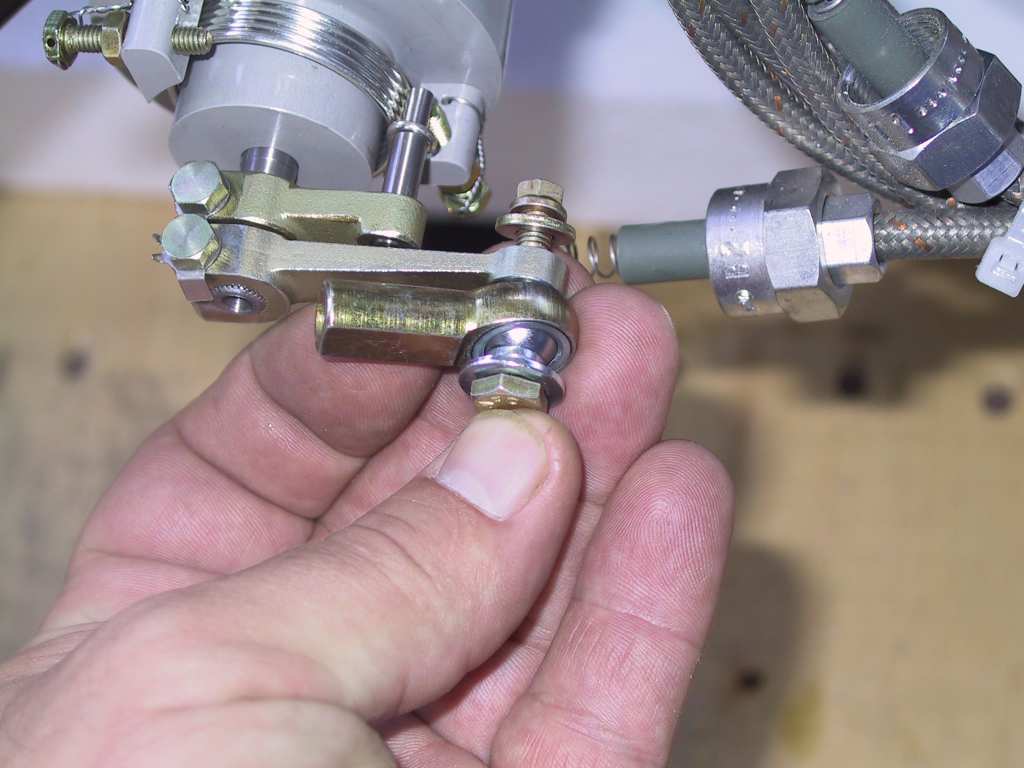
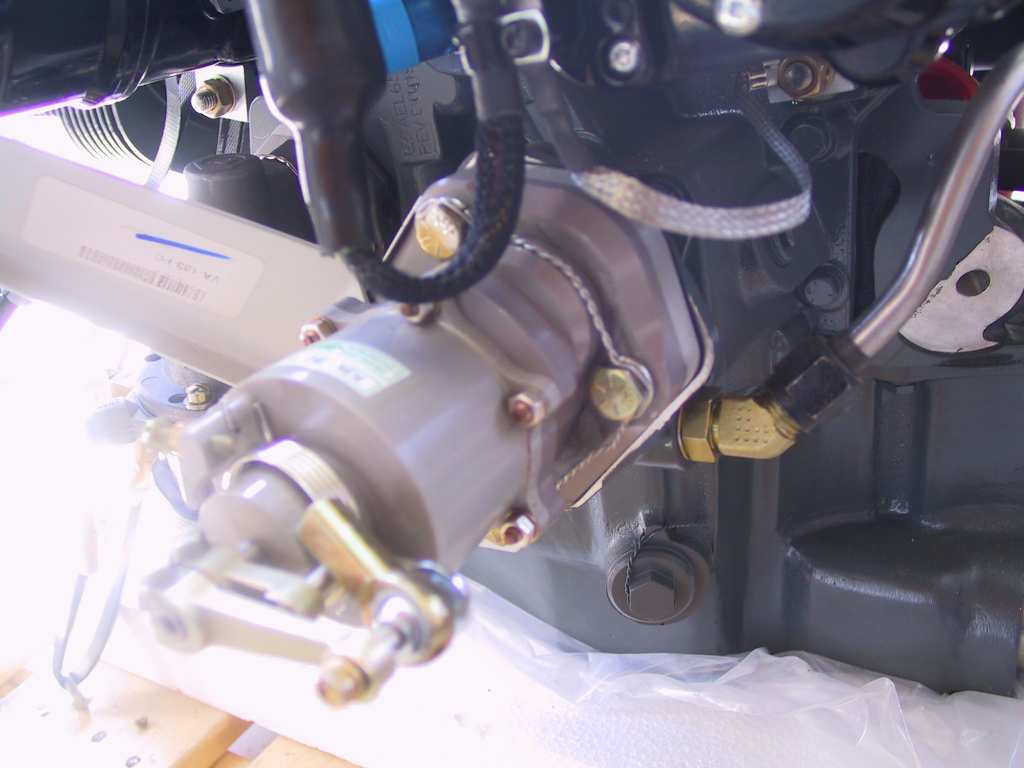
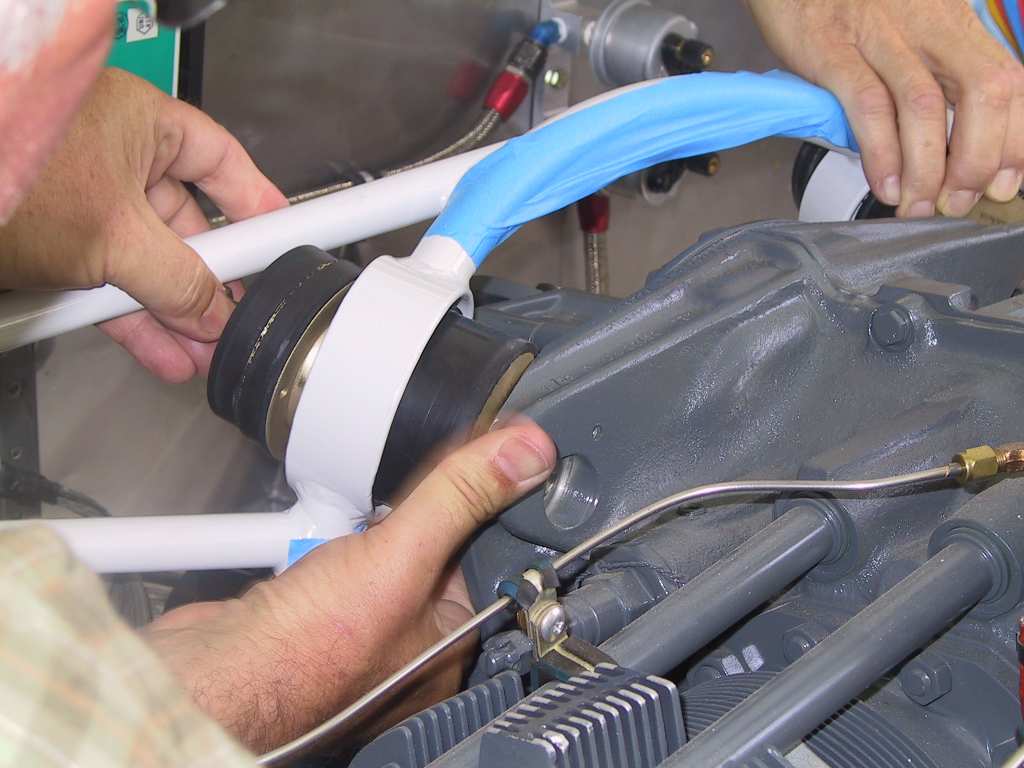
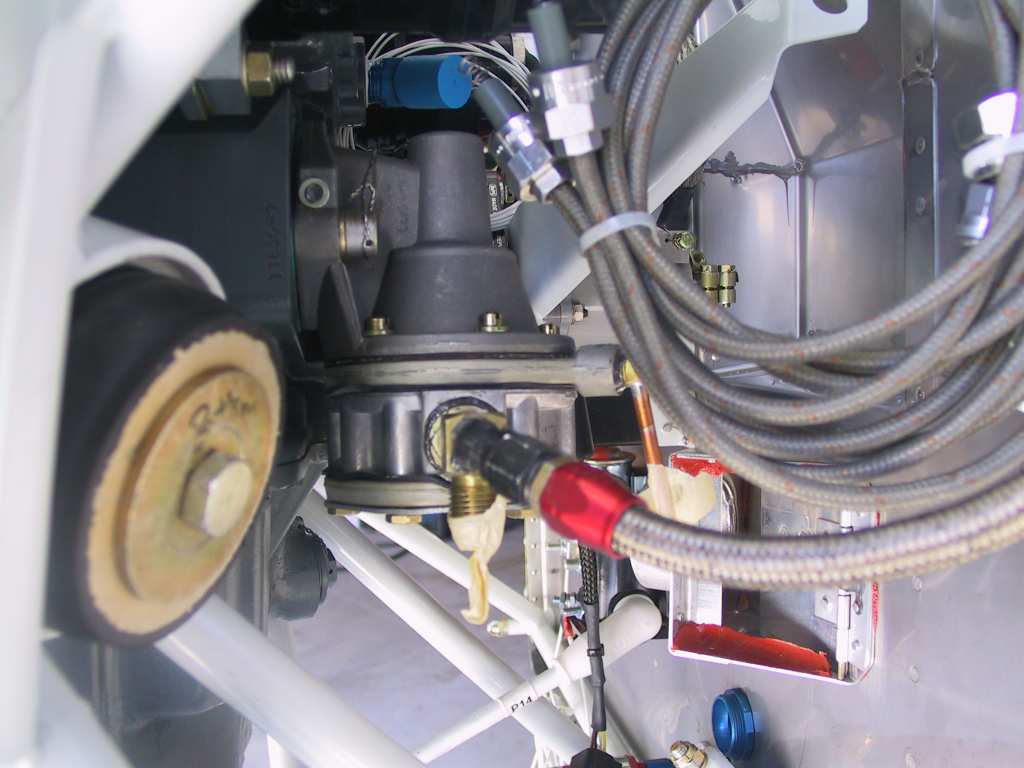
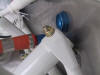
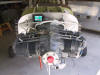
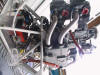
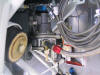
There is a clearance issue with the Fuel input line from the firewall to the engine driven pump.  Part of the prop governor mount is in the way of the straight through fitting on the input side of the gas pump.  I decided to replace it with a 90 degree fitting since I had one.  Bingo.

Done, time for bed.  What a great day.  What a great two weeks.  First I get my first RV ride in Dan's plane.  We get to do some rolls.  Another plane does rolls around us while filming for a TV show.  And now I have the engine mounted thanks to a fine bunch of guys.  Phew.  I'm way too excited to see what's next. 

Canopy tomorrow.  Ouch, that hurts.


Home | Why an RV? | Choices | Search | Empennage | Empennage Attach | QB Wings | Bulkheads | Aft/Center Fuselage | Forward Fuselage | Cockpit 1 | Cockpit 2 | Cockpit 3 | Tip up Canopy 1 | Tip up Canopy 2 | Tip up Canopy 3 | Avionics/Panel 1 | Avionics/Panel 2 | Avionics/Panel 3 | Avionics/Panel 4 | Firewall | Tricycle Gear | Engine/Prop 1 | Engine/Prop 2 | Cowling 1 | Cowling 2 | Baffling | Ram Air | Last 10 Percent | Last 5 Percent | Last 3 Percent | Last 1 Percent | Phase 1 | Phase 1 pg. 2 | Phase 2 | P-Mag Install | Videos | EFIS Flight Logs | Tips & Mods | Links | Fine Living | Avionics Manuals | N447RV Documents | Helpful Builder Docs | FAA Documents | Contact Information

 For problems or questions regarding this web contact me.
Last updated: 07/06/05.