| 5/17/04 |
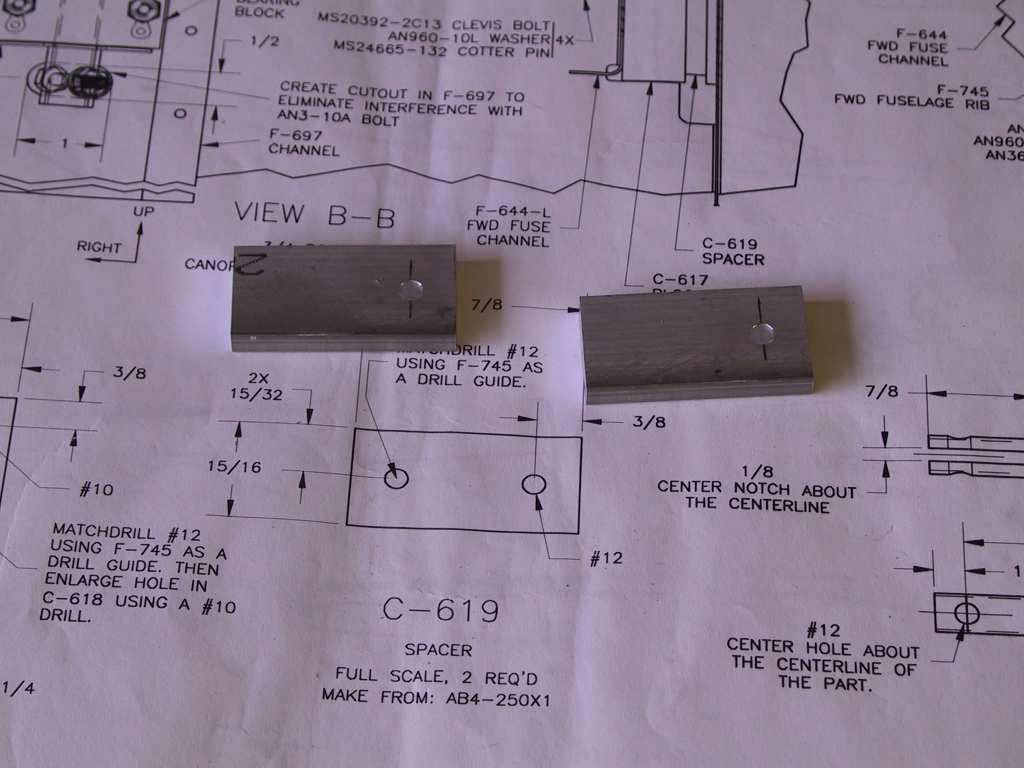
Ahhhh, the dreaded canopy. I can't wait to get this
sucker on. Began by clamping in place the blocks and drilling
everything to spec. Not much to this, but you should try to get it
right, your canopy alignment depends on it. Then later started to
rivet the substructure together.
  |
| 5/18/04 |
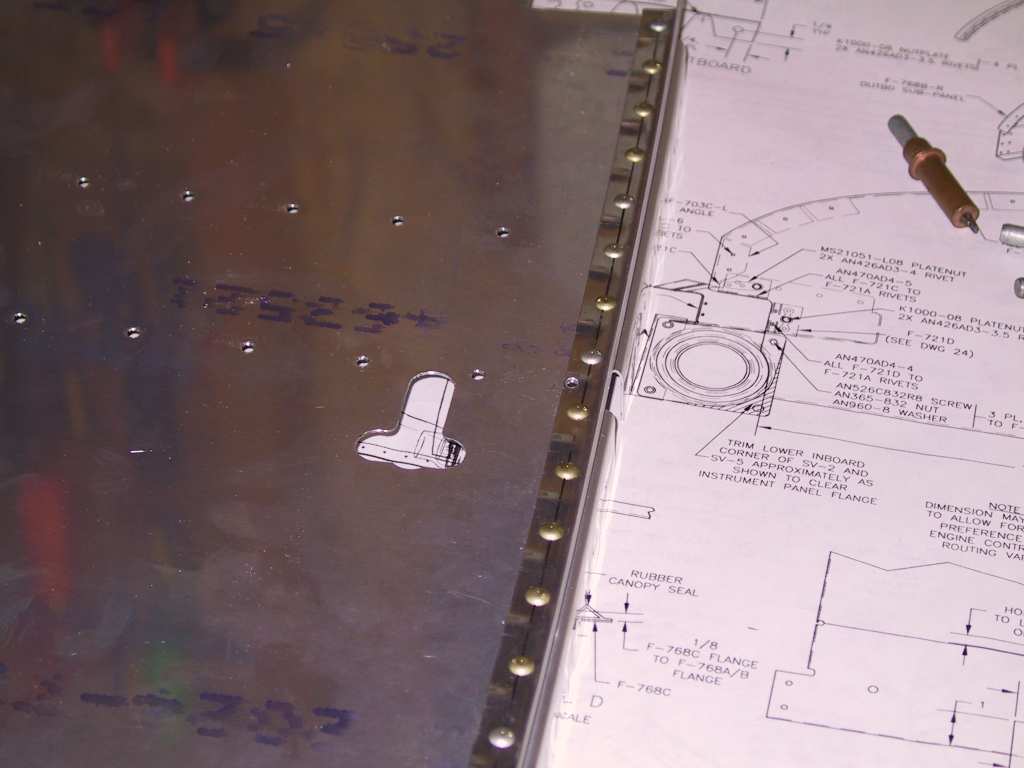
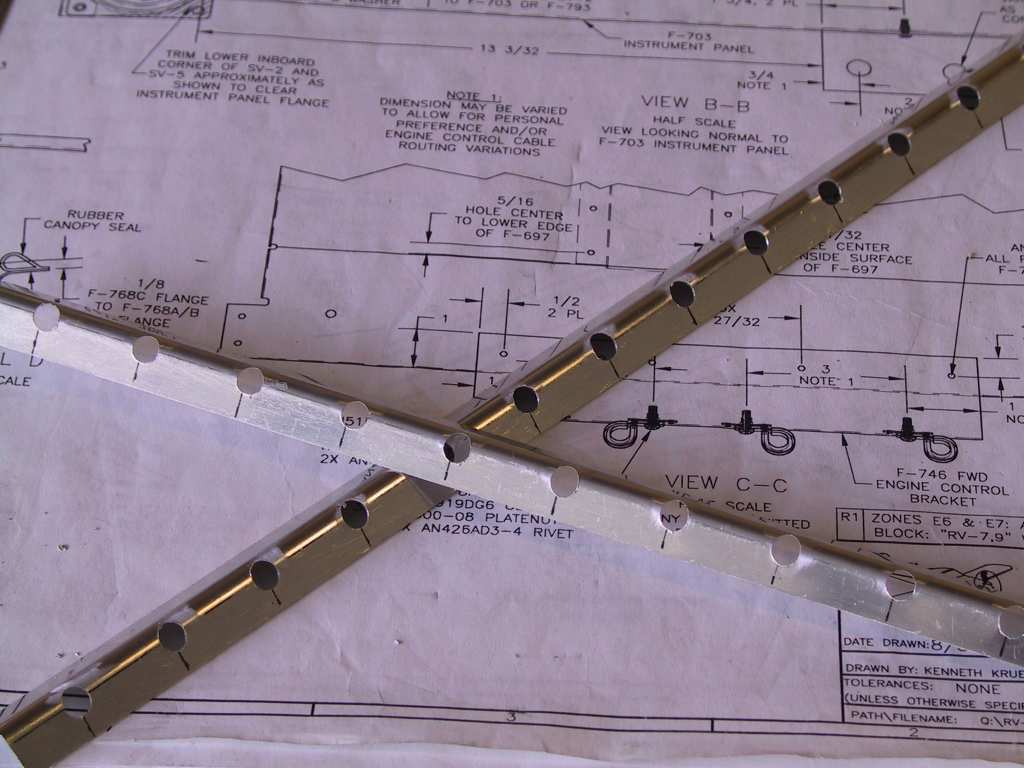
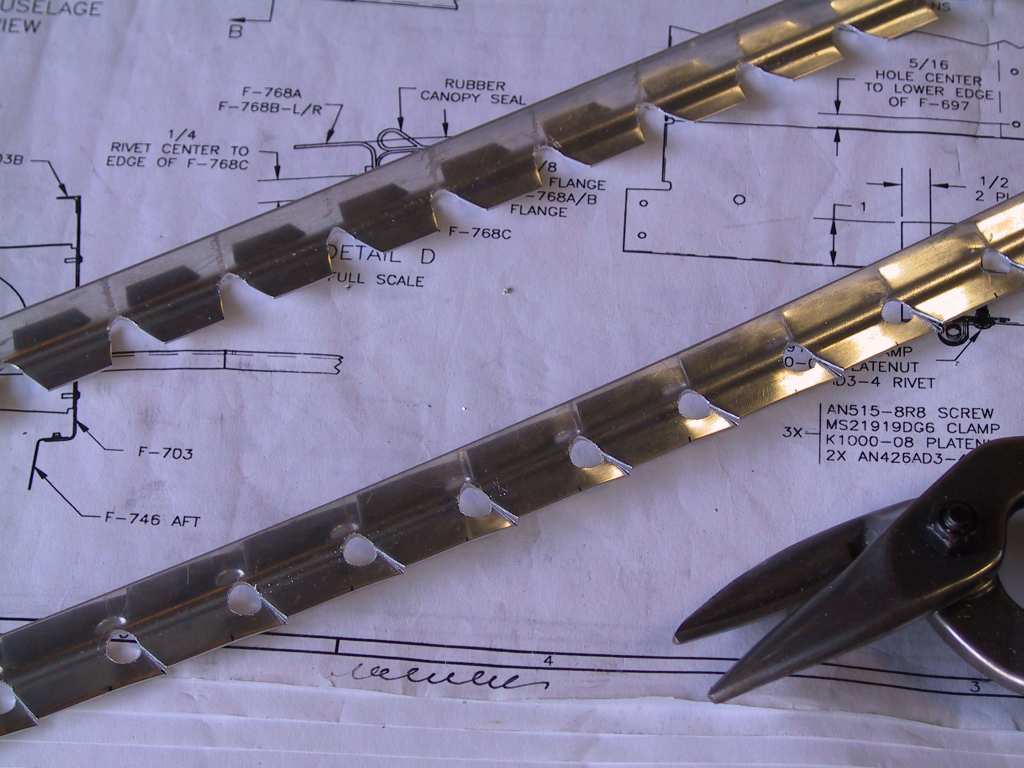
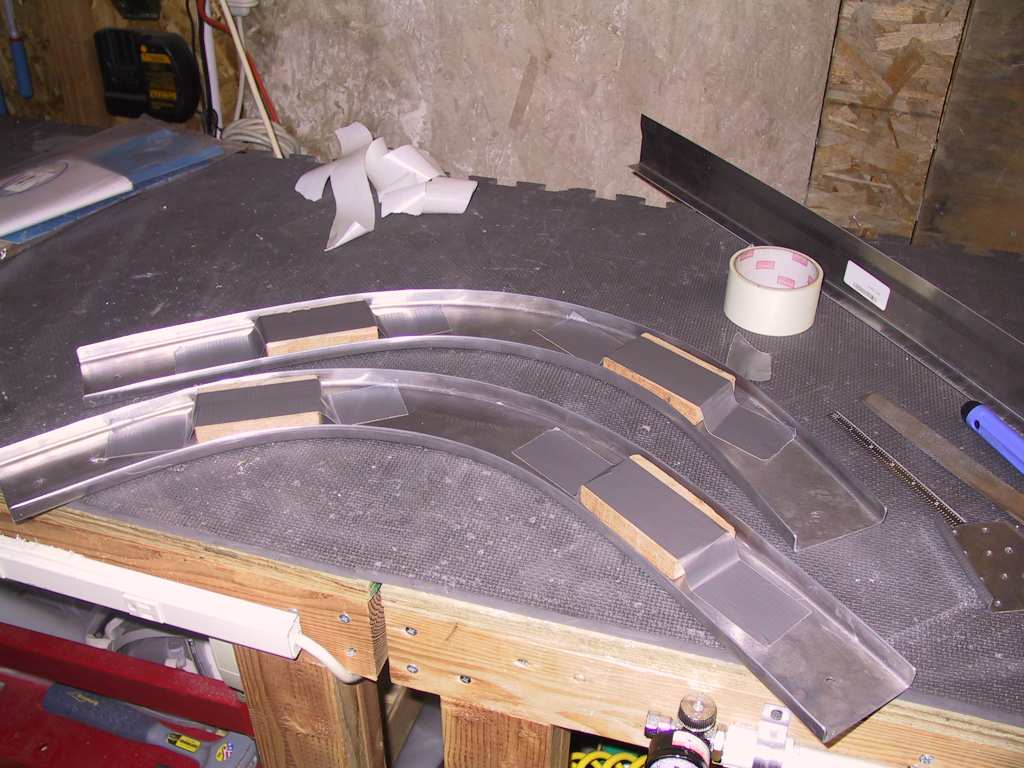
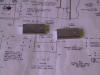
More work on the upper forward fuselage. Needed to
finish fabricating the F-768D seal supports. The way I do these cuts
is to layout the holes. It's a 1/8th inch diameter hole and the skin
is 1/32 so place your drill marks at 5/32 from the edge and pilot drill with
#40. Then work up to a #10 and finally a 1/4 " bit. I have some
blocks of wood with round edges which nestle in the angle perfectly allowing
me to hold it steady in the drill press.
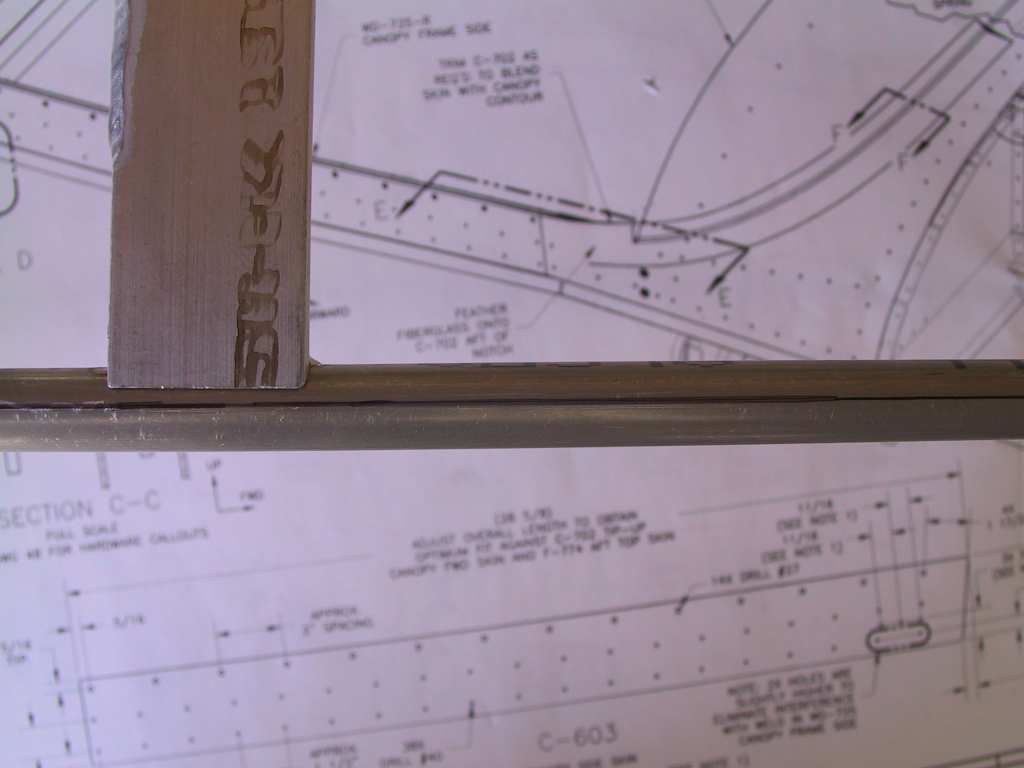
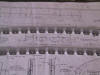
Next layout the 30 degree angle cut by placing the support angle directly
over the plans and mark the cut from the full scale markings on the plans.
Cut with a sheet metal shears. Be sure to use right and left
shears as required.
Clean up all the edges and drill the holes.
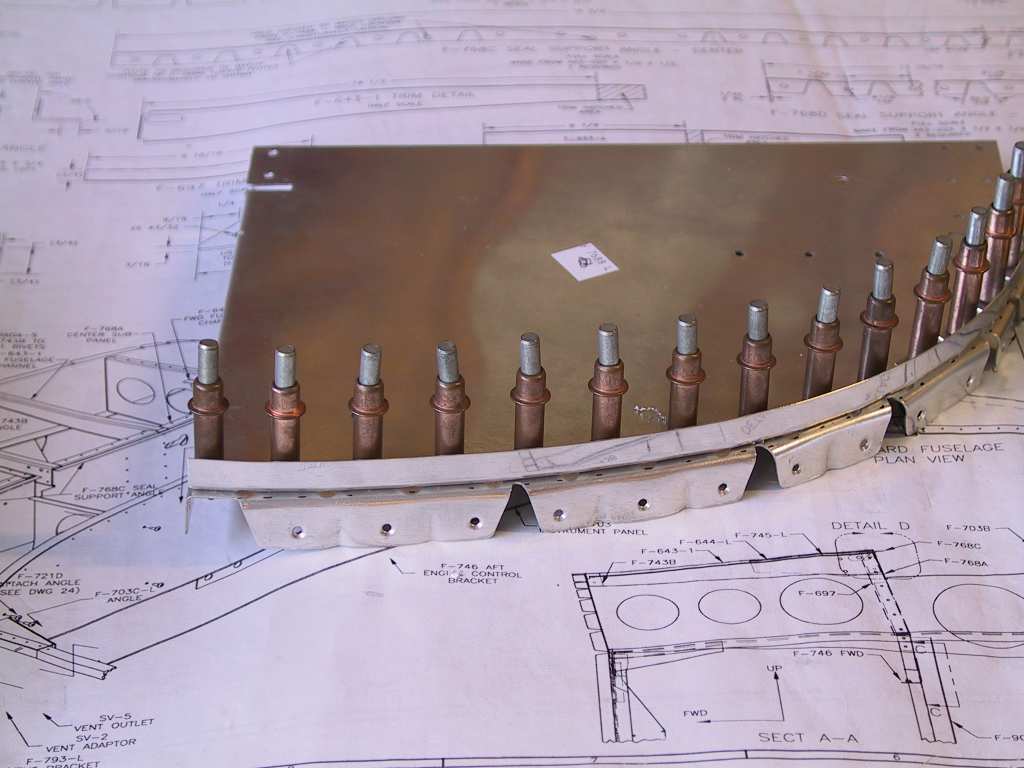
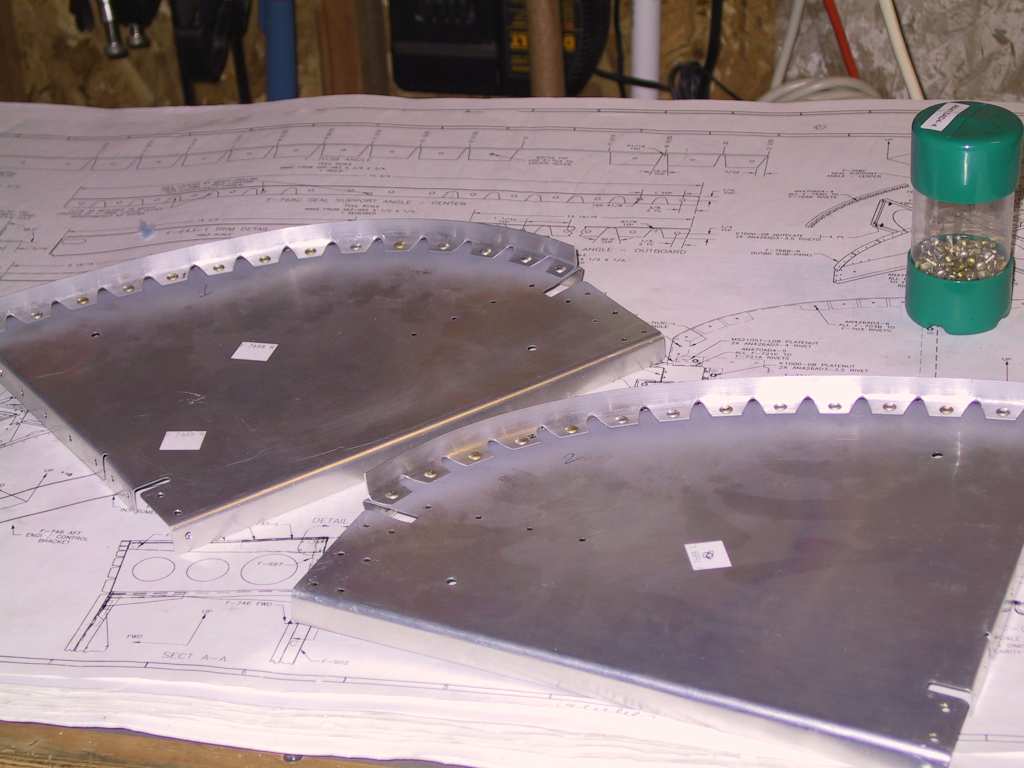
Mark a 1/8 reveal on the F-768-(R/L) outboard sub panels and drill, cleco
debur and rivet. I primed both pieces where they meet before riveting
and I'll prime the entire part when completed just before final assembly.
Next farted around and got everything dimpled. Don't forget to
dimple the marked areas as they need to be flush for the tip up assembly and
at the firewall where the F-745 ribs meet.
  |
| 5/19/04 |
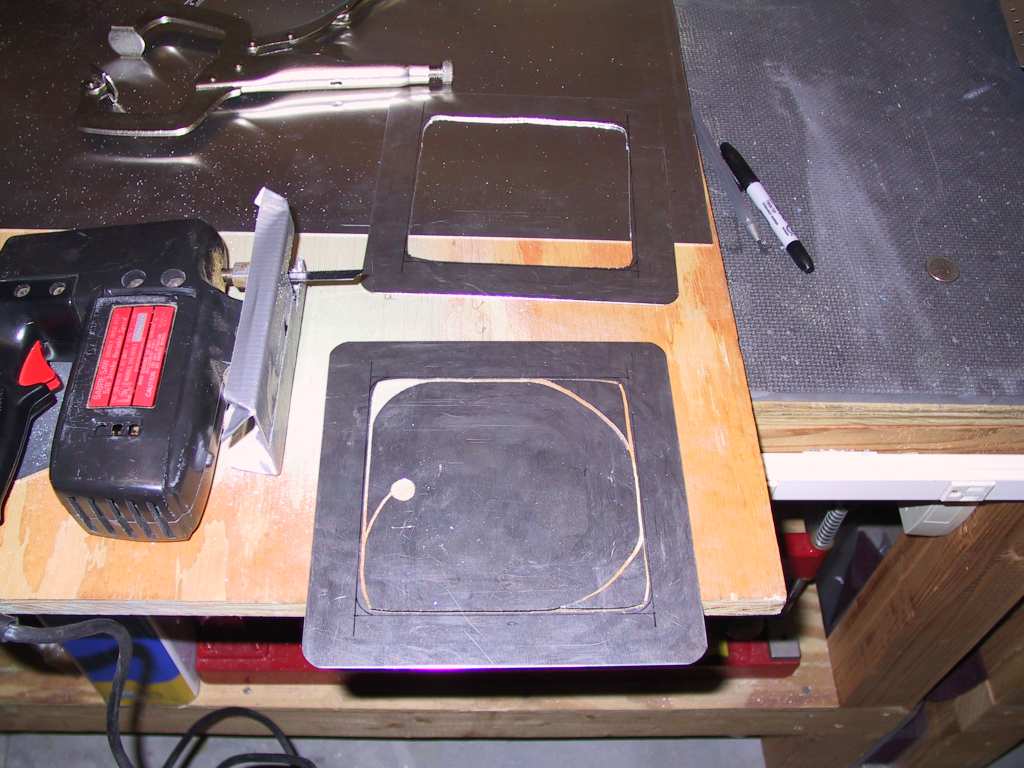
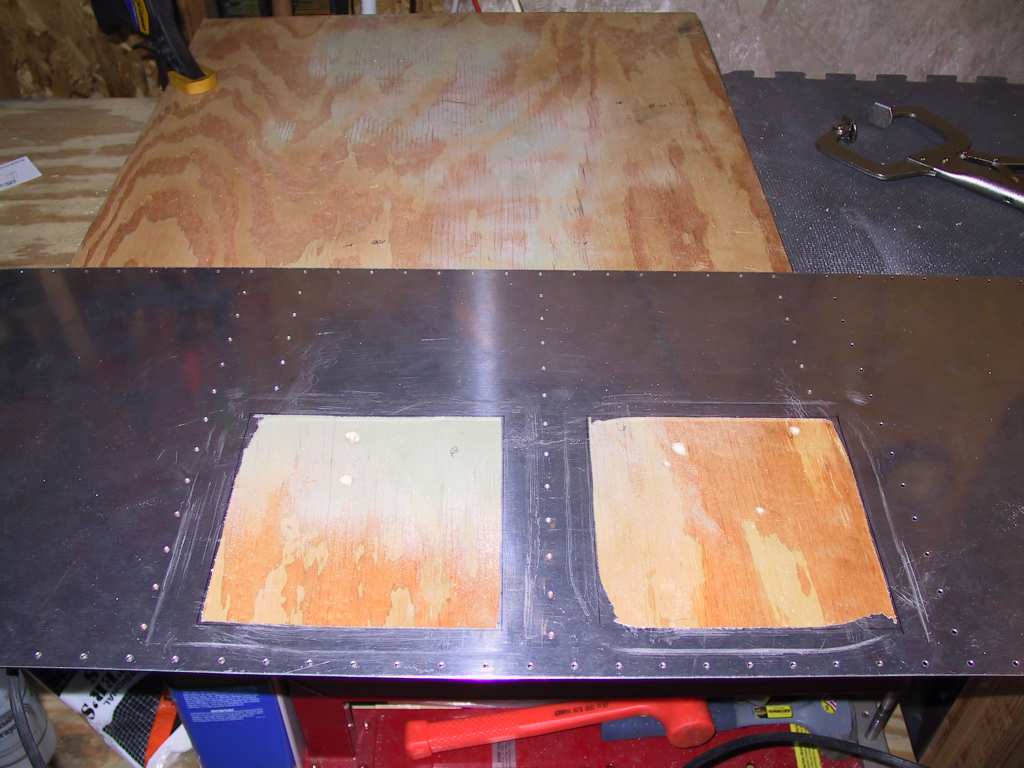
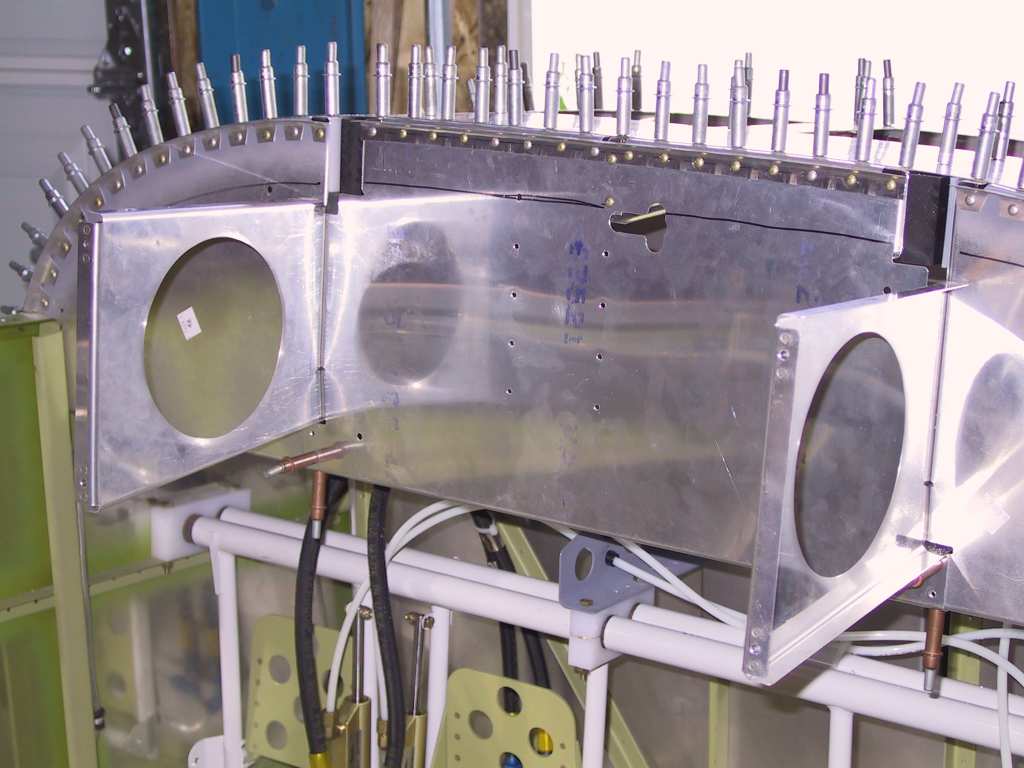
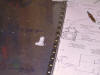
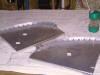
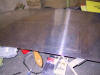
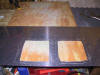
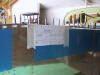
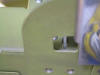
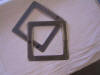
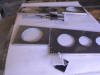
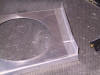
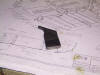
Decided to cut two access panels in the F-771 forward top
skin. I purchased a sheet of .040 which is one size thicker than the
skin itself. That is the prescribed way to create a mounting plate.
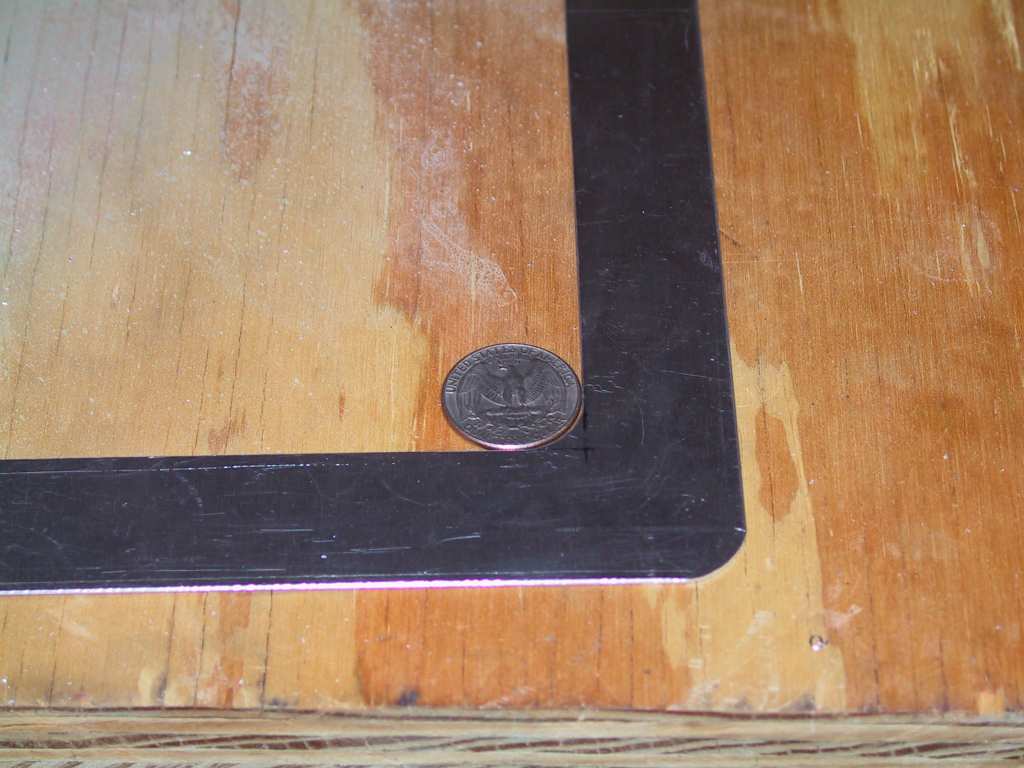
The access hole will be 6 inches square. Here I'm cutting the recessed
mounting plate. A jig saw works great. Then you file your ass of
for hours on end. This is some really boring stuff here but the
rewards are great. I used a quarter for the radiuses.
   |
| 5/20/04 |
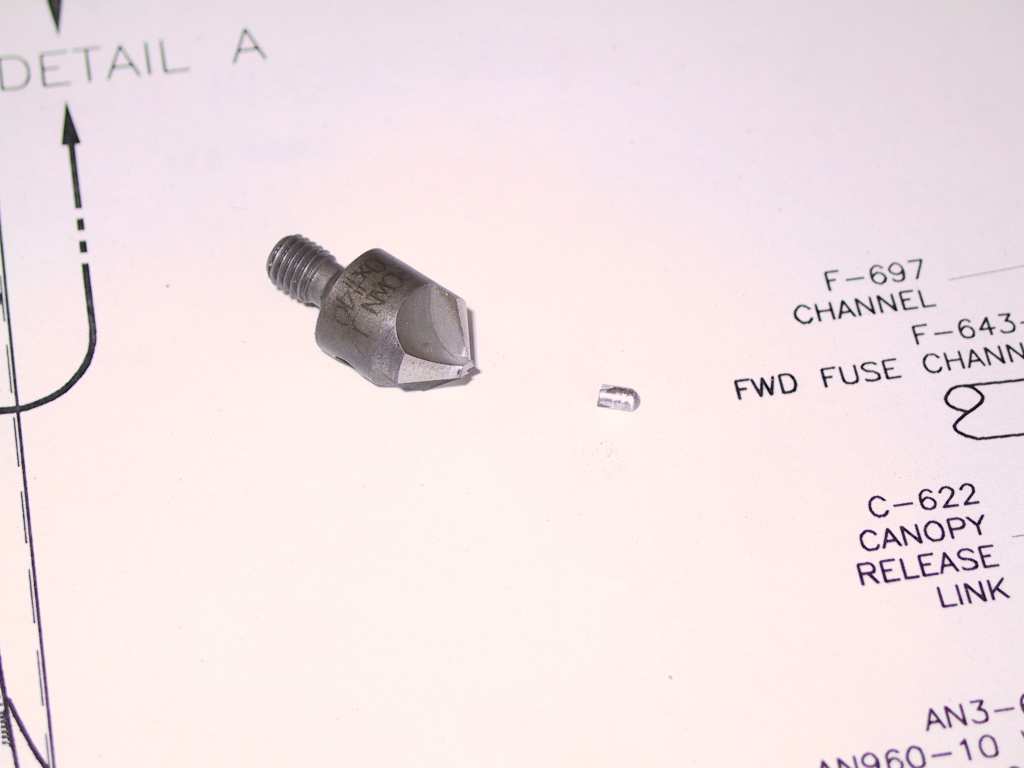
Well I WAS going to do some work today but my #40 counter
sink bit, bit it. I'll run down to the store tomorrow and get a couple
extras.

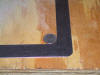
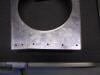
I started cutting the access holes in the F-771. But just as
I got the rough-in completed, DOH!! I forgot to leave a radius in the
corners. Ordered another skin from Vans. Their cheap, but now I
have to wait for the slow shipping.
 |
| 5/21/04 |
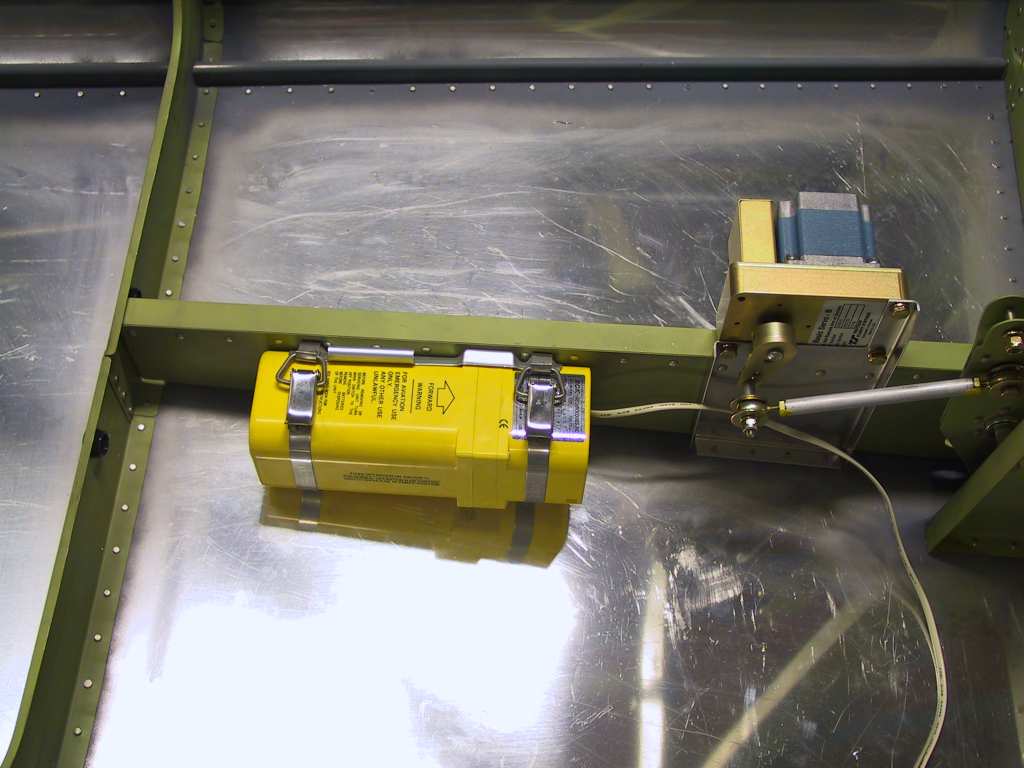
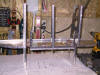
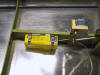
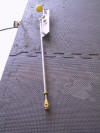
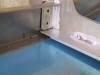
Finally got off my arse and decided that I would mount this
where everyone else does. Here's the ACK ELT mounted, finally.
I've ground down the high spots on the F-7105B outboard sub-panels.
If you don't do this then the canopy frame will not sit properly.
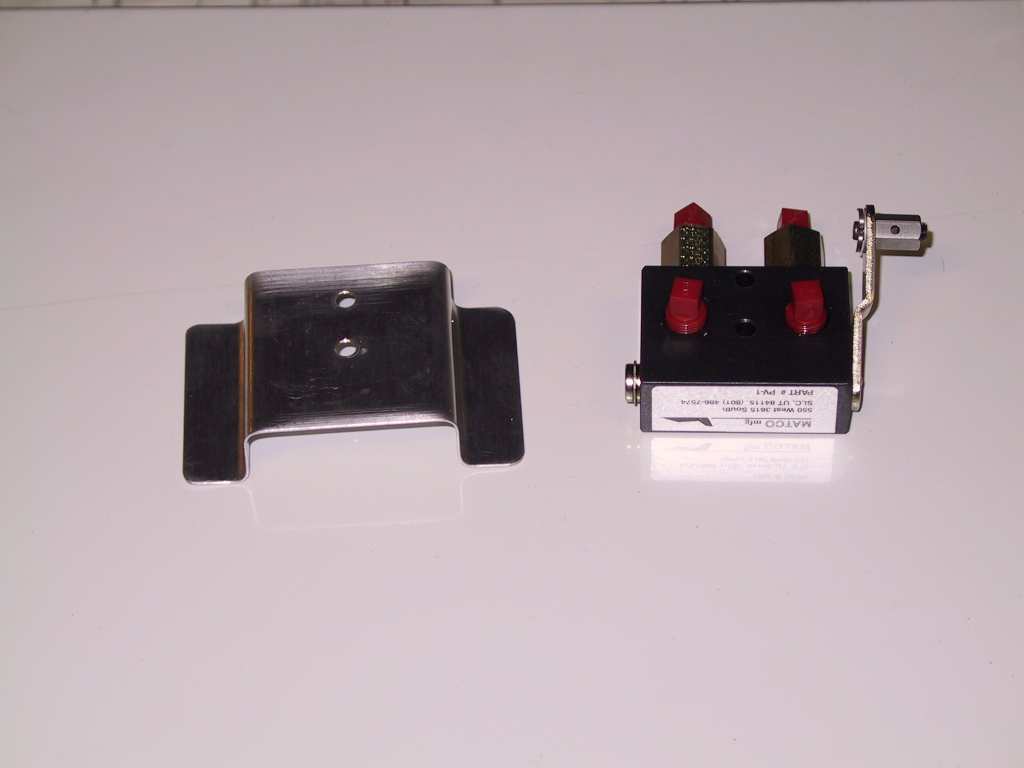
I fabricated a mount for the parking brake out of some left over channel
that was supposed to be used for the canopy release structure. I'm not
going to have a canopy release structure. This sucker is gonna be
bolted in place. With the access panels I'll have access to the bolts
if I ever need to remove the canopy. And since I never intend to jump
out of this airplane, well, I'll just save some space in the sub panel area
for more equipment, and not think about having to get out of the plane in a
hurry. Plus, I don't even own a parachute.
 |
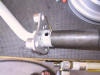
| 5/22/04 |
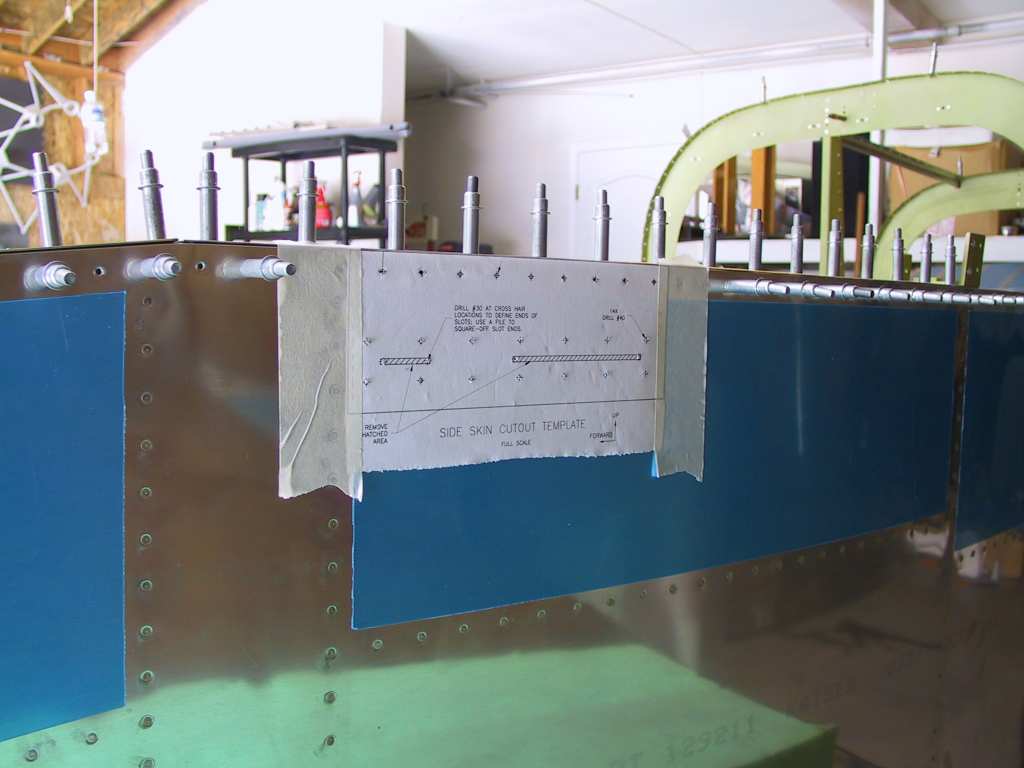
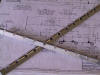
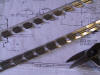
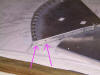
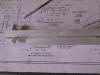
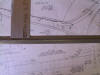
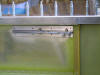
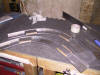
Time to cut the slots for the canopy latch. I cut the
template out of the plans and taped it to the side of the fuselage.
Then drilled all the holes with #40. I enlarged the required holes
after I made sure everything was dead nuts. It was.
Then I spent what seemed like two days with a small jewelers file and
ground down everything until it was perfect. I still have my wings on
so I had to bend over the wings the entire time to file these. Do
yourself a favor, get this done way ahead of time when your wings are Off.
Here I haven't cleaned up the edges yet.
Then I dinked around and filed the edges of all the rest of the parts
until the latching mechanism fit like a glove.
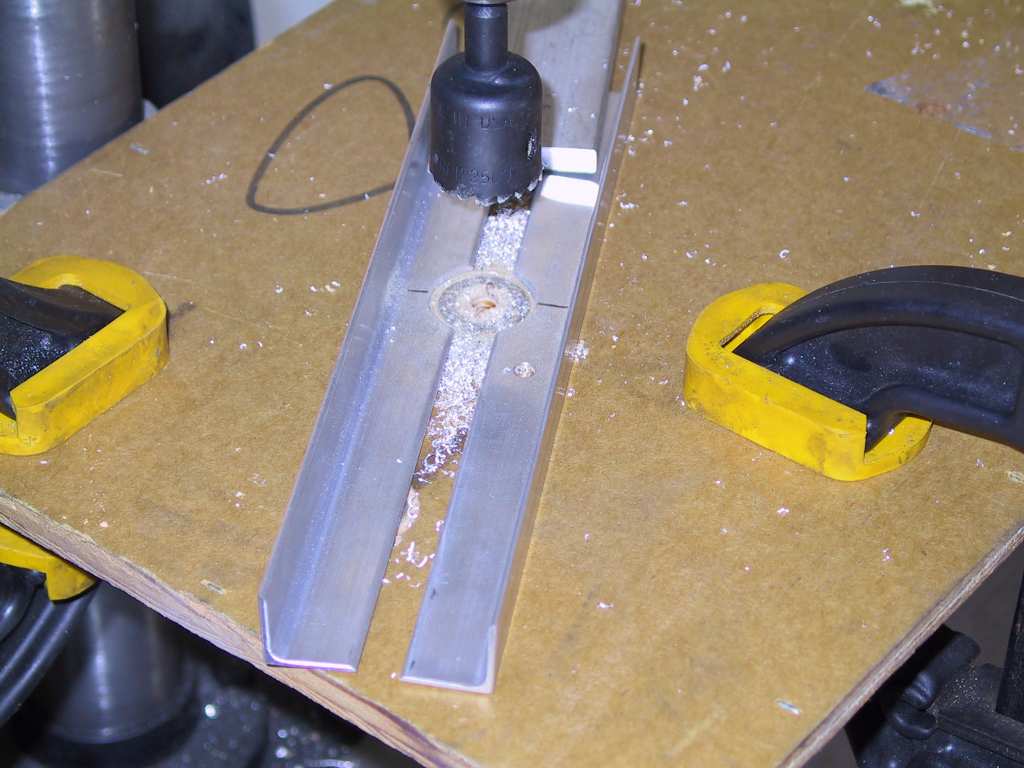
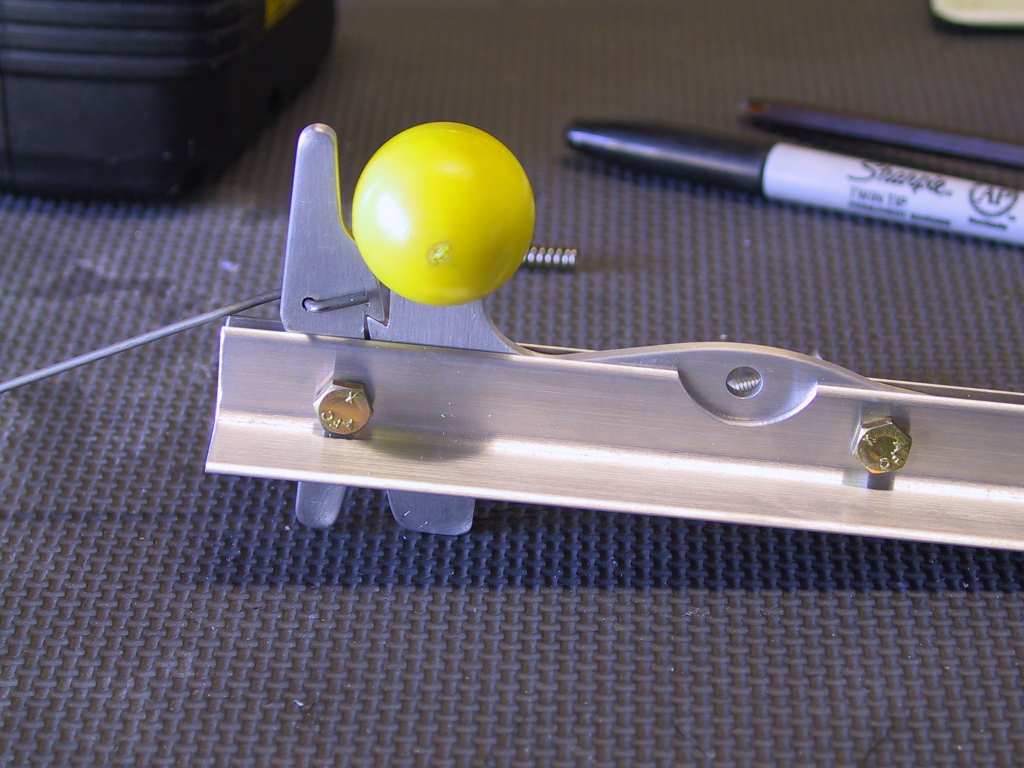
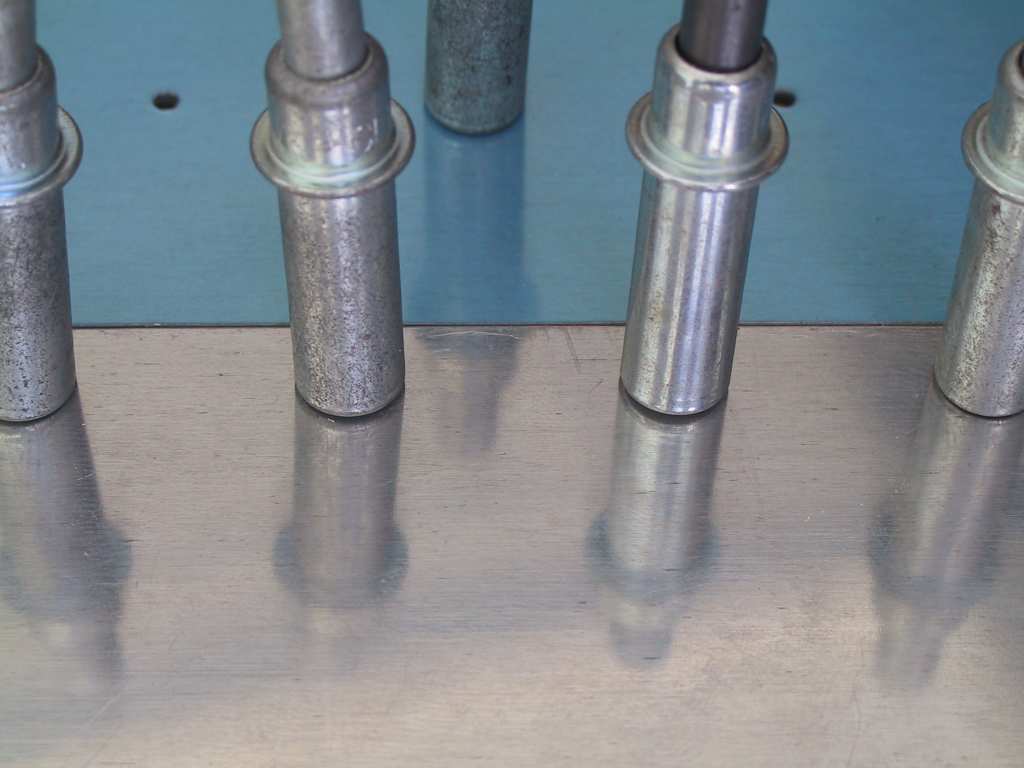
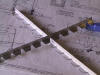
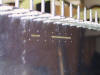
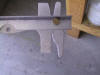
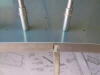
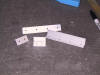
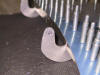
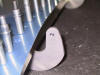
In order to make the cutouts in the C-712 latch angles I placed the parts
6/16ths apart, clamped them and cut the parts with a 1 inch hole saw.
It came out great. This is a shot after with the clamps missing.

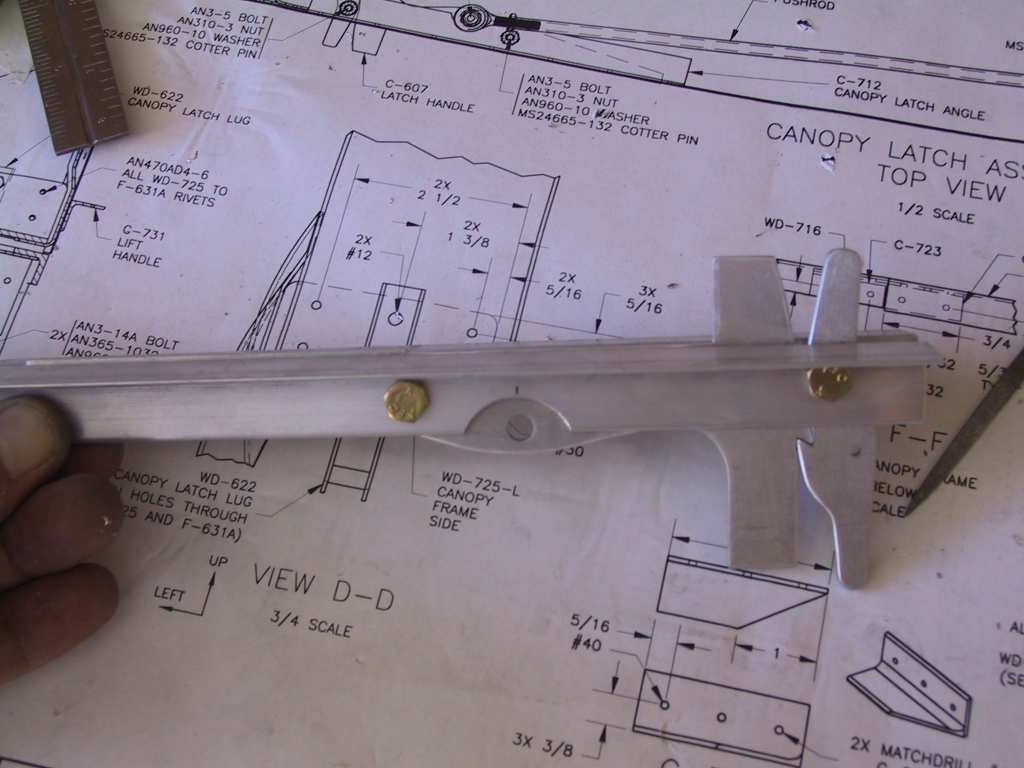
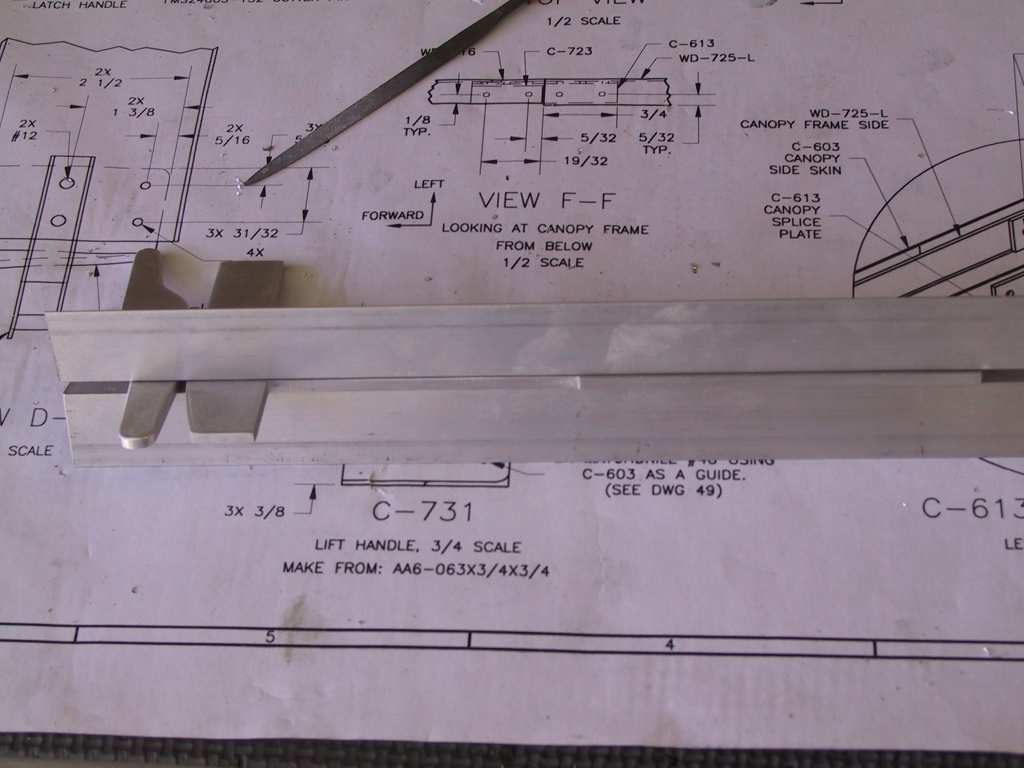
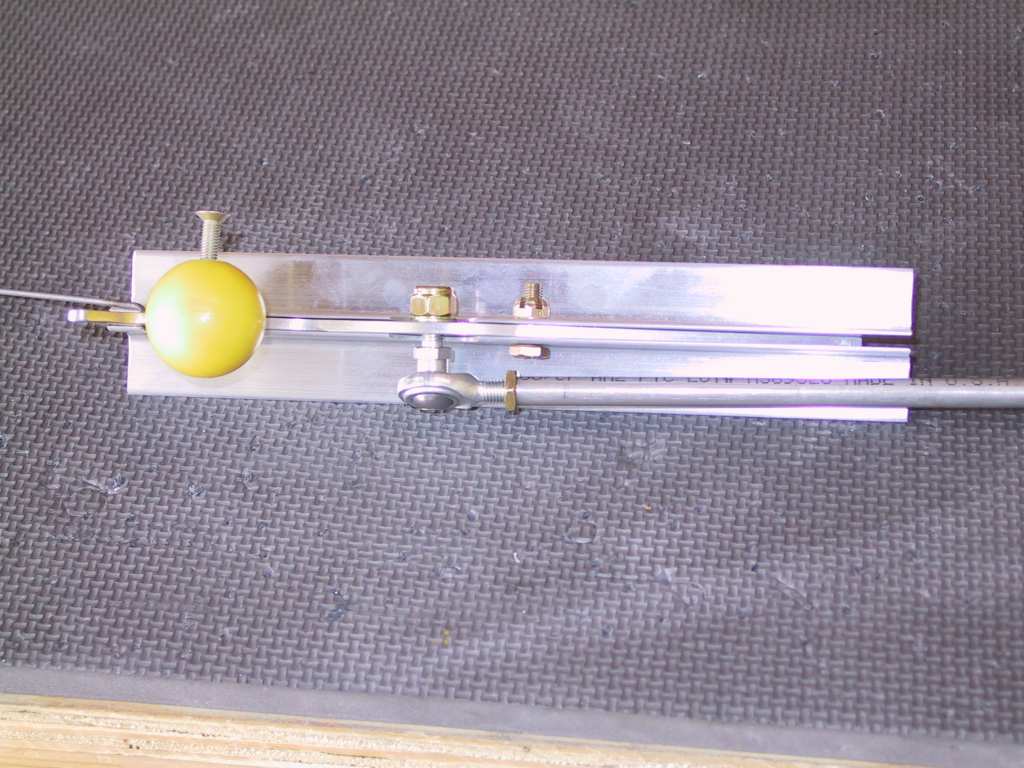
And now everything put together. Well it came out well but not
perfect. The hole for the C-609 canopy latch was drilled perfectly
according to the plans but if you do that, all the work you did to make it
and the C-607 fit will be wasted. You need to move the hole between
1/32 and 1/16 (I can't remember) closer to the vertex of the angle. I
made the parts again and it is very nicely done. One other little mod
is to create a small channel in the knob so the C-609 can sit better.
Maybe an 1/8" deep.
    |
| 5/23/04 |
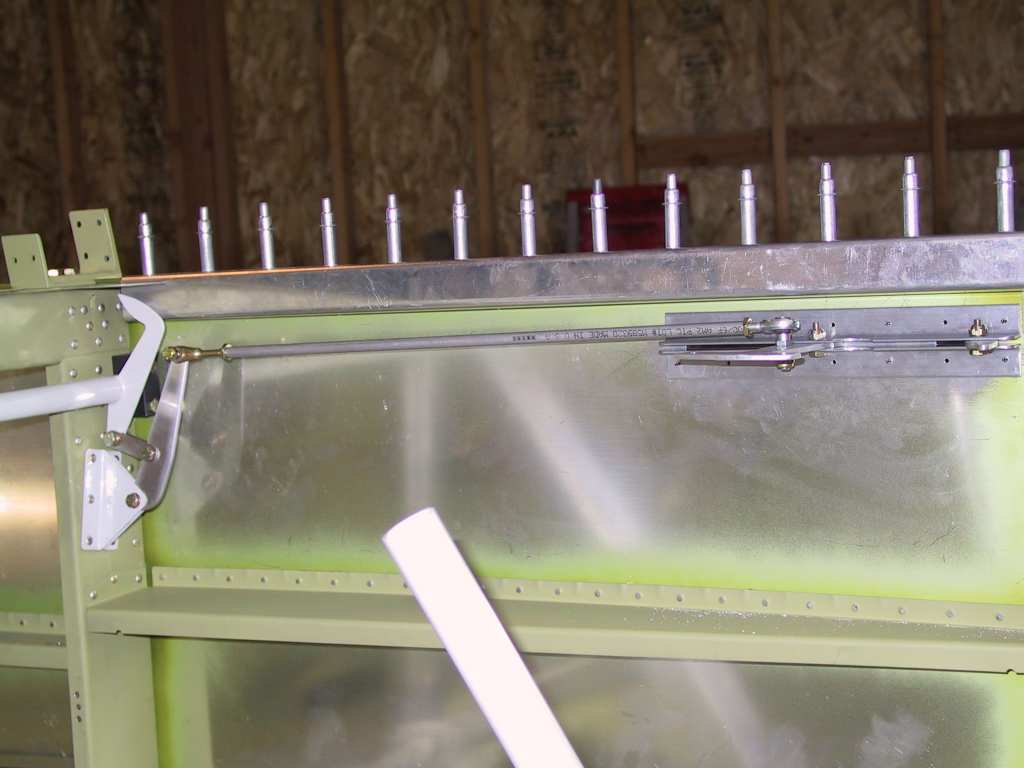
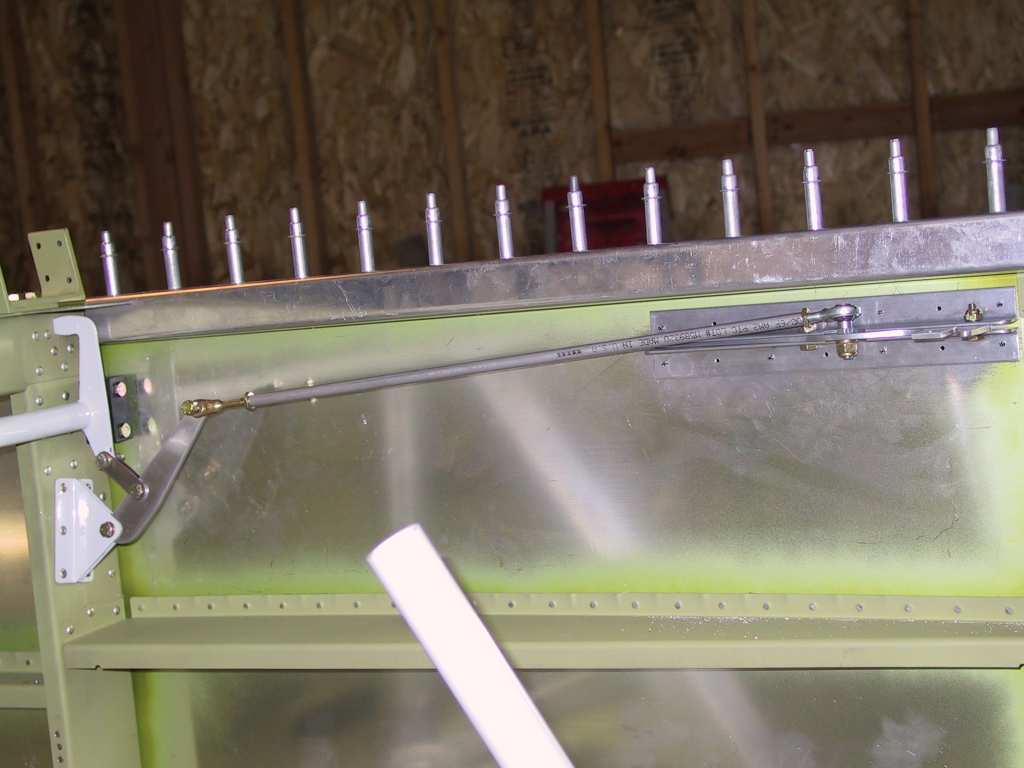
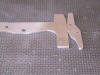
Made the C-710 pushrod assembly. The plans say to
drill #3 then tap. Well I don't own a #3 so I just used a 7/32 bit and
then tapped it.
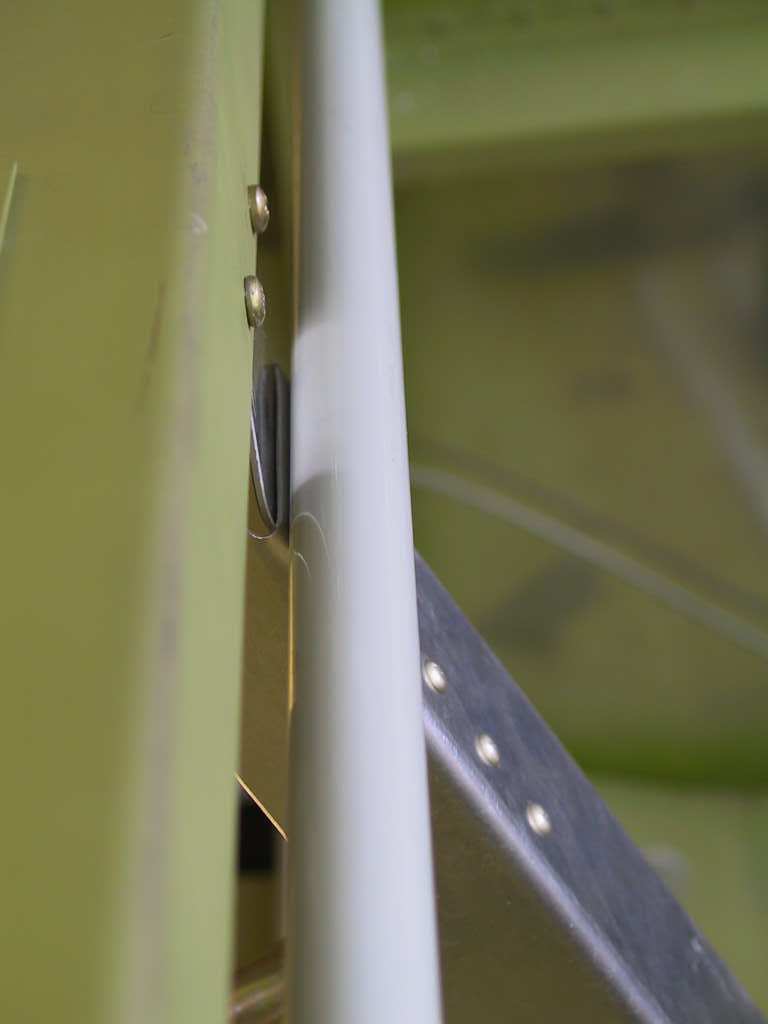
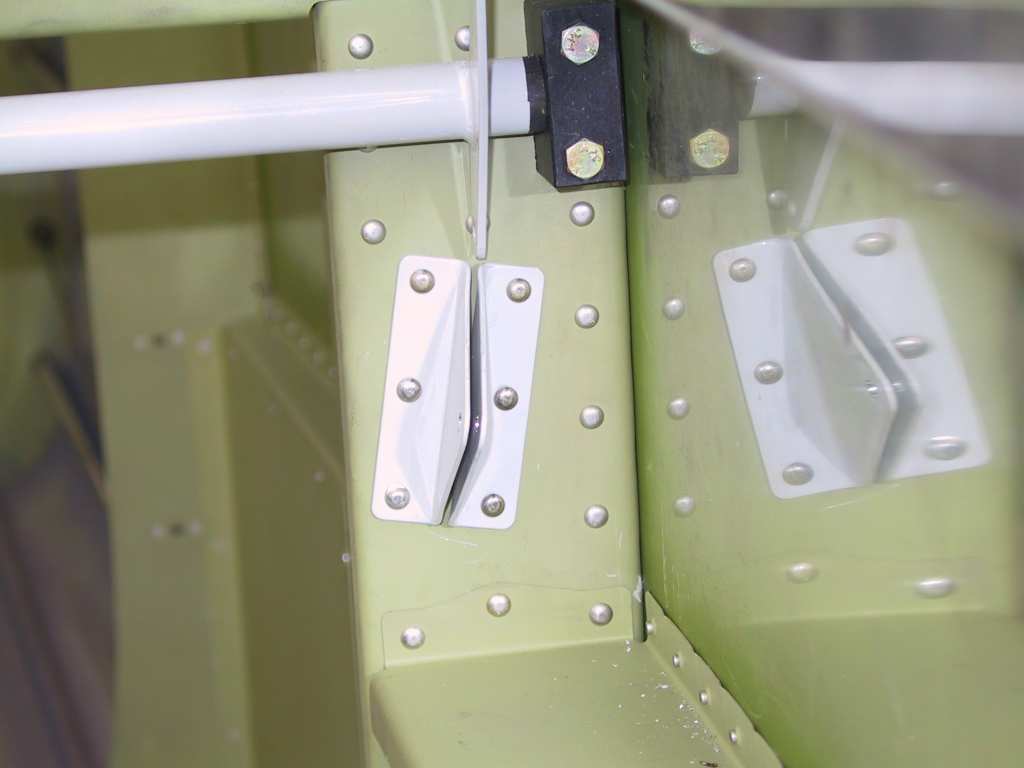
Began installing the WD-817 canopy latch. I noticed right away that
there is a clearance issue here with the flap brace. I had used AN470
rivets to attach the brace and the tab which connects to the bulkhead.
I drilled those out, dimpled and countersunk and replace the rivets with
AN426 flush head rivets.
There's still a bit of rubbing but I'll place a bit of UHMW tape there
and it will work fine. There's relatively little pressure on that spot
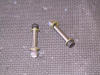
anyway. More shots of the latch, the C-605 idler and C-606 links in
which you have to make a slight bend in order to go from vertical to
approximately a 15 degree angle. All these little parts get connected
with AN3-5 bolts (with holes). I only had one left. Time for
another order.
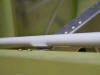  
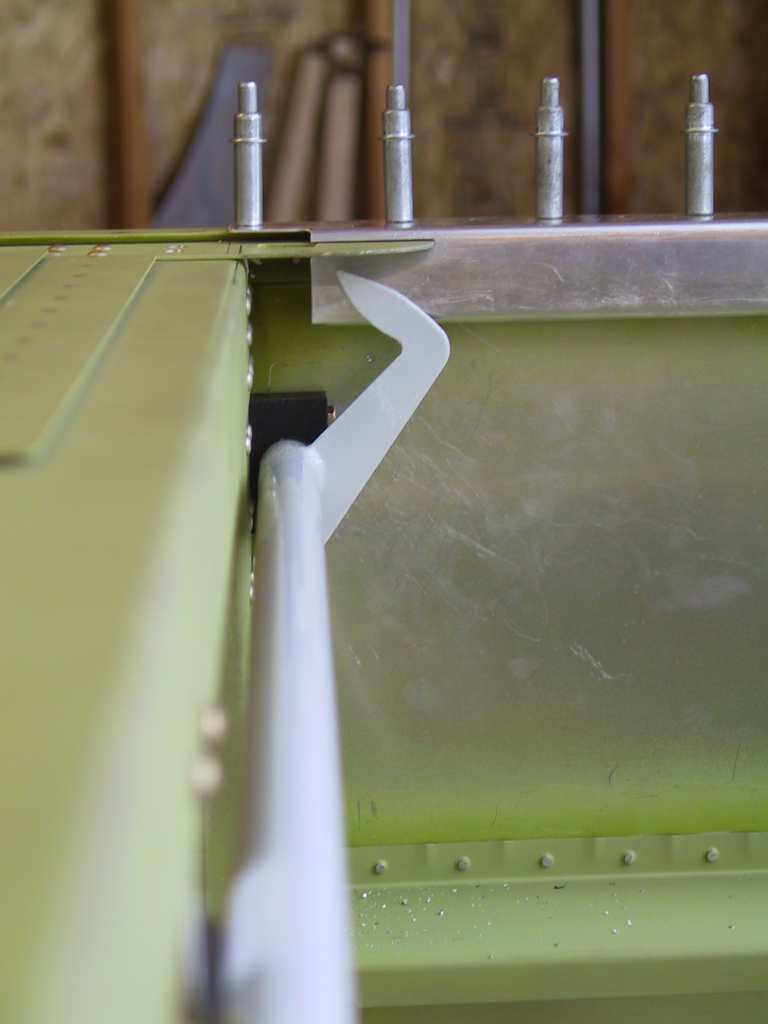
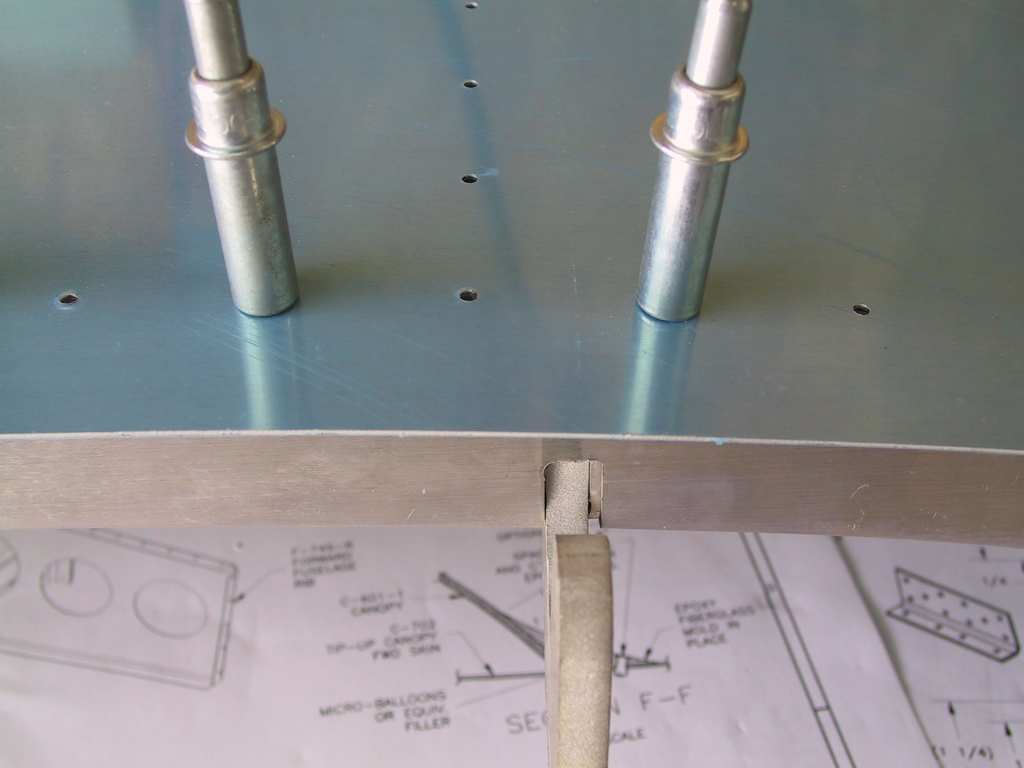
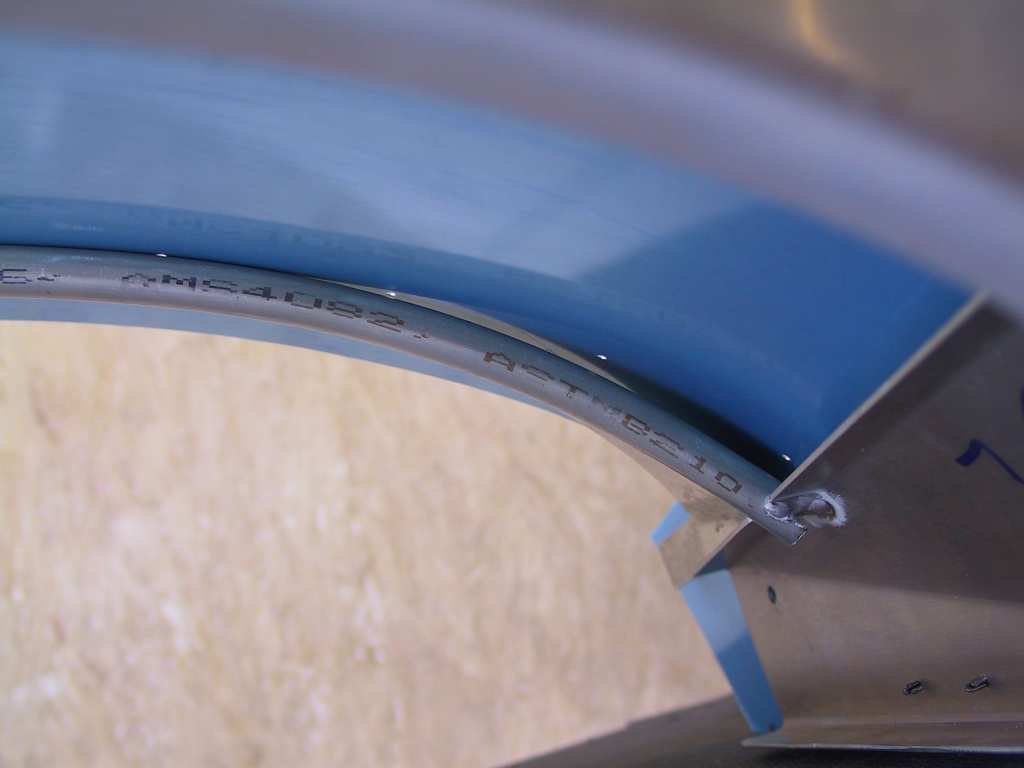
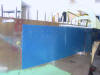
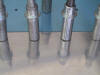
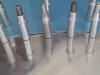
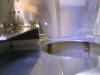
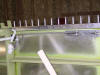
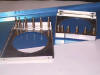
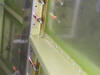
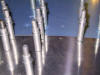
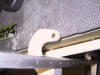
On to the canopy frame assembly. First draw a line on the tube so
you can center it under the skin. I decided to drill these holes in
place on the fuselage instead of the bench.
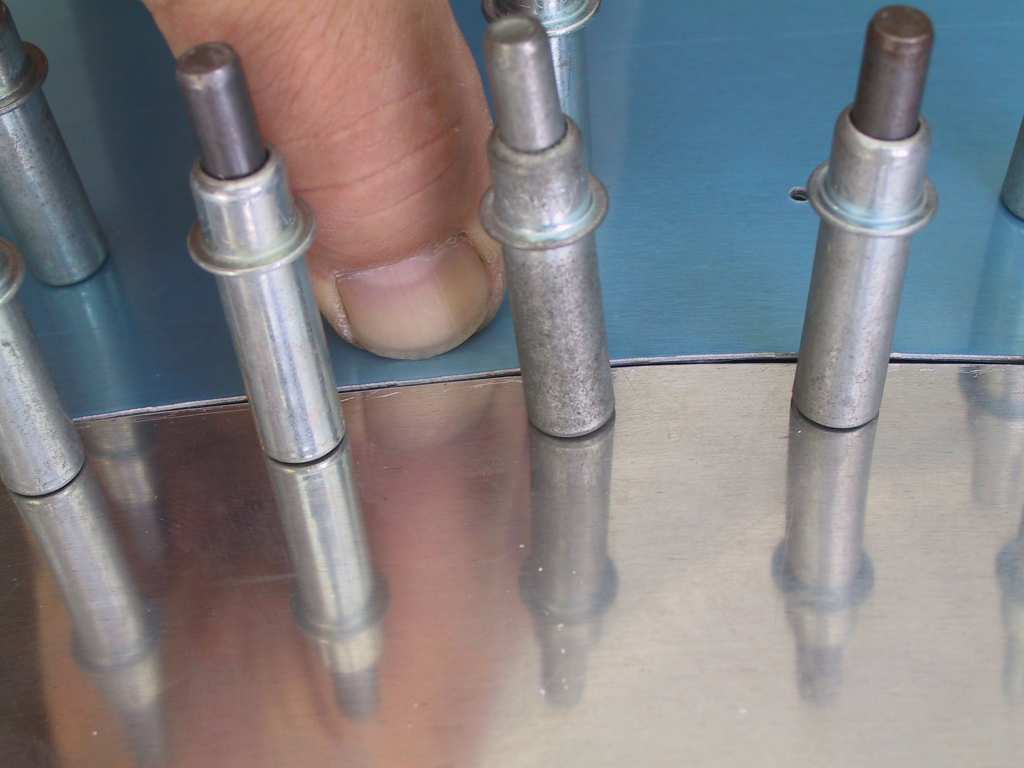
Most of the edges were good right from the start. The center was
perfect. As you get to the corners the skin was up just a bit.
You can push it down with your finger.
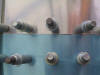    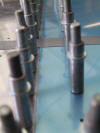
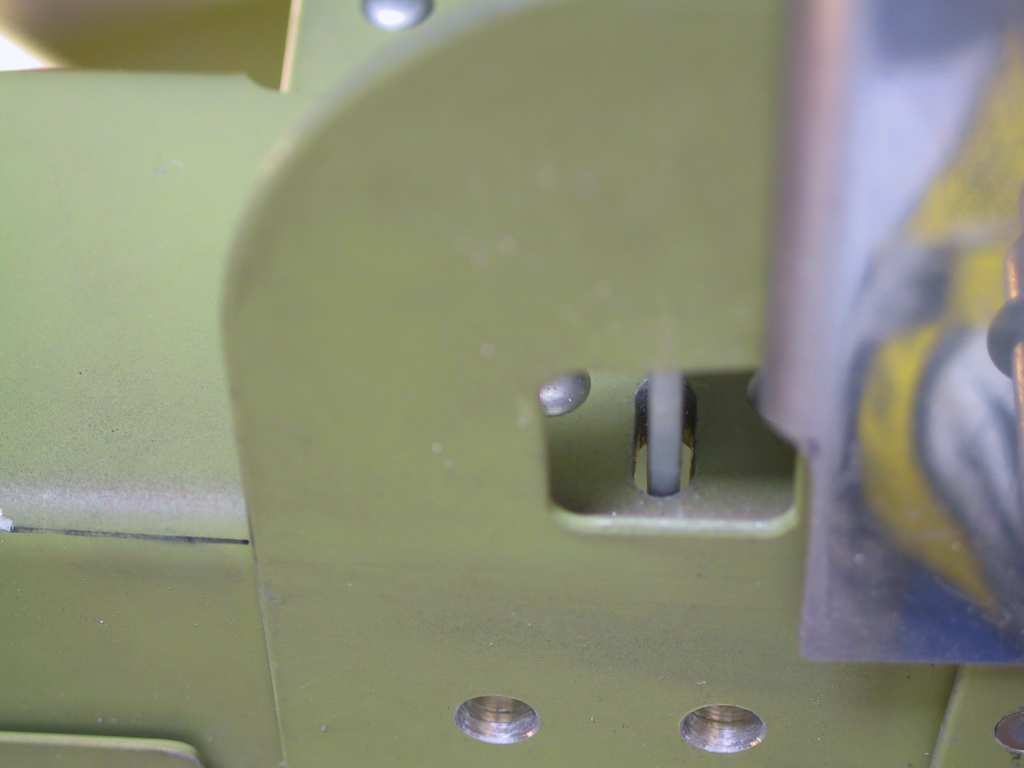
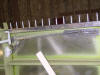
One thing you want to watch out for it that you don't want to put a cleco
into the skin where the welded fore/aft bars are on the front of the
assembly. This will push the goosenecks downwards and create an
interference problem.
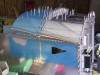
I didn't have any clearance issues but I do have a couple of questions.
Looks like there is a huge air gap between the round tube and the skin.
Don't know what to do about that.
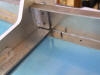
I went ahead and drilled the front splice plate to #40. Once I
figure out the air gap issue I'll continue drilling to #30. Another
question I have is where do the aft skin portion lie? On top of the
canopy deck? Just even with the side skin? I just don't know.
I'm gonna post a question to the all the 7 builders out there tonight.
Perhaps someone has run across this before.
|
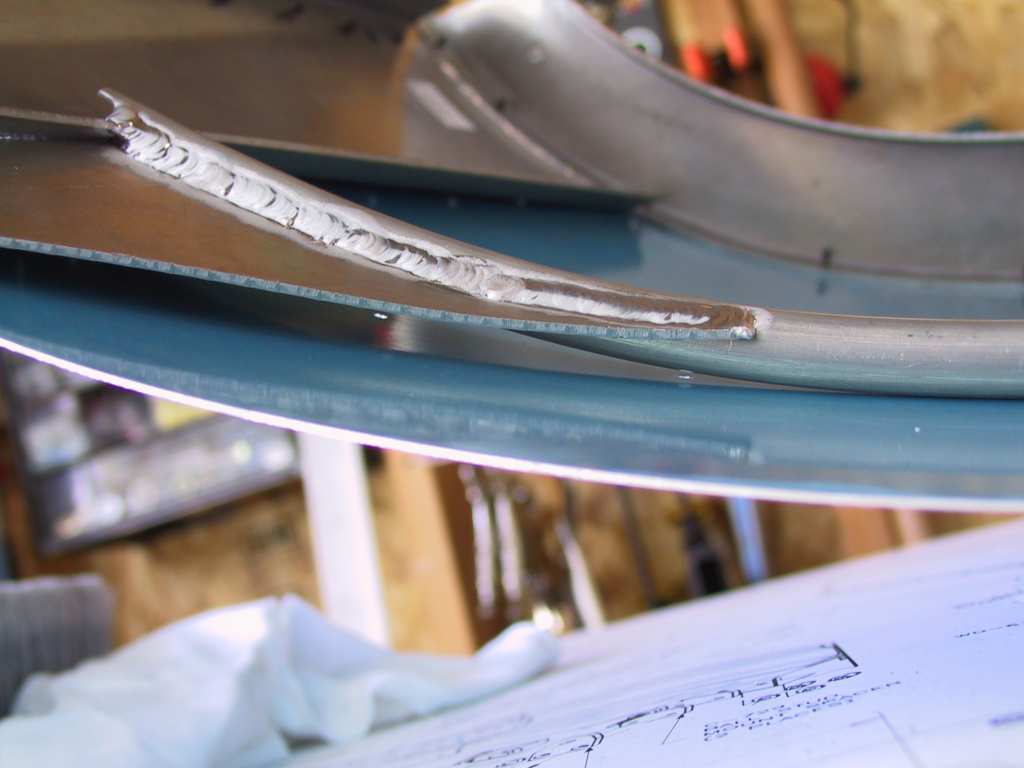
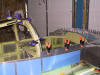
| 5/24/04 |
Spent a huge amount of time tonight getting the fit just
right. Filed a bit from the fronts of the goosenecks and now the fit
on the top and sides where the skins meet is almost perfect. But there
is a bit of an issue where the canopy frame skin meets with the forward
decks. Since I haven't riveted the decks in place yet there's really
not much I can do. Since I want to prime them with the good stuff, it
looks like I'll be waiting till this weekend to do any more work on this.
No pictures. Who want to see the same stuff over and over. |
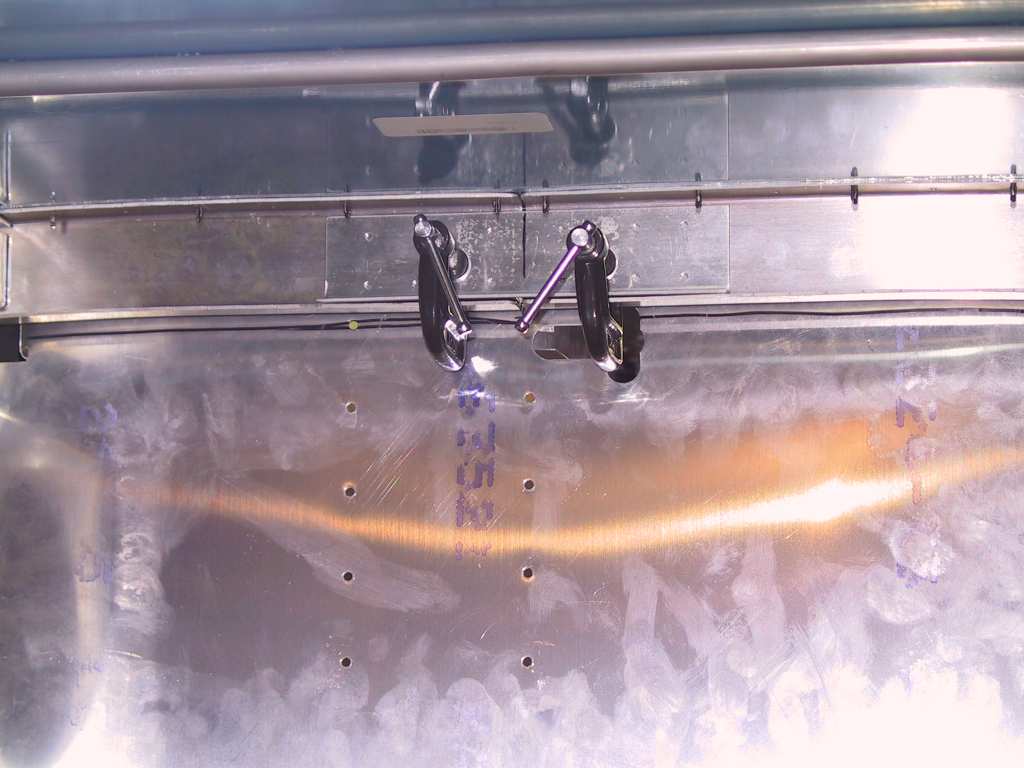
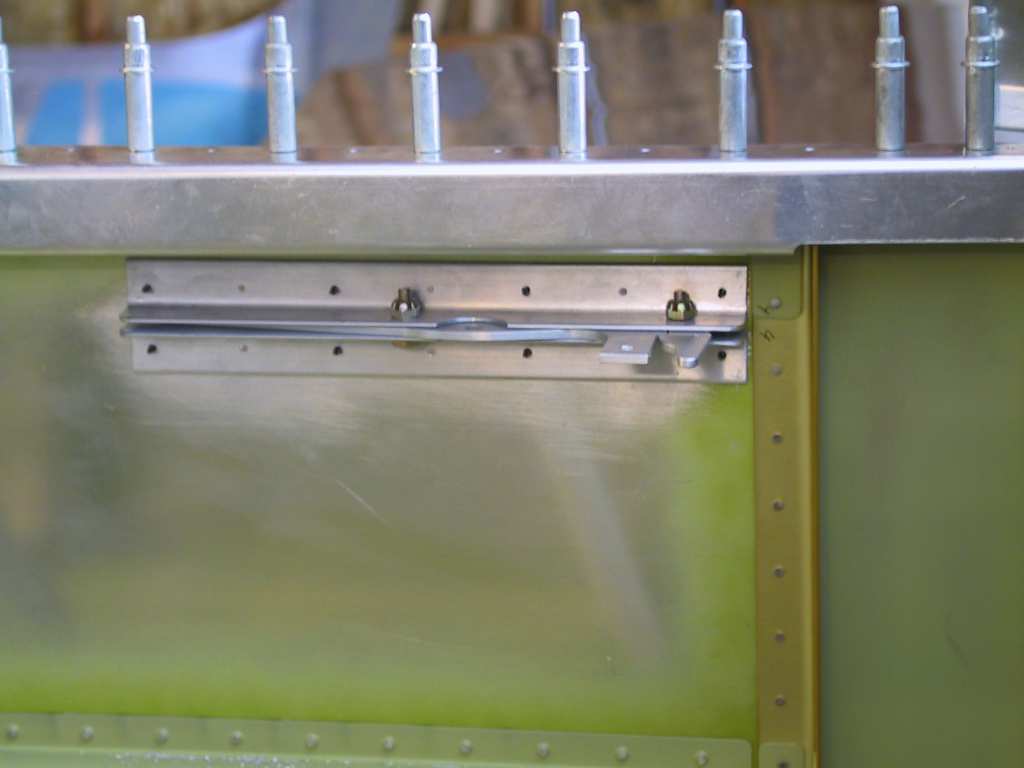
| 5/25/04 |
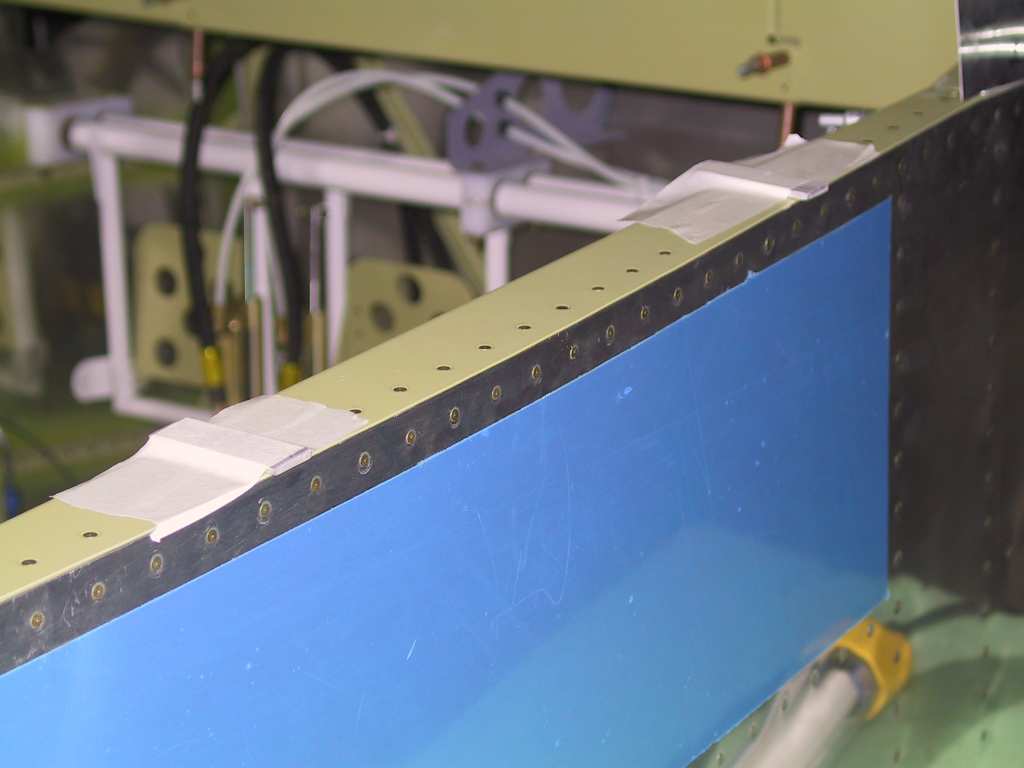
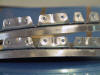
Got my two rolls of UHMW tape from McMaster Carr today.
I've been waiting for this so I can get the canopy latch mechanism drilled
to the fuselage skins. I placed a strip on each of the angles and cut
the excess with a sharp box cutter. Drill them to the skins using the
existing holes in the skins, countersunk the angles and dimpled the skin
with the pop rivet set.
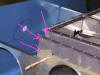
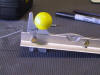
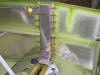
Shot of the canopy latch mechanism open and closed. I fabricated
the pushrod earlier.
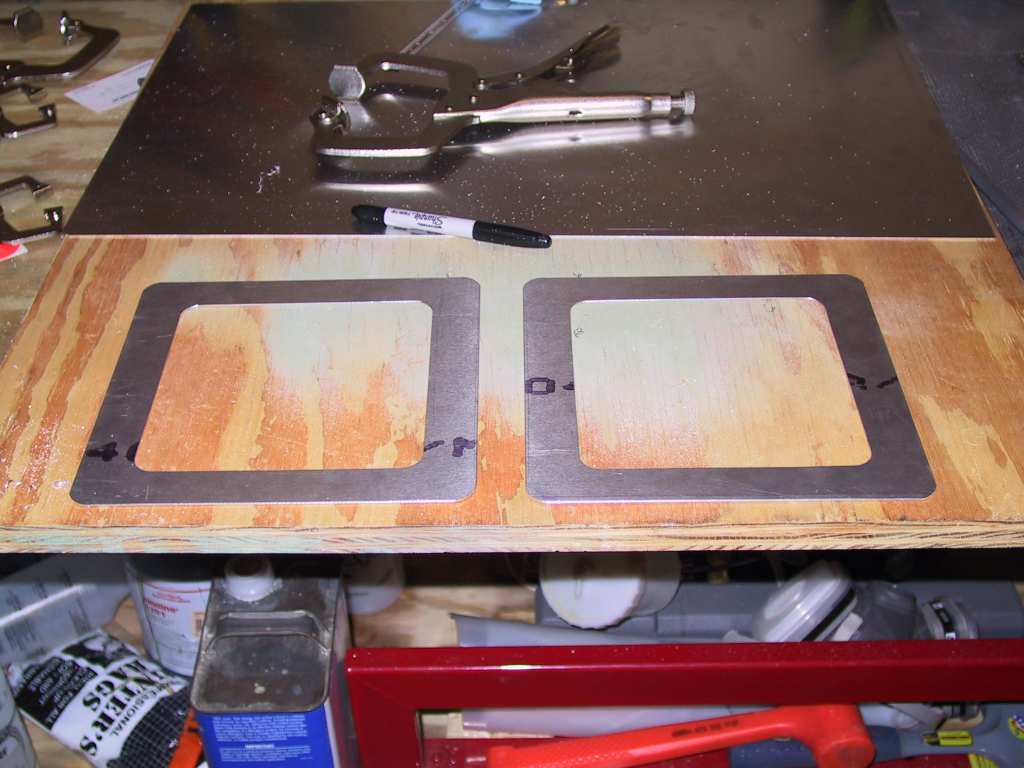
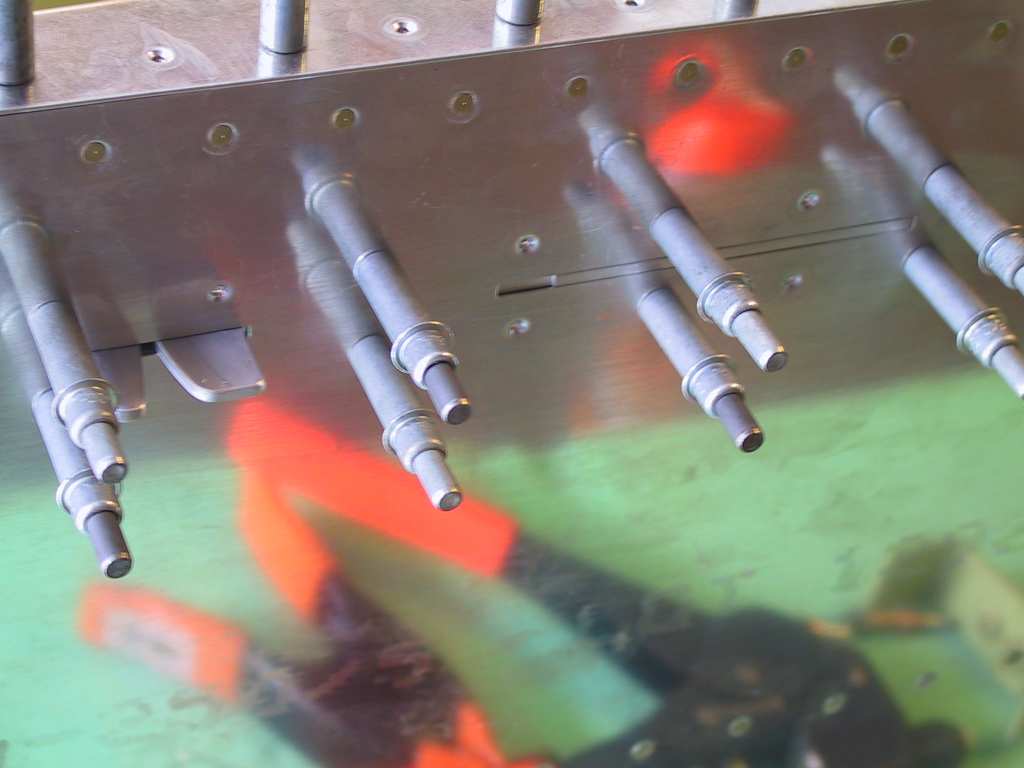
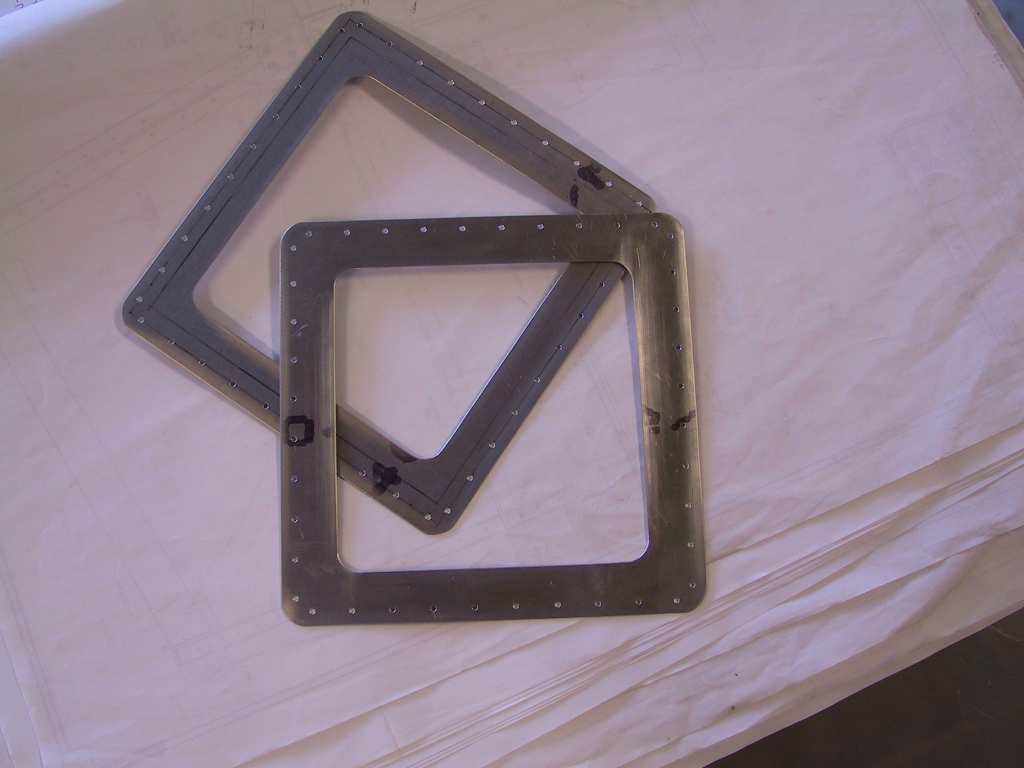
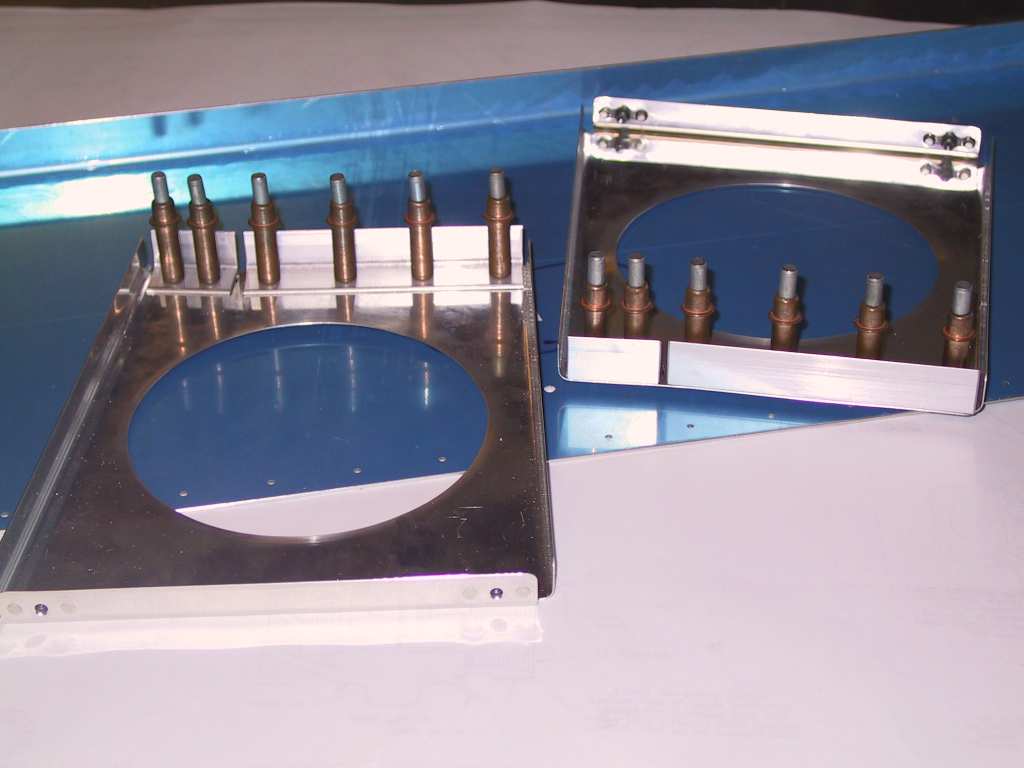
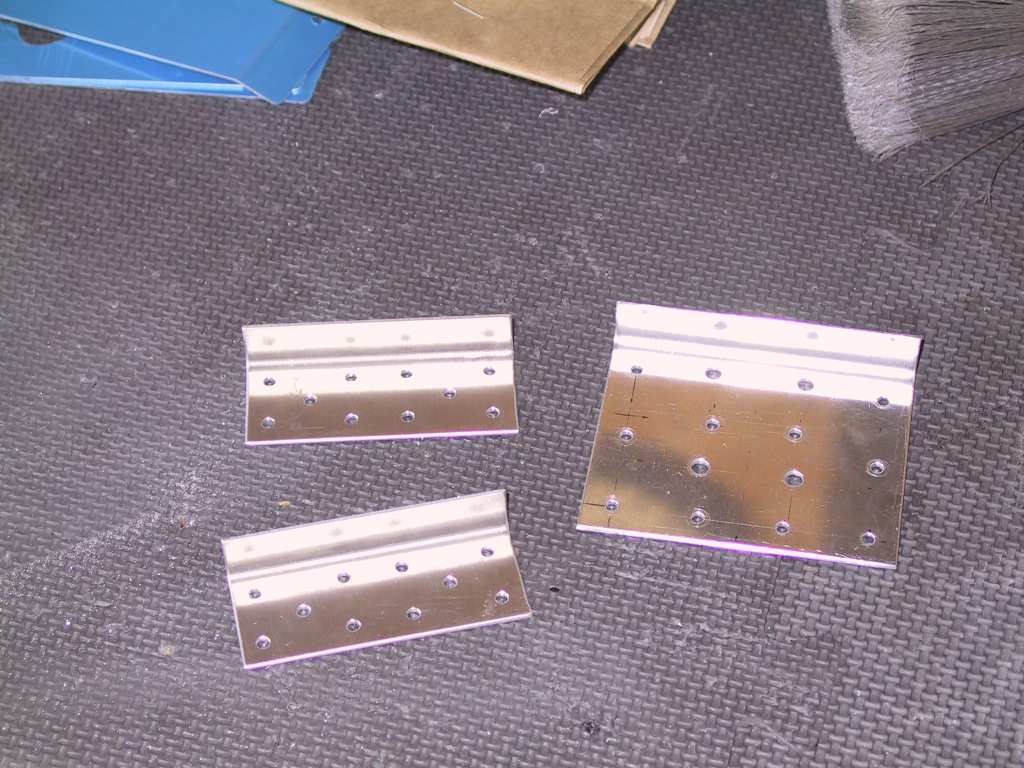
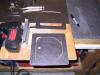
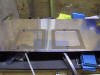
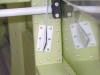
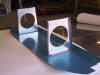
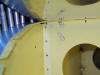
Finished the work on the access panel sub frame. Did all the
drilling with both pieces together so the holes are all symmetrical and
exact. It came out great. Can't wait to get my new forward
fuselage skin so I can finish this. I will tell you that having those
holes up front are awesome. No more having to pull out 50-60 rivets
just to make a minor adjustment or pull a bolt out. In the second
picture the two parts are back to back.
  |
| 5/26/04 |
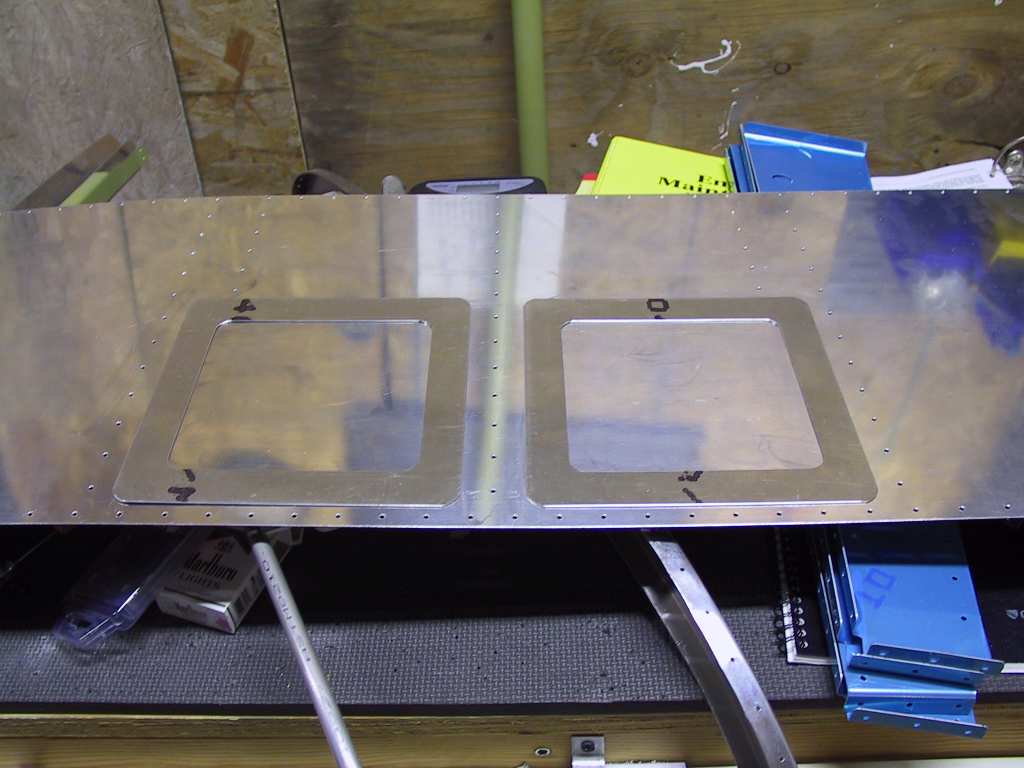
Well I'm learning. The new skin came. But like a
moron I dimpled the sub frames before match drilling it to either the panel
cover or the skin. It's impossible to get the holes lined up
perfectly, and this has to be perfect or it will stick out like a sore
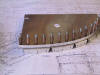
thumb. Ordered a new skin. Fabricated new sub panels and covers.
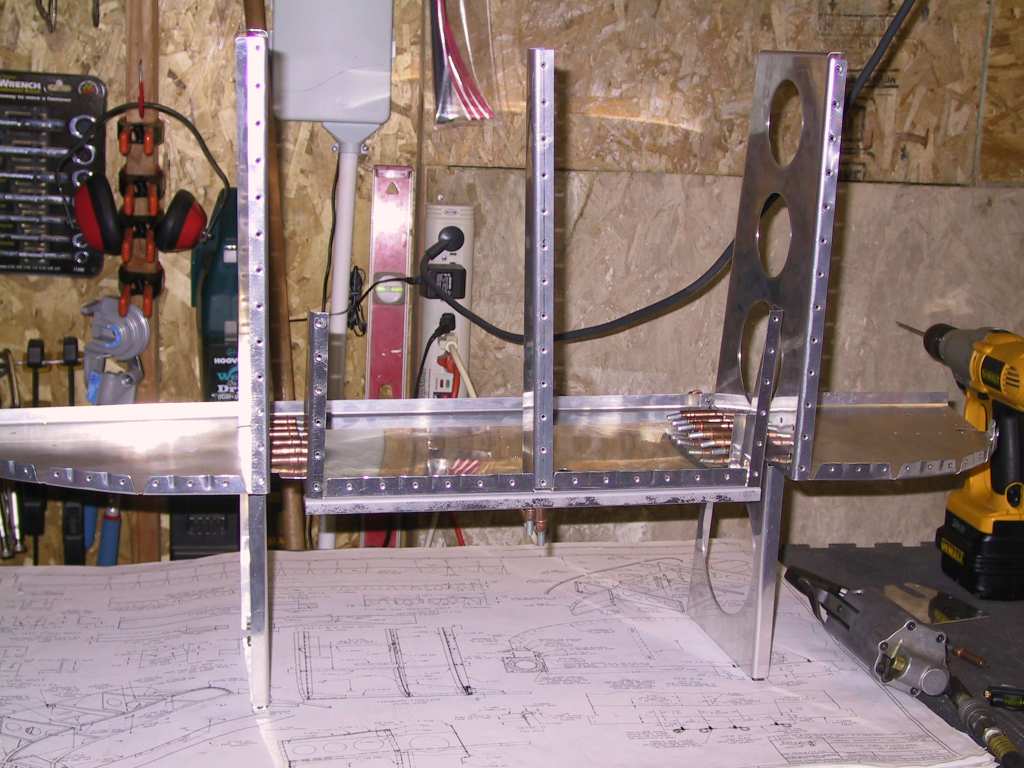
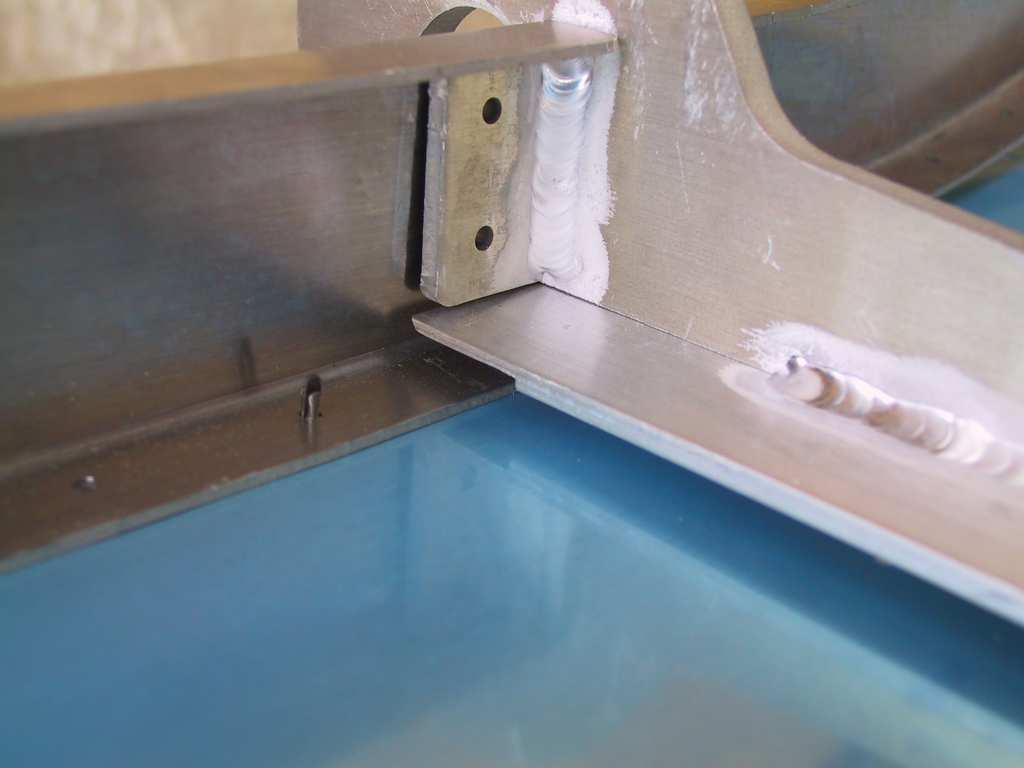
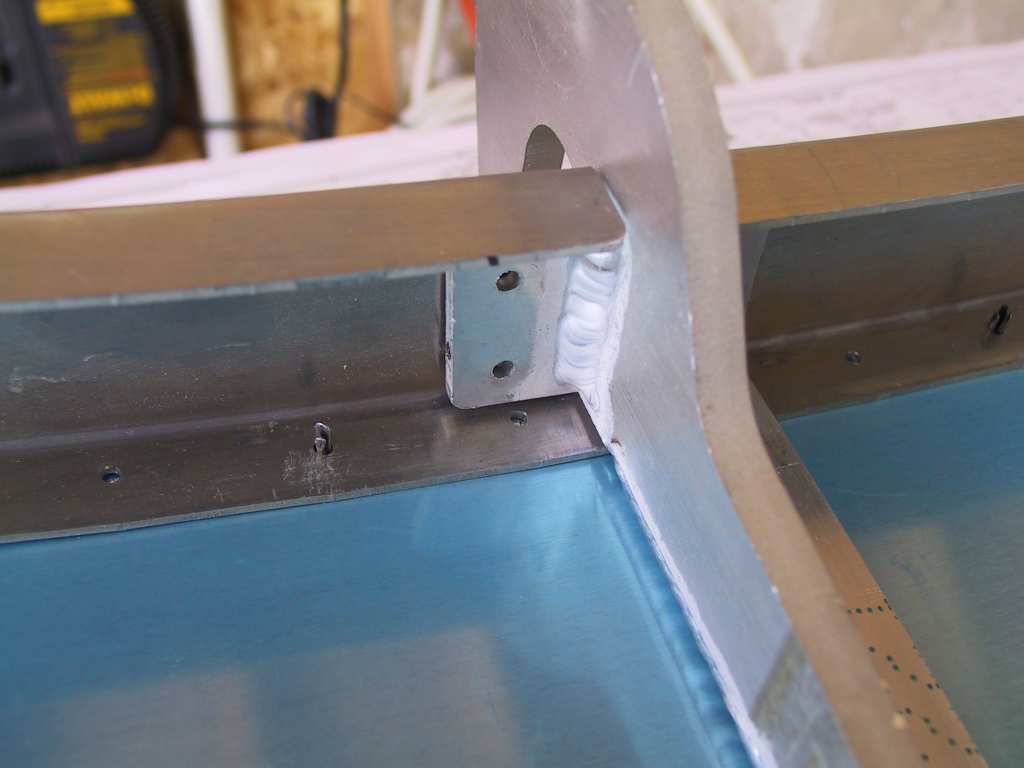
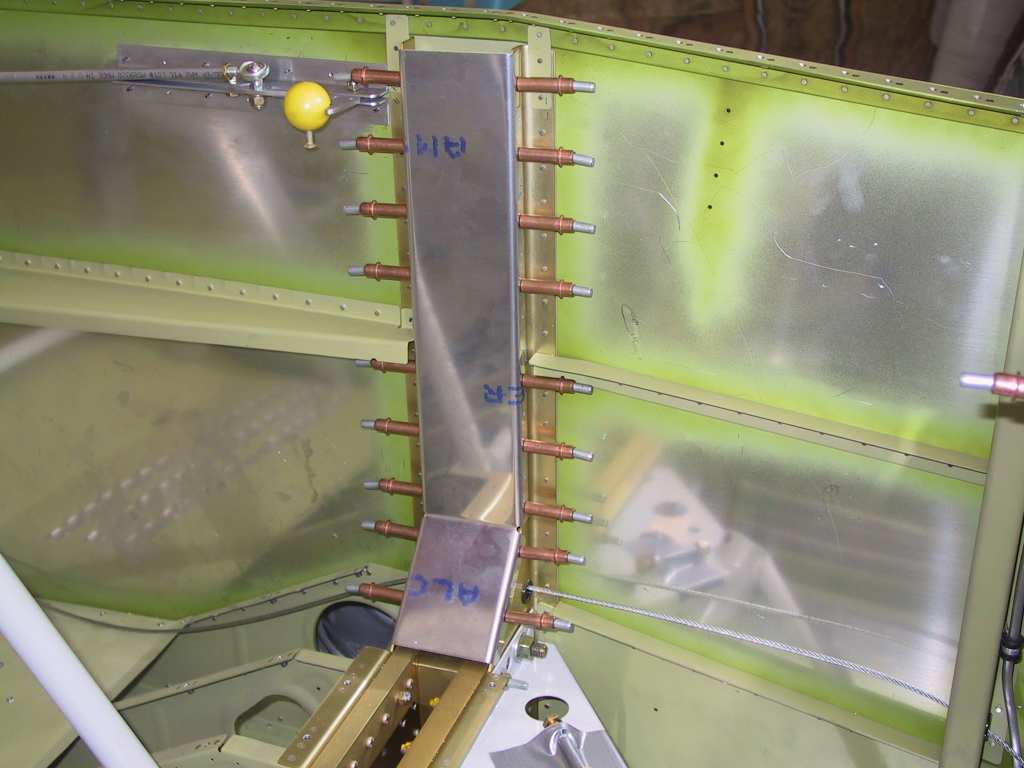
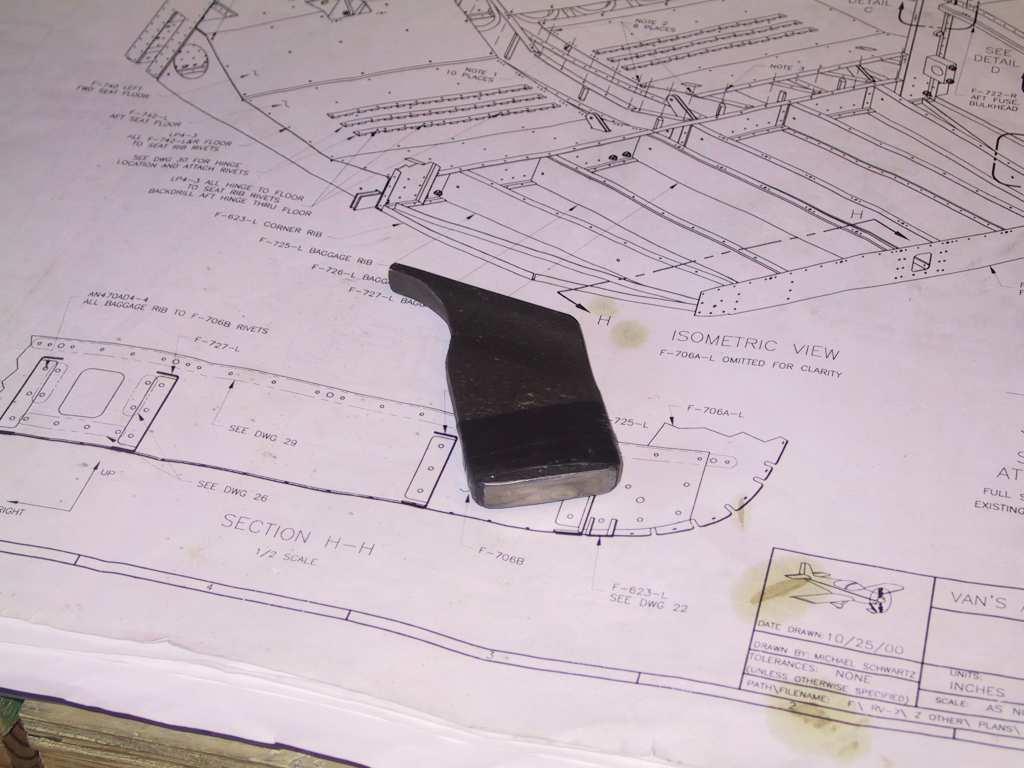
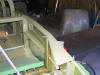
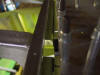
Decided firmly that the F-745 panel braces needed to be cut and moved either
inwards or outboards. Doesn't really matter. I'll have to make
sure of the panel layout before. I traced a line where the brace meets
the sub panel face and cut right on the line with my band saw. The blade
is so narrow that it won't really matter much, maybe a 32nd or so is lost.
Made a couple of angle braces which will support the now halved F-745.
Here's the now naked sub panel |
| 5/27/04 |
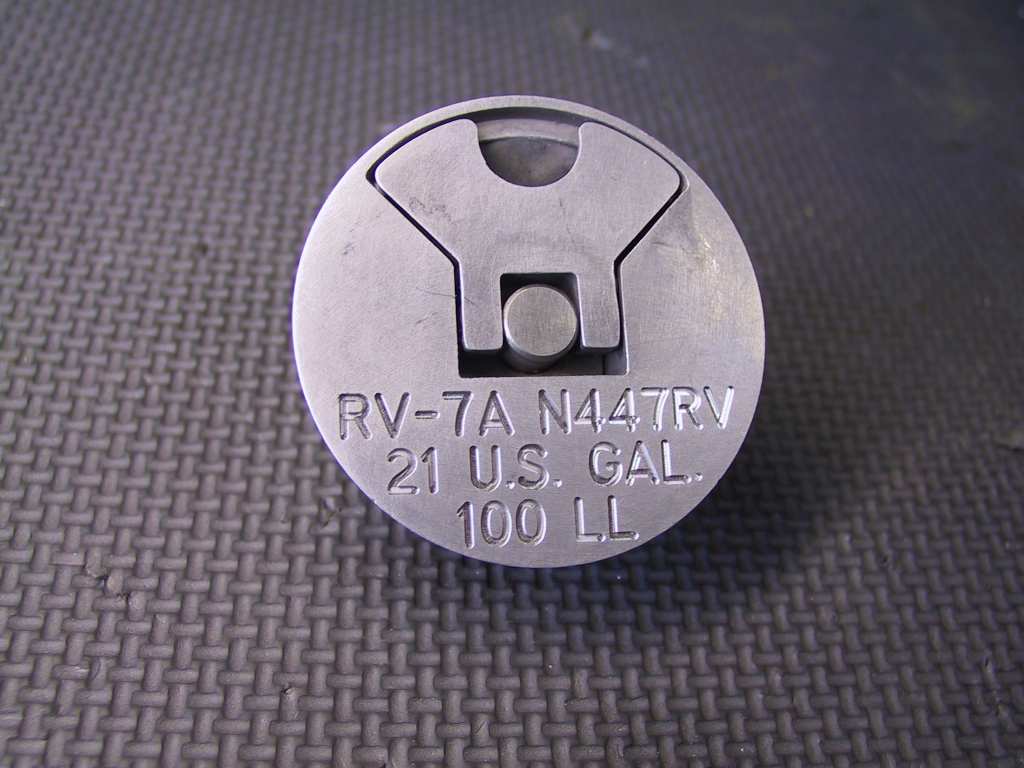
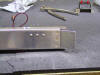
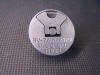
Received my engraved gas tank caps from Bill Esther.
Man does do good work. There's are exceptional. And now you
won't need to label your caps or the area around the caps with stupid
stickers identifying fuel amount and type.
  |
| 5/28/04 |
Another part I was waiting on working on, don't know why.
I installed and match drilled all the holes. You have to take it on a
prayer that the armrest holes line up with the holes in the vertical part of
the spar reinforcement. They sort of did.
 |
| 5/29/04 |
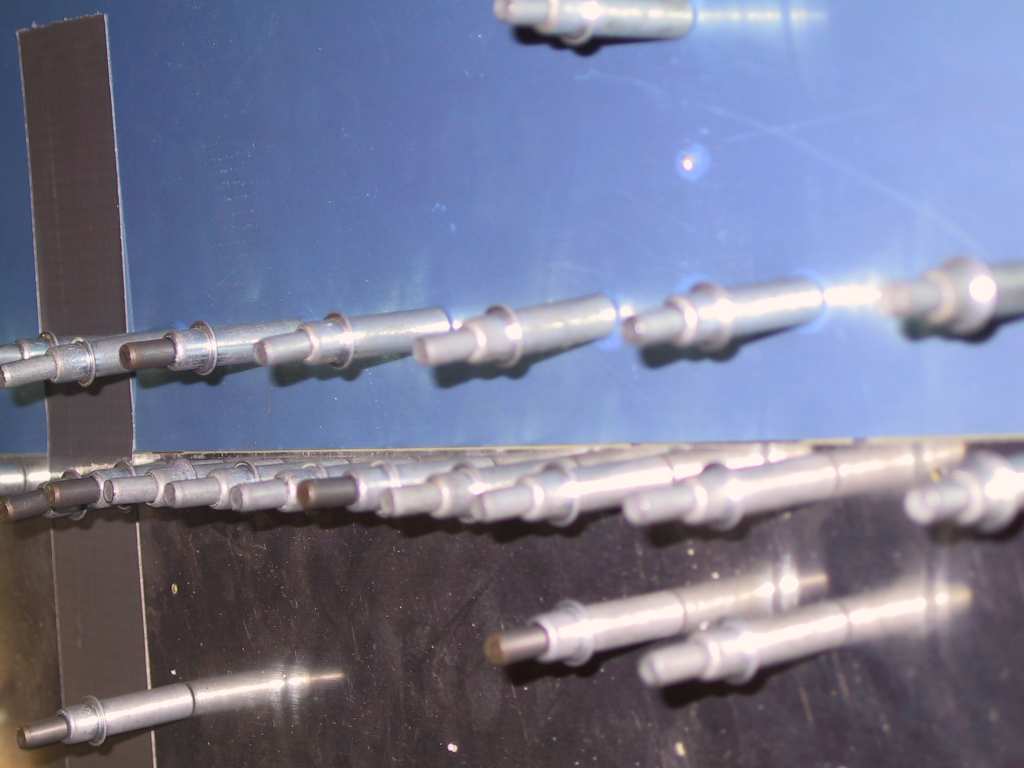
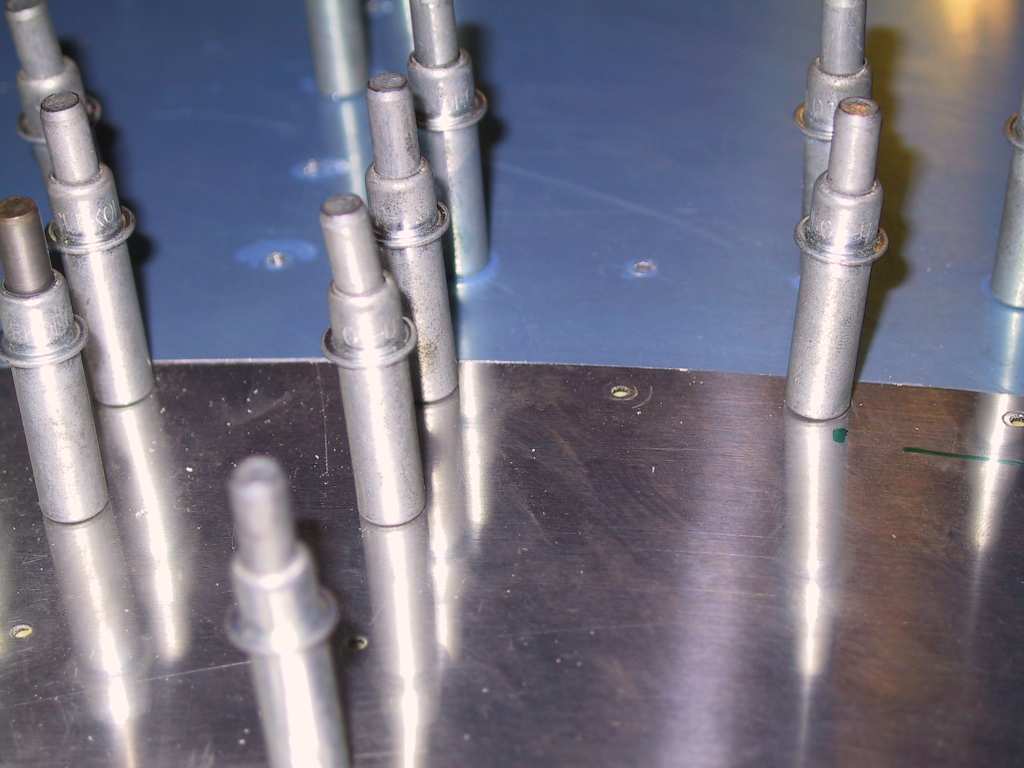
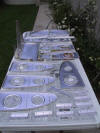
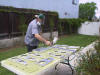
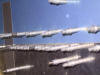
David Richardson came over and we had a priming party.
He had some wing ribs to prime and since I had plenty of paint, well why not
shoot it all. Here's a bunch of parts and David shooting them while I
worked on the Duckworks HID installation. Here's a shot of the poster
David made. These are just awesome and great inspiration in the
garage. Now if I could only get a 7A poster...
|
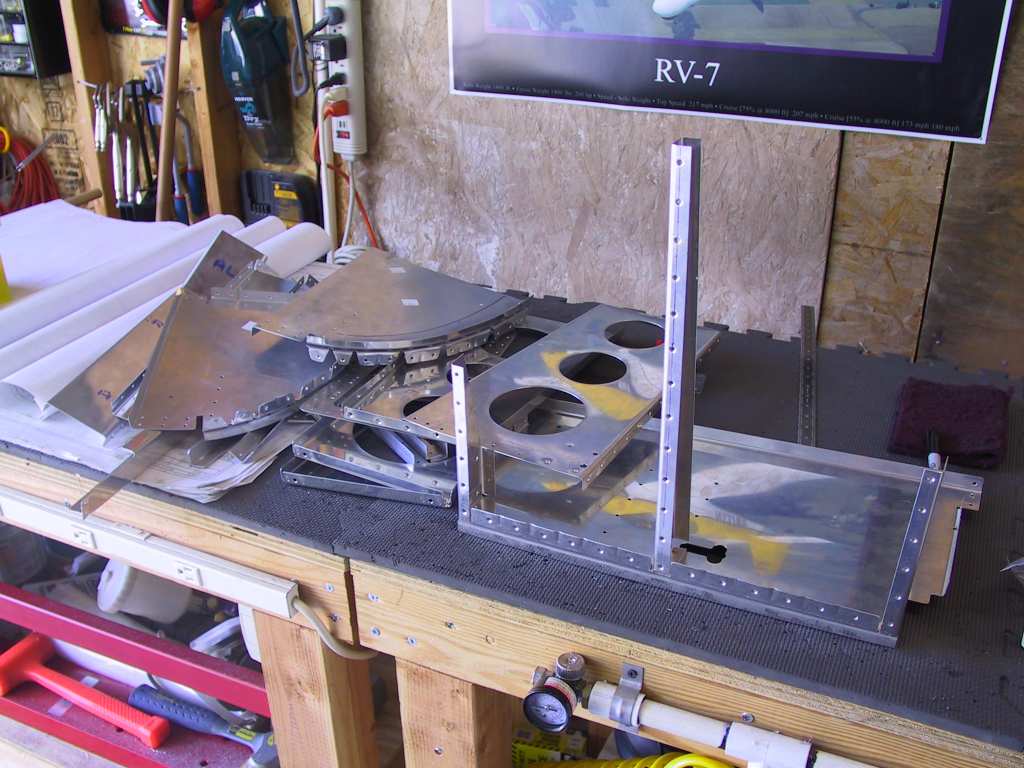
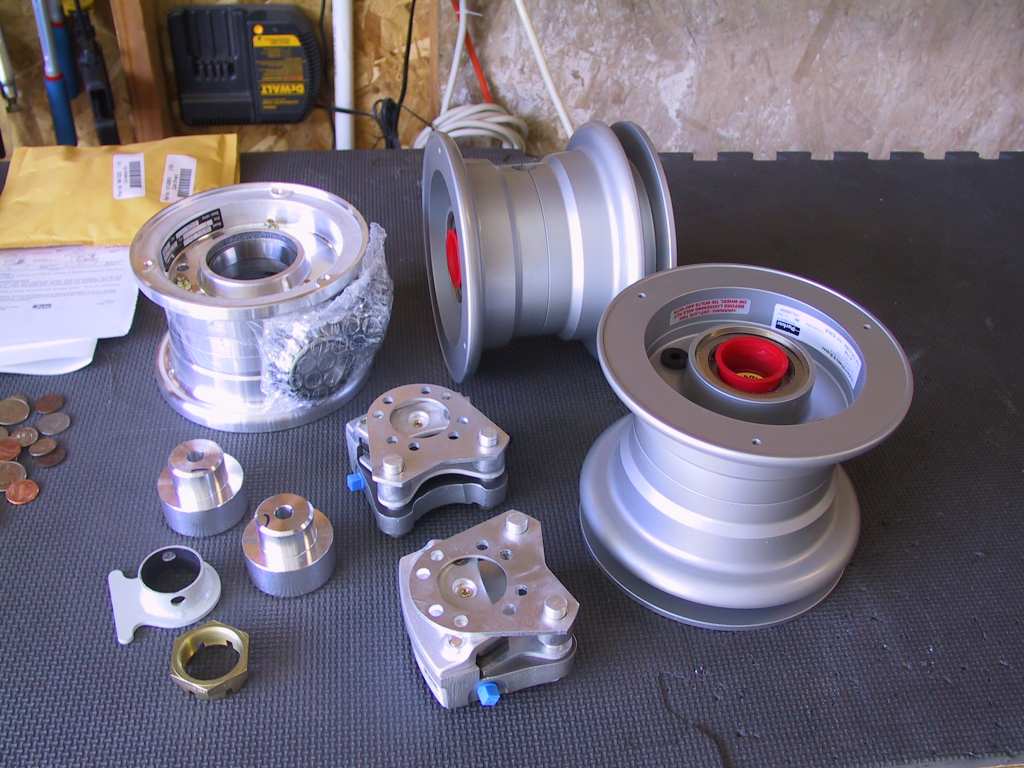
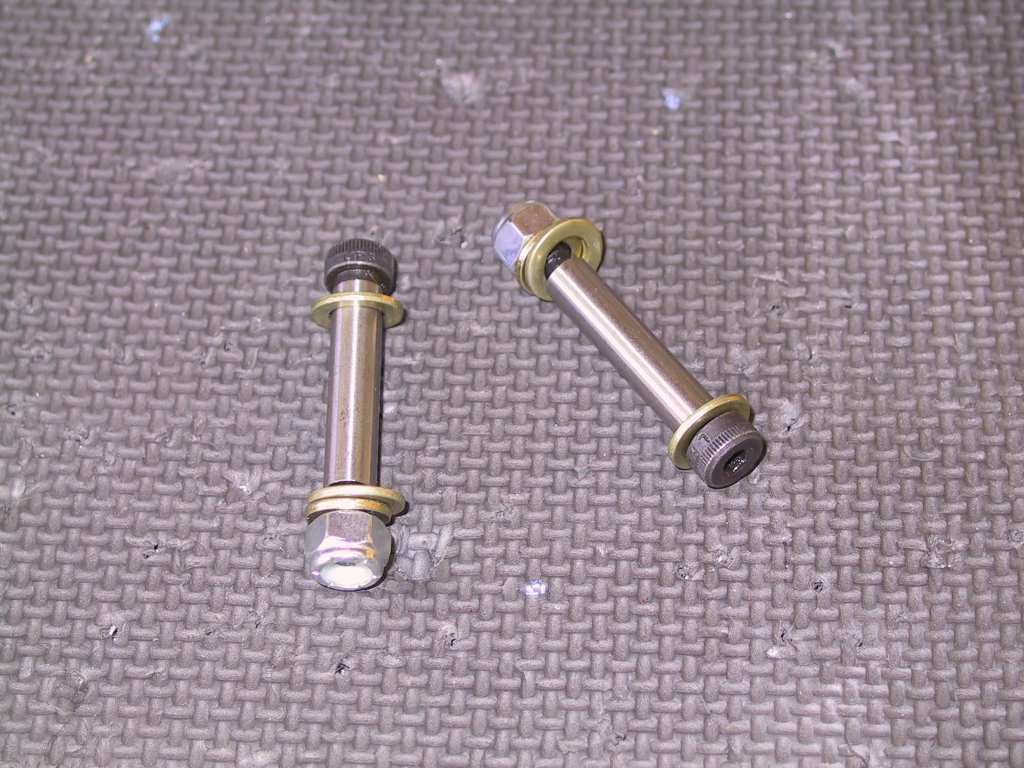
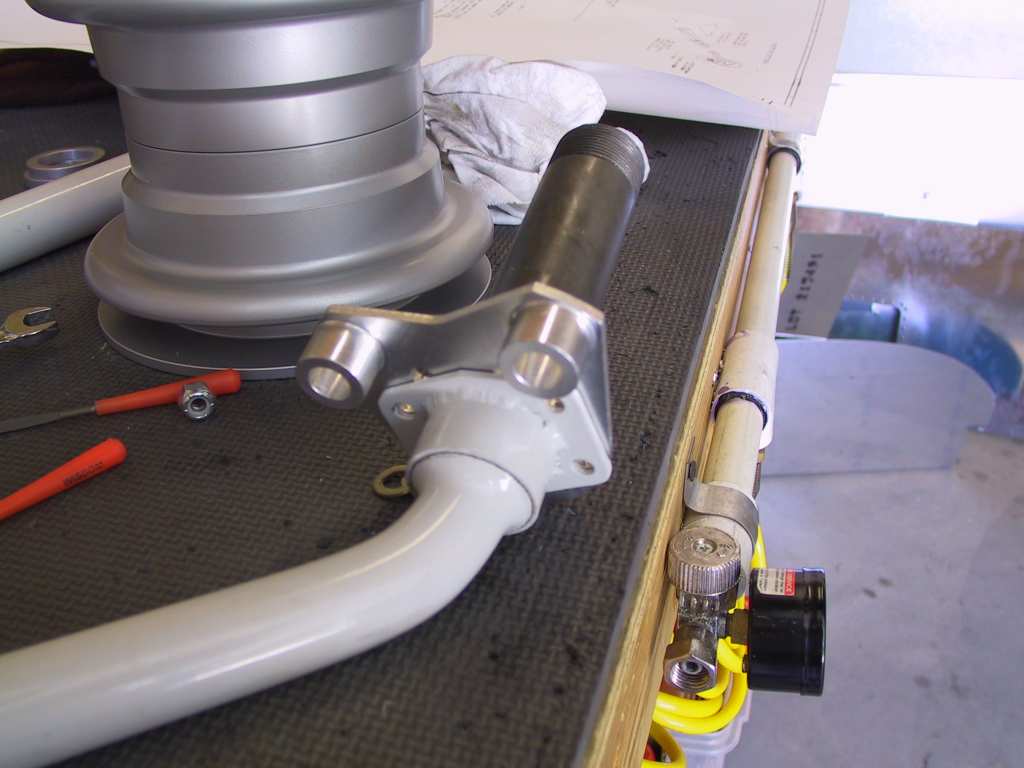
| 5/30/04 |
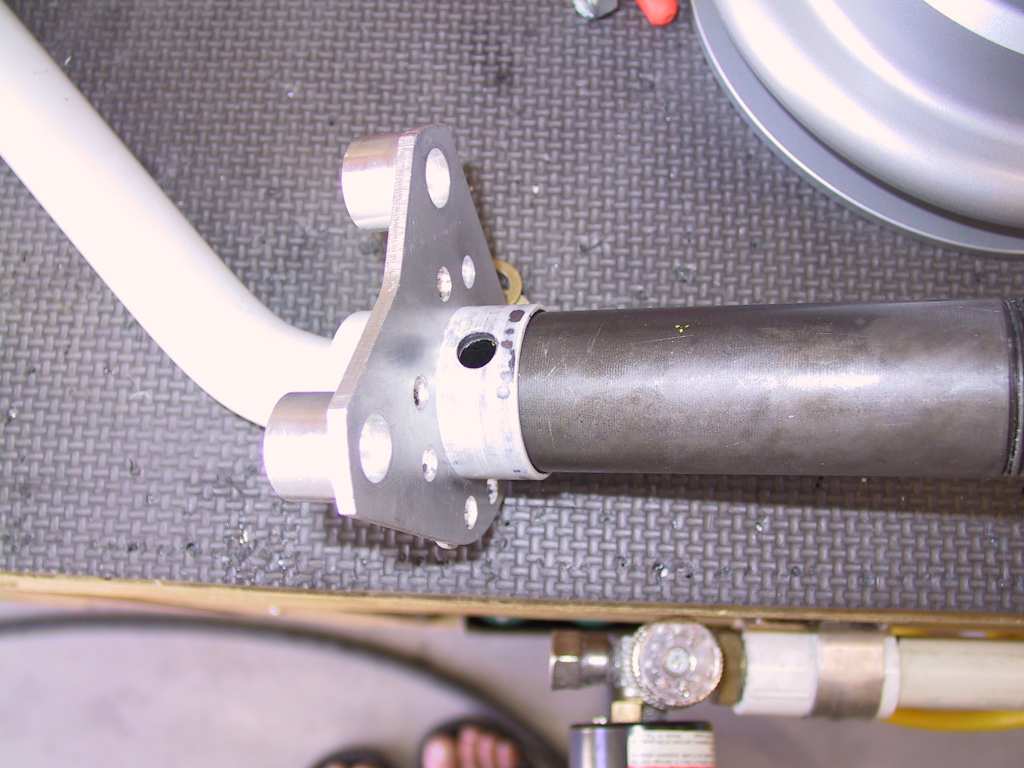
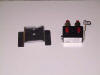
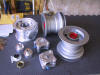
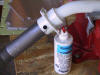
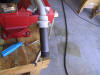
Time to work on something else for a change. Broke out
the brakes and wheels. Drilled the holes in the brake mount. I
couldn't finish because I ran out of aluminum tube to make the spacers.
The plans suck here. Nothing detailed at all. I'll complete the
documentation of this when I received my daily order from Aircraft Spruce.
   |
| 6/1/04 |
Today David was gracious enough to come over and help me get
the last rivets in the canopy decks so I can concentrate on the canopy.
Thanks David, I owe you again. When are you going to proseal? I
want to make sure I'm out of the country... You can buck all the
rivets with this little bucking bar. I never thought I would use it
but it's the Only thing that will work here, well, asides from pop rivets.
  |
| 6/3/04 |
Nothing doing today. Got real work to take care of all
night and through the weekend. |
| 6/5/04 |
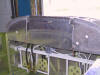
More canopy work. This thing is gonna take forever.
I was finally satisfied with the fit of the canopy frame skin, at least on
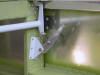
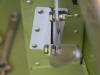
the top and along the curves. The fit where the skin meets the canopy
deck is still sticking out in the front a bit. Decided that the fit
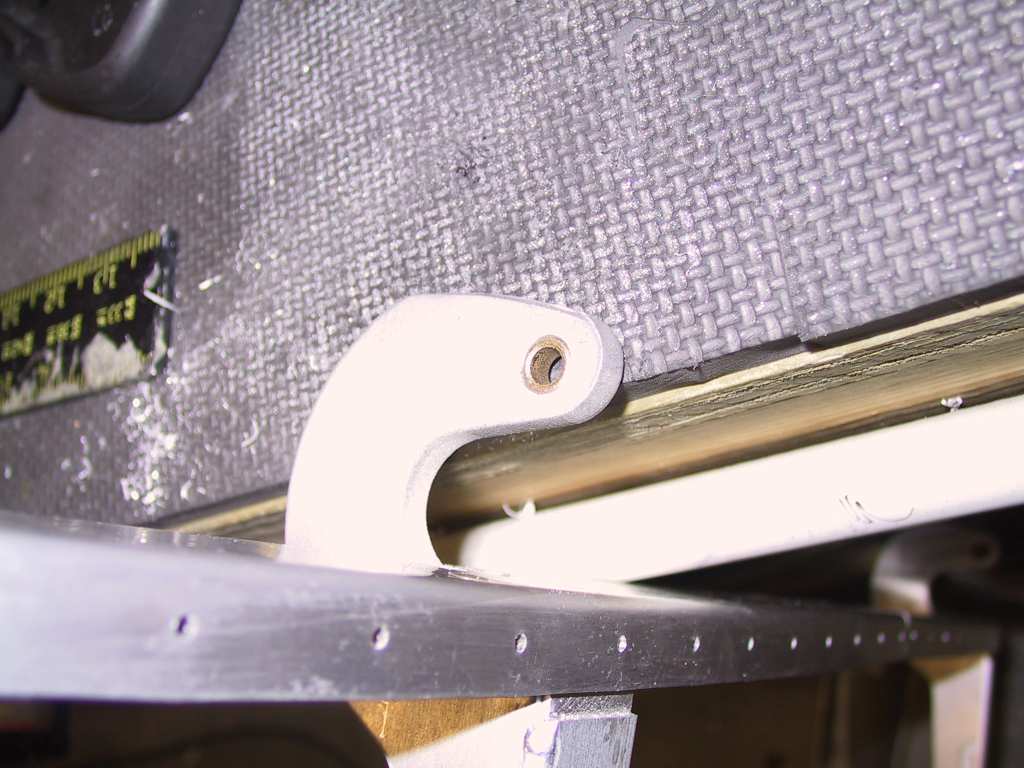
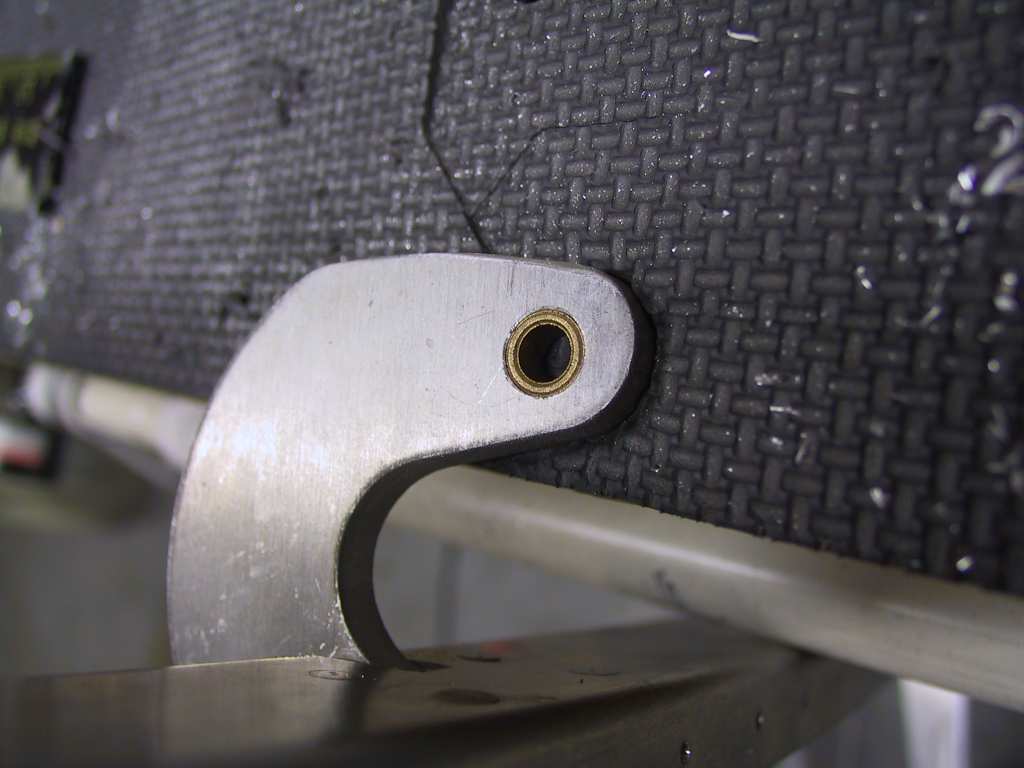
was good enough to drill the hinges.
Piloted the hole. Pretty nice as the bushings will sit almost dead
center in the hinge. Drilled full size with a new bit. I didn't
have a reamer and I don't think it makes that much difference. I'm not
building a space shuttle.
    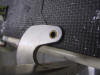
There was a bit of a clearance issue here, which is normal. I
started to use a jewelers file but a deburring tools works faster.
 |
| 6/6/04 |
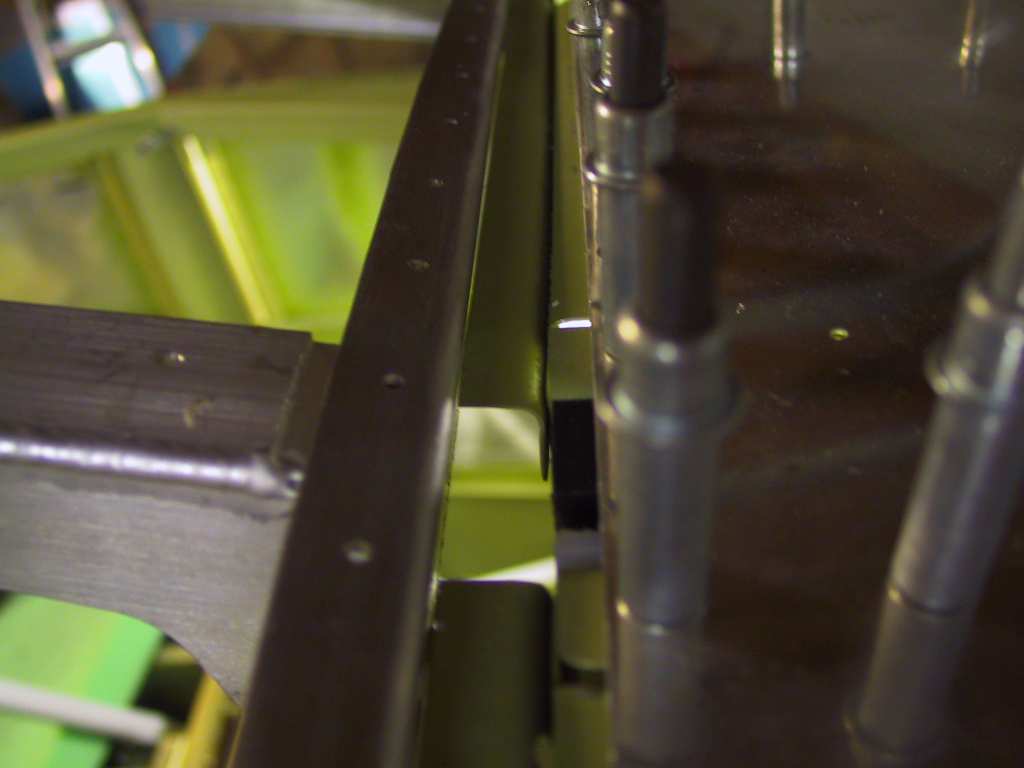
Spent most of the day at the office. When I got back I
drilled some parts and started to get the fit of the canopy frame. I'm
gonna need some more clamps...
    |