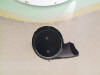
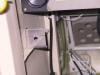
| 1/7/05 |
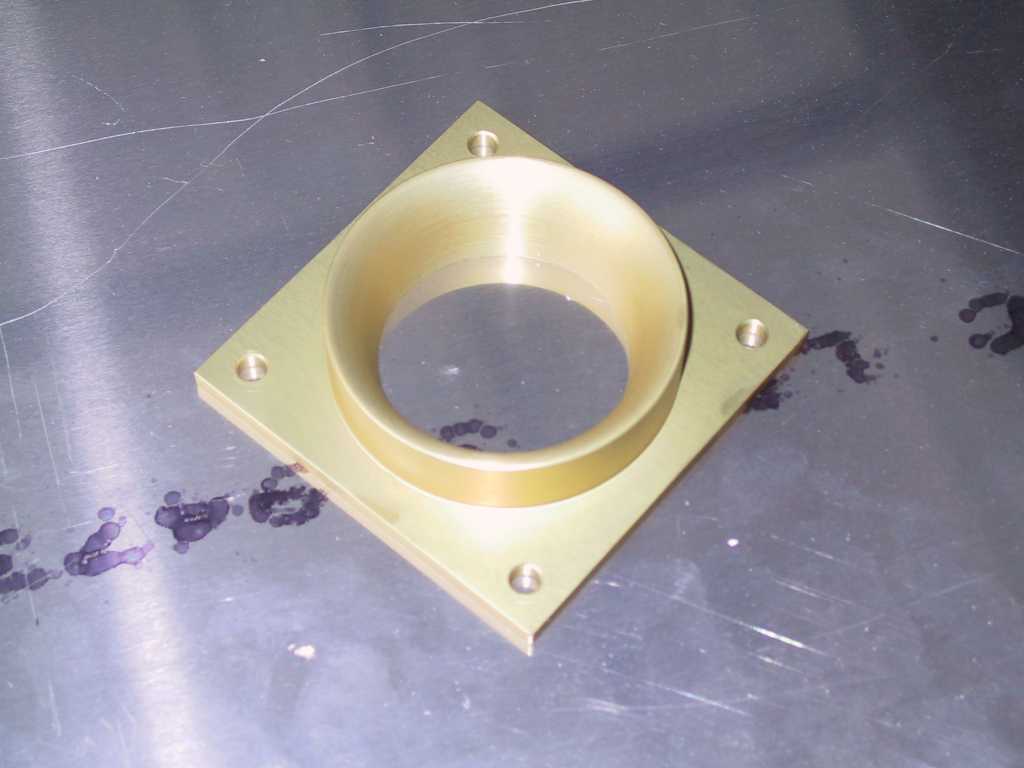
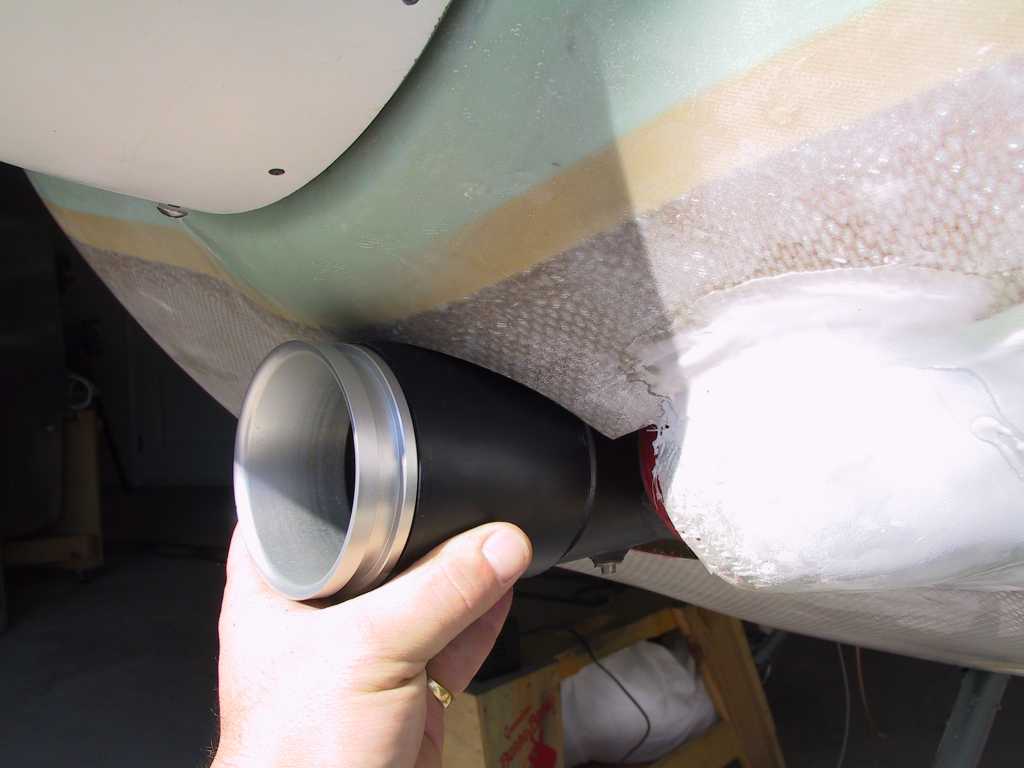
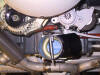
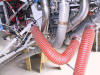
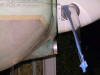
Today I received my
ram air Y valve and Precision adapter from Airflow Performance. Things of
beauty. Now I just have to figure out how all this is going to work...
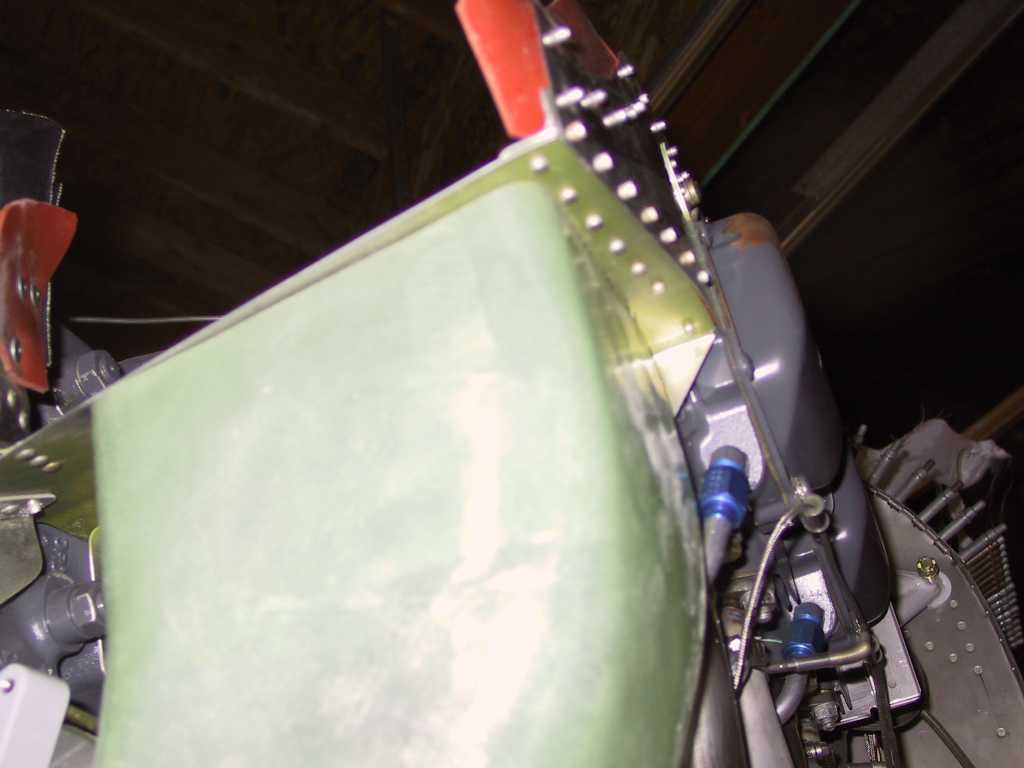
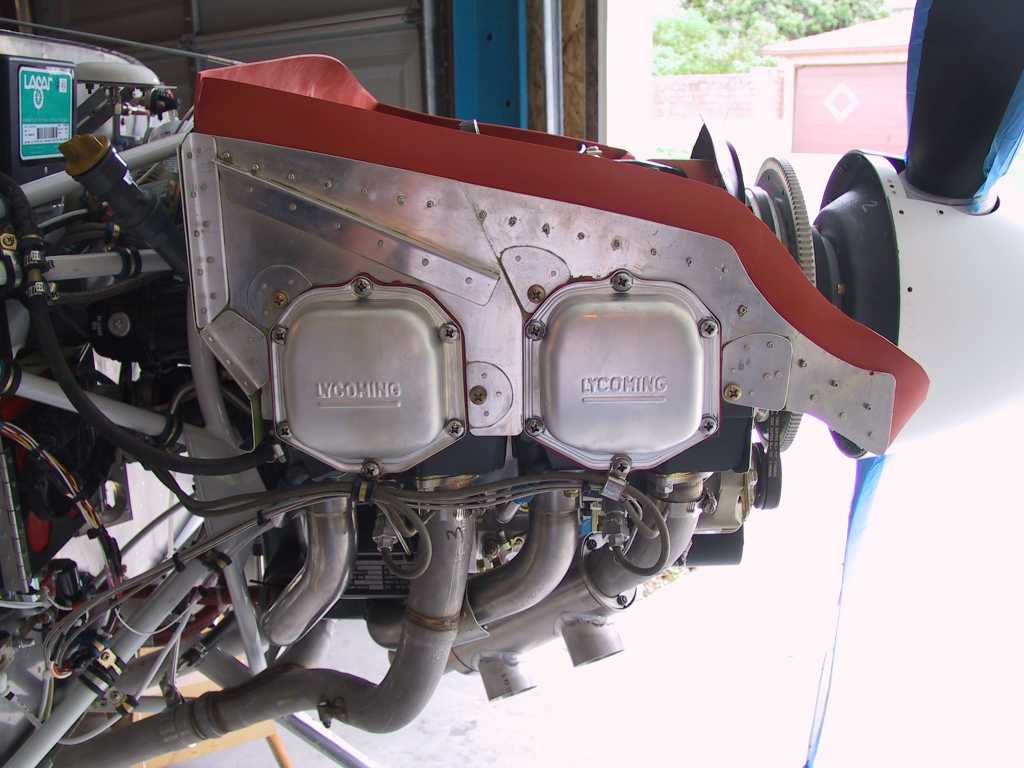
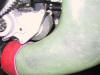
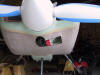
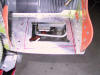
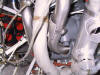
Because of the position of the starter I can only get a little bit of
upwards cant on the filtered air side of the intake. There's adequate
clearance when positioned like so.
    |
| 1/17/05 |
Well not much is happening on the build right now.
I've got my folks in town for three weeks and in the middle of that I have
my relatives from France coming for ten days. I'm looking forward to
seeing everyone and drinking some good wine. So a little break is in
order. |
| 1/18/05 to 1/27/05 |
Relatives in town. Eating and drinking instead of
working on plane. (Just as much fun) |
|
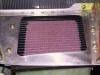
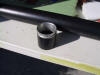
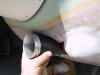
1/28/05 |
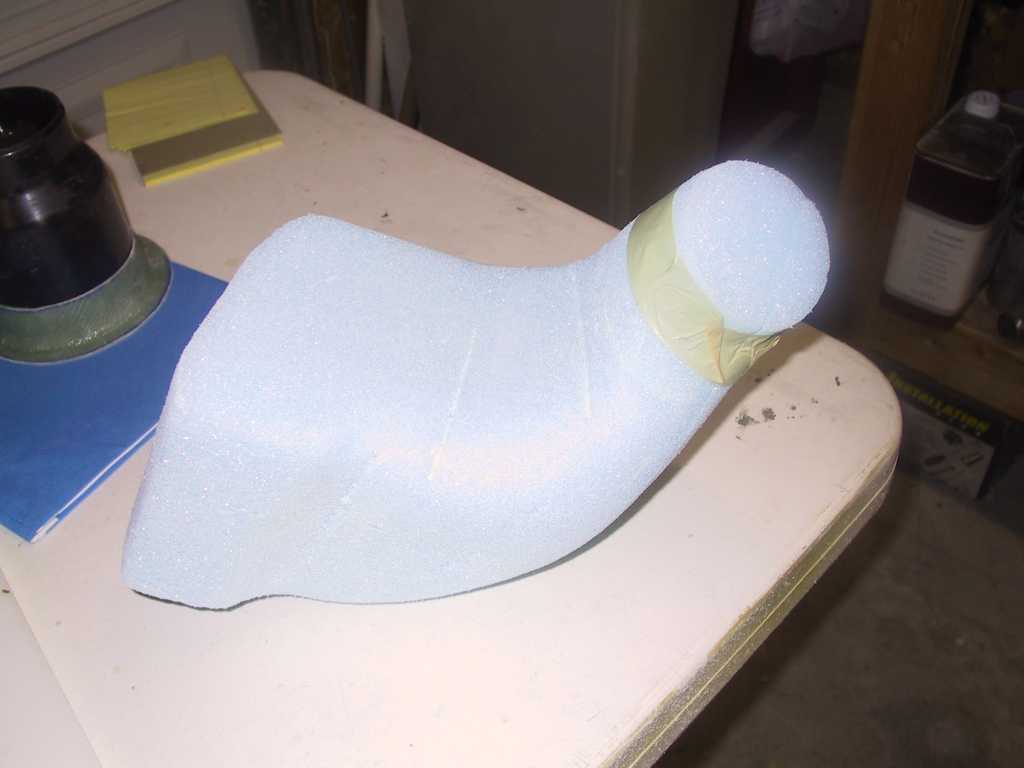
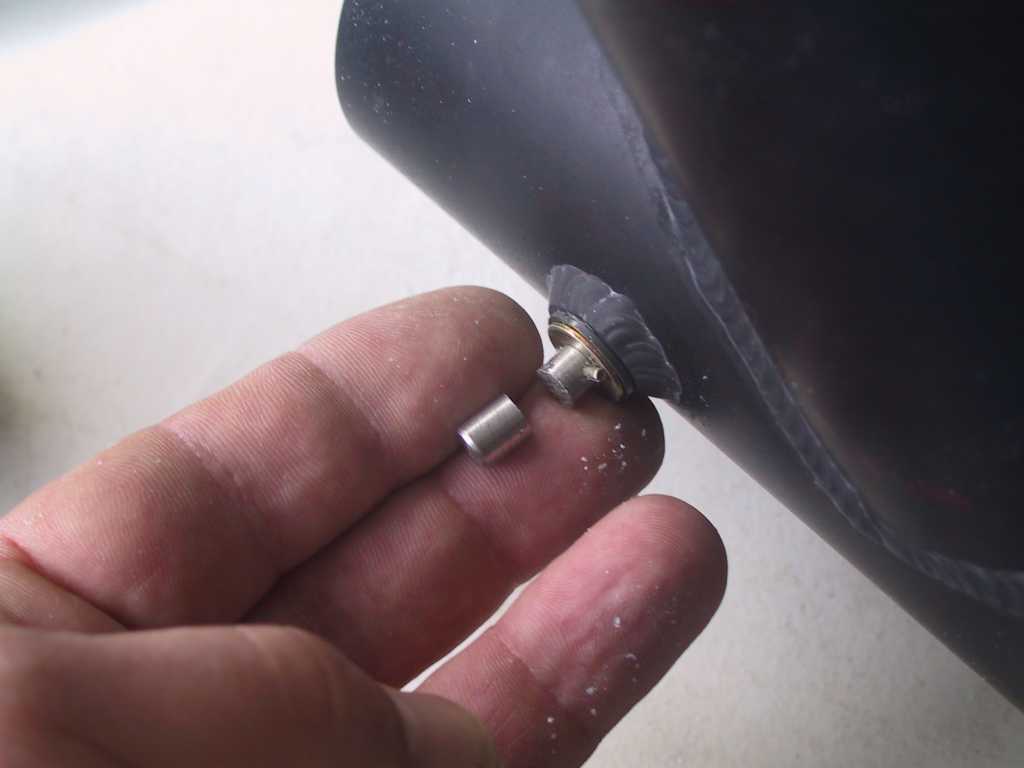
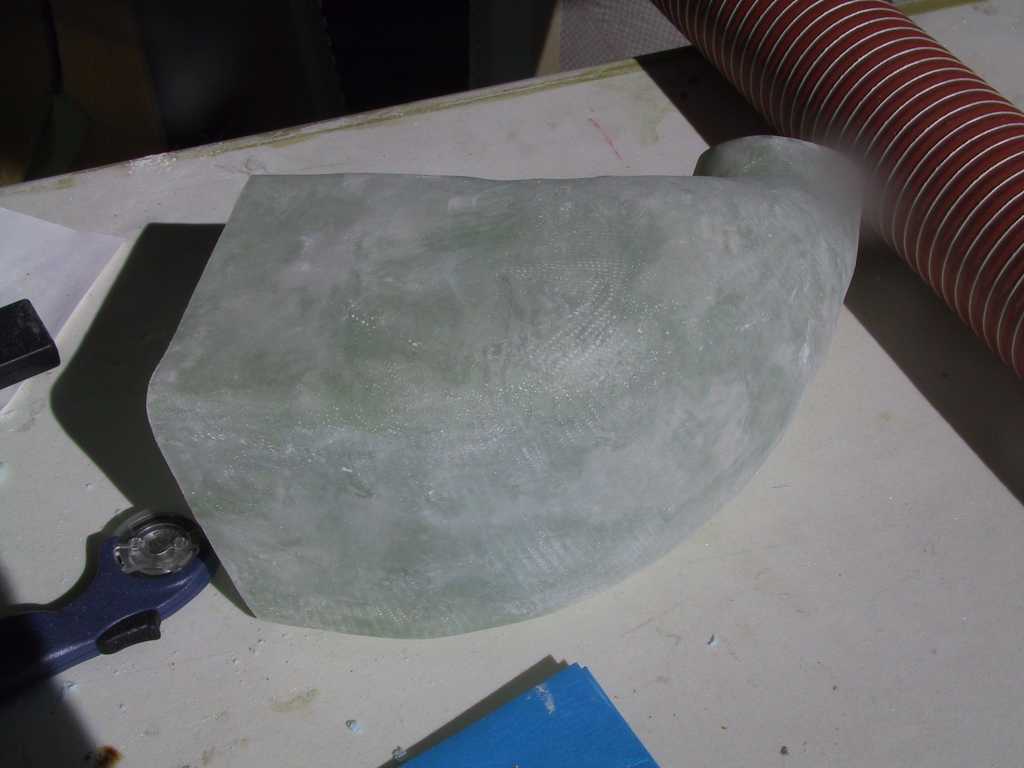
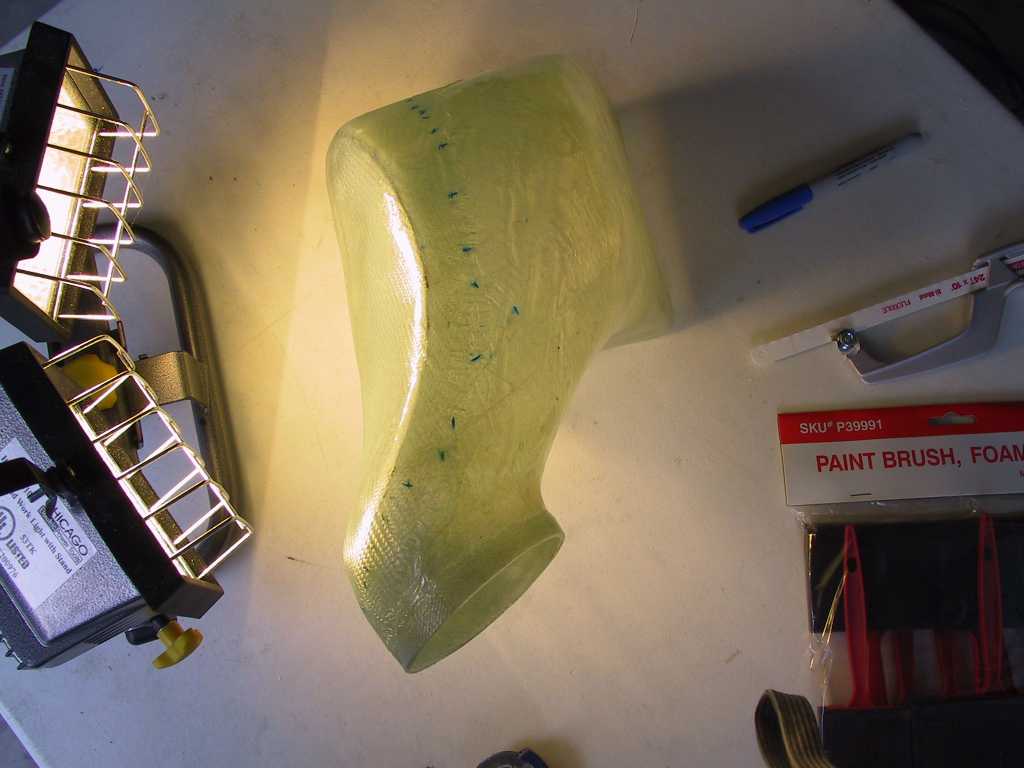
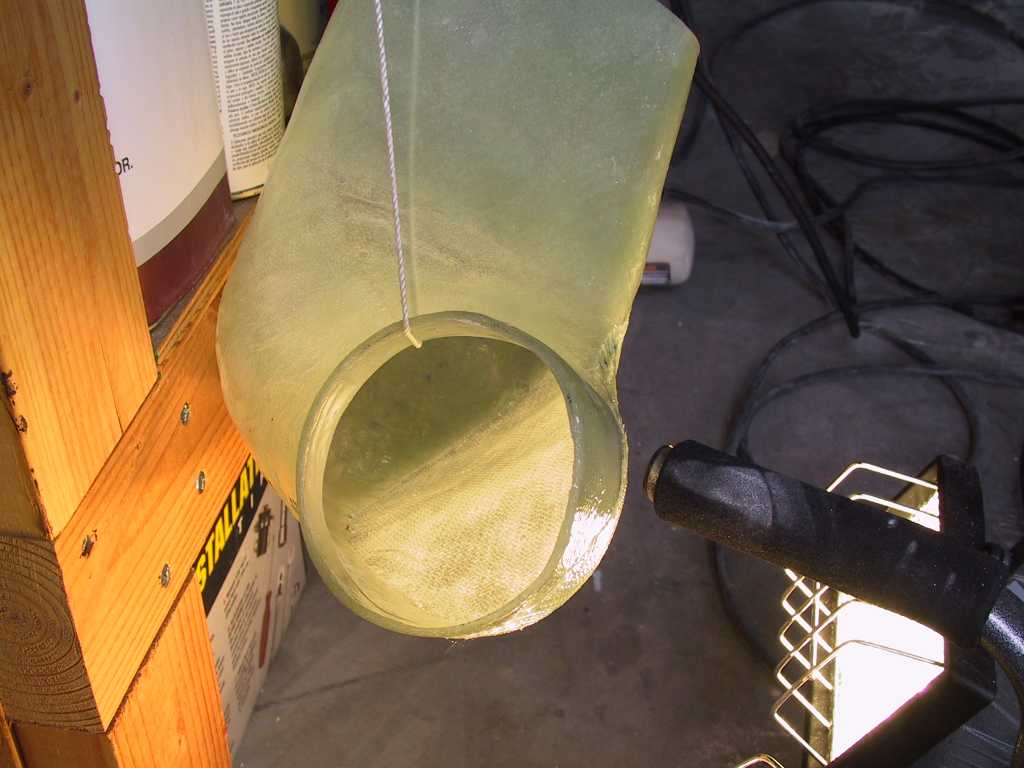
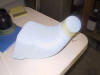
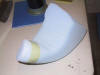
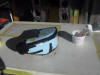
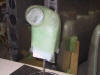
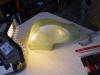
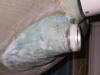
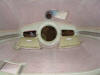
Ram air. What can I say. I've been thinking and
dreaming about how this is all going to work for many a night. Thought
about doing what Dan did and build a filtered air box and connect it via
some 4.5" scat tubing to the 'Y'. But something in my little brain
said to try it in fiberglass. Well I don't have squat for fiberglass
experience. But it's worth a try. So after a ton of fitting and head
scratching I came up with this foam thingamajiggy. It's going to be
used as a form. Fits well but who knows.
   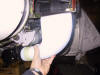
Started to make the cowling cut for the ram air. A little bit at a
time.
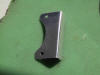
First thing I noticed is that I'm gonna have to chop this little end off
of the butterfly hinge.

Gotta stop for the day. Folks are anxious to do the tourist stuff.
It's a lot of fun actually. Fortunately, no one wanted to go to
Disneyland. Last time I was there I got sicker than hell on the
friggin tea cups. I shouldn't have eaten the hot dog just before
probably. |
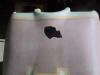
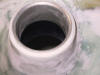
| 1/30/05 |
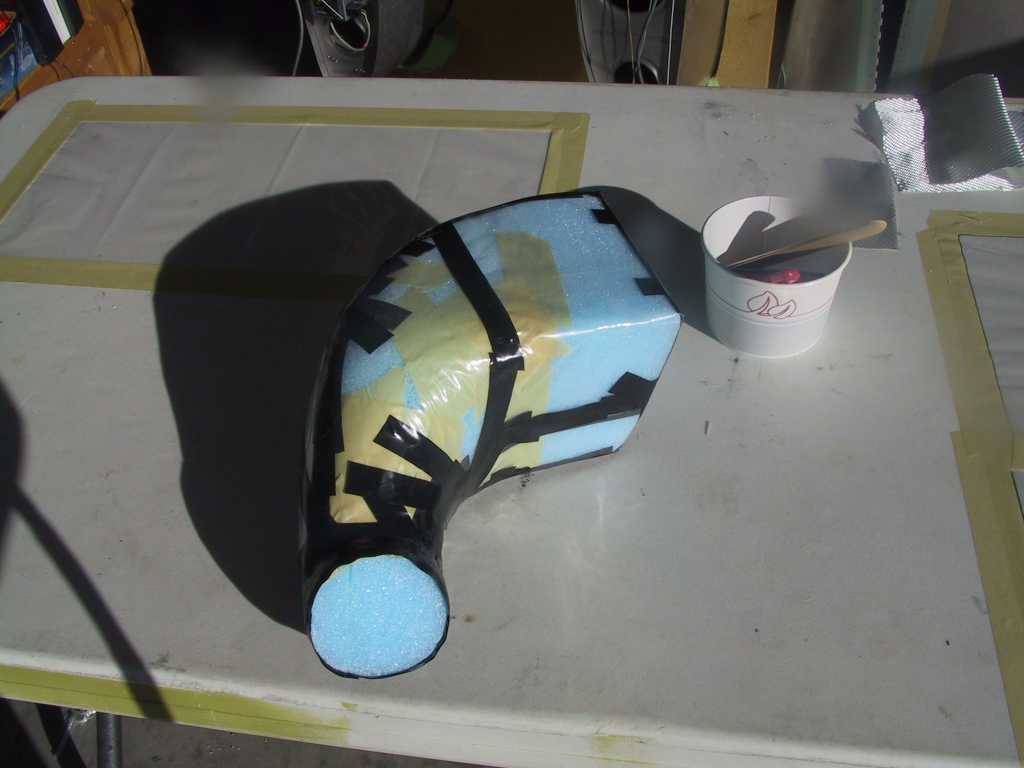
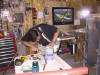
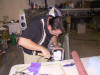
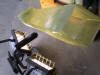
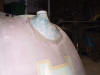
A word of caution here. I don't have a clue what I'm
doing here with fiberglass. I've no previous experience. I only
know what I've gleaned from other websites. So today I'm going to make
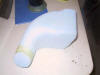
a part from the crazy mold I have.
I covered the thing in plastic. The black tape is electrical tape.
I'm pretty sure that epoxy won't stick to it (I hope). The dark areas
in the pictures is just shadow. It was nearly 80 today. Eat your
heart out if you live in the Midwest.
 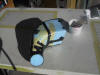
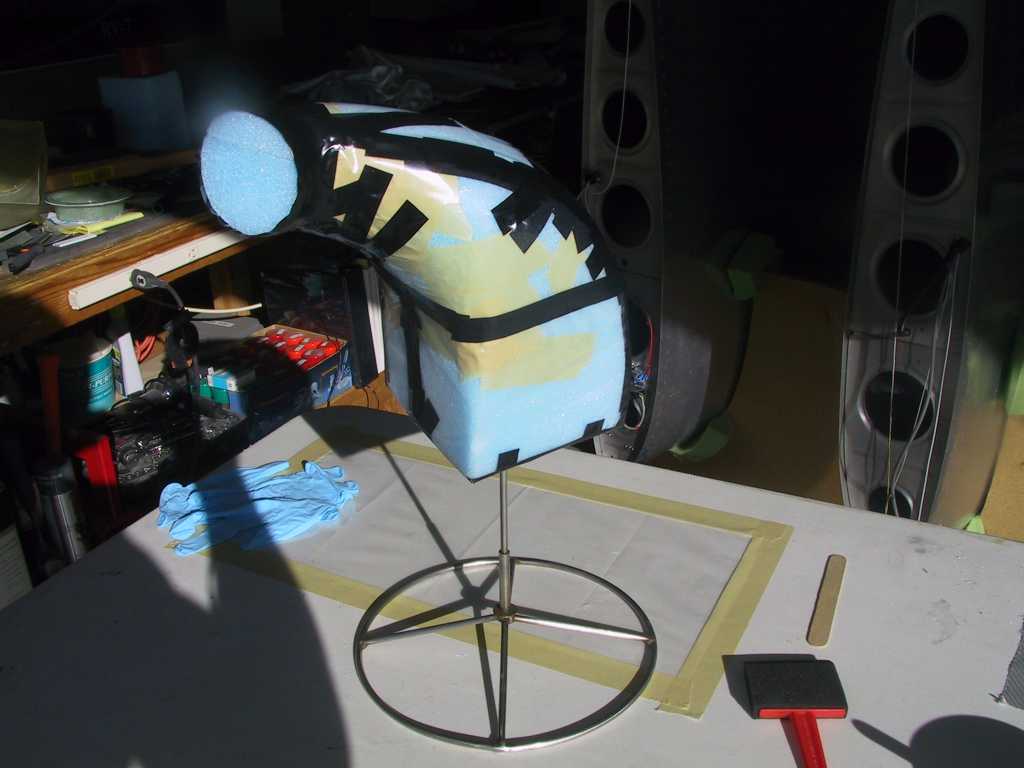
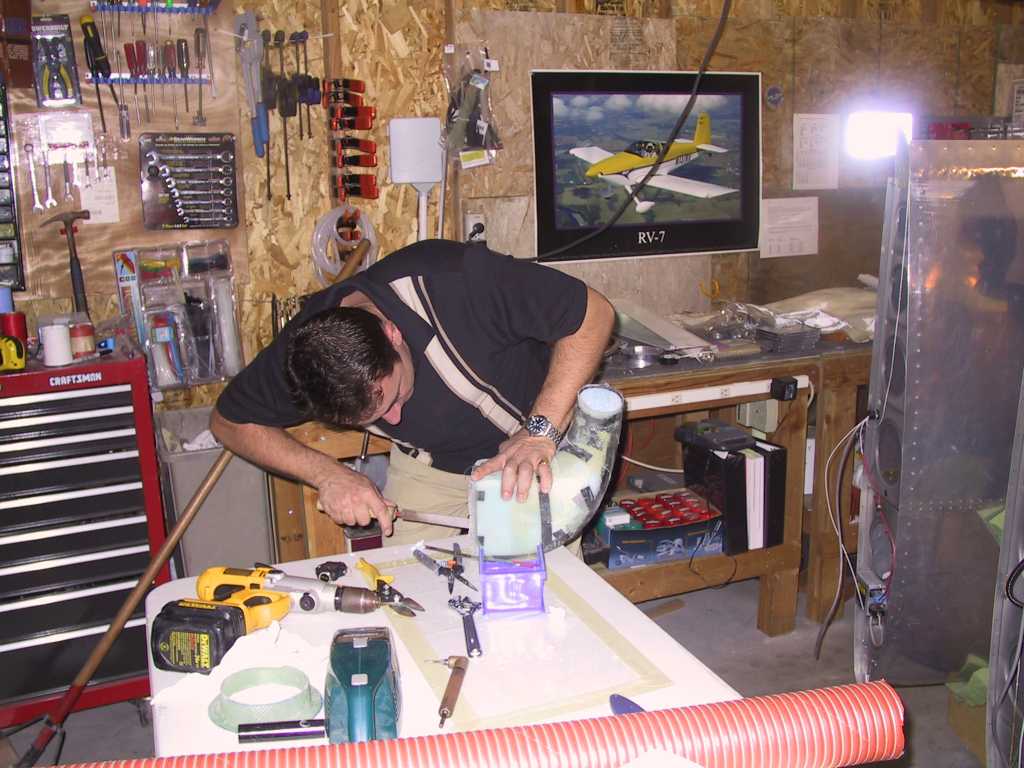
I stuck the gizmo on a sort of rotisserie to make it easier to move
around. Worked well too. And I covered the table in plastic.
Then me and pops laid up two layers of Rutan BID. Here's one shot with
the glass on and a layer of peel ply, curing rather rapidly in the sun.
I'm using West Systems 206 hardener so it's a slow uphill battle to get it
to cure. But the sun and/or halogen lights *substantially* reduces the
time to cure.
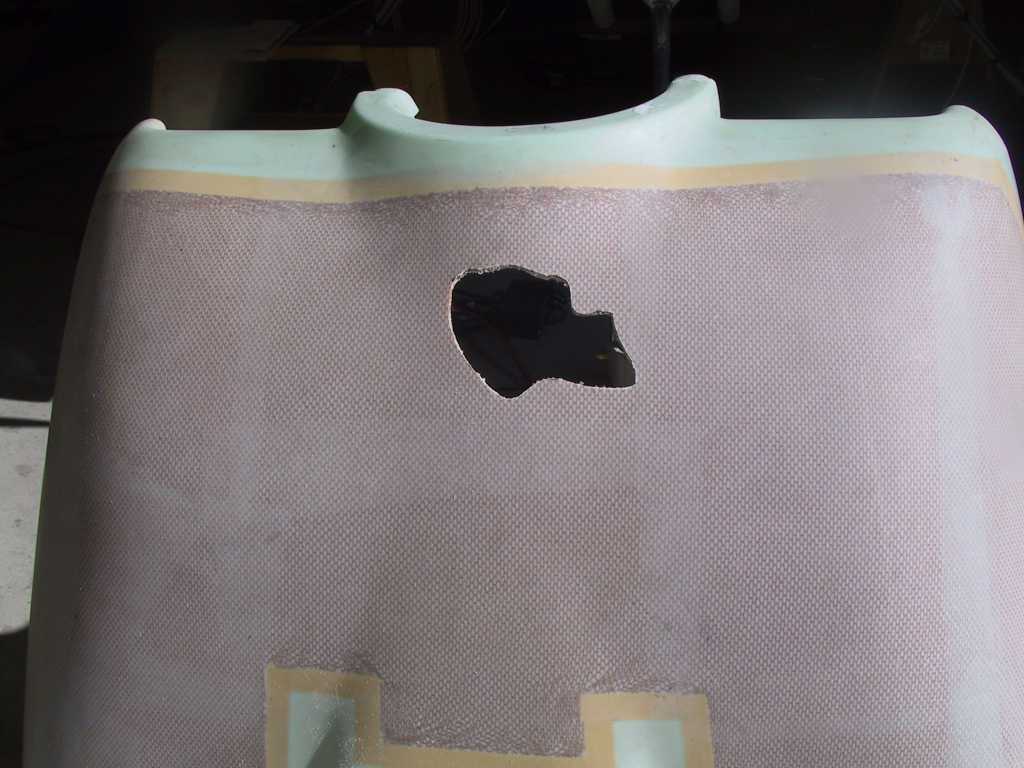
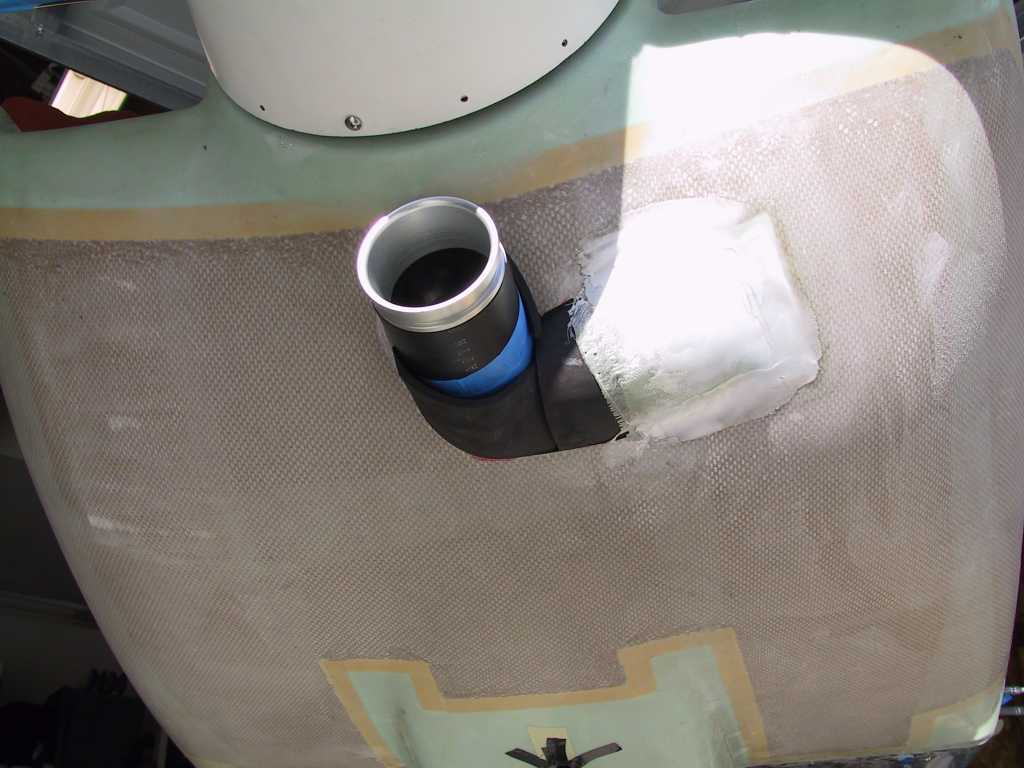
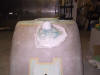
Time to make a bigger hole in the cowl. Progressively larger holes
is the slow way to go but I'm not into making any more costly mistakes.
Even though this is just a fiberglass repair if I cut too much. got it
to the point that I had adequate clearance for the 'Y' to stick out cleanly.
I'm going to have to remove more for engine movement but this is a good
start.
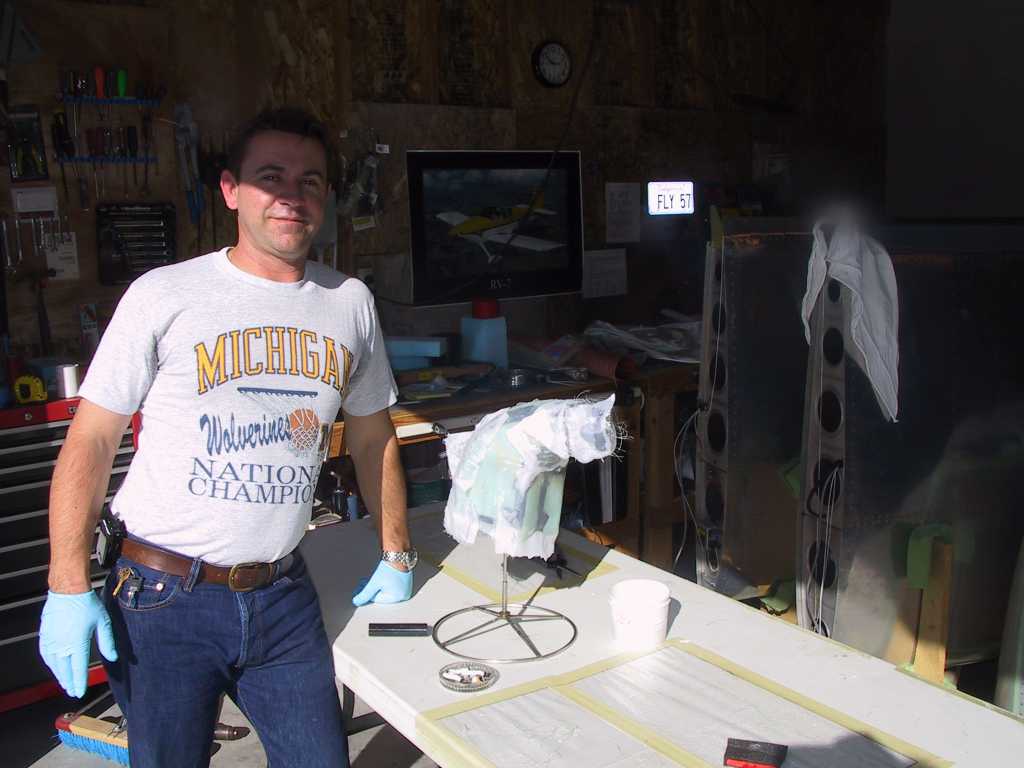
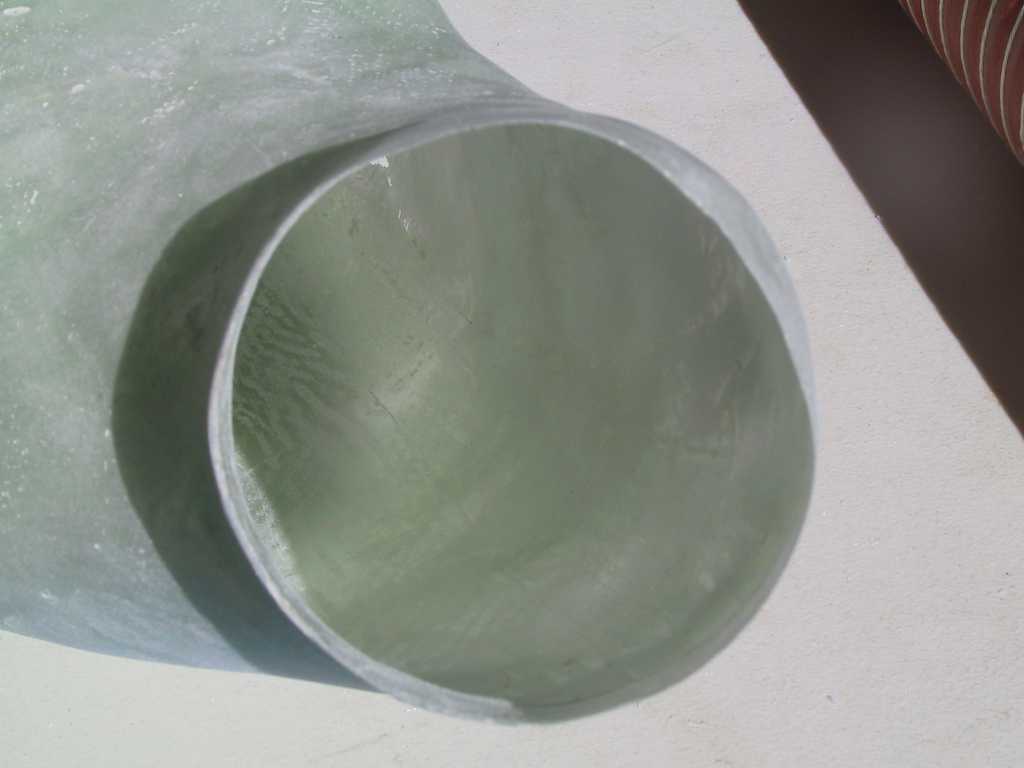
Ok, later in the day the mold had cured and now it was time to chip away
the foam. Didn't quite finish removing it. I'll leave that
for pops when I'm at work tomorrow.
  |
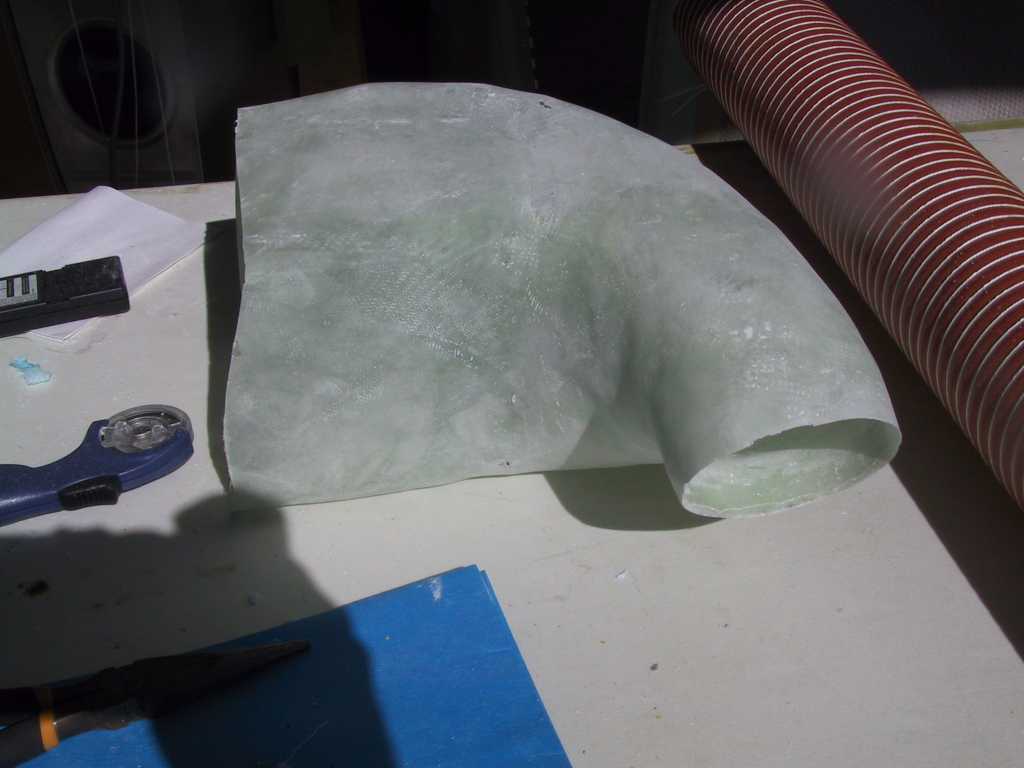
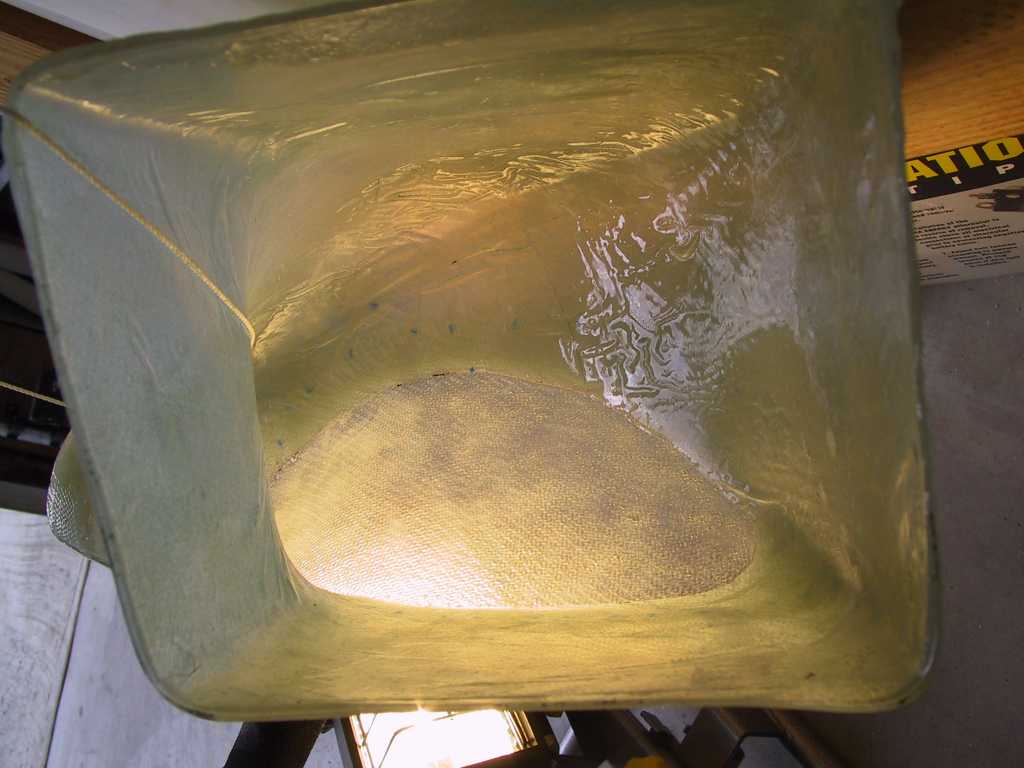
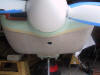
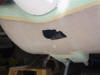
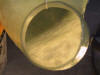
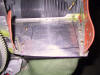
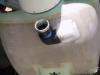
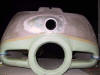
| 2/1/05 |
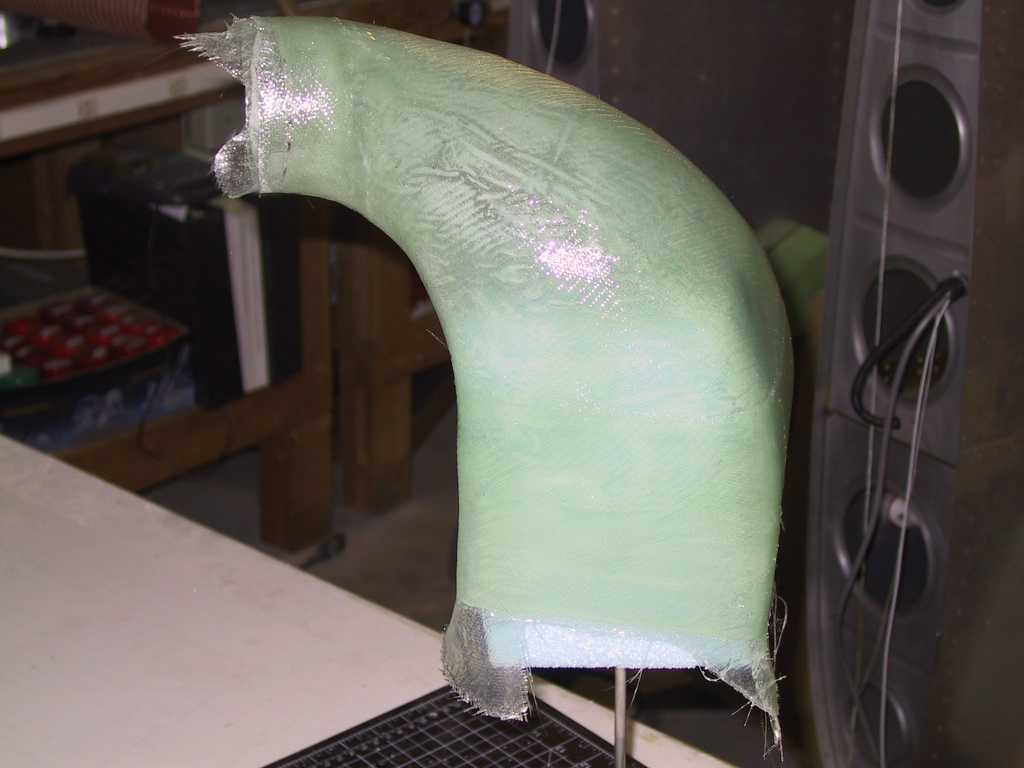
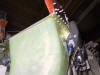
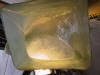
Some shots of the air box. The plastic wrap around the
mold got hot with the curing and expanded creating waves on the inside of
the air box. That and It was next to impossible to get the plastic to
lay flat on this highly irregular mold. I can sand these out and lay a
coating of epoxy. Overall though I'm pretty satisfied how my first
lay-up came out.
 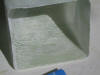  
Second coat going on of Rutan BID. I really like the rotisserie.
  |
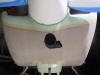
| 2/2/05 |
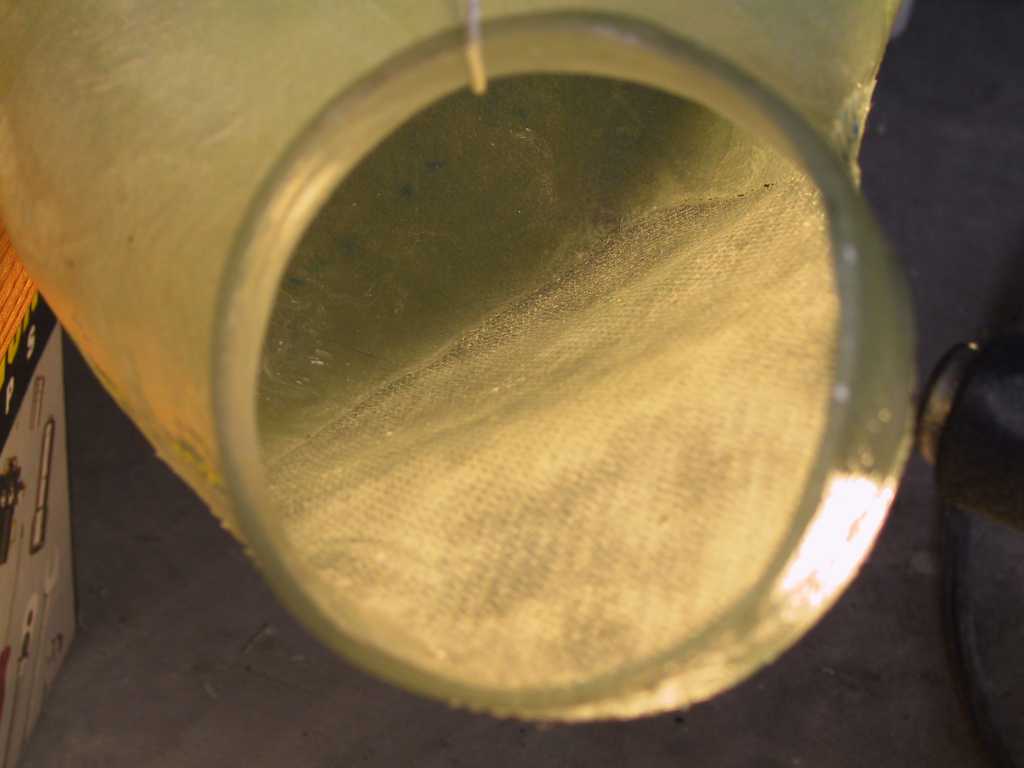
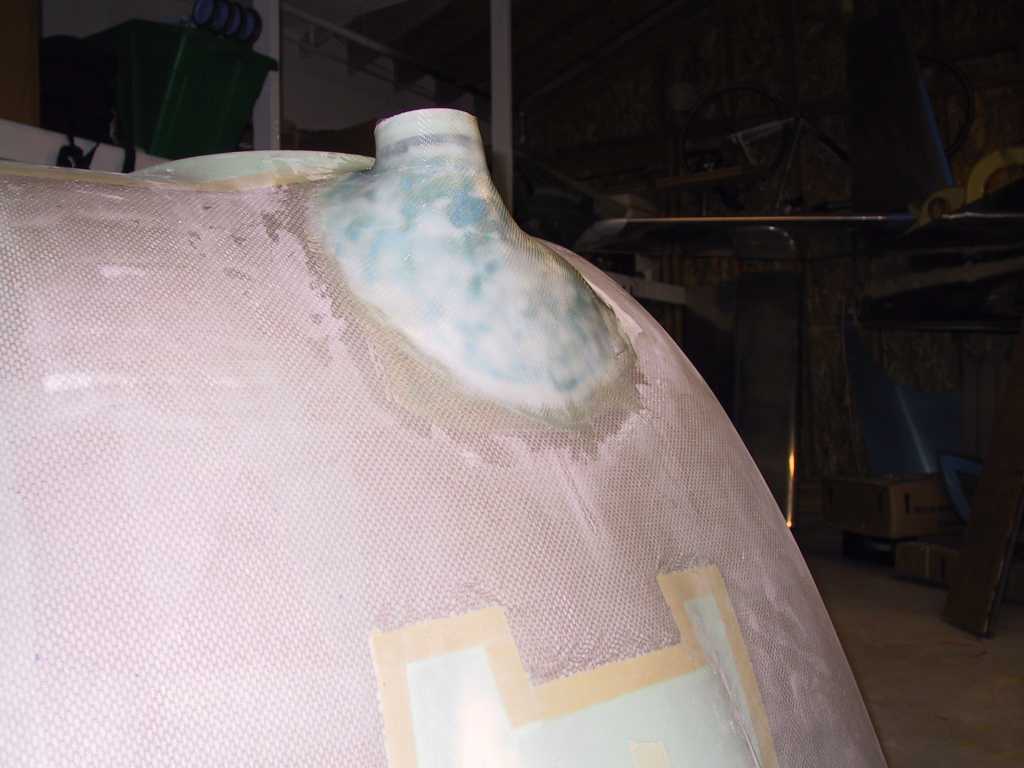
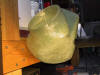
A third layer of glass was laid up around the circular
exhaust portion to build the ring up to 4.5" inches diameter.
 |
|
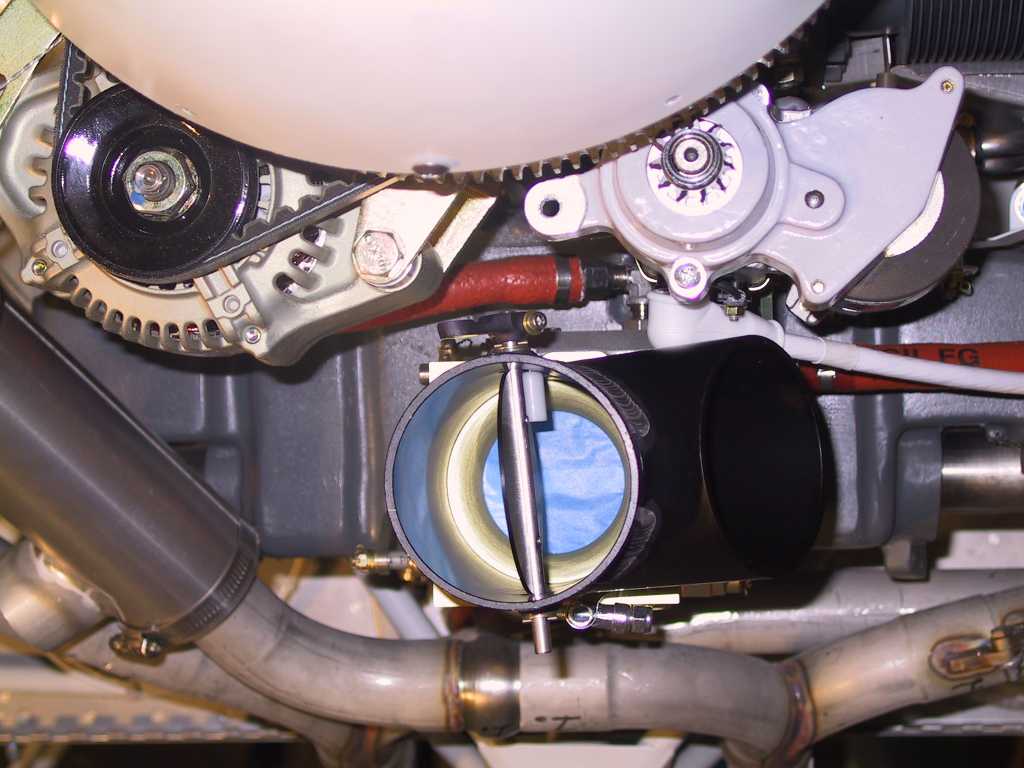
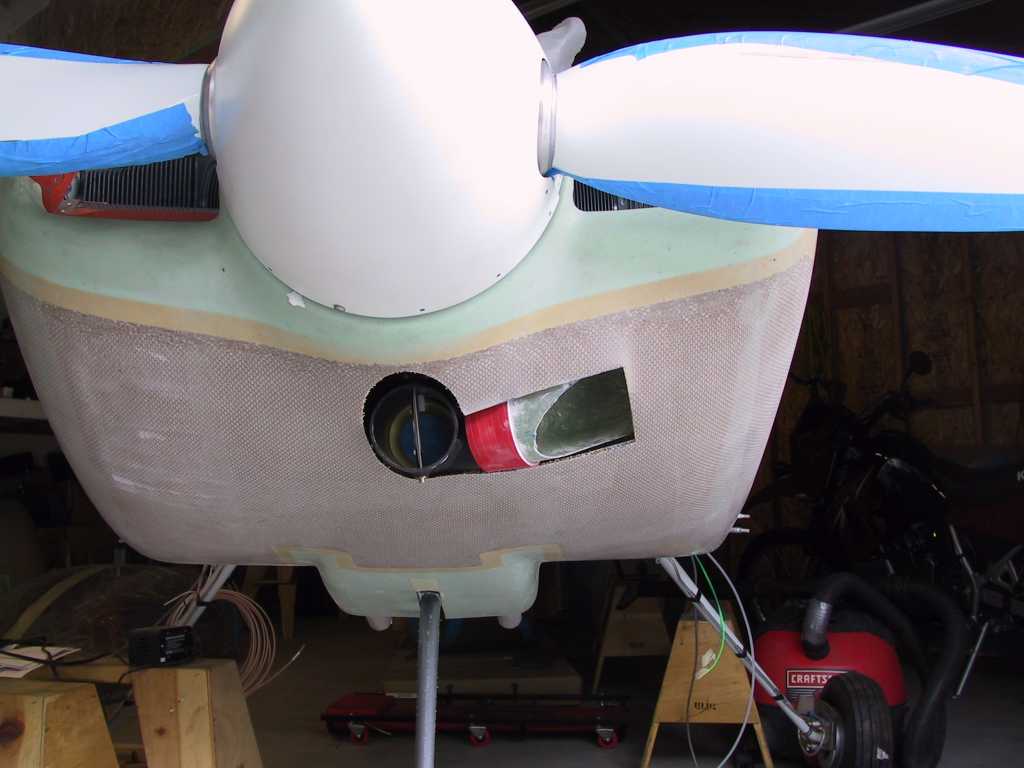
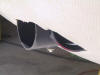
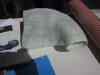
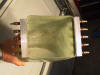
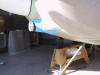
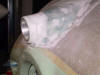
2/3/05 |
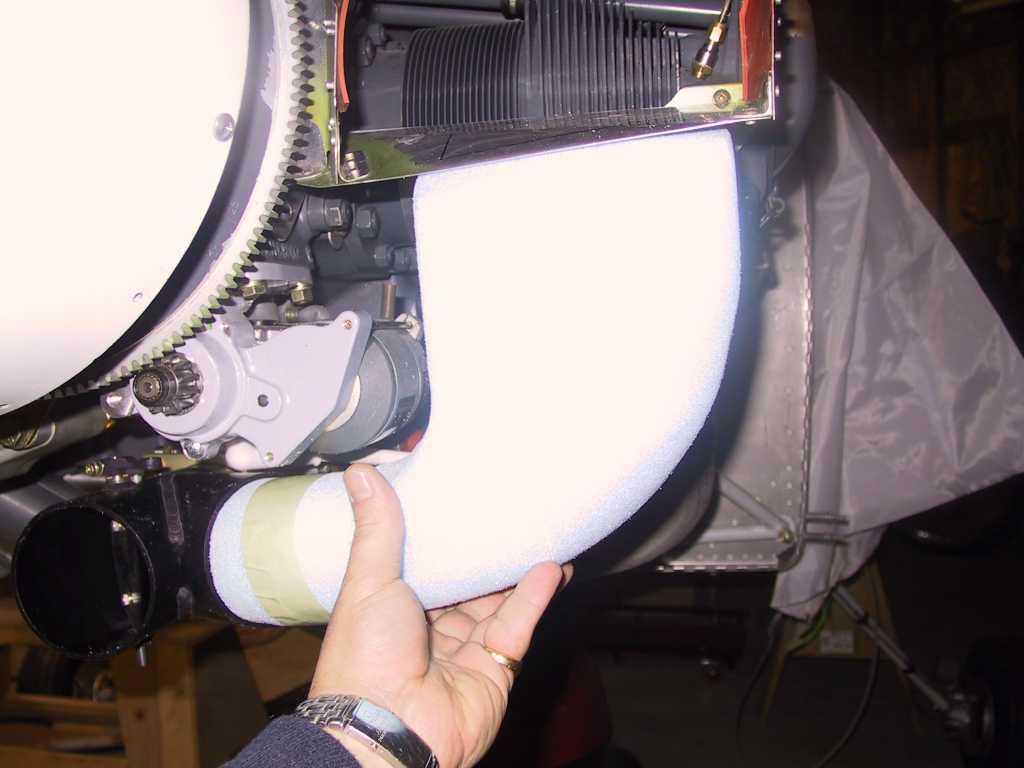
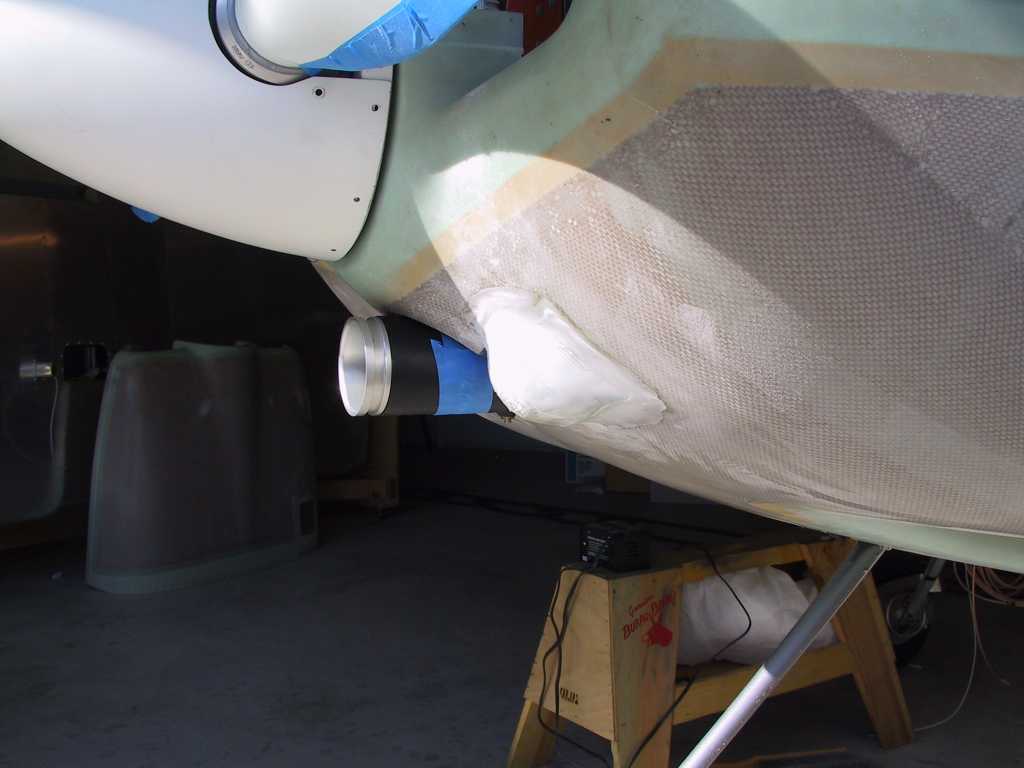
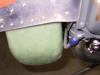
Test fit of the zombie filtered air box. It seems to
fit pretty well. The lower cowl doesn't fit on it yet because I have
to make the hole for the air box a bit bigger. I'm not sure how much of
the lower front of the air box will have to be trimmed to get it to sit nice
in the cowl.
 
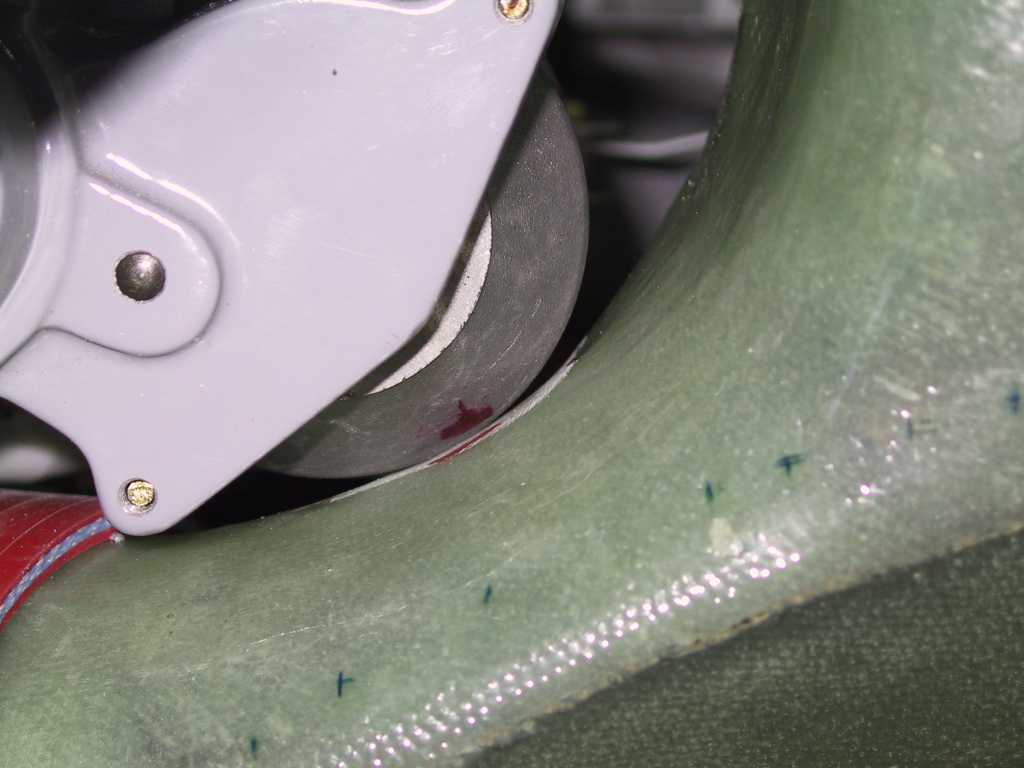
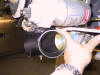
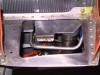
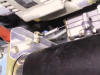
Here you can see that I'm gonna need a bit more clearance for the
starter. But the rest is good.
   |
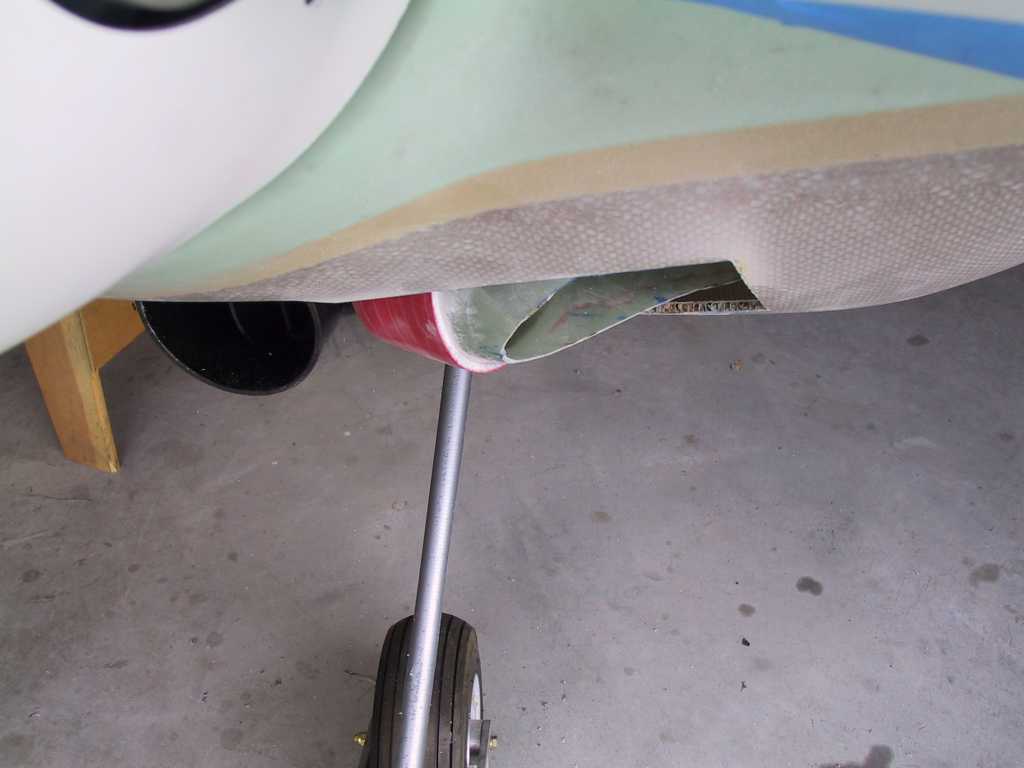
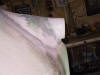
| 2/6/05 |
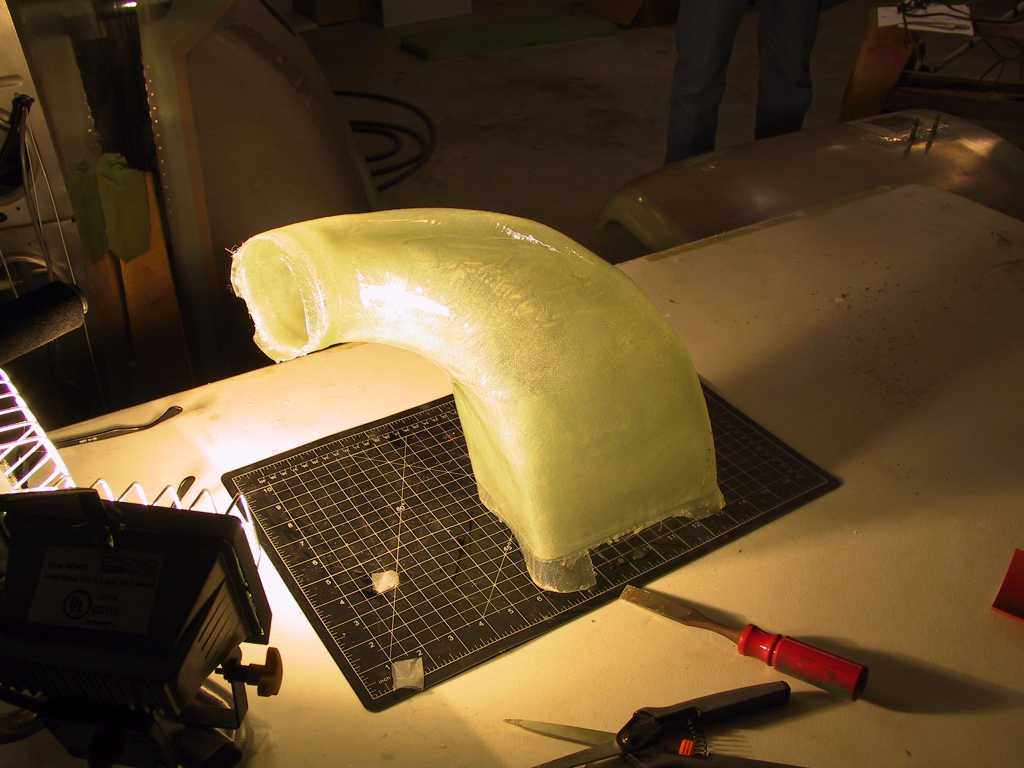
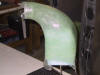
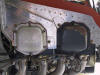
After cutting the cowl to the maximum extent I was willing
to go, the filtered air box behemoth did not fit as expected. So I cut
the monster down to size to fit. I really had no intention of using
this monster. But Pops convinced me that making another would be a
waste of time. I'm glad I listened to him. Here's some shots of
the cowling and cut down air box.
We applied two layers of Rutan BID and set it in front of the halogen
lights to cure. Many pics here so you can get an idea of what the
shape is.
Ok, it cures fast as hell with the lights and beautiful SoCal sun.
So it's time to attach some angle to it. I used a thin layer of JB
Weld (I love this stuff) to even out any imperfections, and there are a lot
of them :)
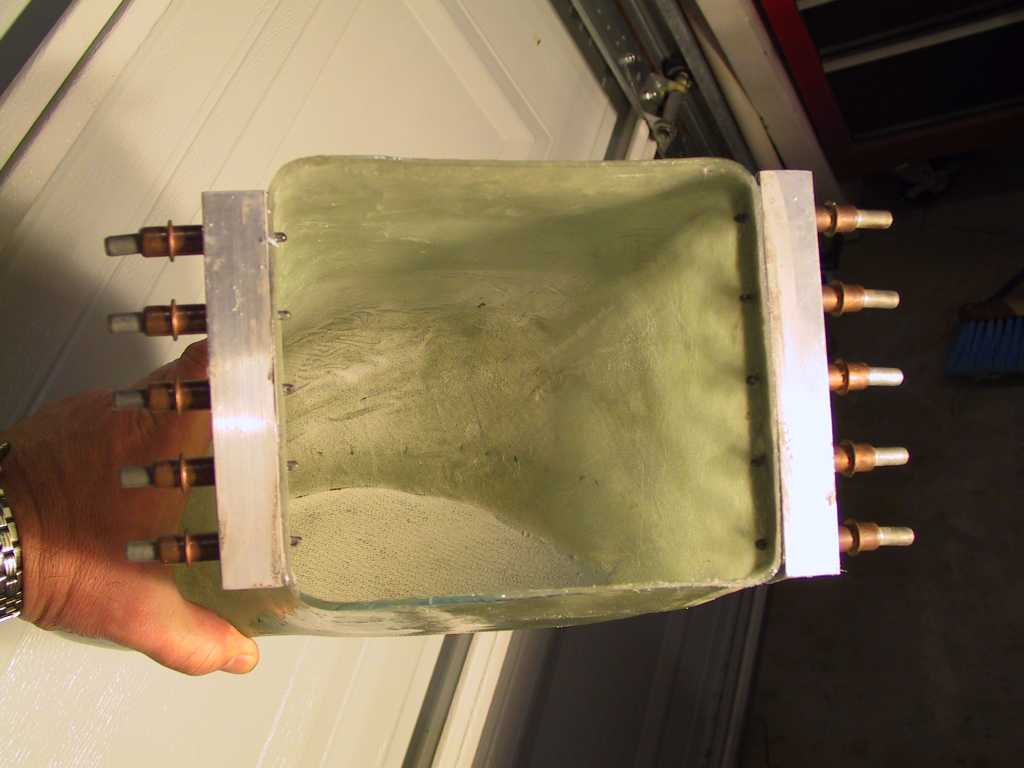
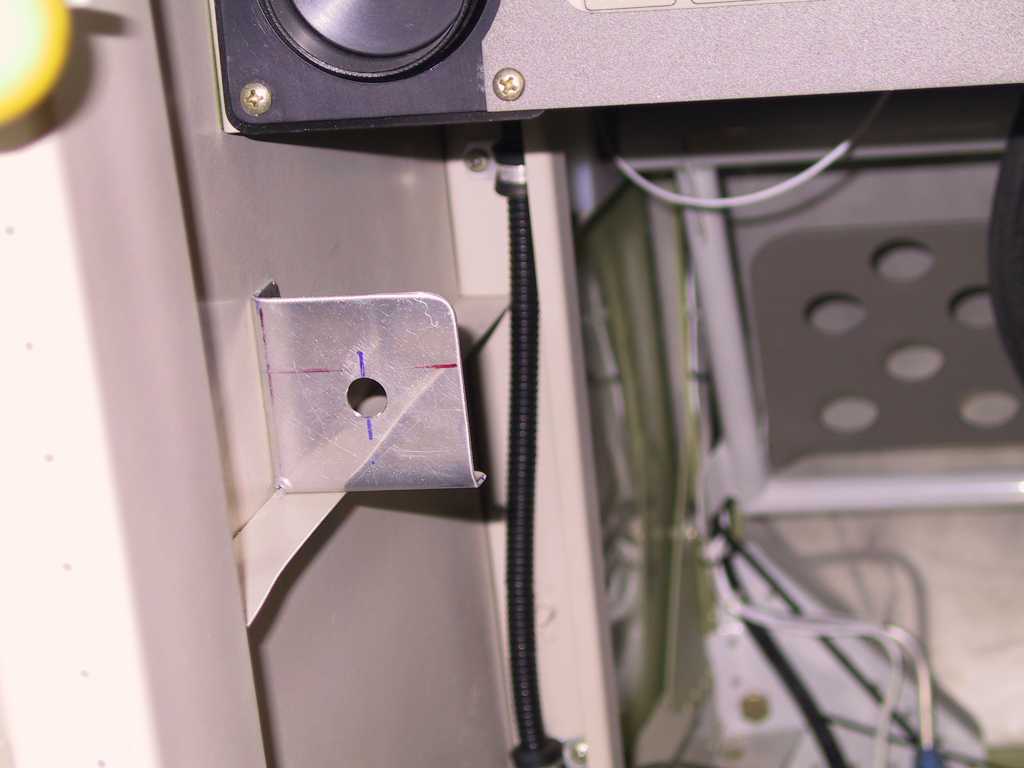
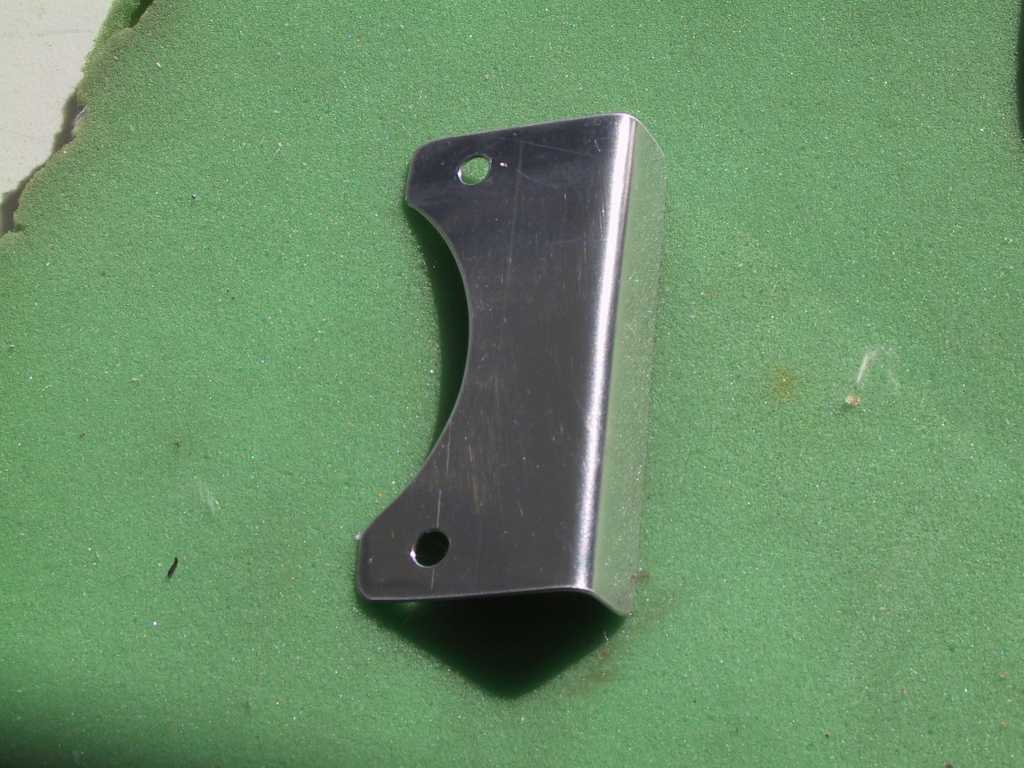
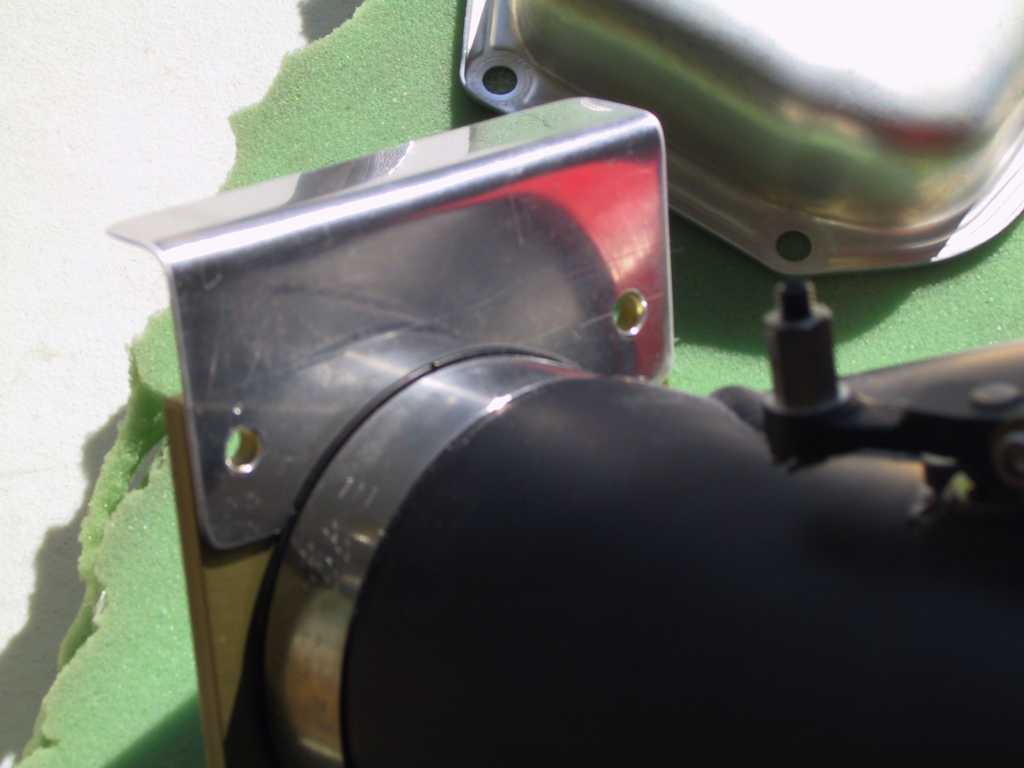
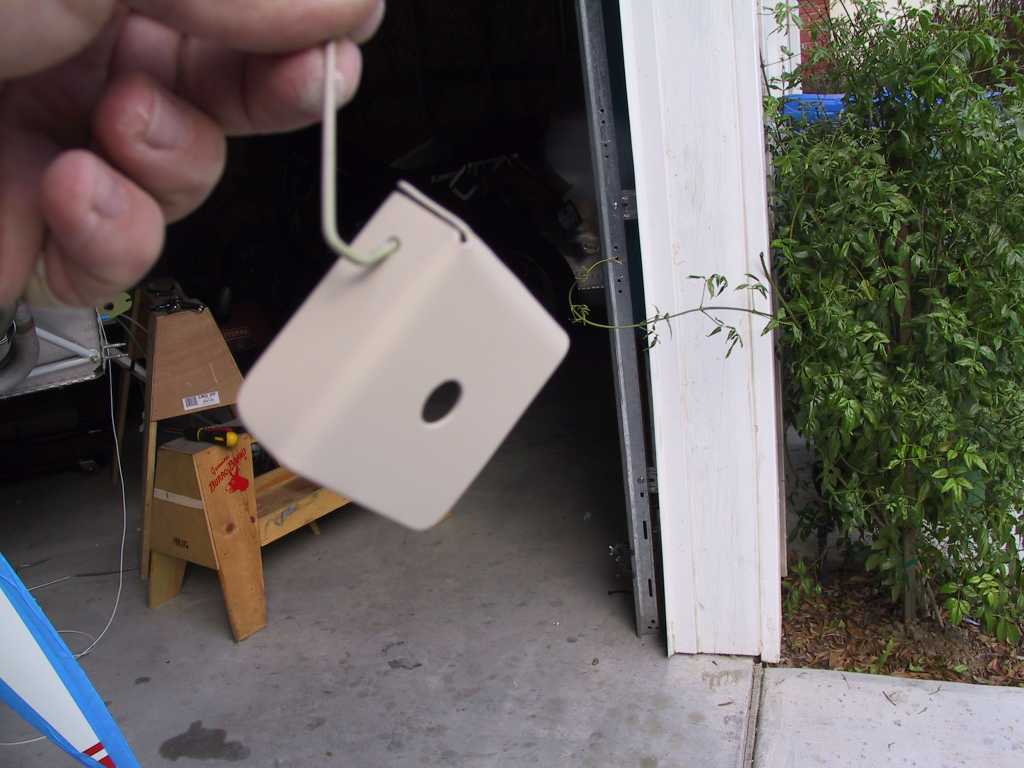
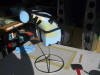
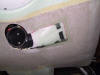
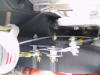
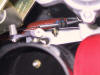
Next it was time to fabricate a mount for the Ram Air control. .040
was used and bent to fit in the location shown. Gonna work nicely.
   |
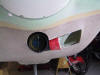
| 2/7/05 |
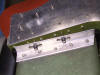
Pops and I went ahead and drilled only 4 holes for the
retaining screws for the filtered air box. I believe this is adequate.
When they are in place you can't budge this sucker. I will place
platenuts on the air box flanges later.
  |
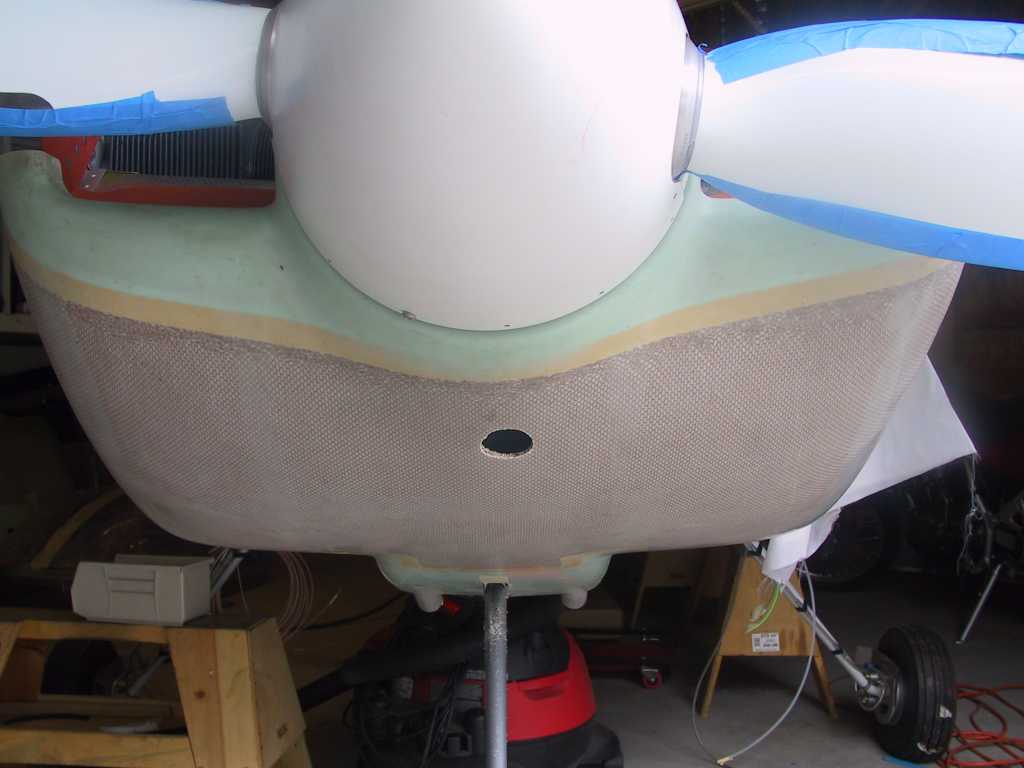
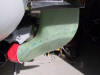
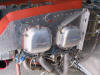
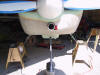
| 2/8/05 |
Sad day today. My folks left. The house is
empty, but it's clean as a whistle, thanks Mom. Unfortunately my
helper buddy is gone too. Don't fret pops, you'll be out here in a
jiffy as soon as this sucker gets to the airport.
Time to finish this puppy. Since I cannot (will not) remove the
baffle I have to carve the opening a bit at a time to get a perfect fit.
Starting and ending pics.
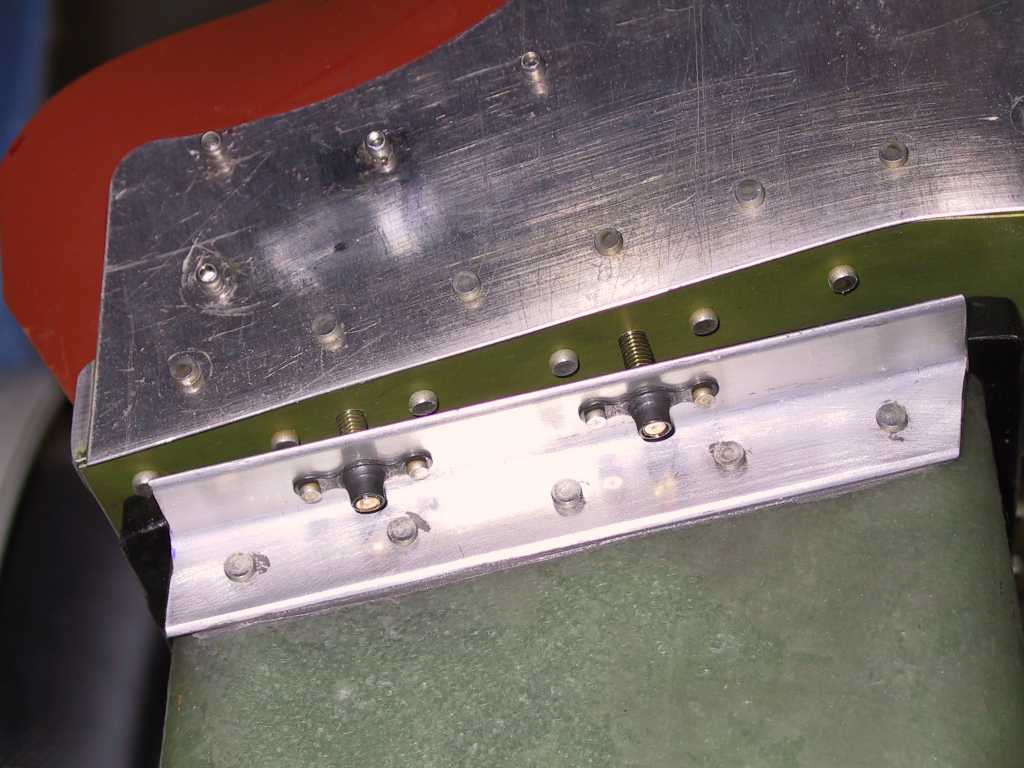
Add platenuts to the flanges.
Check clearances. Still a bit more to do on the starter clearance.
 
Finished product. Yeah baby.
 |
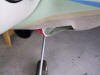
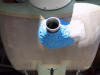
| 2/10/05 |
I haven't received the 3.5" cowl inlet ring from Sam James
yet but I did go ahead and place a couple layers of Rutan BID on the part of
the cowl bubble. I layered a 1/4" thickness of plastic foam over the
'Y' to give the appropriate amount of clearance before laying on the glass.
The bump or bubble isn't too big. I can live with this but I'm going
to do a bunch of filling here to make it oh-so-smooth.
  |
|
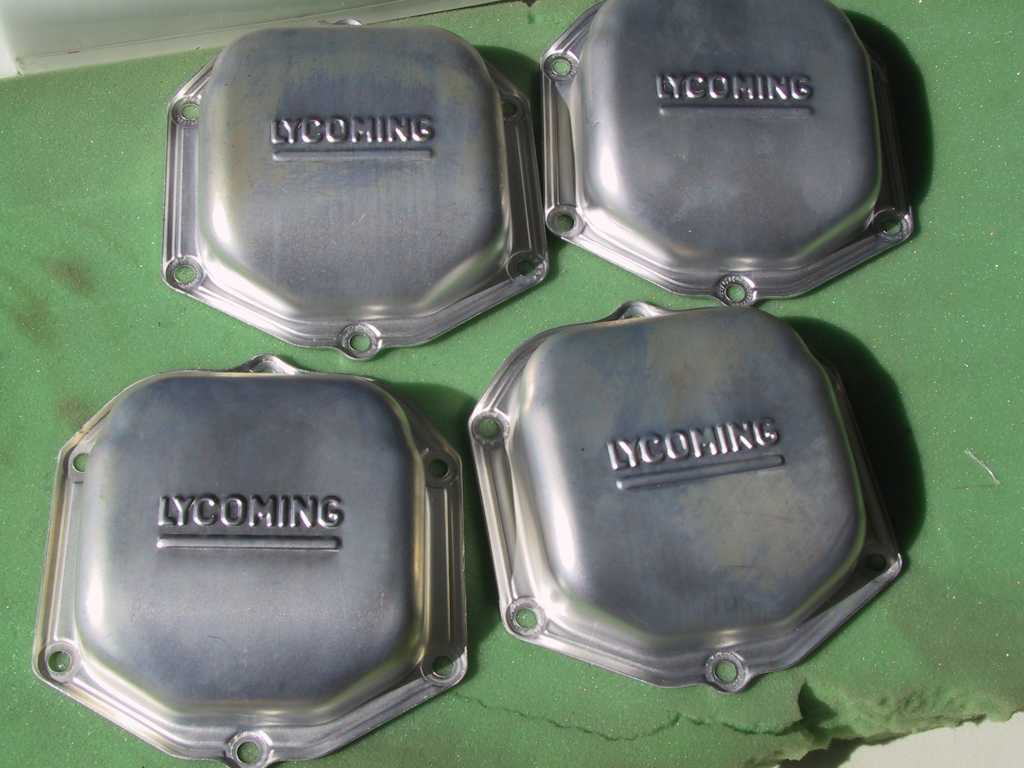
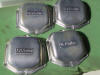
2/12/05 |
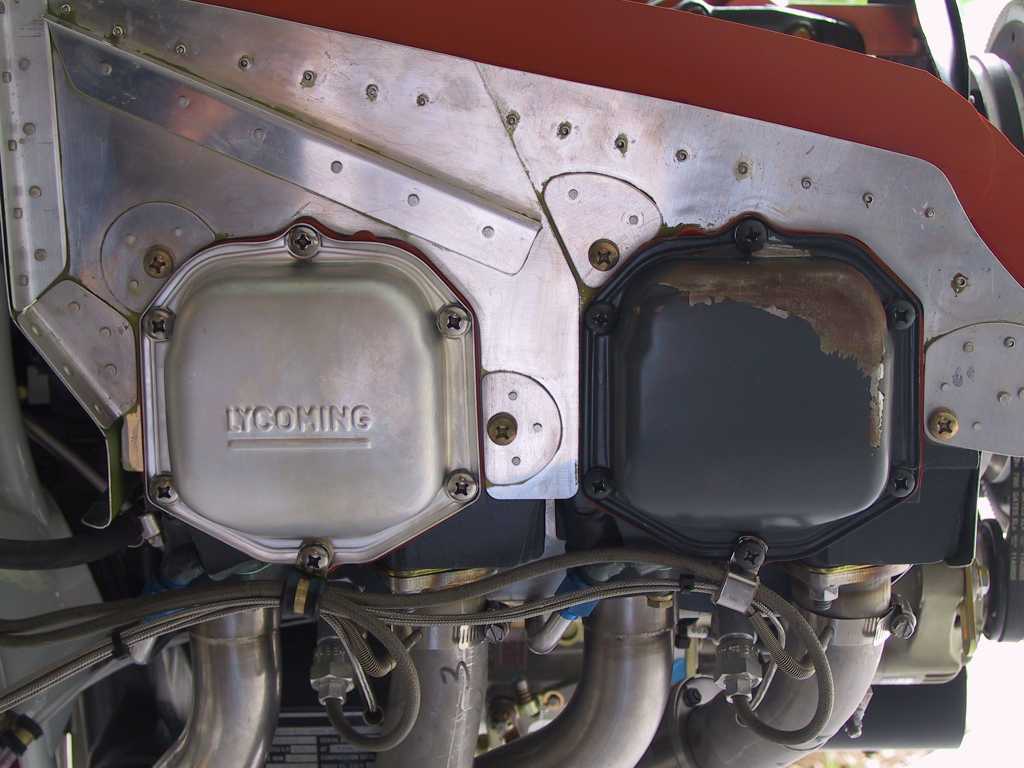
My neighbor happens to work Robinsons Helicopter plant here
in Torrance. He stopped by yesterday and asked me if I wanted some cad
plated Lycoming rocker box covers. He noticed that the paint was
coming off of mine. My intentions were to get them chromed but, "hell
Yeah", I'll take 'em. He brought them over today. Sure look
better than mine. I'll put these on with the new silicone gaskets that
I bought a while back as AS.
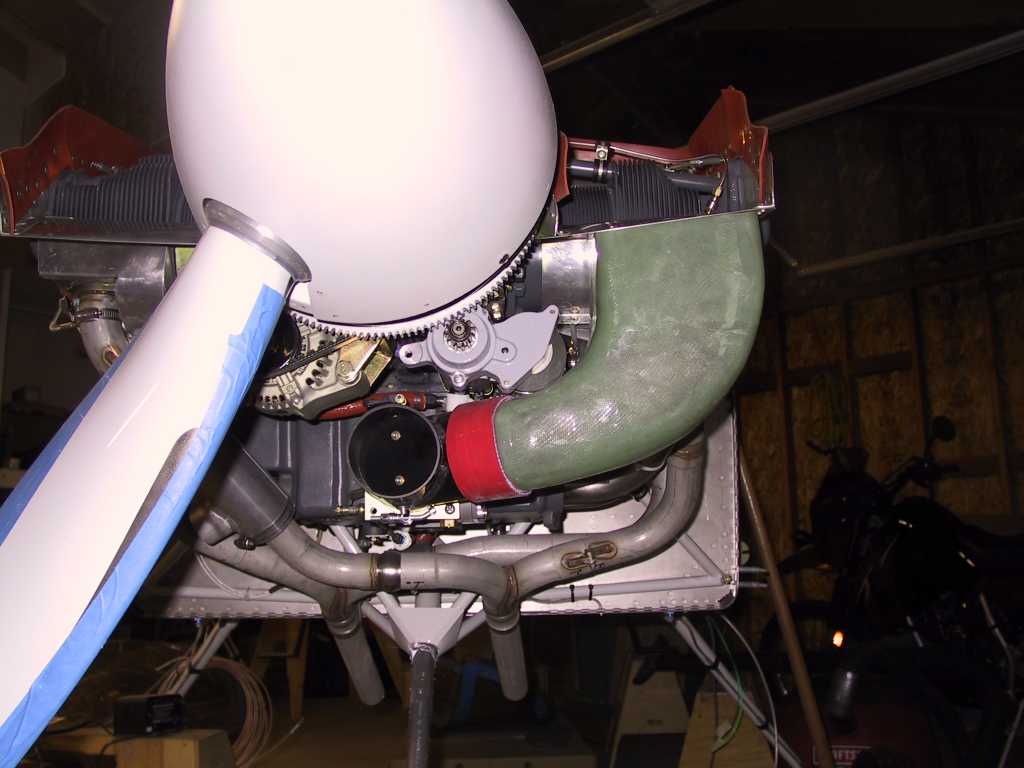
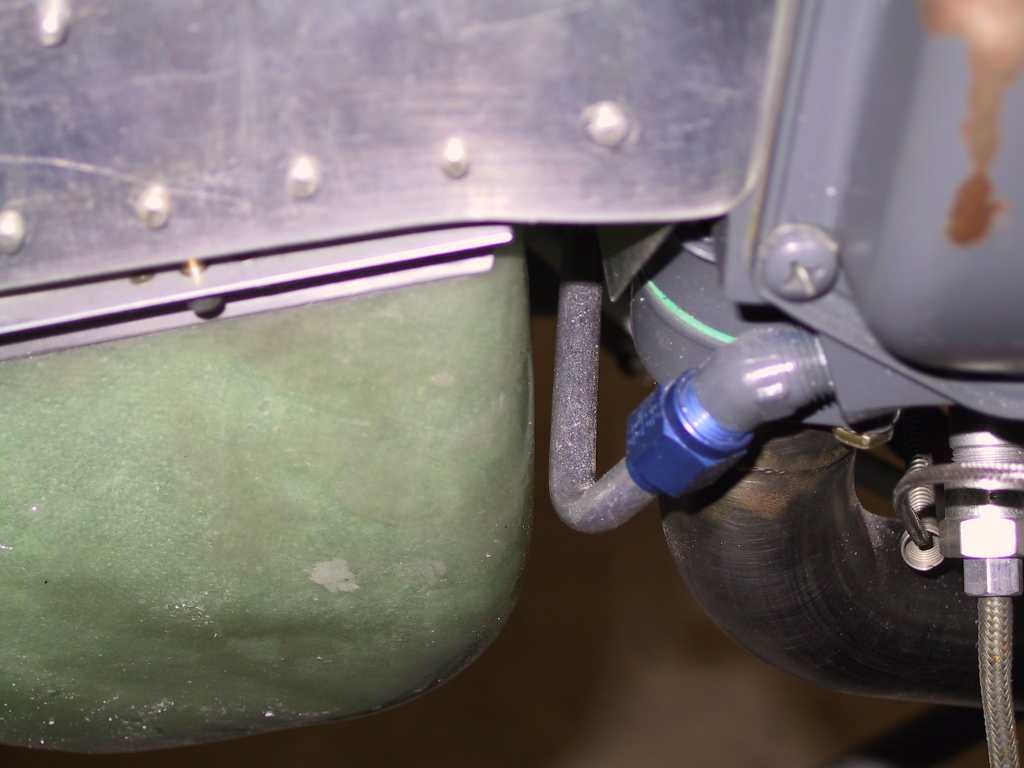
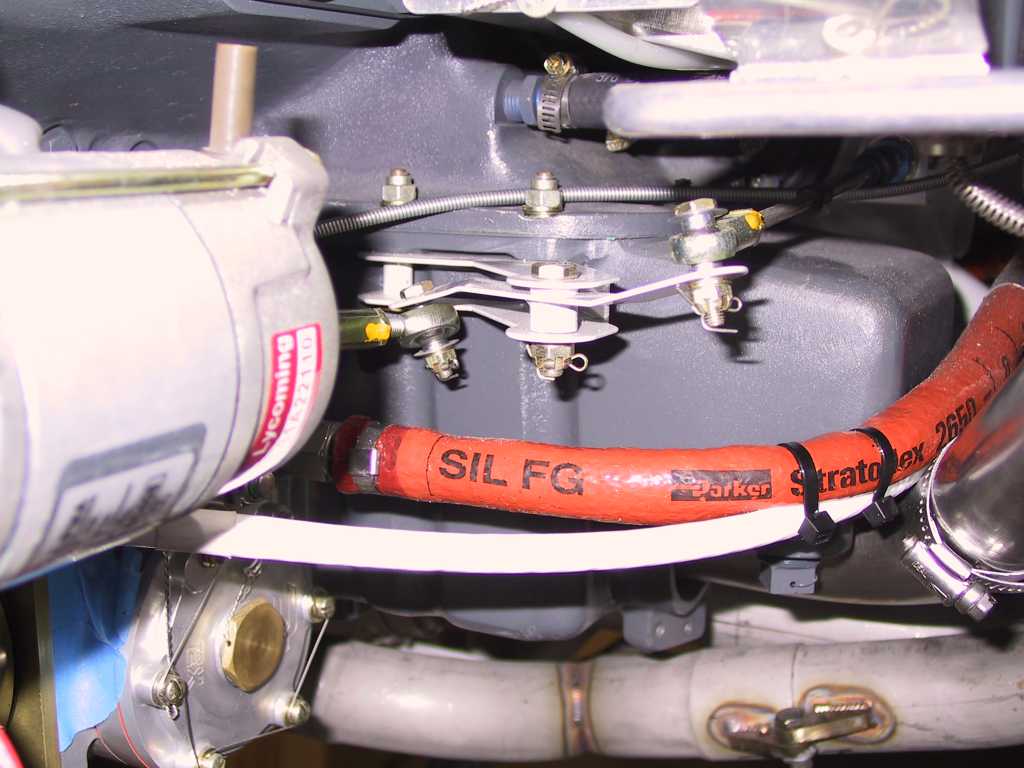
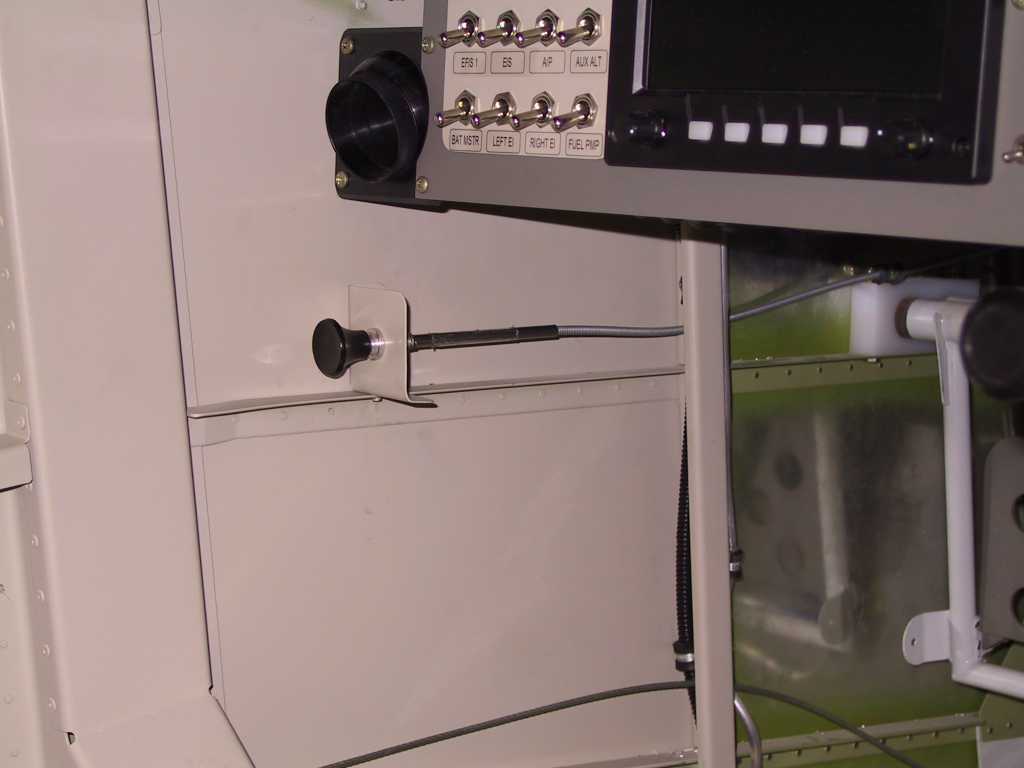
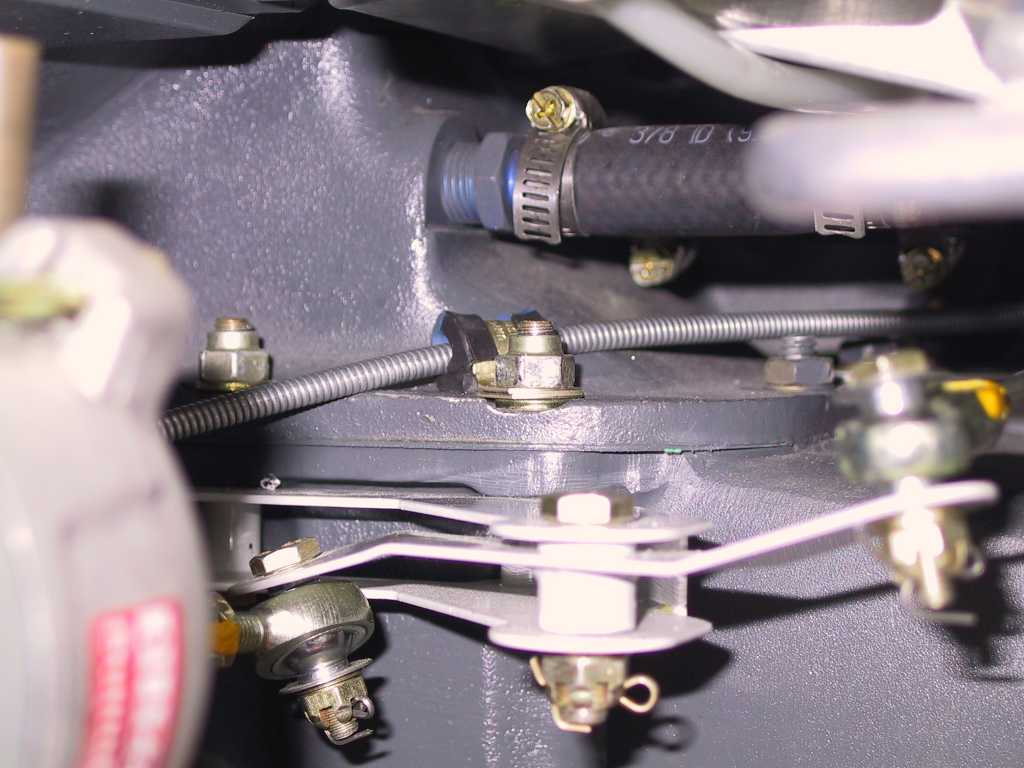
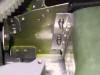
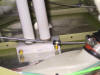
Time to install the ram air control cable. I made this part which
attaches to the 'Y' and will provide a support for an Adel clamp which will
hold the control cable.
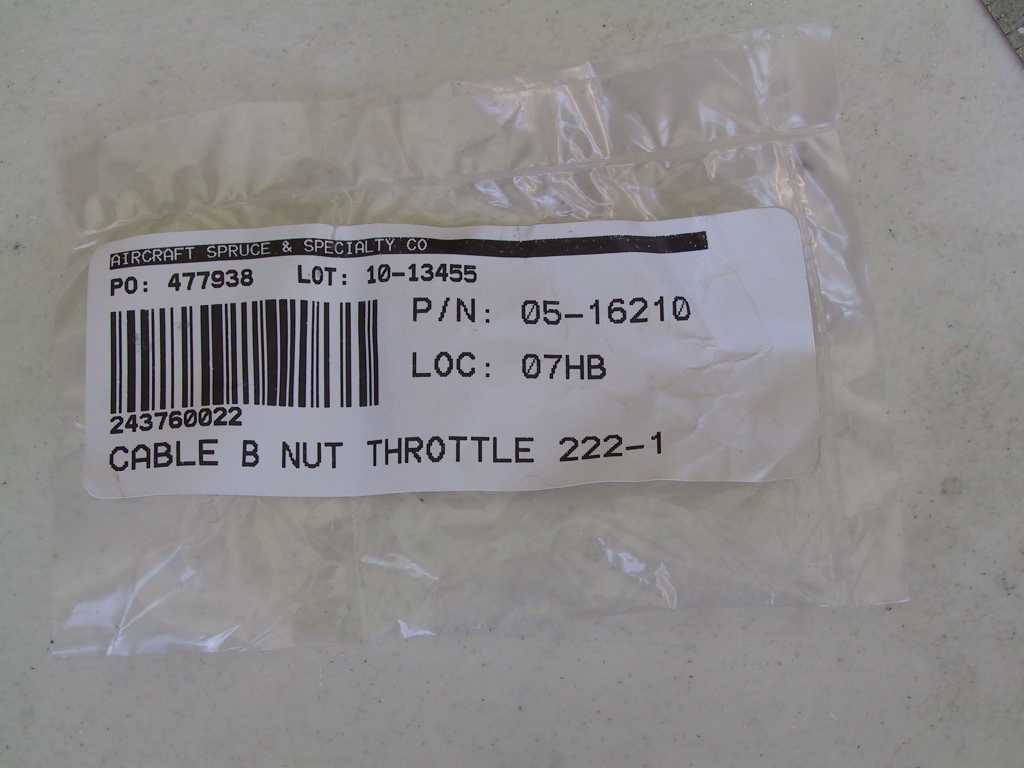
I purchased a little gizmo that I've already used on the plane elsewhere
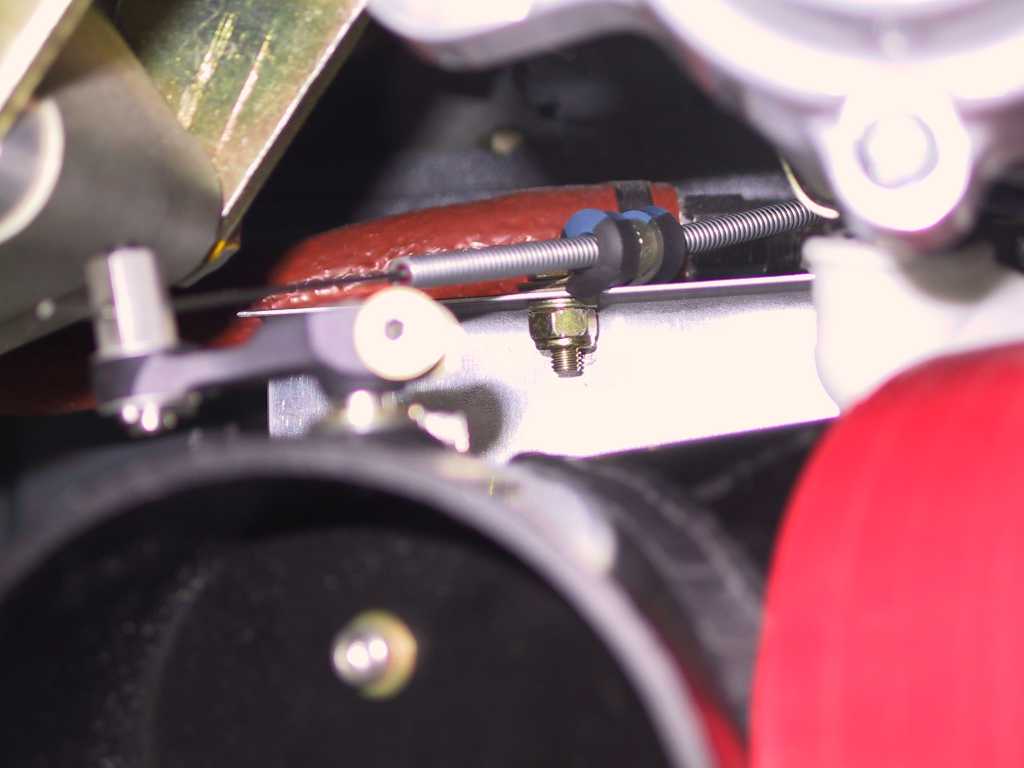
and I intend to use it at the 'Y' to connect the cable to the little arm
which moves the butterfly valve. Here you can just see it attached to
the arm with the cable running through it. And the part number.
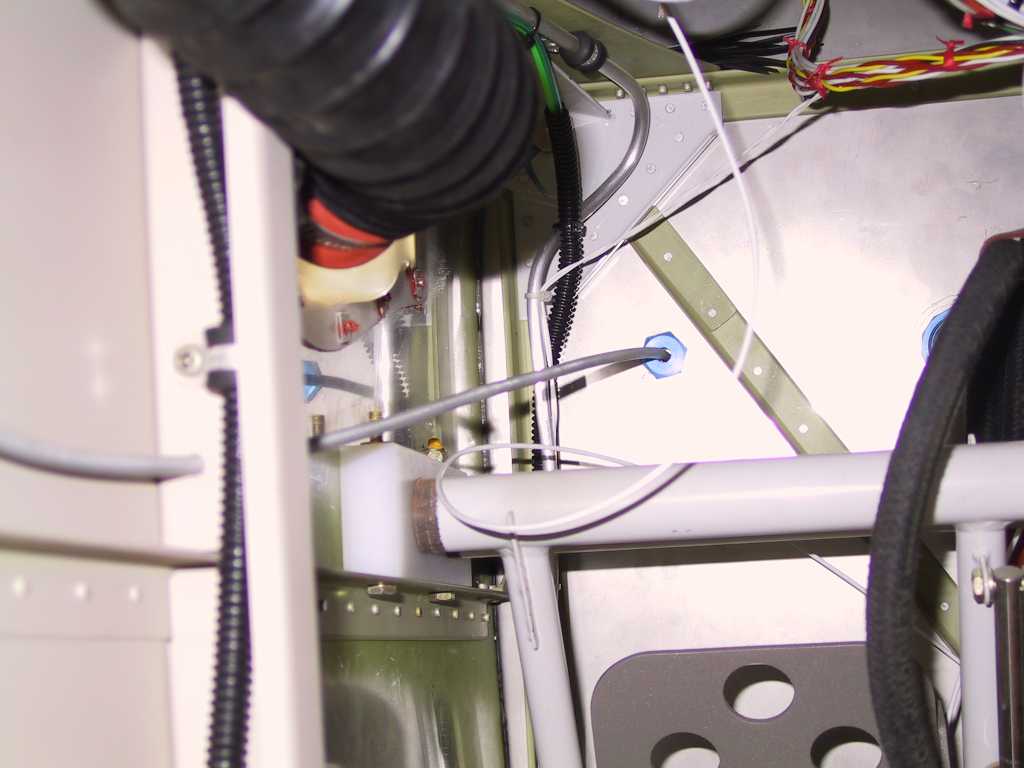
Here's how the cable is run. Cabin side.
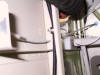 
Firewall outlet.
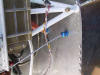
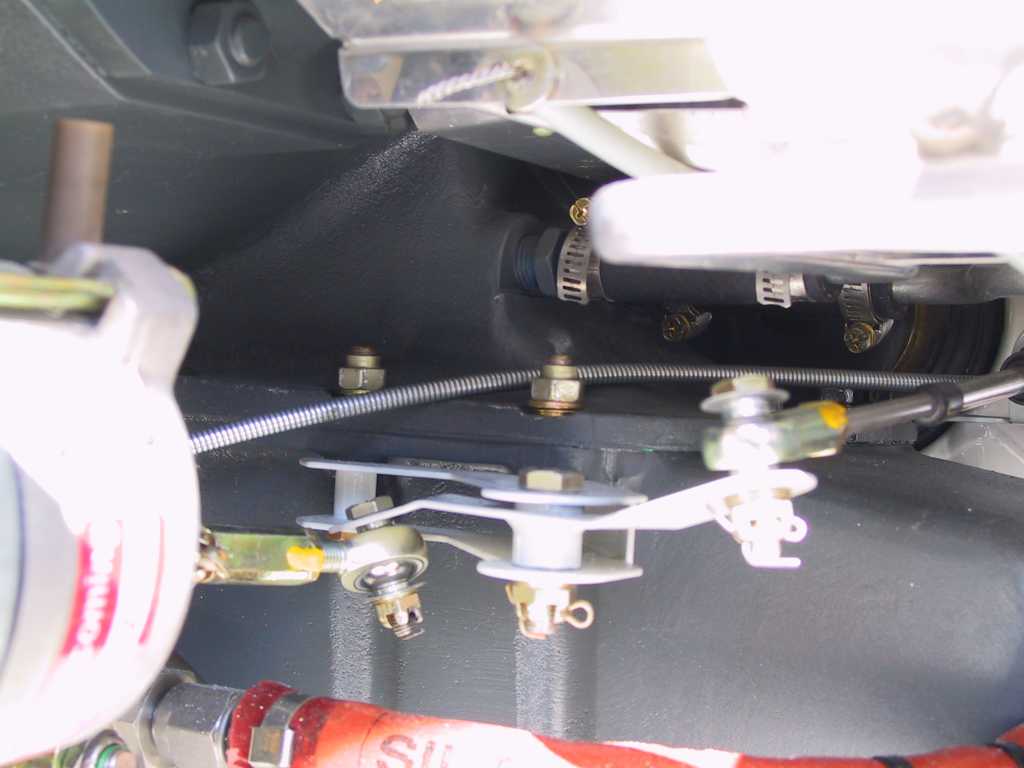
I'll attach an Adel clamp to one of the bolts holding the mixture
assembly.
I've got to paint the part which holds the control cable inside the
airplane before permanently mounting it. I'll finish this tomorrow.
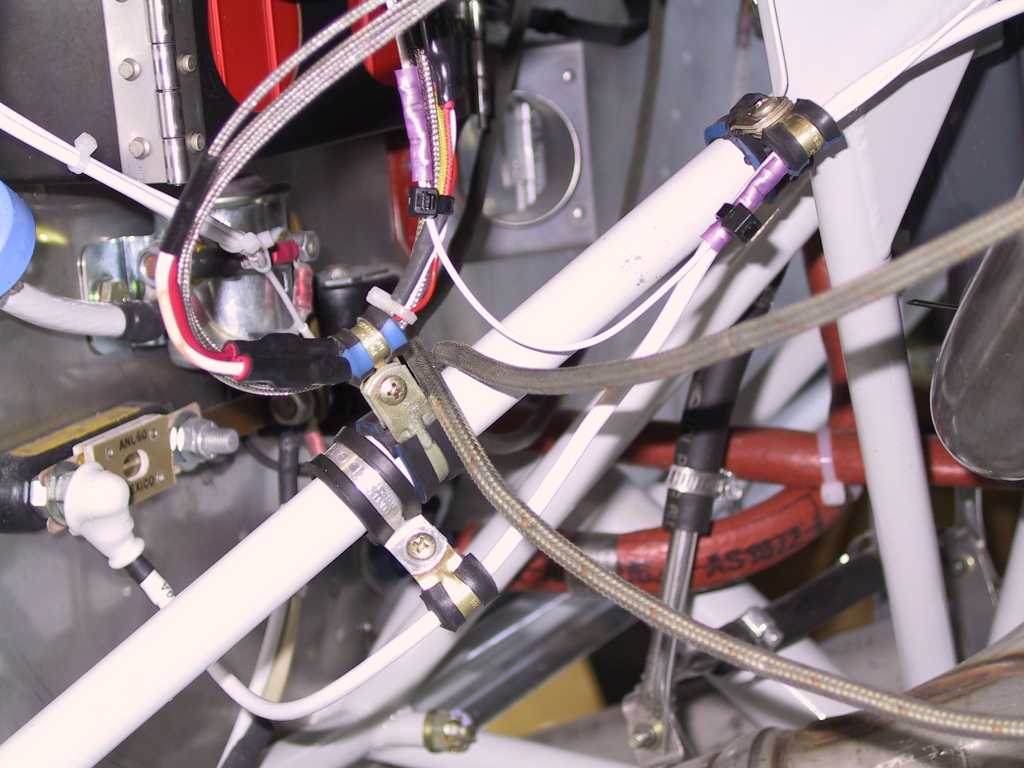
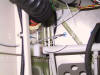
Then I spent the rest of the day installing 4 heat shields....
And mounting all wiring in the engine bay on Adel clamps... This is
the right way to do it. I was left with a floor full of dead wire
ties.
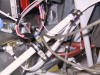
and I finally got the vent overflow tube attached.
 |
|
2/13/05 |
Painted the control bracket and riveted it in place in the
cockpit.
Installed all the Adel clamps to hold the cable in place.
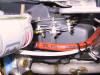
Mounted the rocker box covers. What a difference.
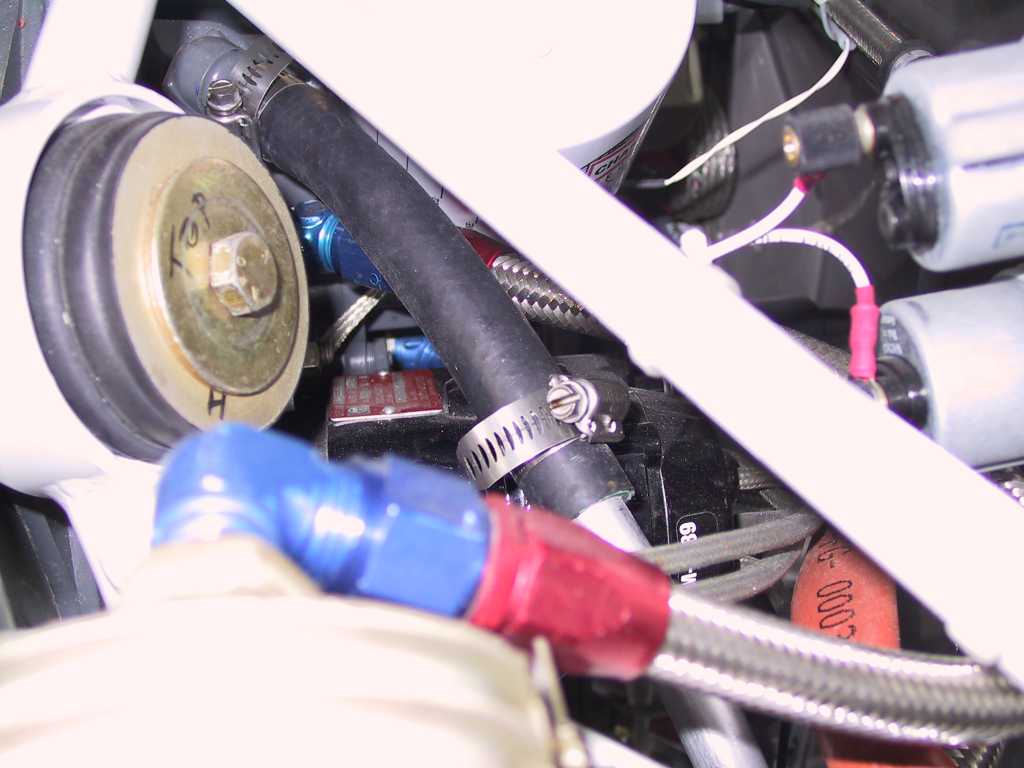
Placed the heater tubing on the heat muff. I'm still missing the
round duct flange which goes on the right front floor baffle. It was
backordered at AS. I'll order it from Vans.
And finally today I safety tied all the clamps. I have a few more
to go.
  |
|
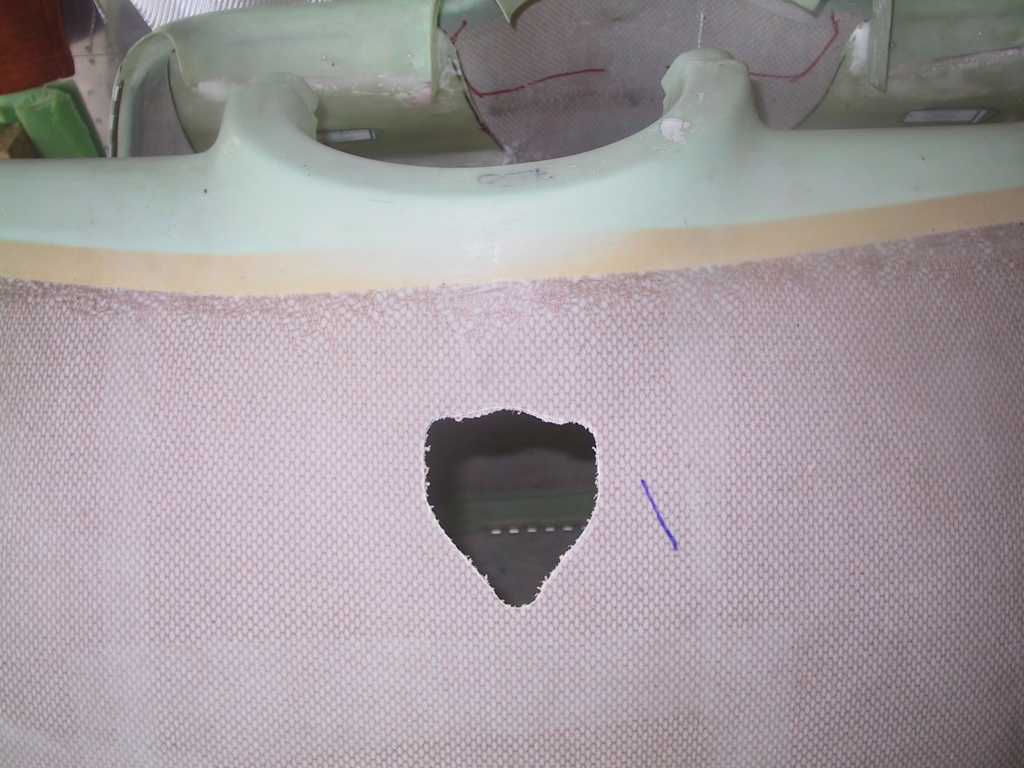
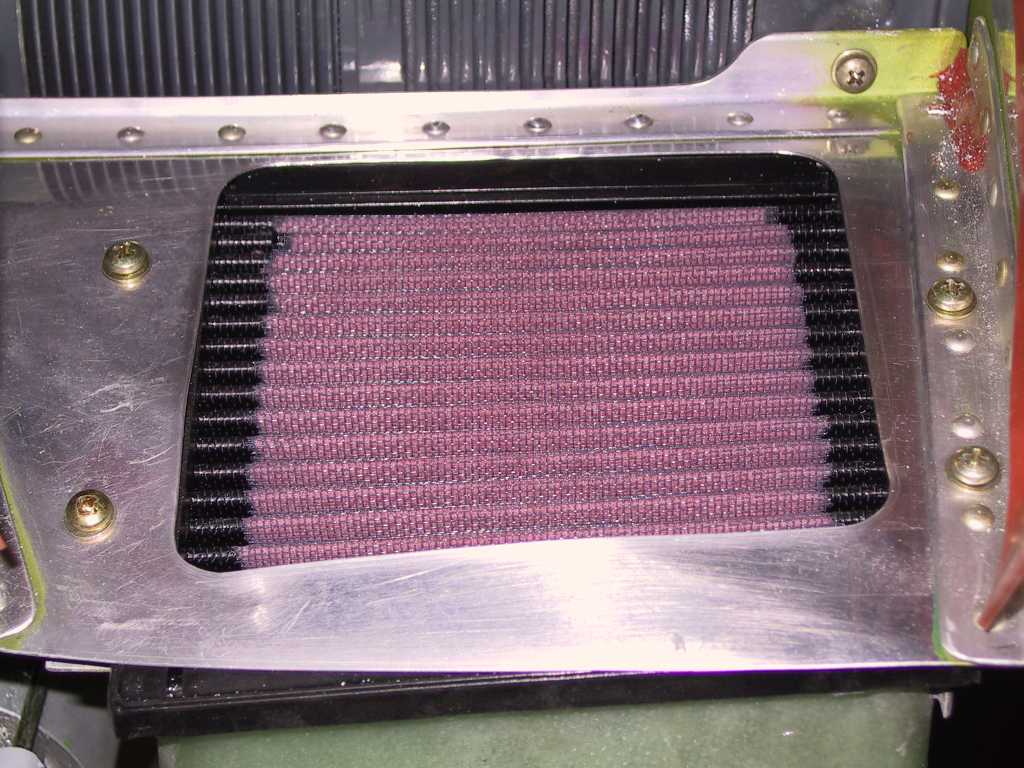
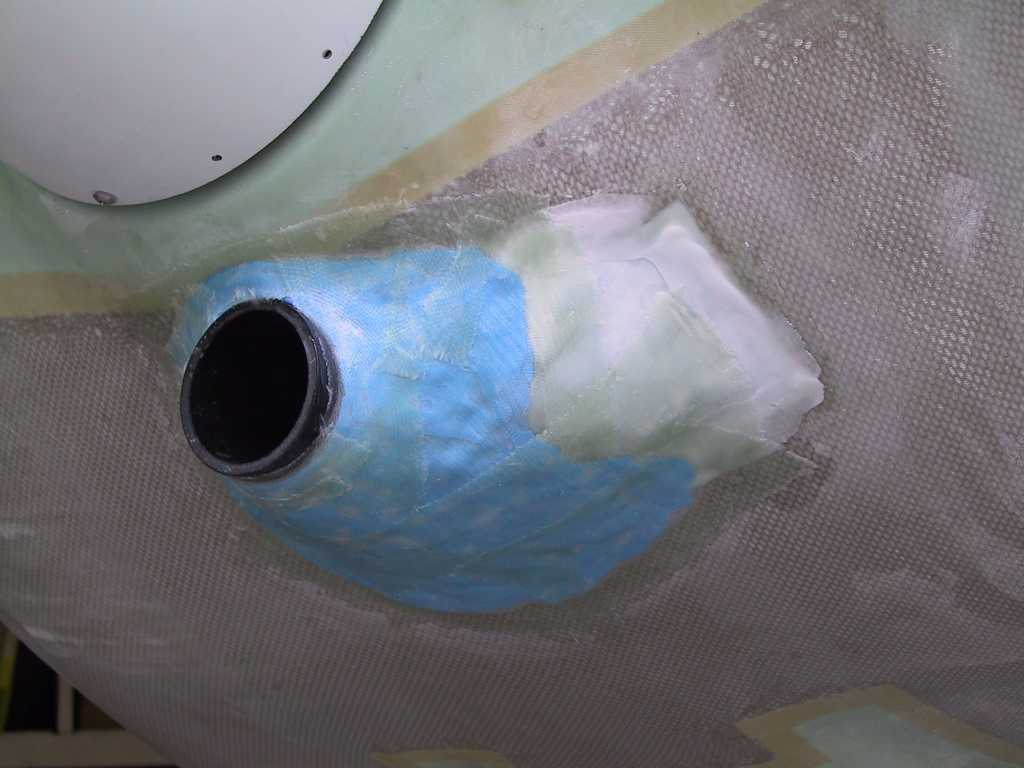
2/19/05 |
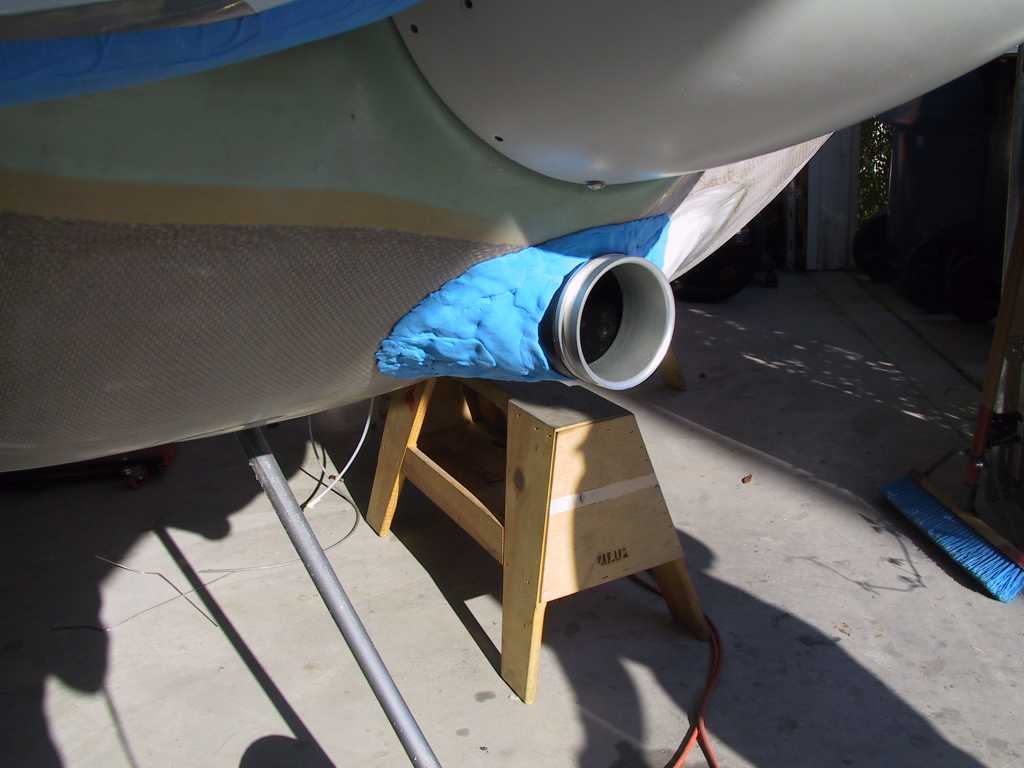
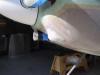
And finally today I laid up some flox on the ram
air bubble. I'm still waiting on the Sam James cowl ring to finish this
up.
 |
|
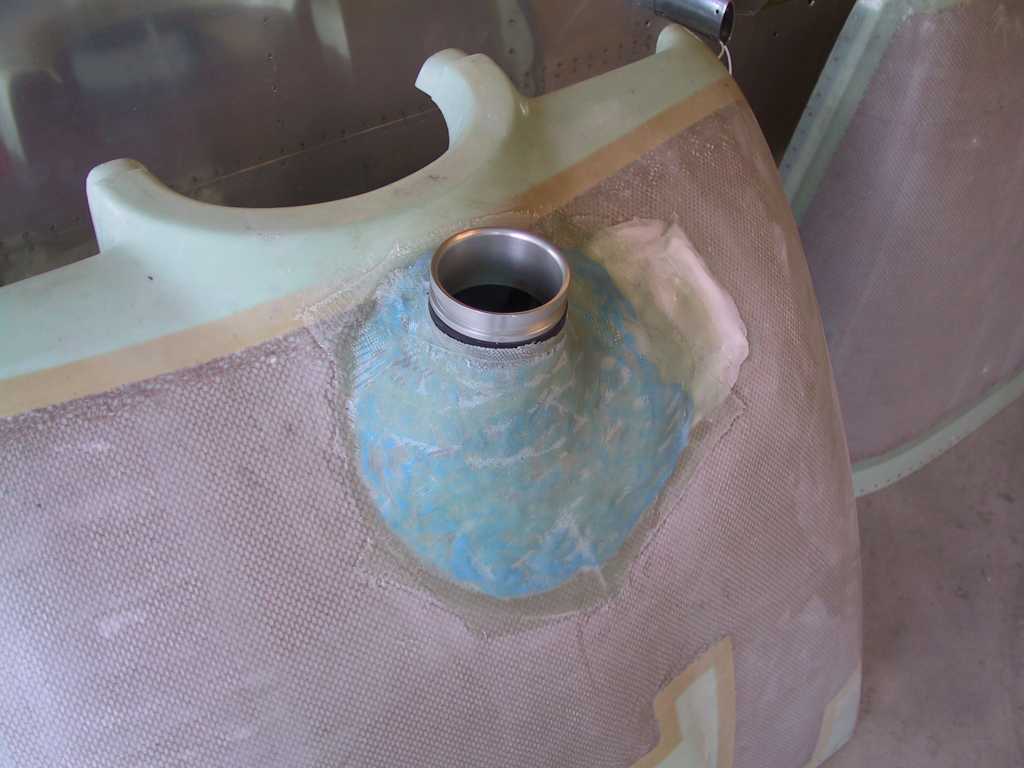
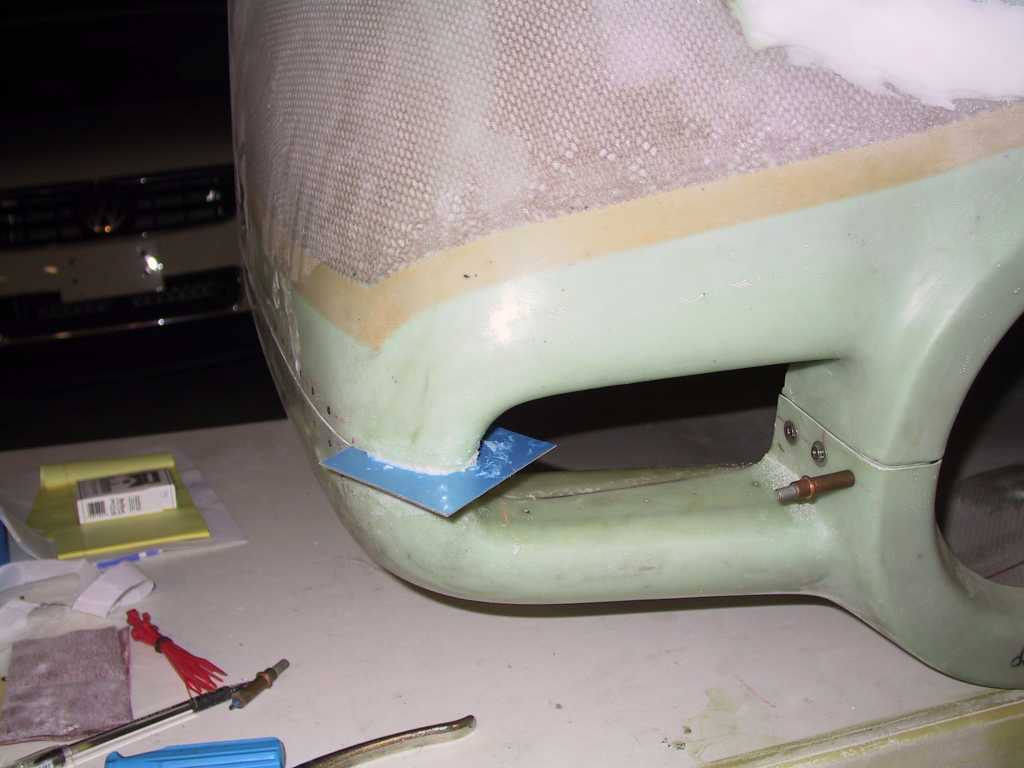
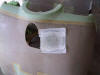
2/26/05 |
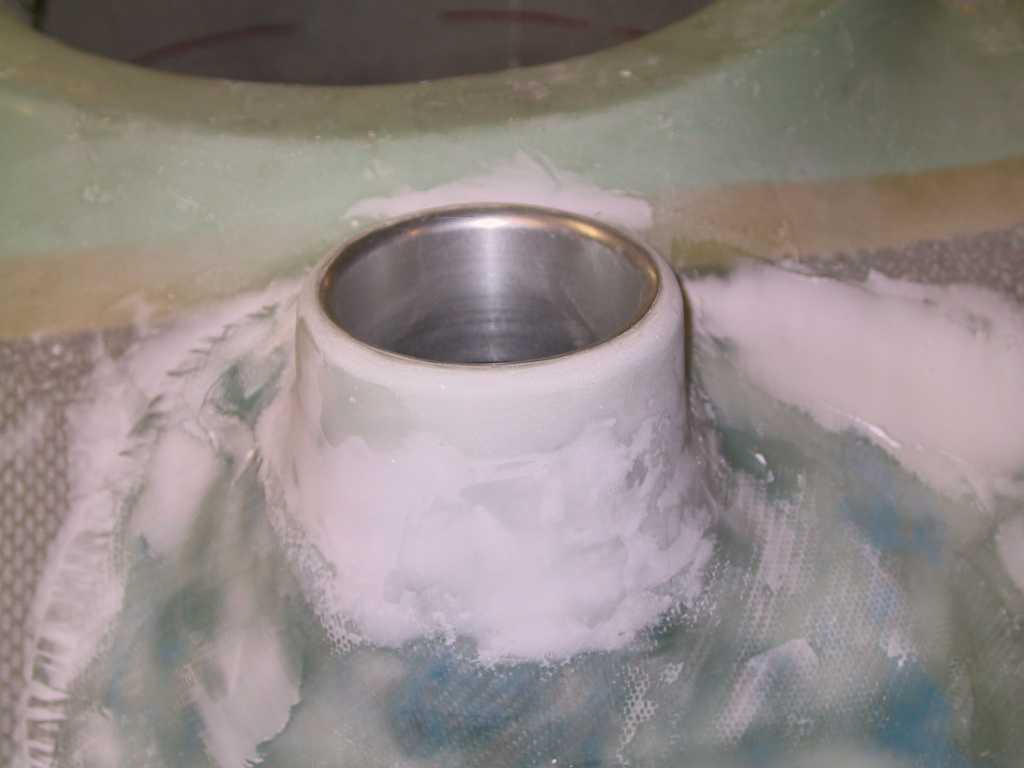
Well I finally received the Sam James (Holy Cowl)
3.5" inlet today. It was backordered and so it took a couple of weeks to
get it. Nice piece of work except it had a nasty gouge on one side right
at the lip. I can cover it with fiberglass. I made
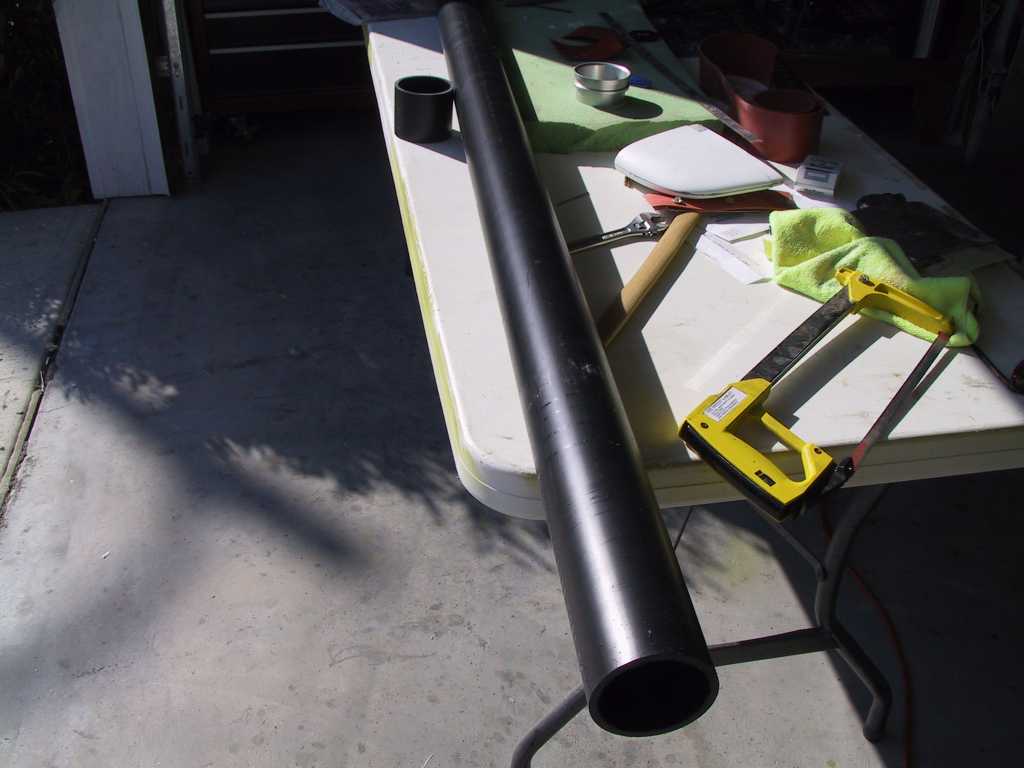
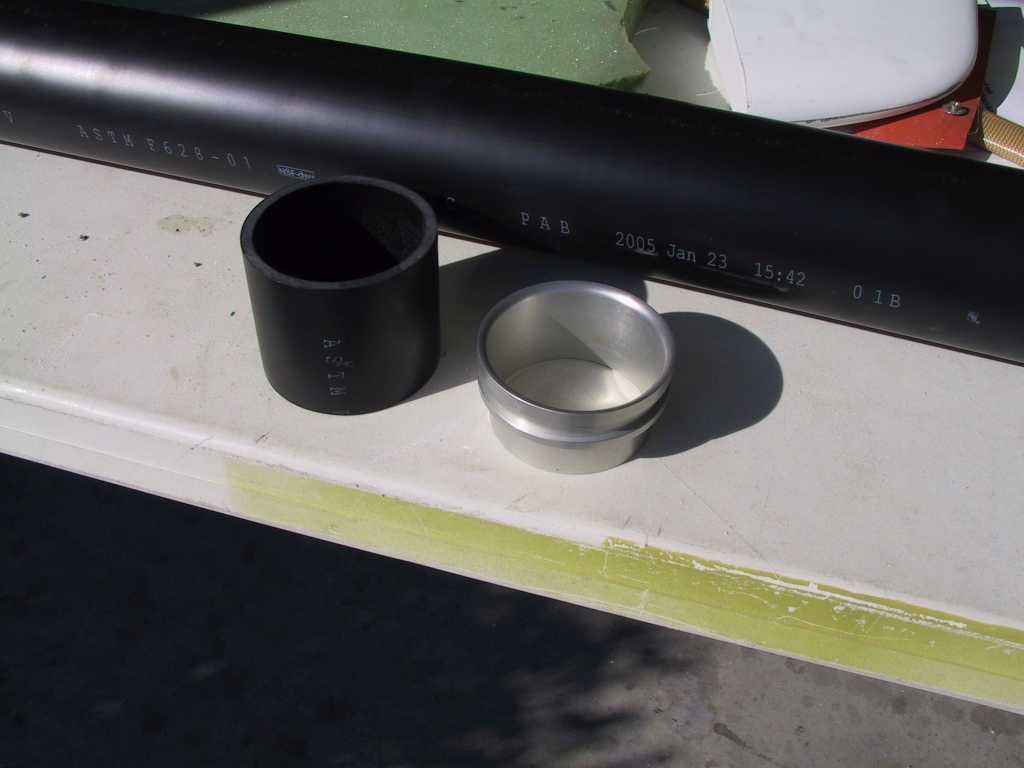
a run to Home Depot to find something that I can use to mate the ring with the
cowl and 'Y' valve. I found just the stuff. Unfortunately HD would
only sell me a 10' section. So if any of you want any part of the
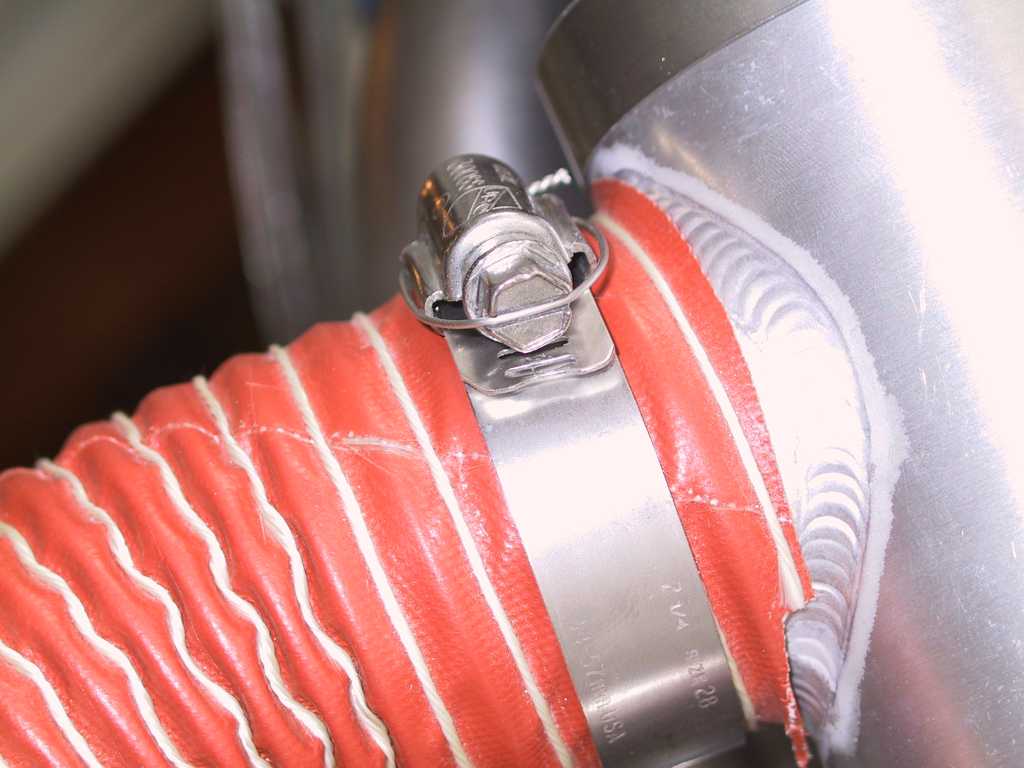
remaining 9' 9" of tubing just holler. I cut a 3" piece and did a test
fit. Nice, it's gonna work perfectly.
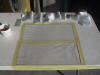
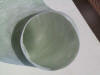
Next I headed out to get some modeling clay. I found
some stuff which is not really clay, but it's very very light. Proceeded
to lay up the mold.
Then applied one layer of BID. I think this is going to
look nice once a ton of sanding gets done.

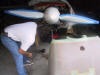
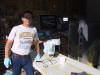
Well I just had to get a shot of the guy who has brought
nearly every part of this plane to me. My local FedEx Guy. Even when
he doesn't have anything to deliver he stops by and checks out the progress.
I owe him a ride :)
 |
|
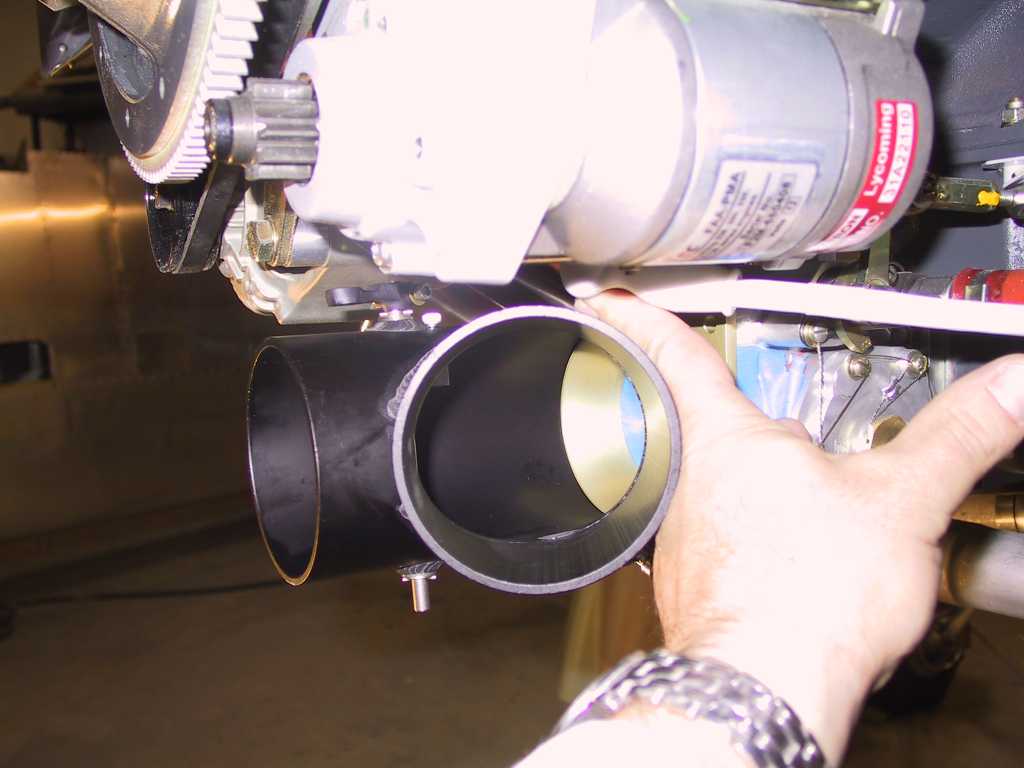
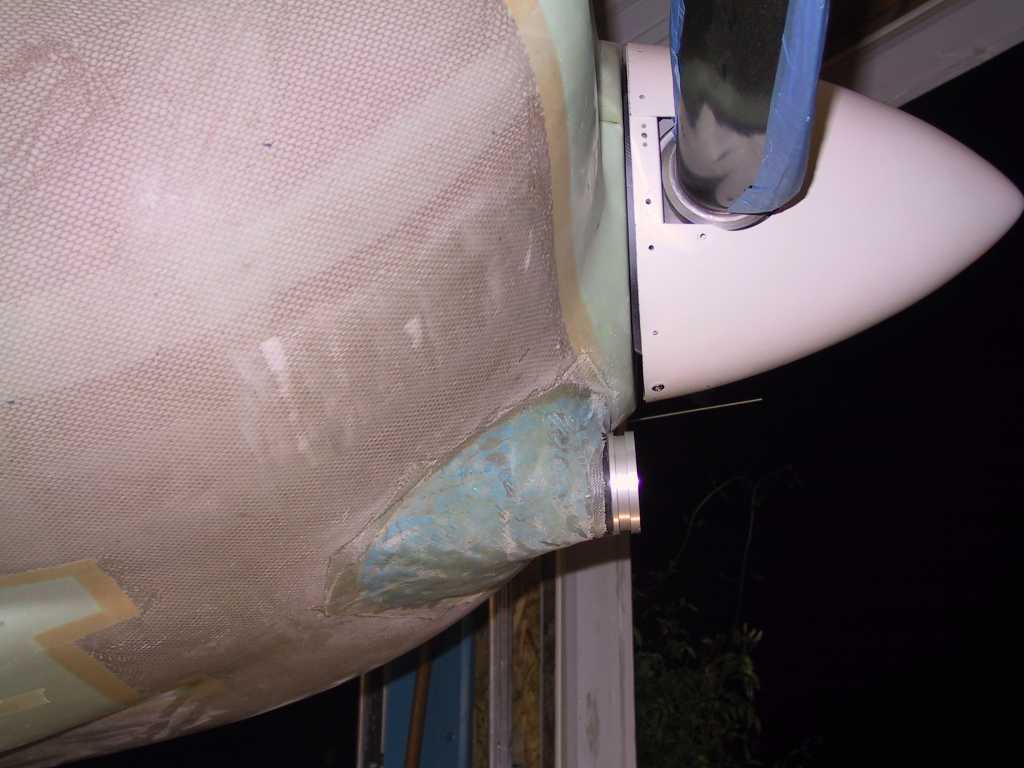
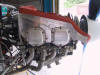
2/27/05 |
My portable hard drive (made by Lacie, don't buy
it) crashed and I had to completely reconstruct the web site tonight, ouch.
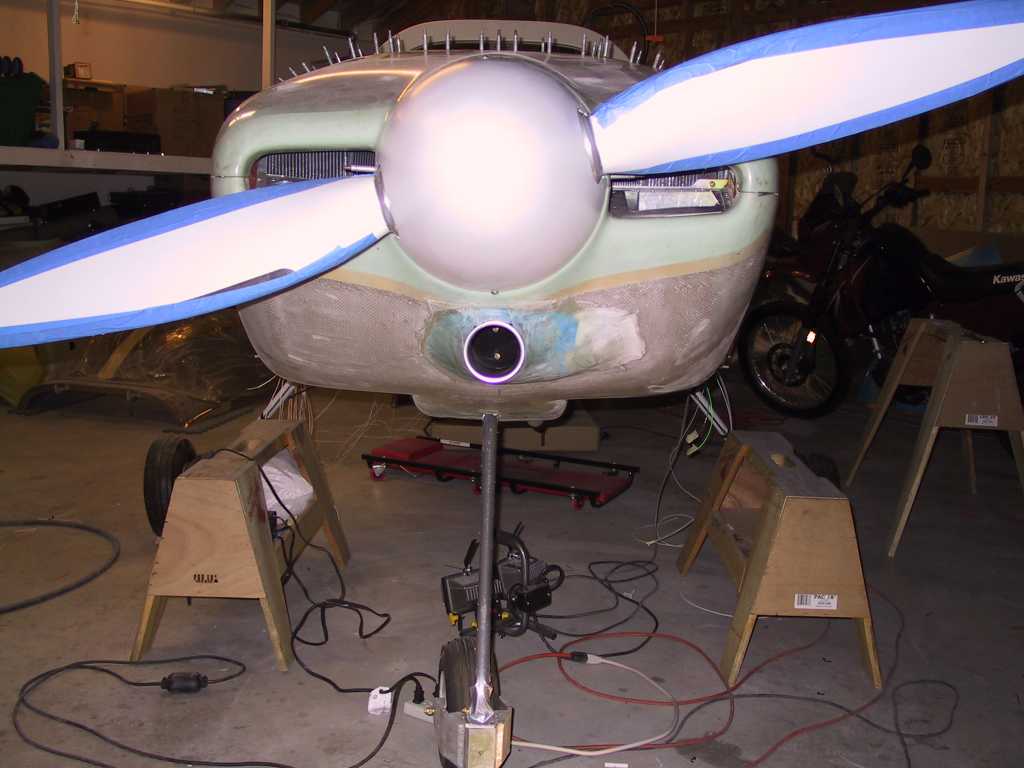
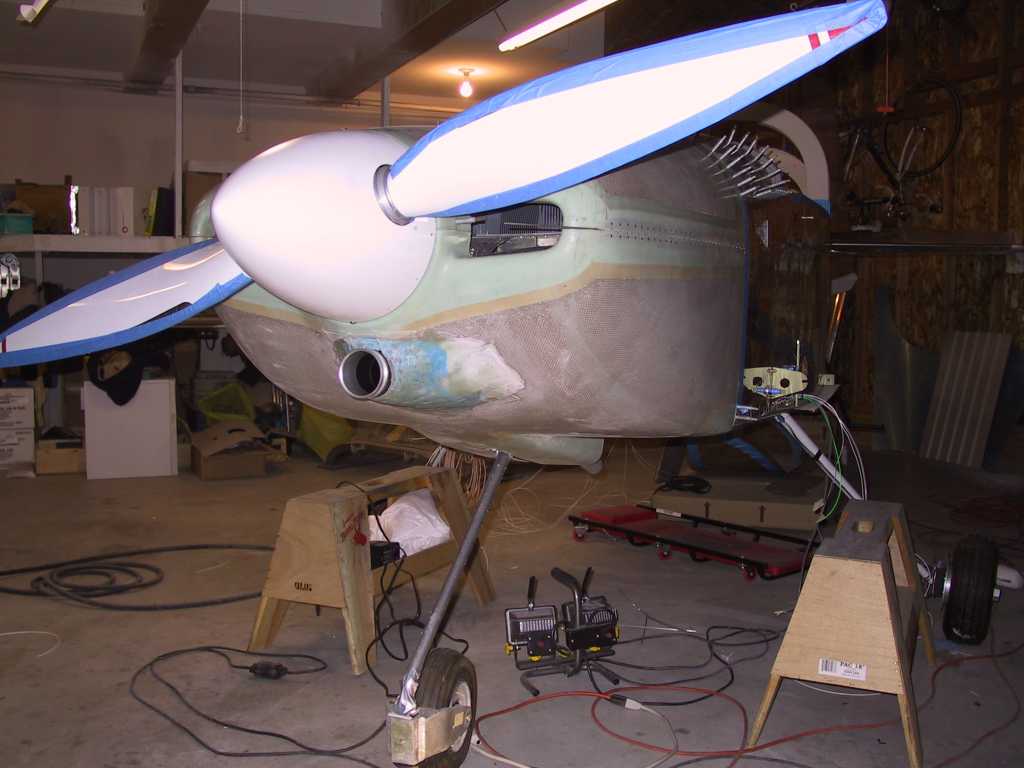
Anyway, back when I took these pictures I was trial fitting the ram air pieces
in place. Here's some shots just to give you an idea of what it looks like
now. Still a lot of fiberglass work to do here.
   |
|
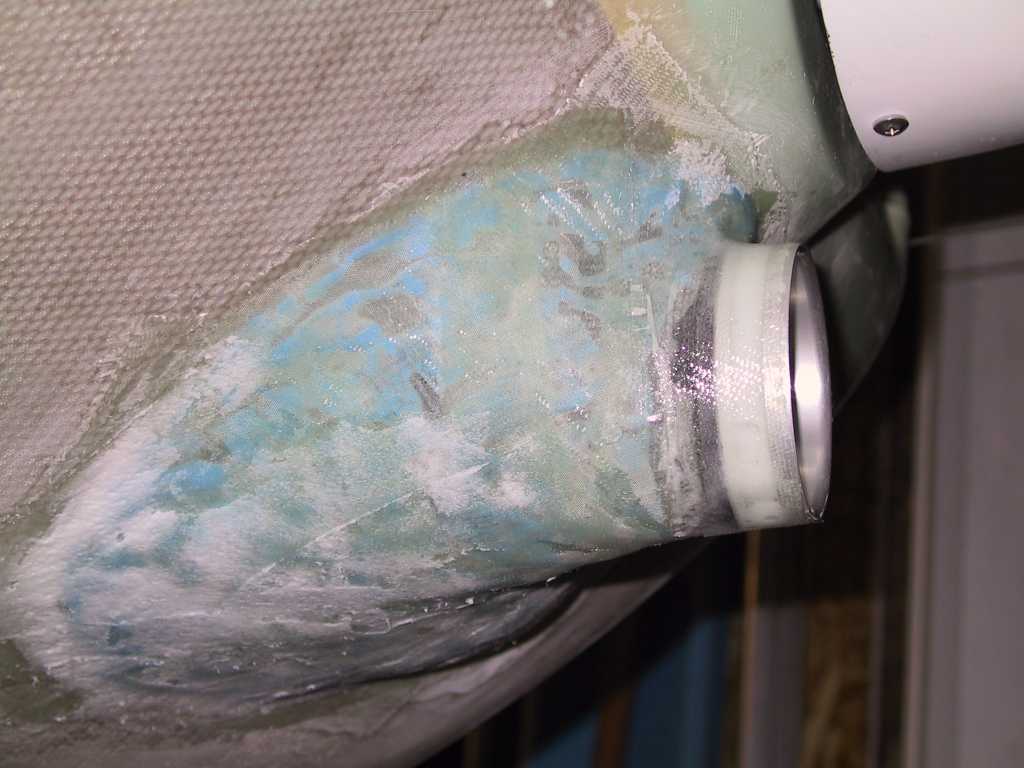
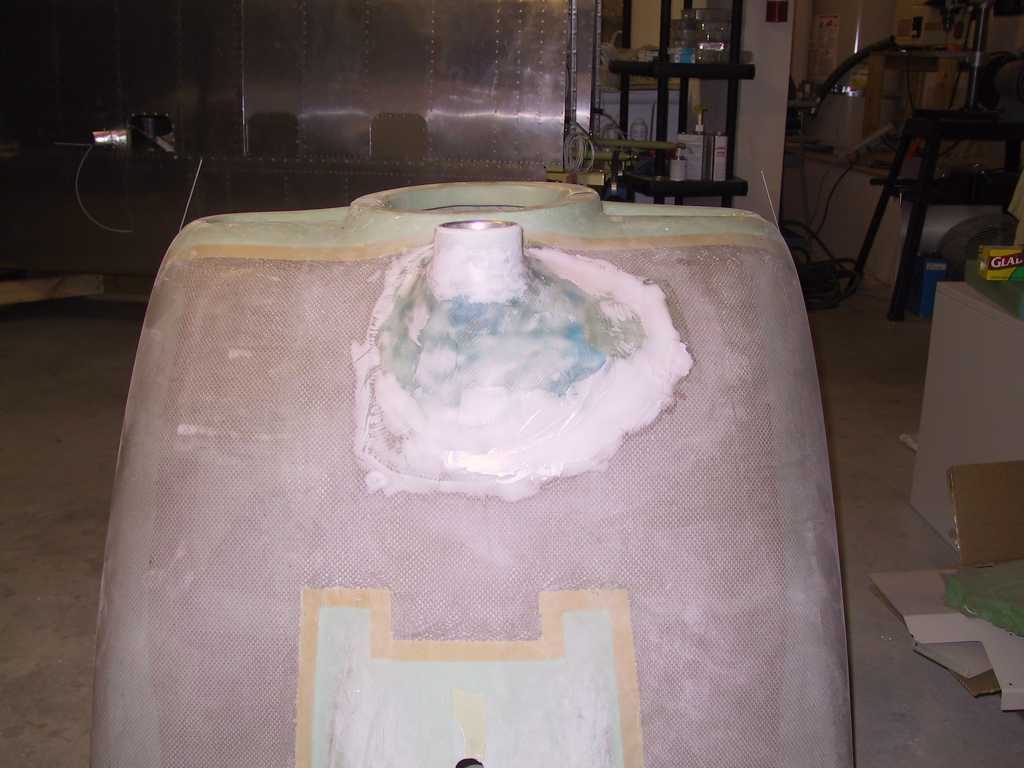
3/2/05 |
One more layer of glass goes on.
 |
|
3/9/05 |
One more layer of glass goes on. This
should be the final layer of microballoons, the next will be fill primer and
paint.
   |
|
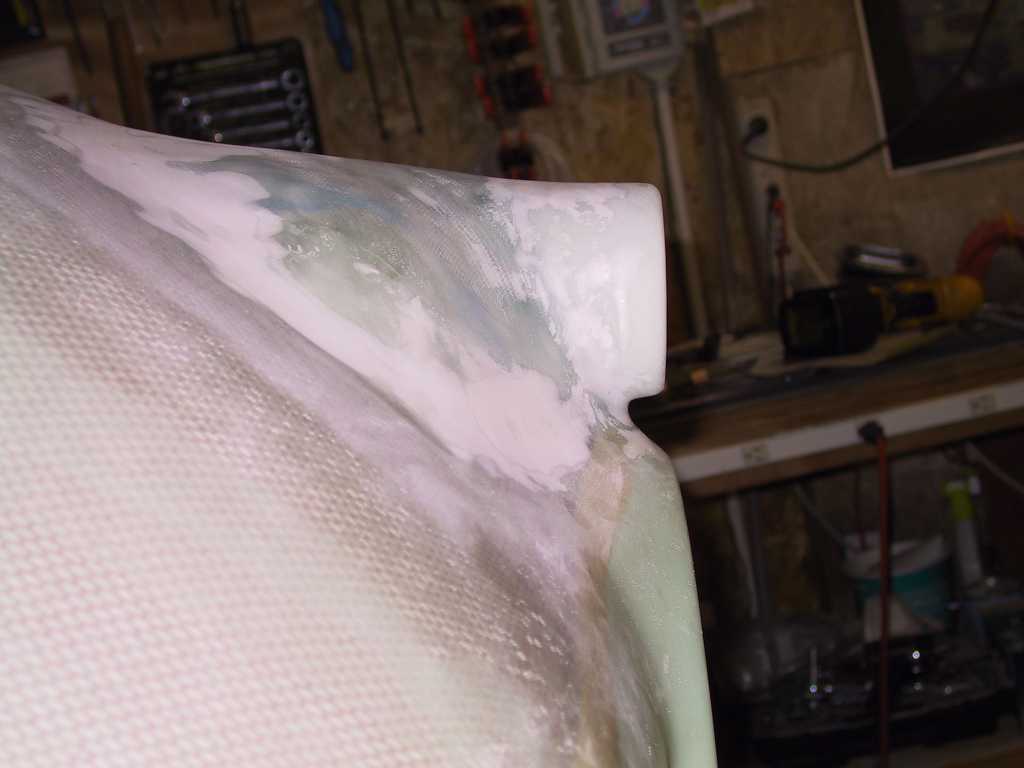
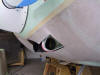
3/10/05 |
My monitor is darn near totally dead. I can
barely see what I'm typing and everything is red. I hope I get this right.
I needed a new one anyway, I'm sort of glad it's dying.
This is the final shape of the snout after a bit of sanding. Looks like
crap with all the weird colors but that won't be noticeable once painted.
A view from inside for giggles.
The leading edges of the top and bottom cowls where they meet
is a little off so I sanded them down and applied a coating of flox. I'll
sand them even tomorrow. I placed a piece of .032 between them with the
blue plastic still on so I can get them separated.
 |